
Shine Together Sew Along Week 1
The day has come to kick off our Shine Together Sew Along! If this is the first time you are hearing of this sew along, click here to learn more!
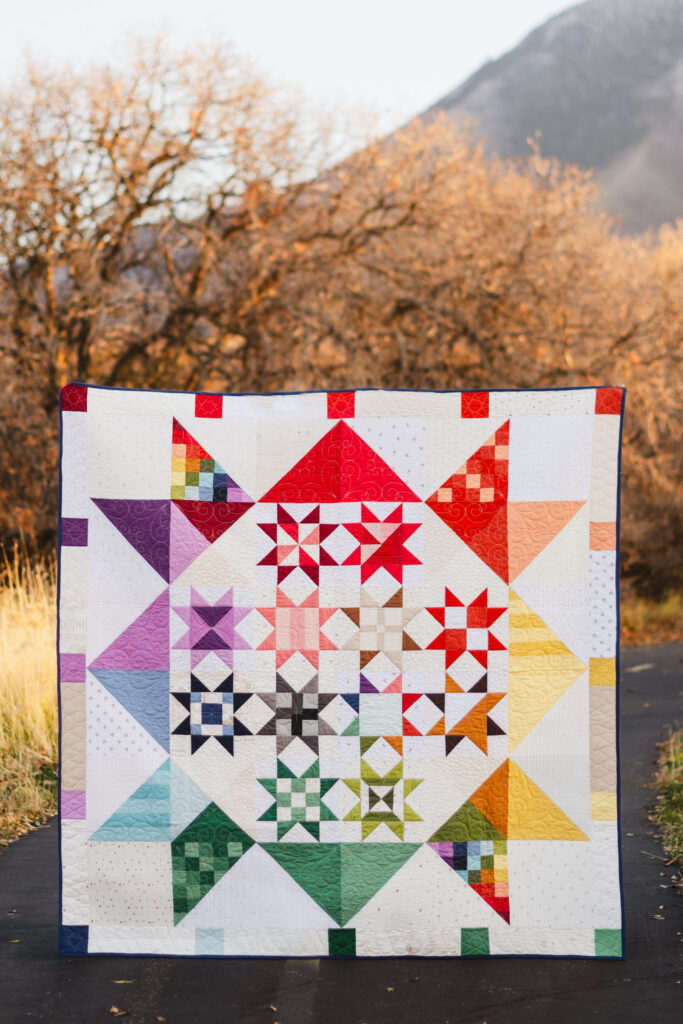
So, how does this sew along work? We will be here on the blog making the sawtooth star center blocks with you! On the scheduled days we also have some fabulous designers who are going to share a tutorial for a NEW design for the 6″ block centers. As you go along, you will have tons of different block designs to choose from to customize your quilt!
Week 1 – Block Designs
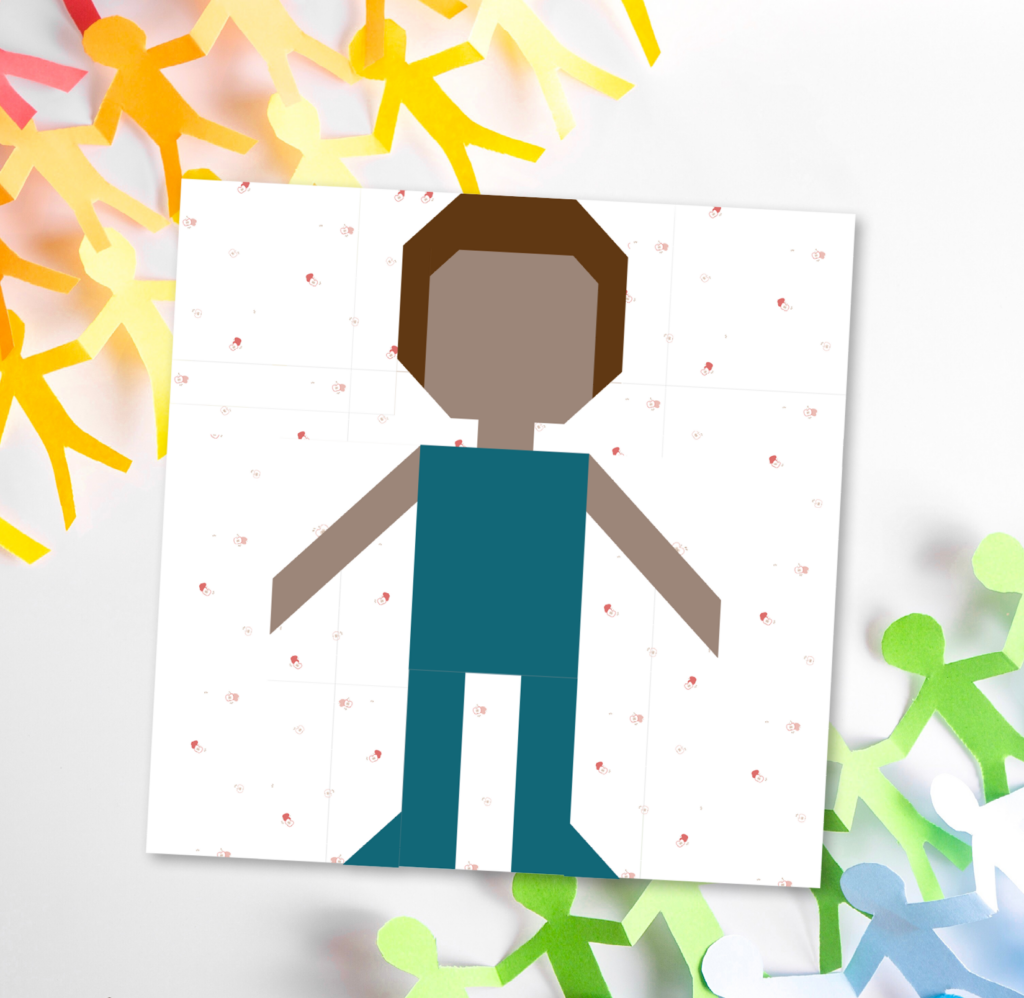
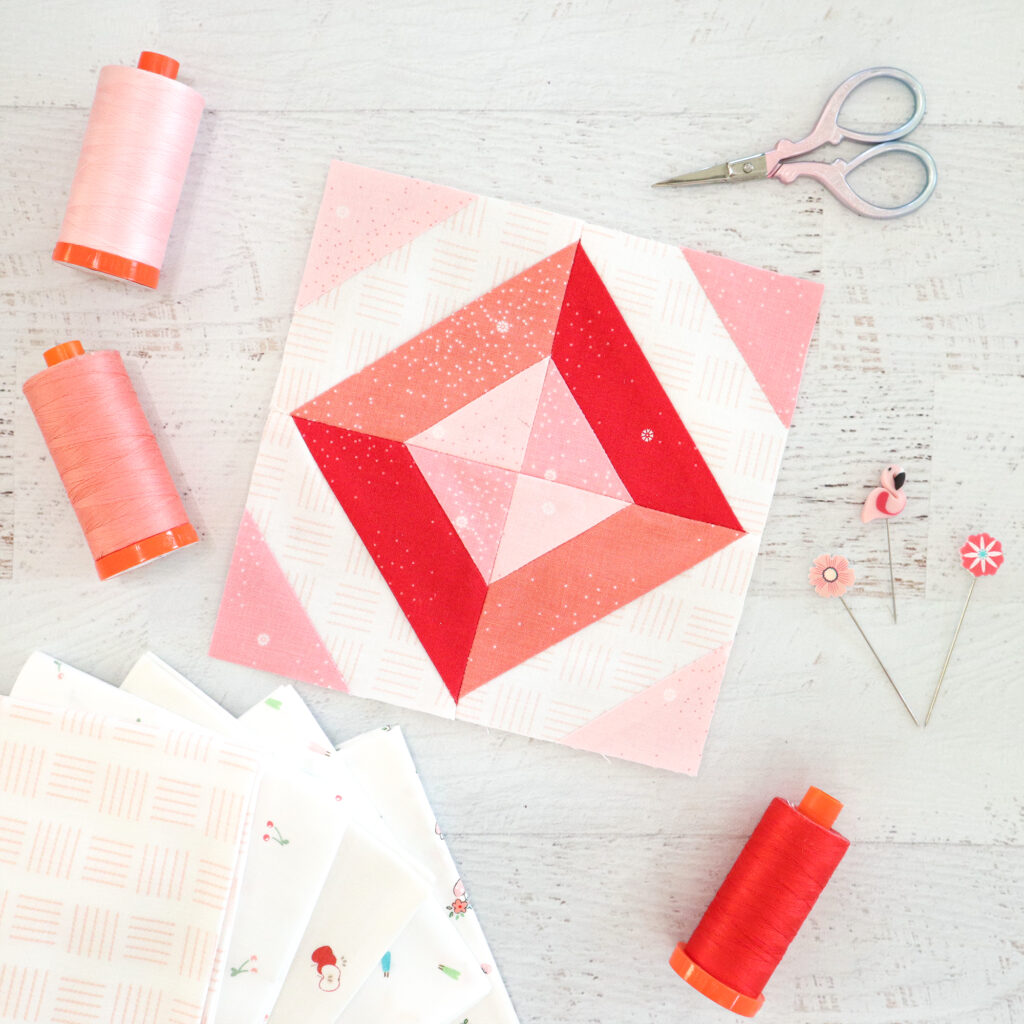
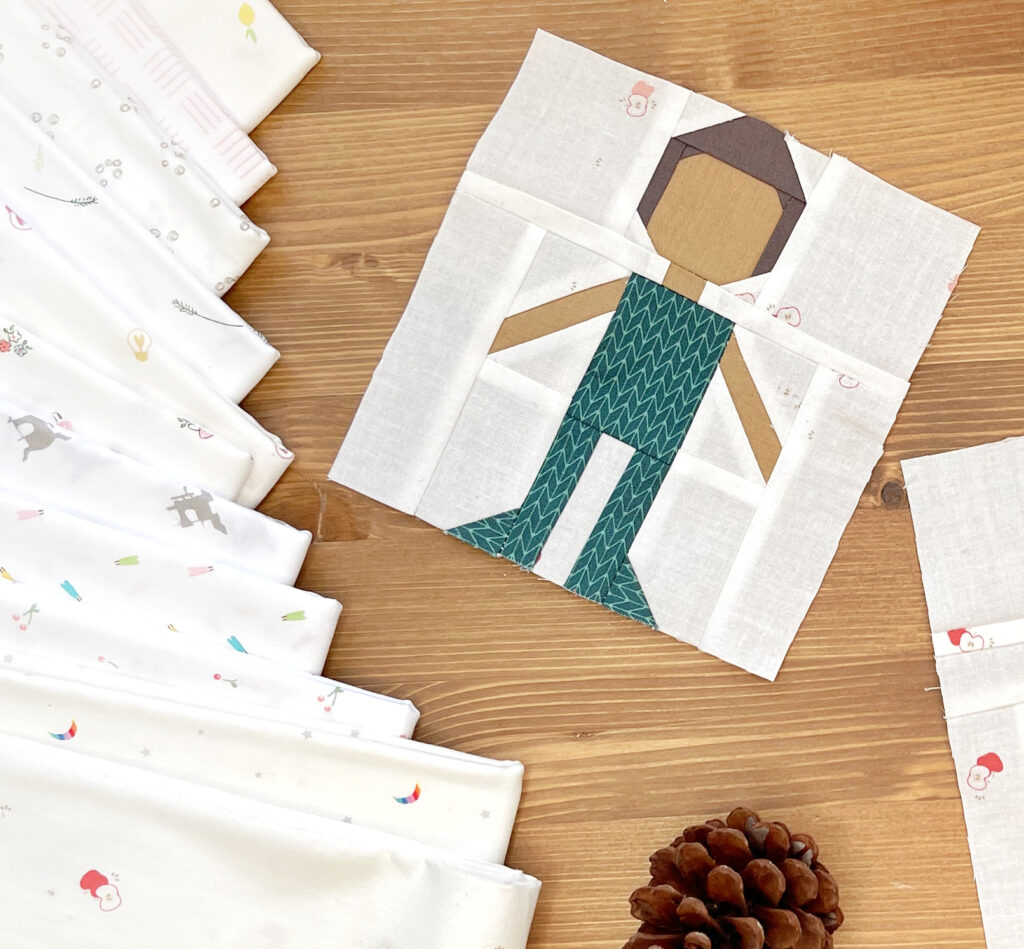
Are you ready for week 1?! Today, we are sharing a tutorial for the block original to the pattern (left), an alternative design by Bev McCullough (center), and a third design from Jennifer Long (right)!
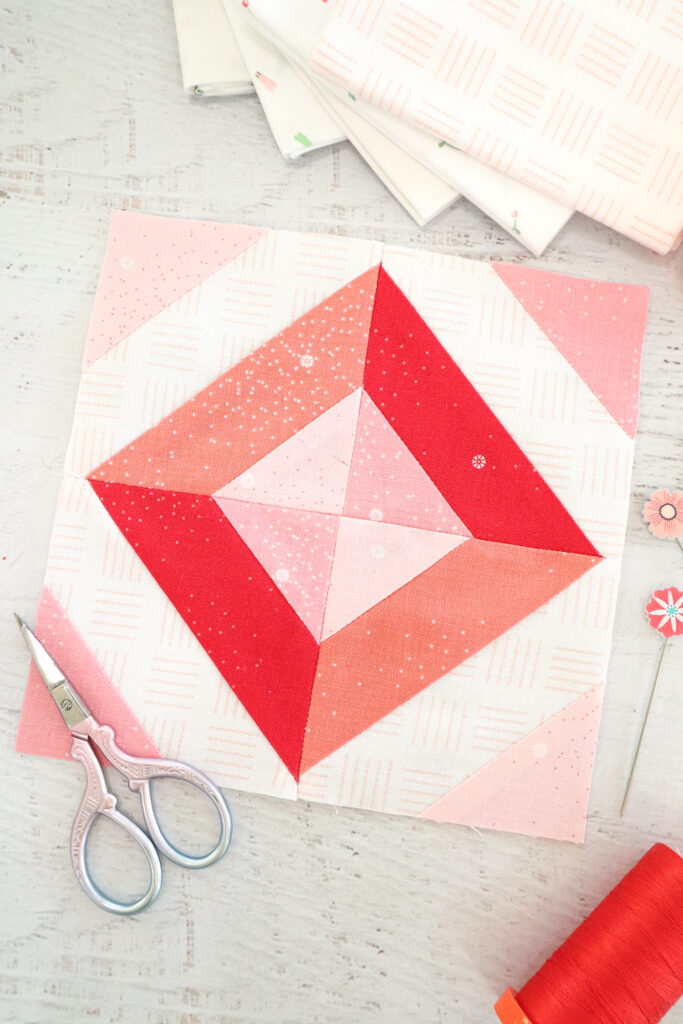
Read on for the original version tutorial and click the buttons below for the alternative design tutorials!

Block G Tutorial
Gather your supplies and let’s make our first block! If you are following our layout, this is Block G. You will need a copy of the free quilt pattern. Follow the cutting instructions to get all the pieces cut for this block. If you want to see a video that goes along with this tutorial, find our Reel on Instagram or Pinterest Video!
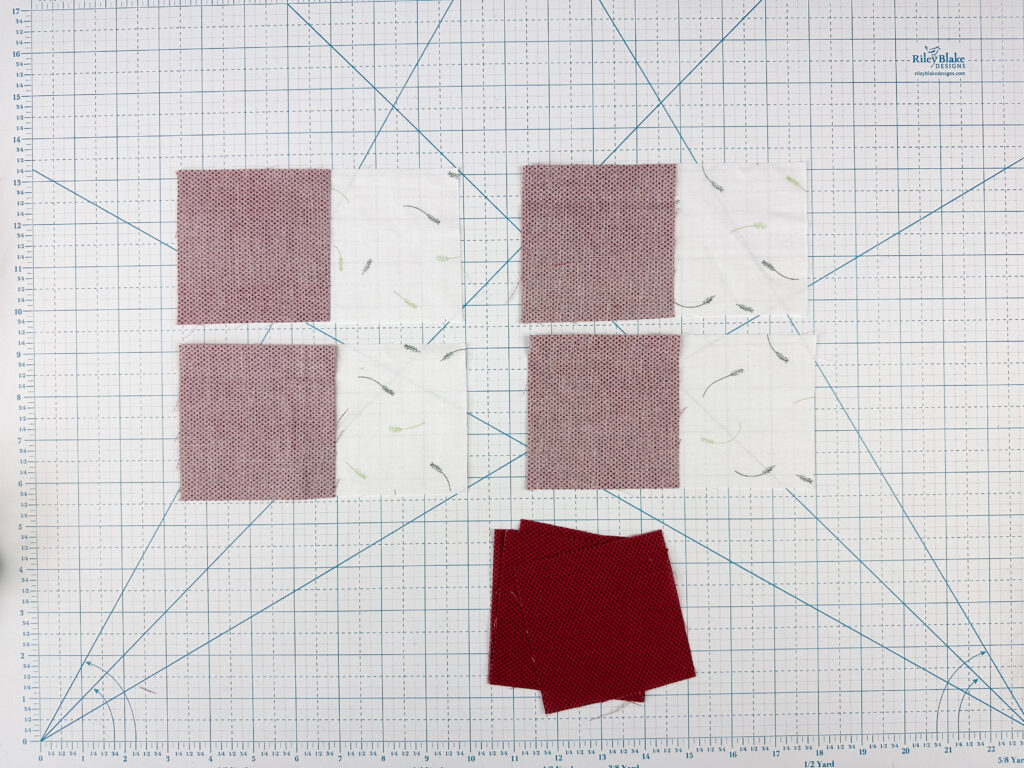
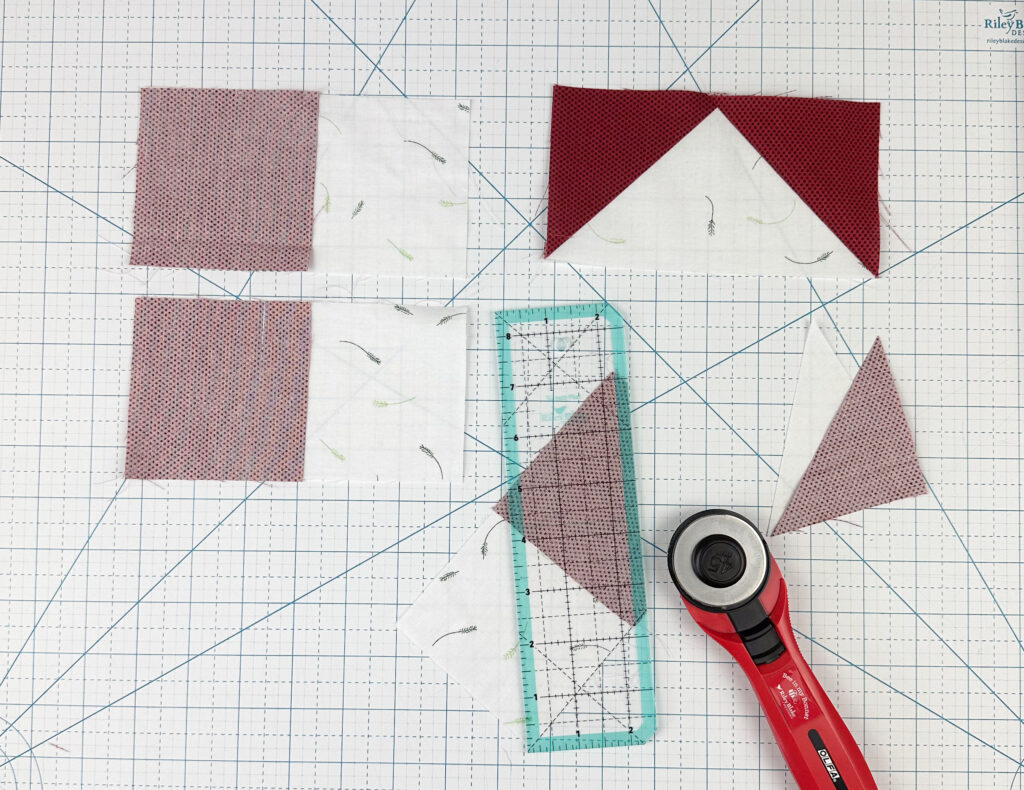
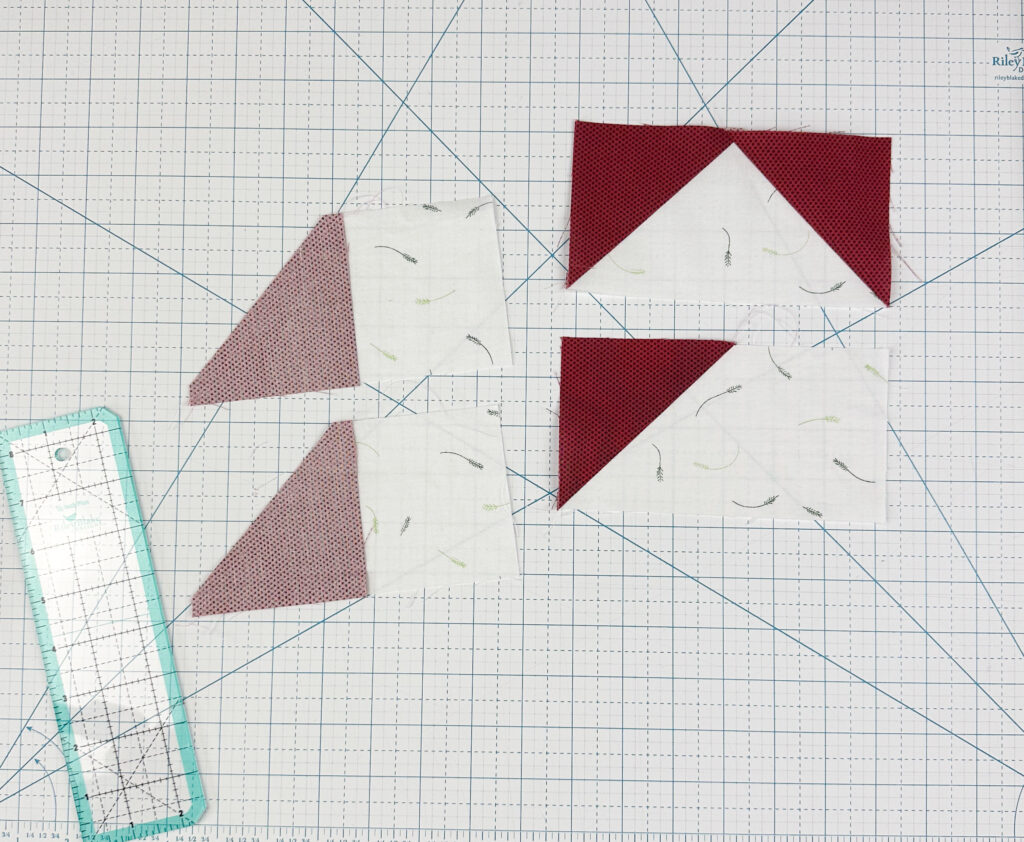
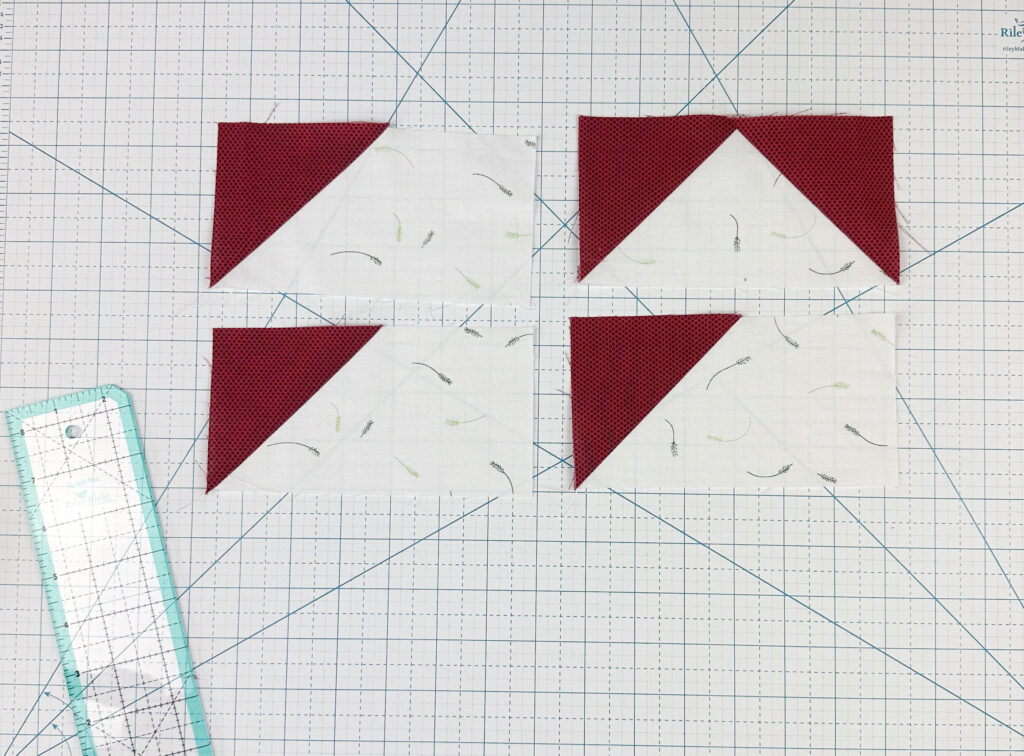
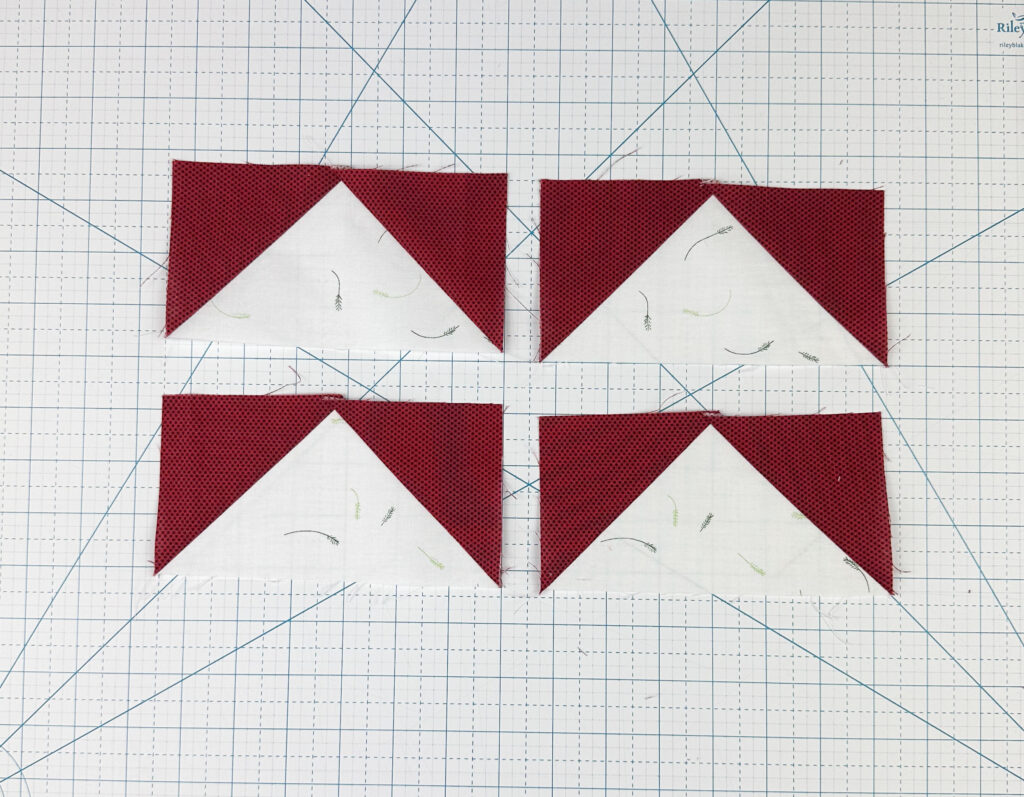
Step 1: Make Flying Geese
We’re starting with making our flying geese. You will place a POParrazzi Brick B square on the left side of your A Tiny Twigs rectangles. You will sew a straight line from the bottom left corner to the corner that lands in the top center of the rectangle. Sew all four units. Then, trim the corner off 1/4″ from the sewn line. Press open to see that you have now replaced the corner of your A rectangle with your POParrazzi Brick B square. Then, repeat the process on the other side to make your four flying geese units!
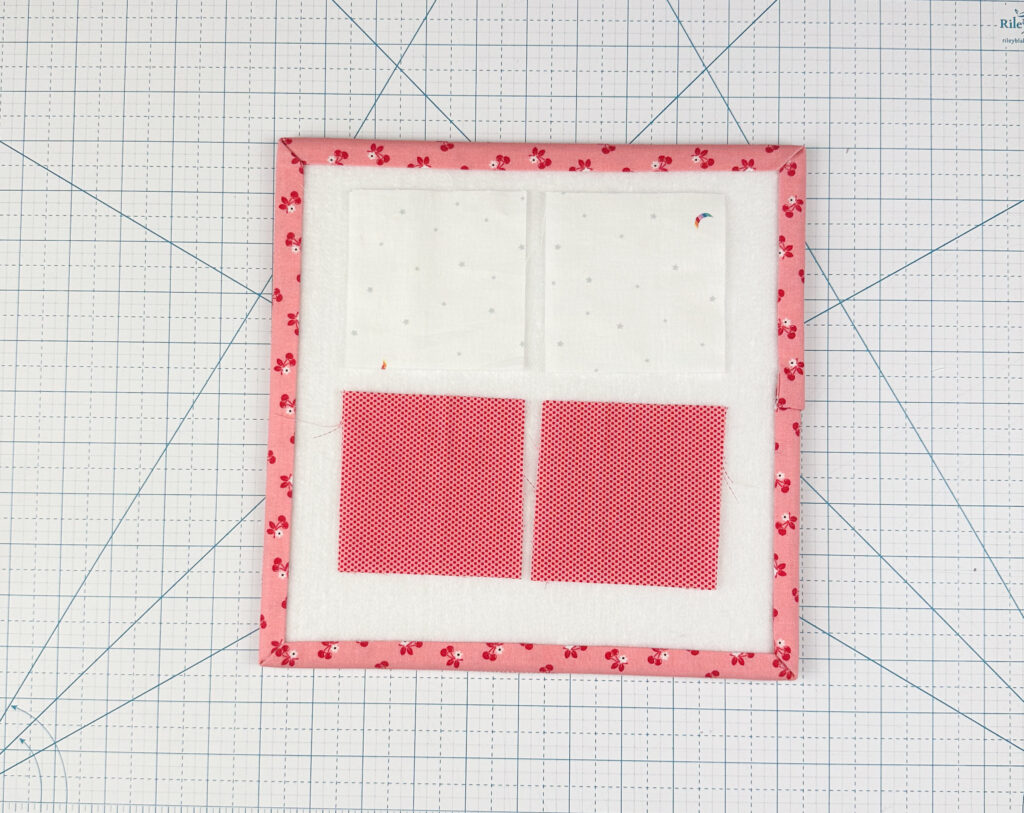
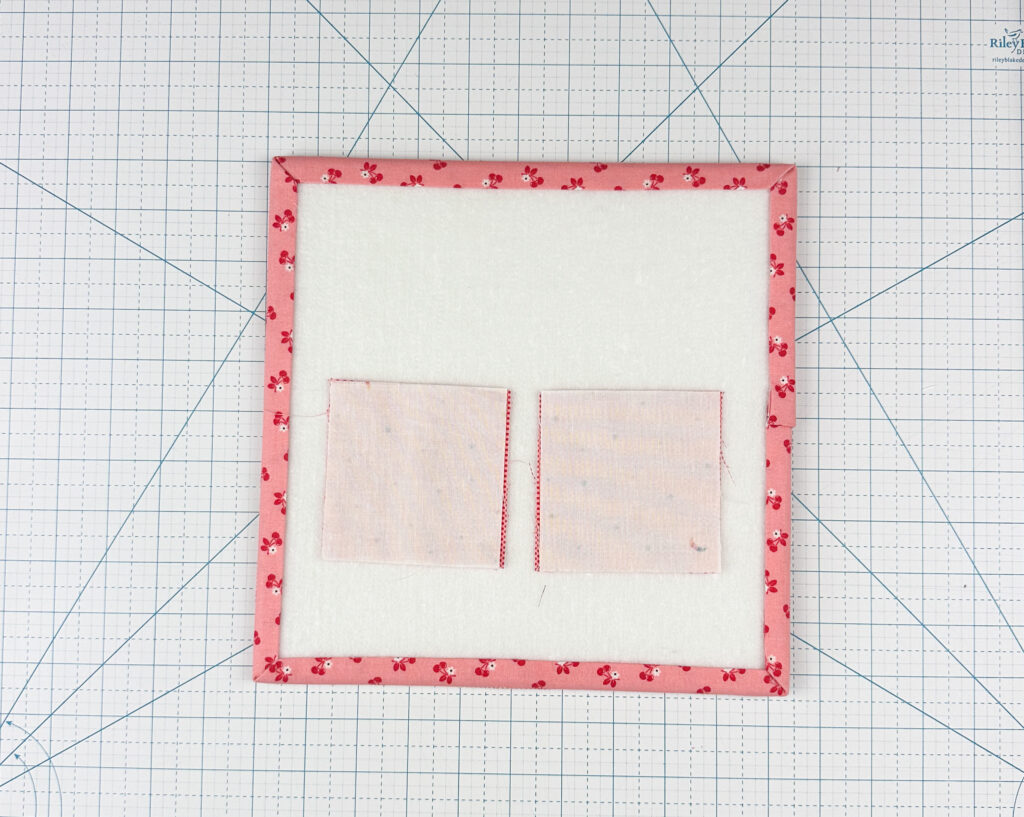
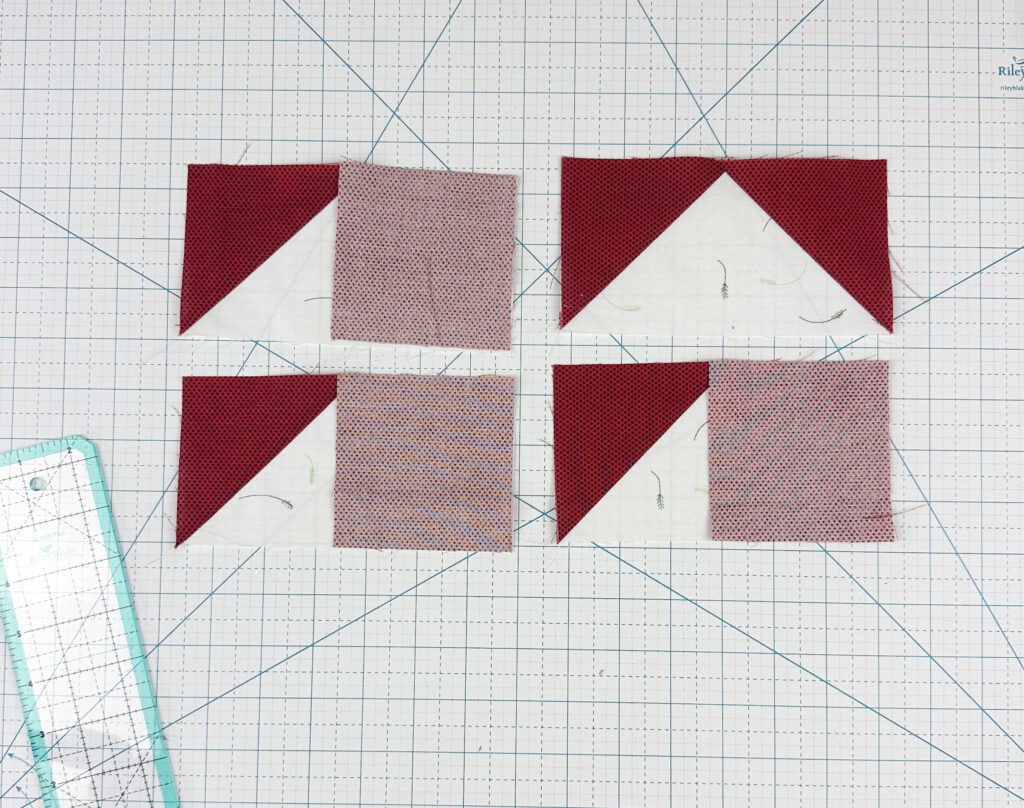
Step 2: Make Half Square Triangles
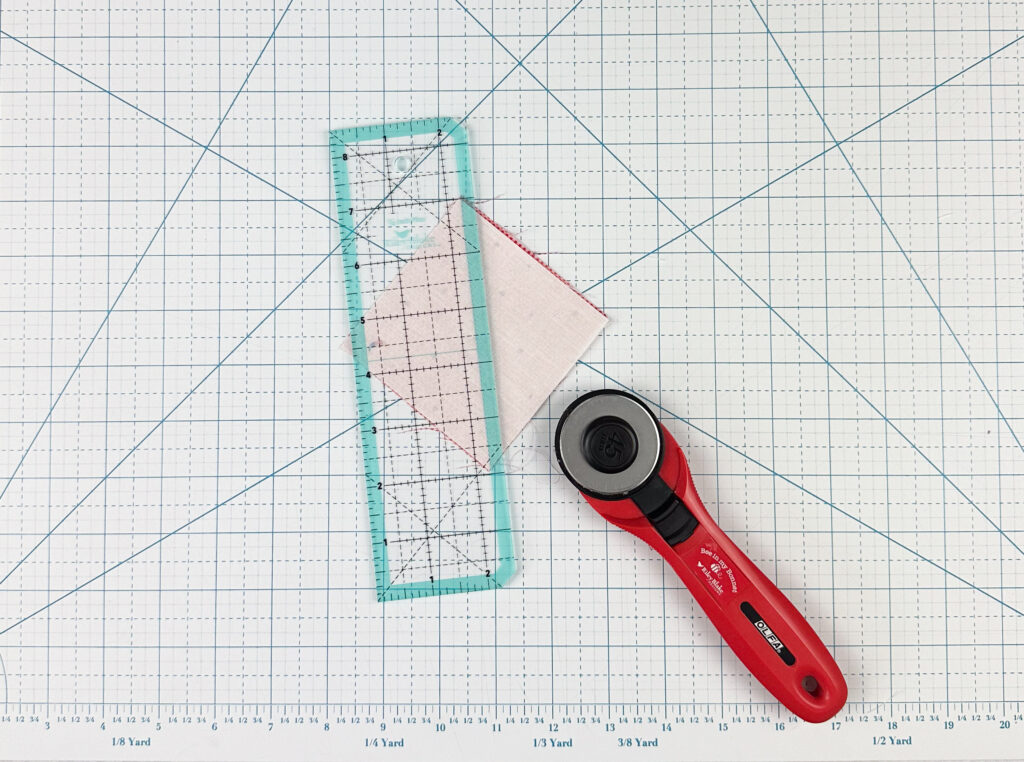
We are going to make 1-at-a time Half Square Triangles (HST). Start by laying out 2 POParrazzi Berry B squares and 2 Starlight B squares. Then put them right sides together. Take to your machine and stitch along the diagonal from one corner to another. You can mark the line first with a pencil if that helps you!
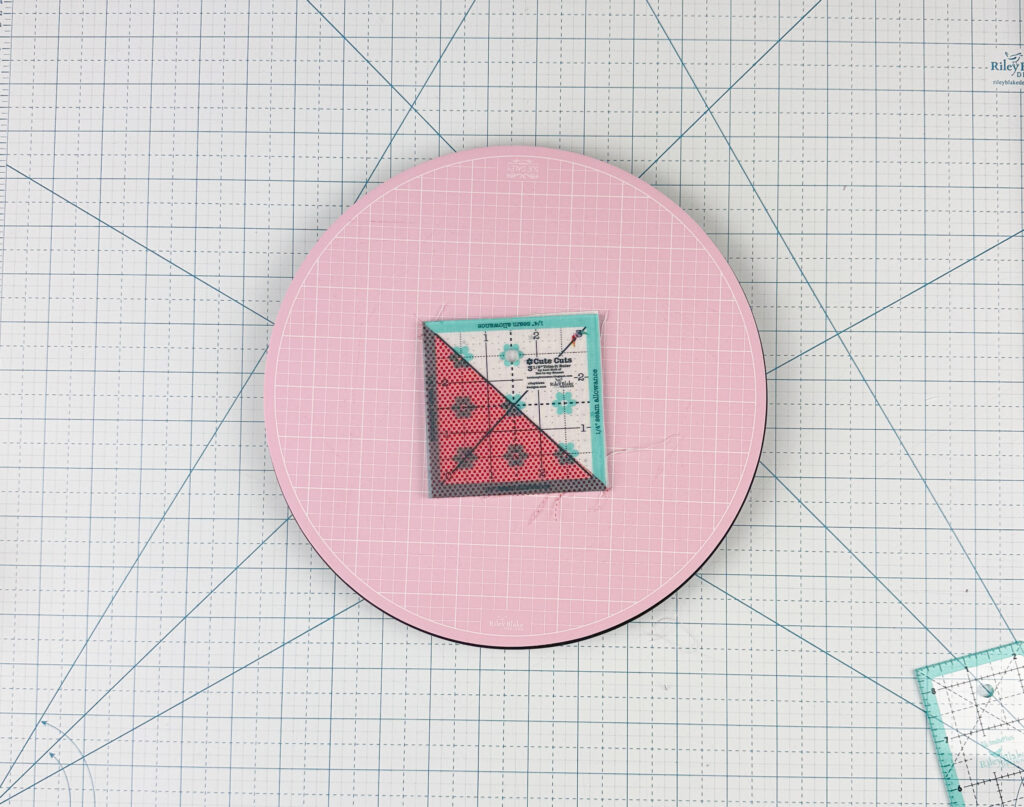
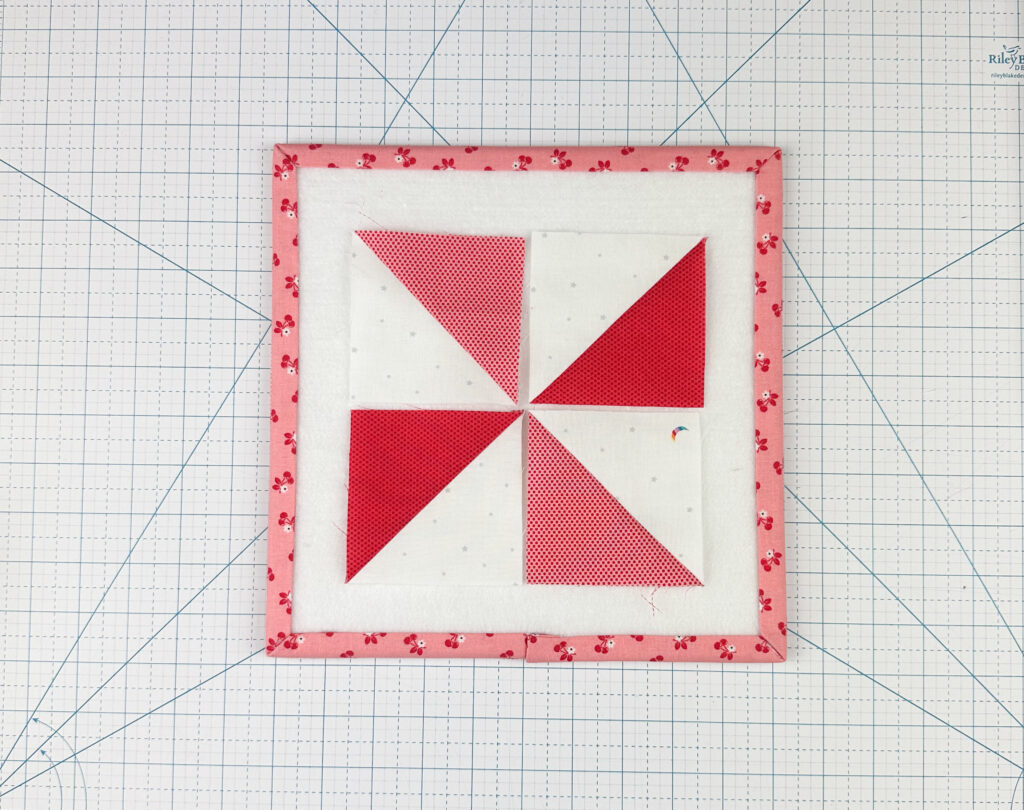
Next, trim 1/4″ away from your sewn line and press your seam to the dark side. Take to your rotating cutting mat and use a Lori Holt Cute Cut Trim It 3 1/2″ ruler to trim your HST to 3 1/2″. Repeat this process with 2 more Starlight B squares and your 2 POParrazzi Cayenne B squares until you have the 4 HST’s needed for your center block! Sew together to create your center unit.
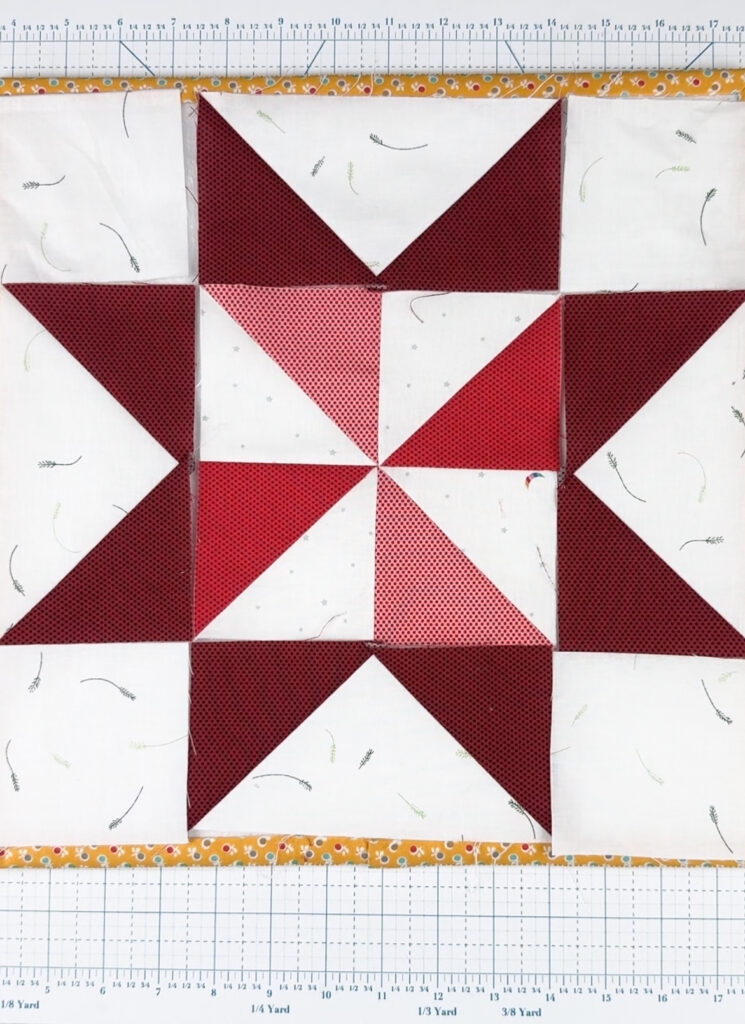
Step 3: Complete G Block
Finally, layout your block as shown in the pattern and sew together in rows and then sew those rows together. Press to the darker fabric and nest your seams to your liking.
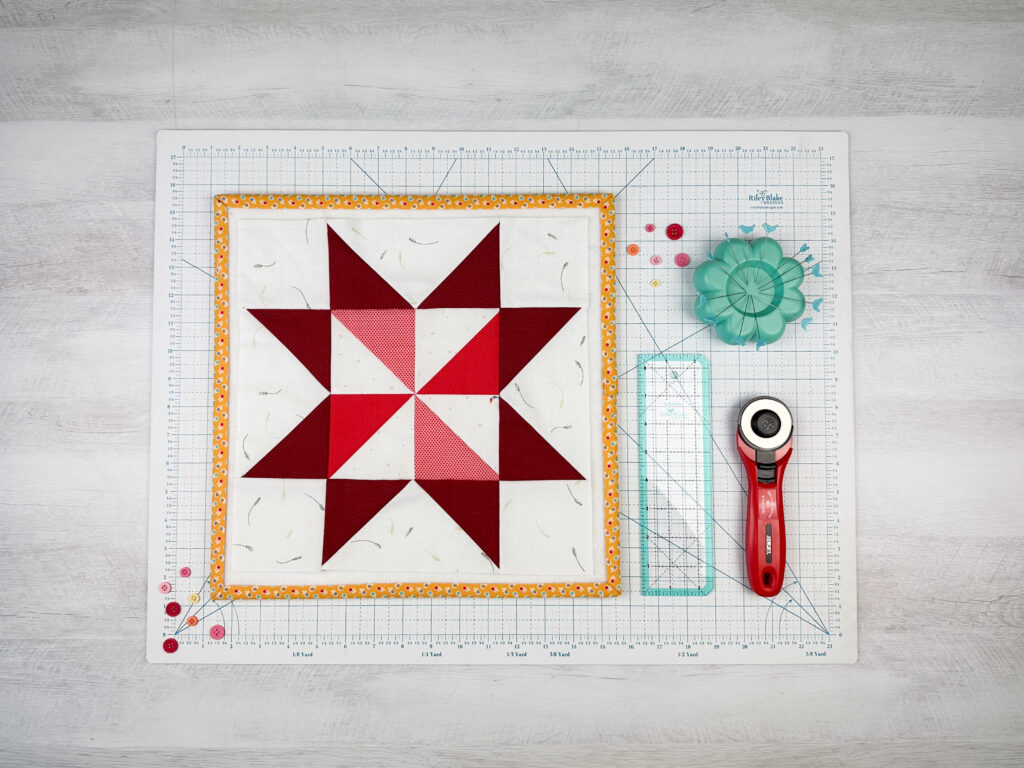
How fun is that?! Thank you for joining us for Block G. Don’t forget to check out the tutorials for today’s designer blocks and pick your favorite design for the center of your Block G sawtooth star. See you next week on January 19th for our next block!


11 Comments
Karen
I love this SAL idea. This Hush Hush collaborative fabric line has been one of my favorites. I used it last year for RBD2 and am using it this year too. Keep up the good work on these SALs.
Bug
I am not able to download Jennifer’s block, it is so cute. Please help. Thank you
Pingback:
Pingback:
Pingback:
Pingback:
Pingback:
Pingback:
Pingback:
Pingback:
Pingback: