Shine Together Sew Along Week 5
Welcome back to week 5 of the Shine Together SAL! If this is your first time hearing about Shine Together, get more information here.
Week 5 – Block Designs
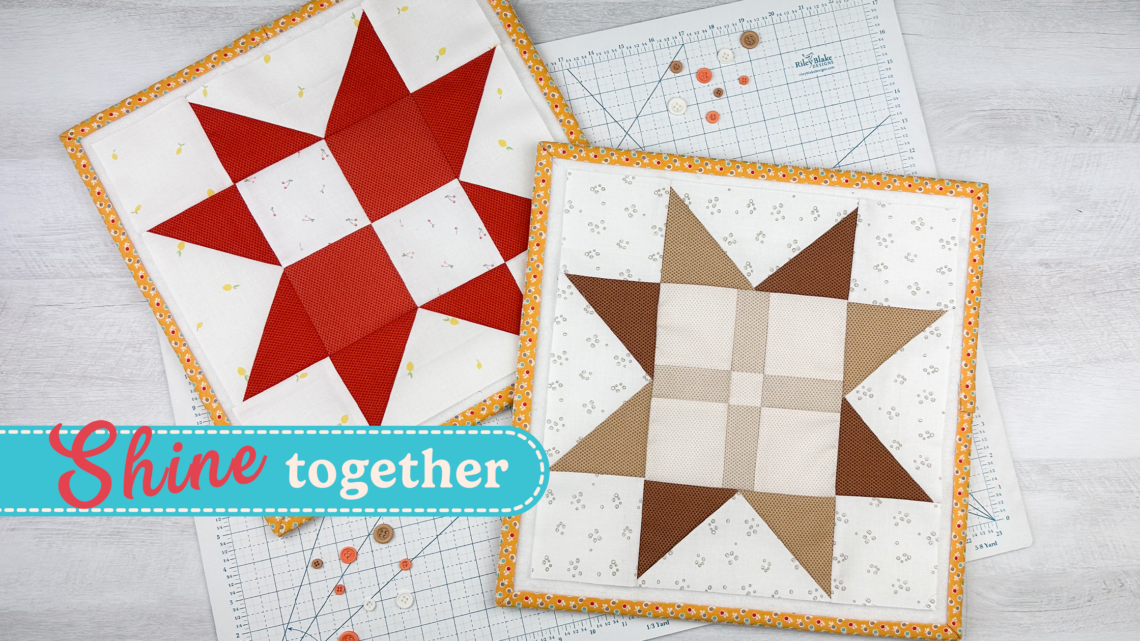
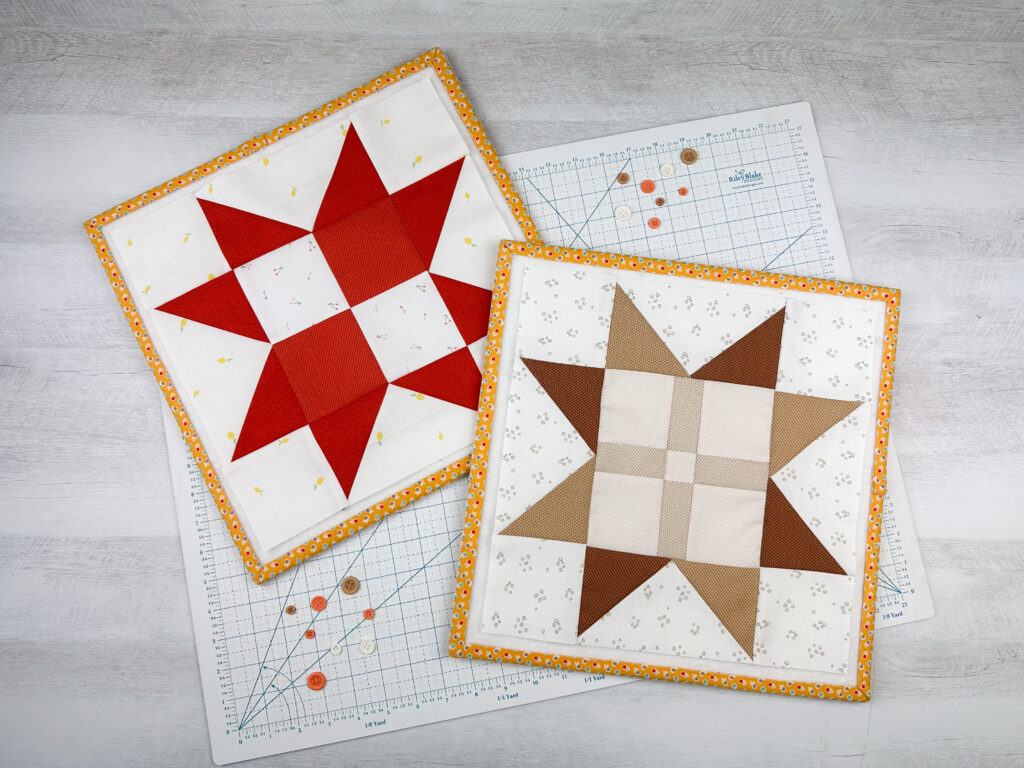
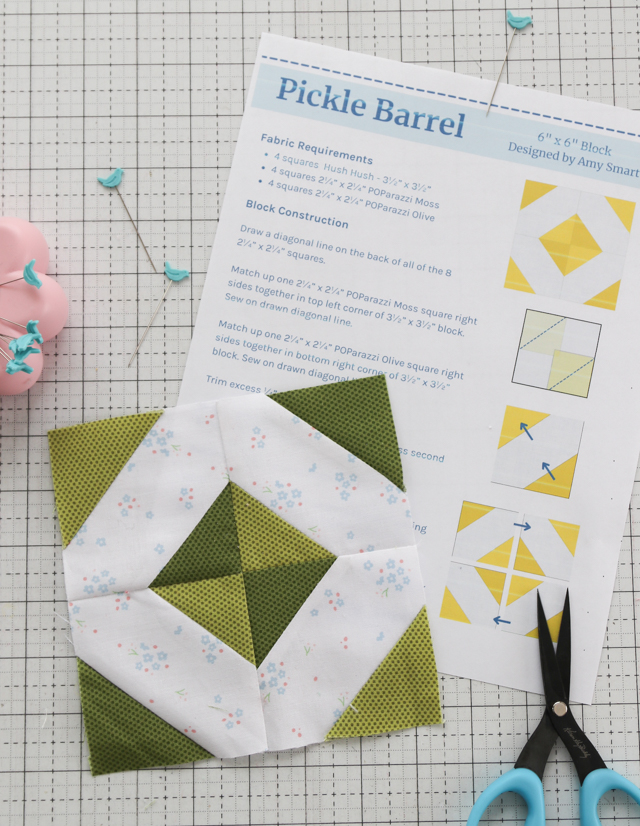
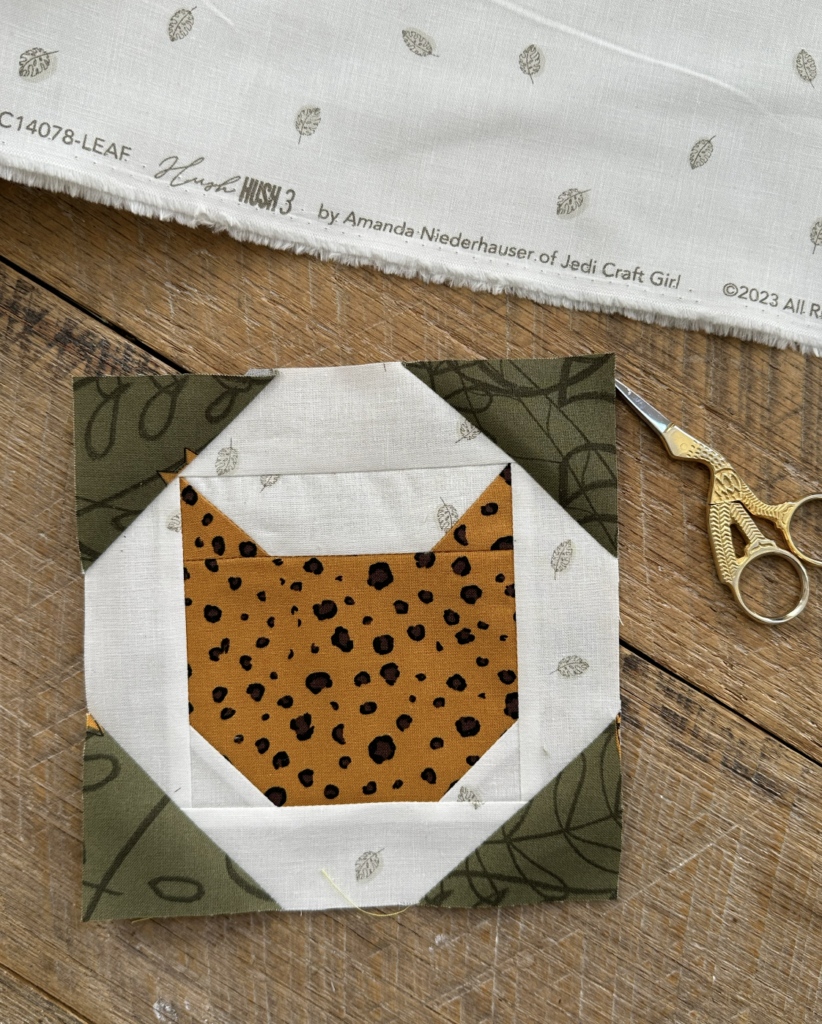
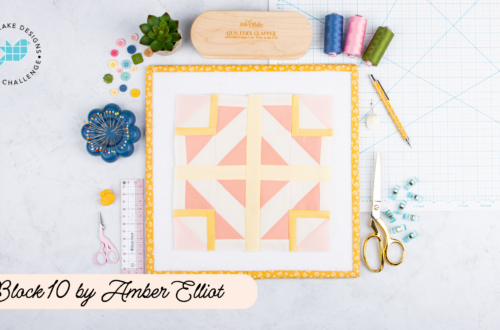
Today, we are sharing tutorials for the N and O blocks original to the pattern (bottom), an alternative design by Amy Smart ( Top Left), and a third design from Amanda Niederhauser (Top Right)!
Read on for the original version tutorials and click the buttons below for the alternative designer blocks! Amanda’s block tutorial will be shared on her Instagram so be sure to follow @jedicraftgirl and keep an eye out!
Block N Tutorial
Gather your supplies and let’s make our next block! If you are following our layout, this is Block N. You will need a copy of the free quilt pattern. Follow the cutting instructions to get all the pieces cut for this block. If you want to see a video that goes along with this tutorial, find our Reel on Instagram or Pinterest Video!
- Make your Flying Geese Units: Like all the blocks before, we will start by making our flying geese! Replace the bottom left corner of your Dots It! A Rectangles with a POParazzi Tea Dye B Square and the bottom right corner with a POParazzi Cinnamon B Square. Make 4 total.
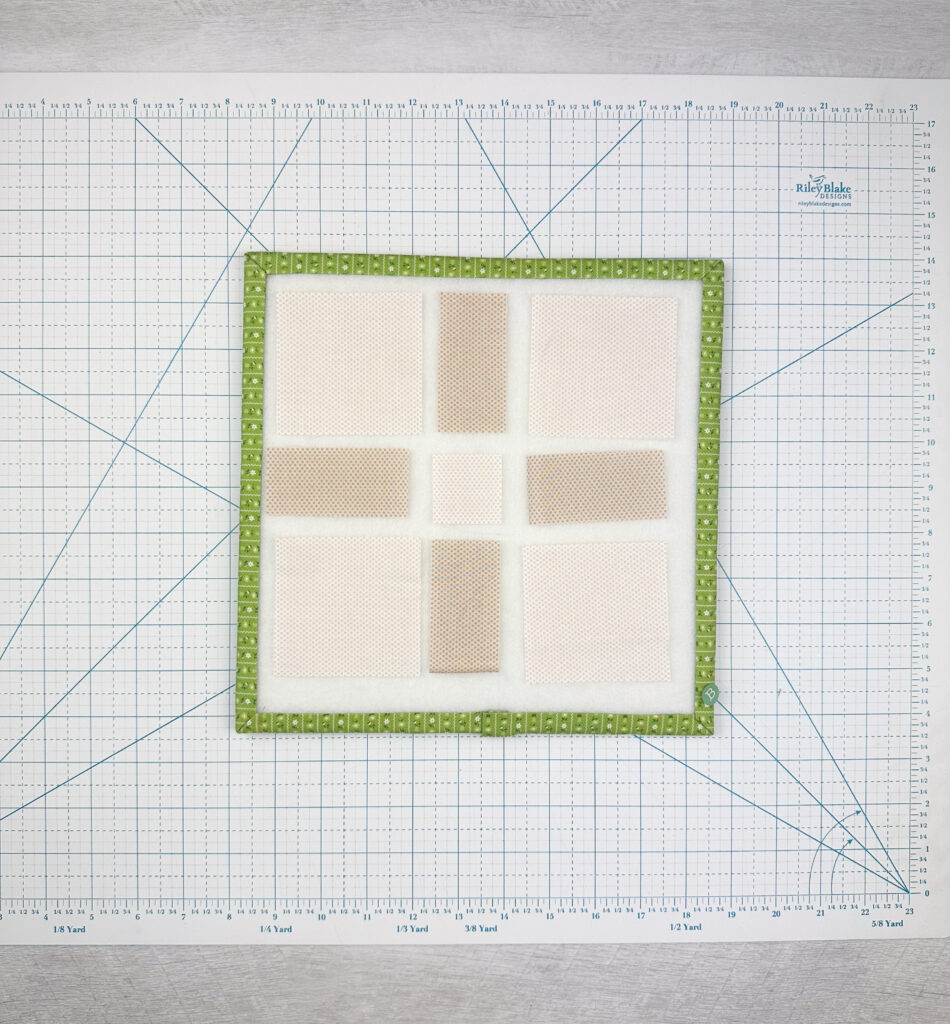
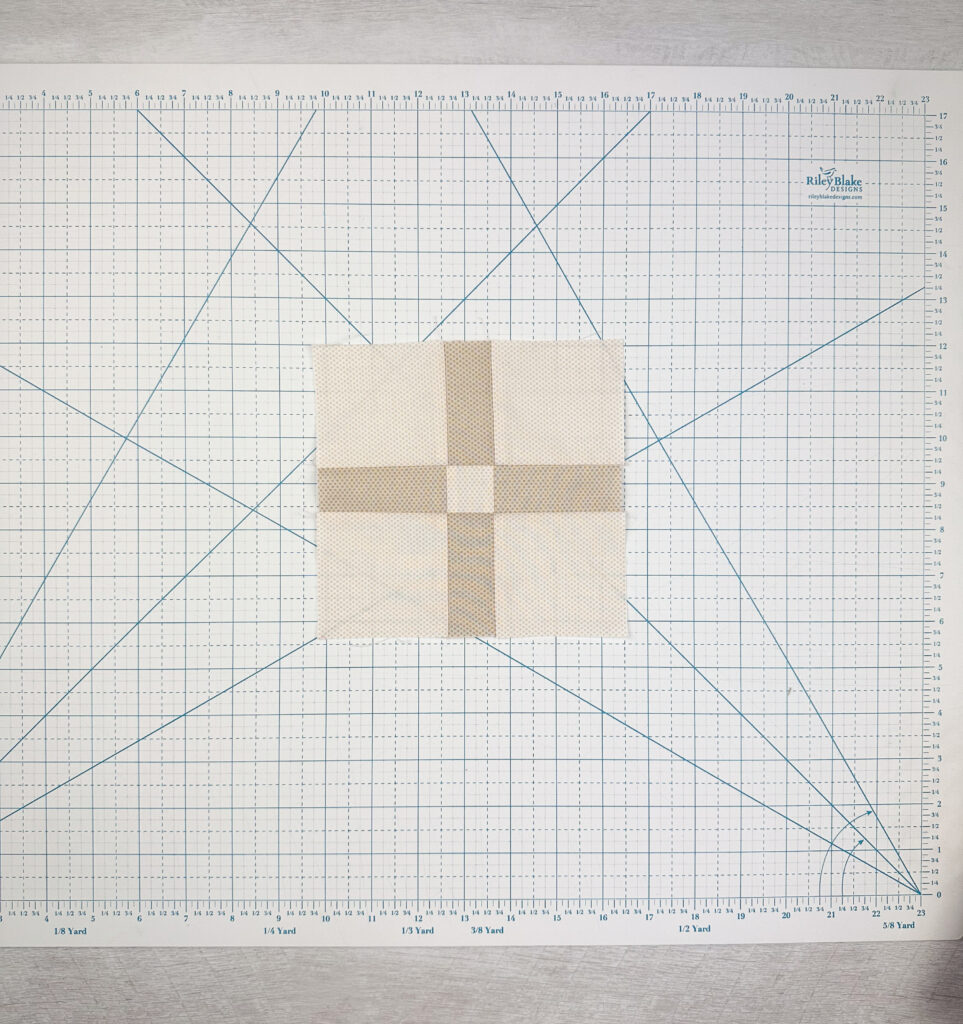
- Make your Center Unit: Next, make your center unit! Arrange your 4 POParazzi Stone E squares and 4 POParazzi Sand F rectangles as shown above with your 1 POParazzi Stone G square in the center. Sew together in rows.
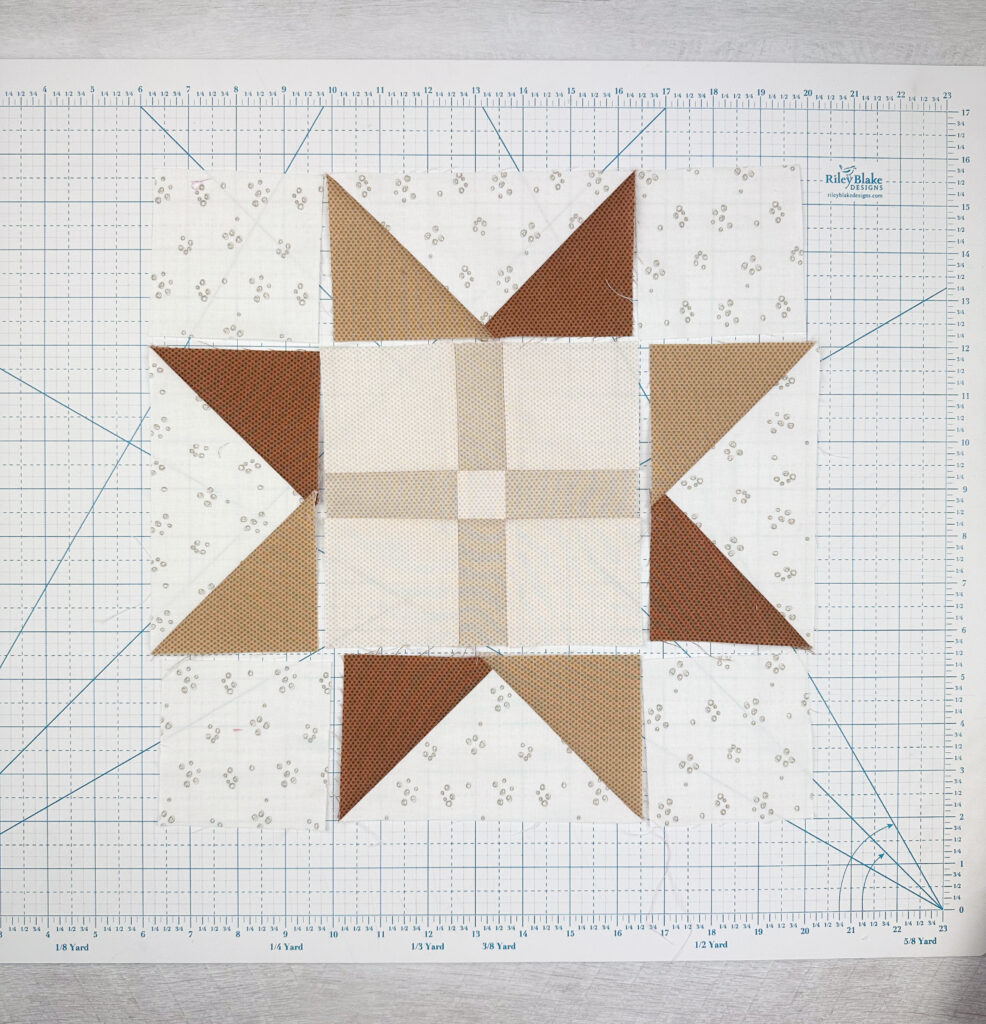
- Complete your Block: Layout your final block as shown, adding in the remaining Dots It! B squares to your corners. Sew together in rows and trim to 12 1/2″ x 12 1/2″!
Block O Tutorial
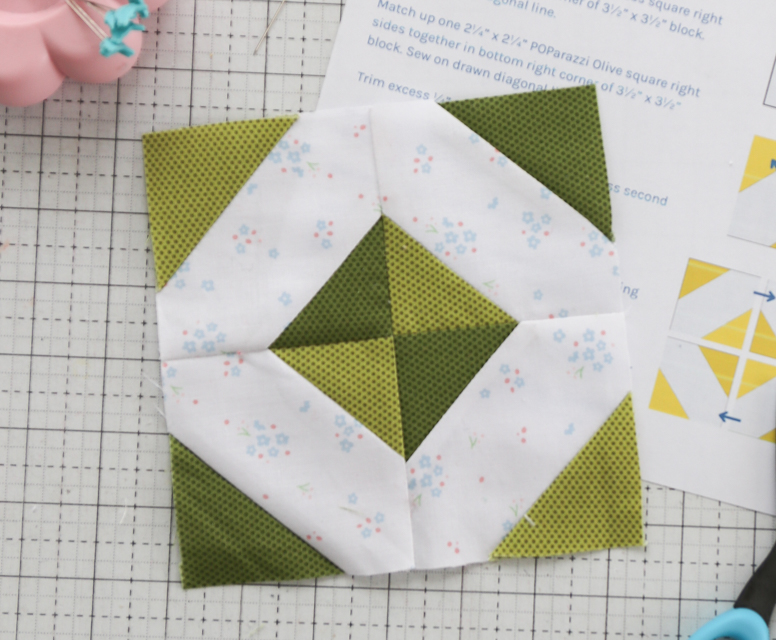
Gather your supplies and cut out your fabric according to the pattern. Using the same tutorial from all your other blocks, make your Block O flying geese units with your Lemon Zest A rectangles and POParazzi Rust B squares.
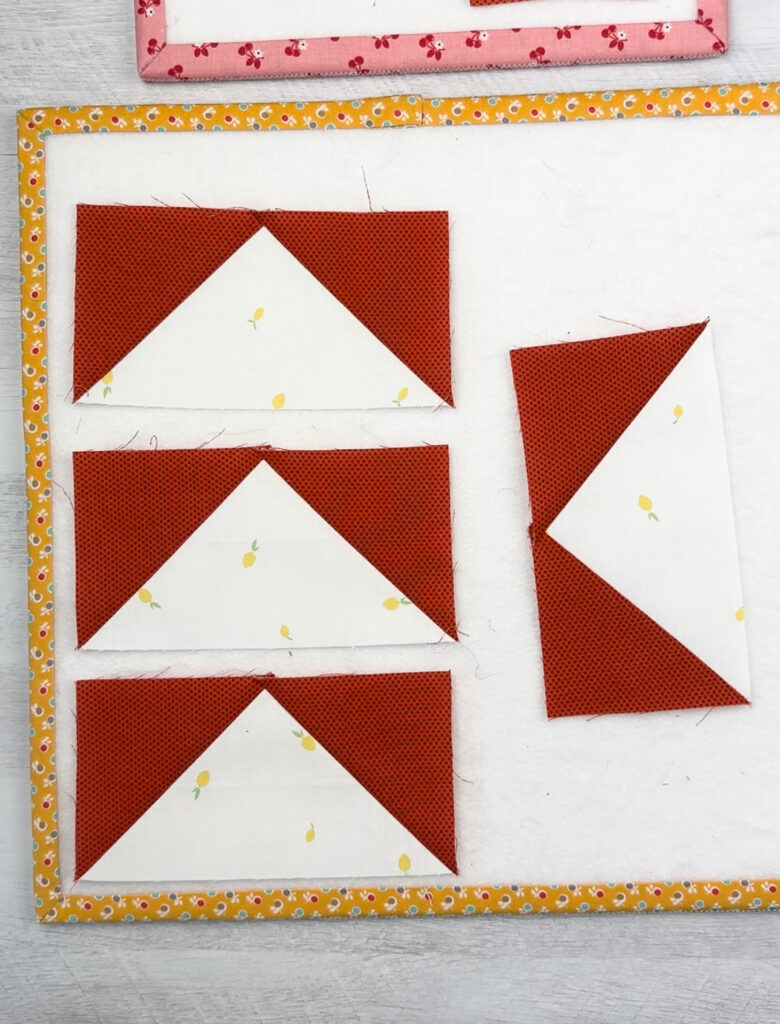
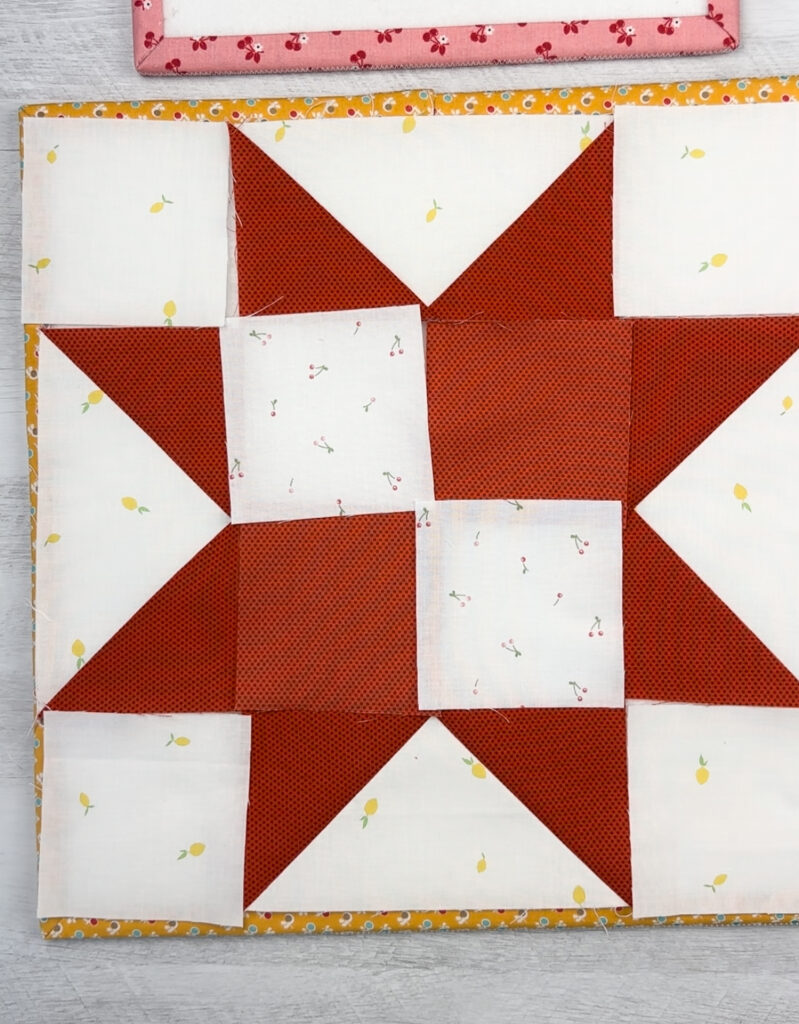
Block O is very simple to make. After your flying geese are ready you will layout your block as shown using your remaining POParazzi Autumn B squares, Cherries Jubilee B squares, and Lemon Zest B squares. Sew the center unit first and then sew the rest of the block together in rows. Trim to 12 1/2″ by 12 1/2″!
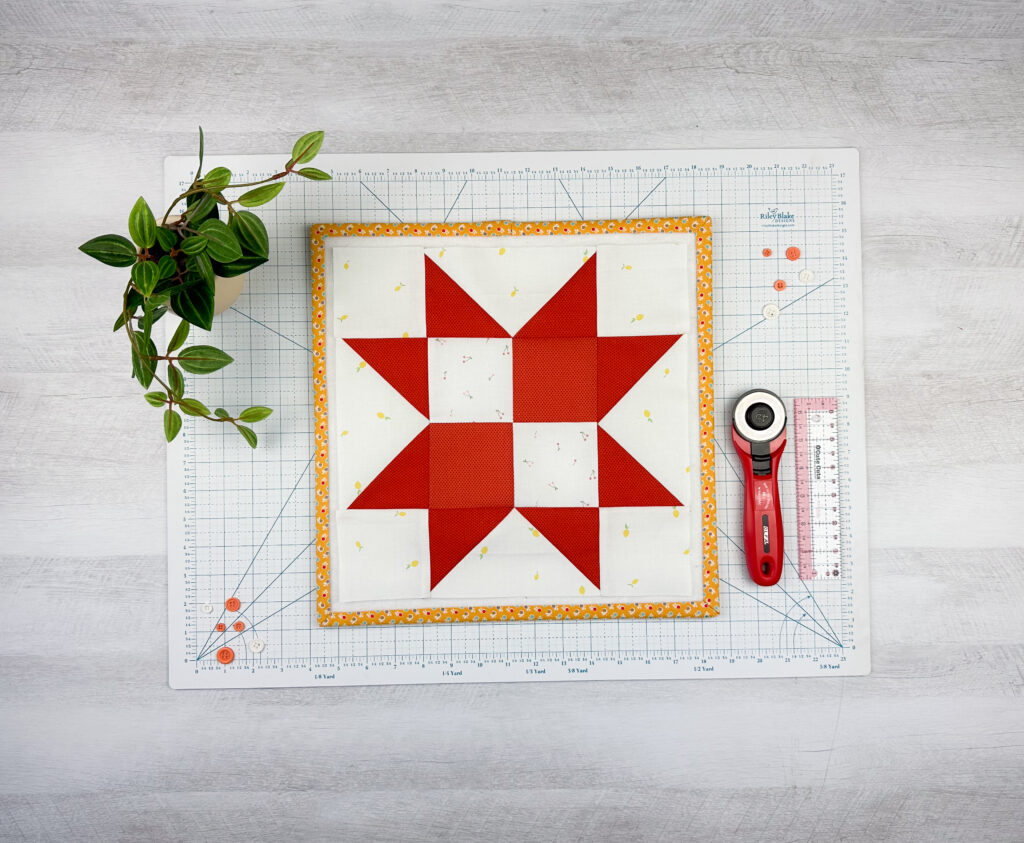
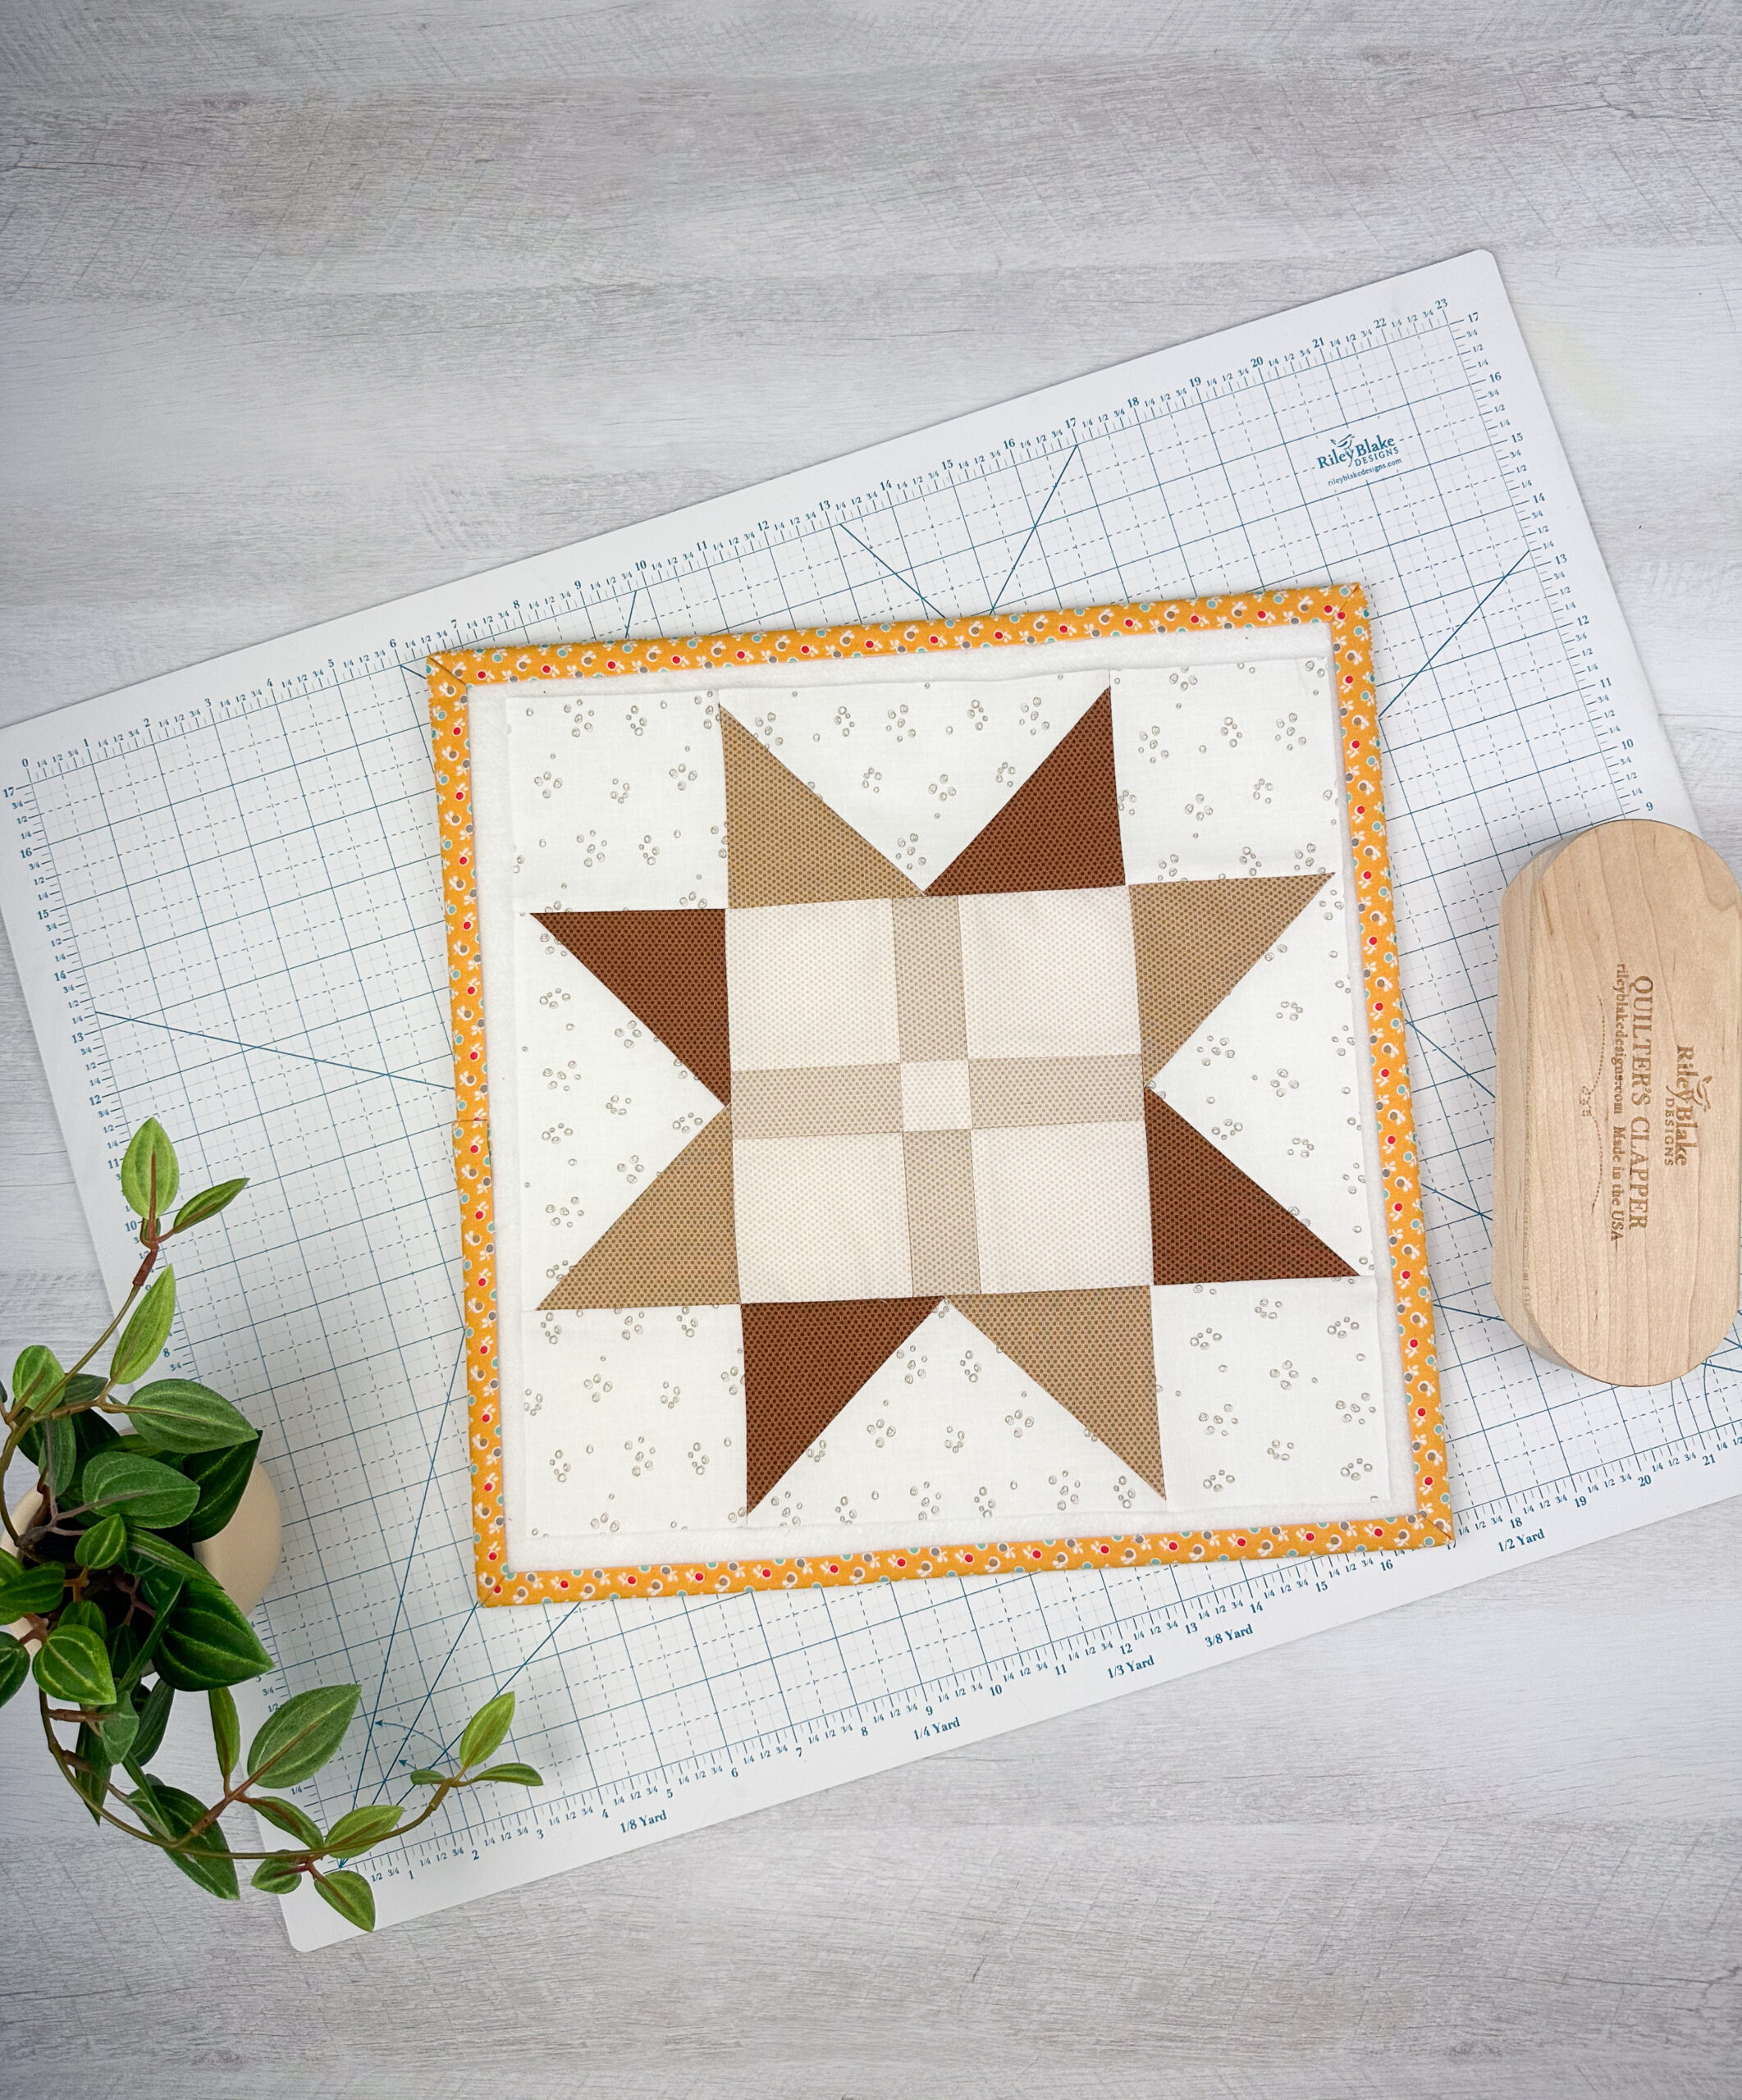
Thank you for joining us for Blocks N & O. Don’t forget to check out the tutorials & downloads for today’s designer blocks and pick your favorite design for the center of your block’s sawtooth stars. See you next week on February 16th for our next block!


2 Comments
Jaylene
I’m not finding Amy’s pattern.
Linda Ronne
The link for Amy’s block is broken.