Desert Daydreams Design of the Month-Echinacea

Hi there, all you cool Pins and Needles! It’s Melisa from Stitchology. I’m back today to share with you our 5th block in the 2025/2026 Design of the Month program. On the 2nd Friday of each month, I release a new nine-inch raw edge applique block kit. This year’s theme, Desert Daydreams, is inspired by my childhood in New Mexico. In addition to the monthly blocks, we will release a quilt that incorporates all 12 blocks as we approach the finish line. The blocks are available as kits or PDF downloadable patterns and once the month is over that kit will no longer be available, so you will need to be sure to check back monthly to see the new design and to grab your kit while you can!
Kits can be purchased here:
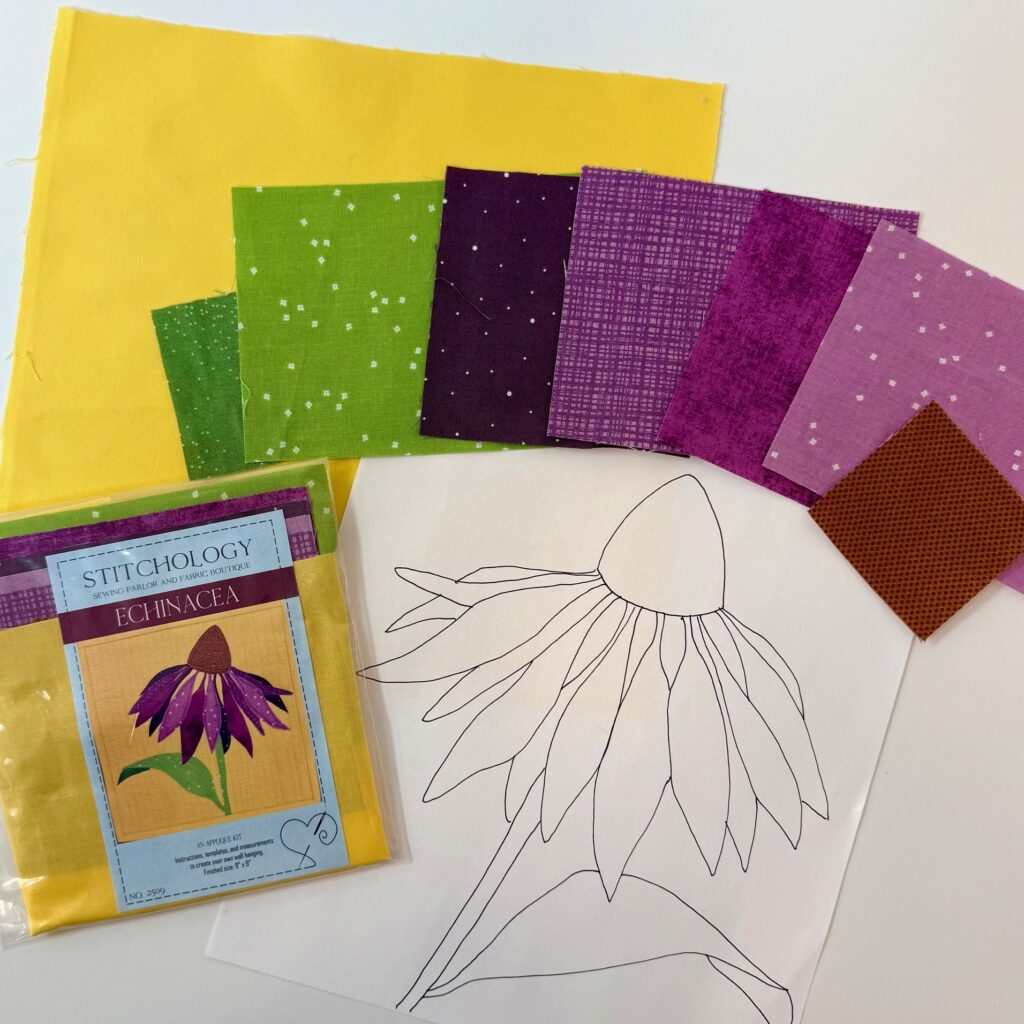
Our fifth block features the echinacea flower. This showy flower is abundant around Albuquerque, and it was traditionally used by indigenous people to treat infections, pain and wounds.
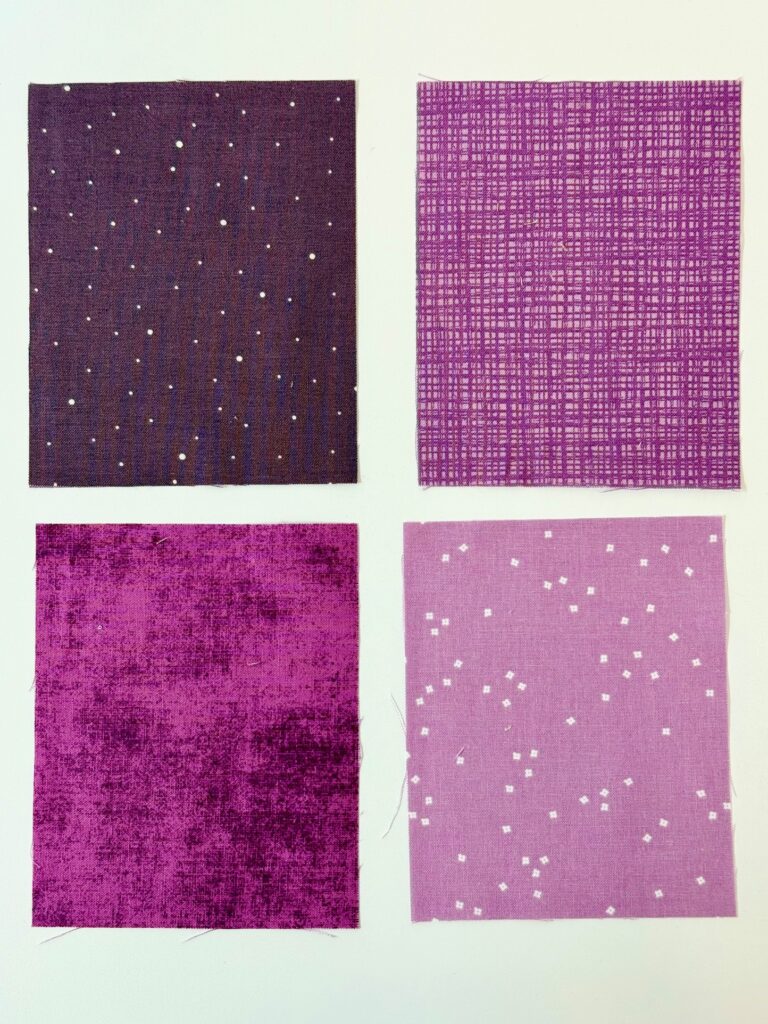
This block is the ideal example of how you can use different values of fabric to get the effect of shading in your project. In art, shading is when you use varieties in dark and light values to add depth and dimension to the object. It is used to make a two-dimensional object appear three-dimensional. When quilting you can get the same effect by using fabrics of different values and strategically placing/layering them to mimic shading in a painting or drawing. The word value refers the lightness or darkness of the color. More specifically it refers to how much white or black was added to the original color. These green fabrics below are an example of different values of the color.
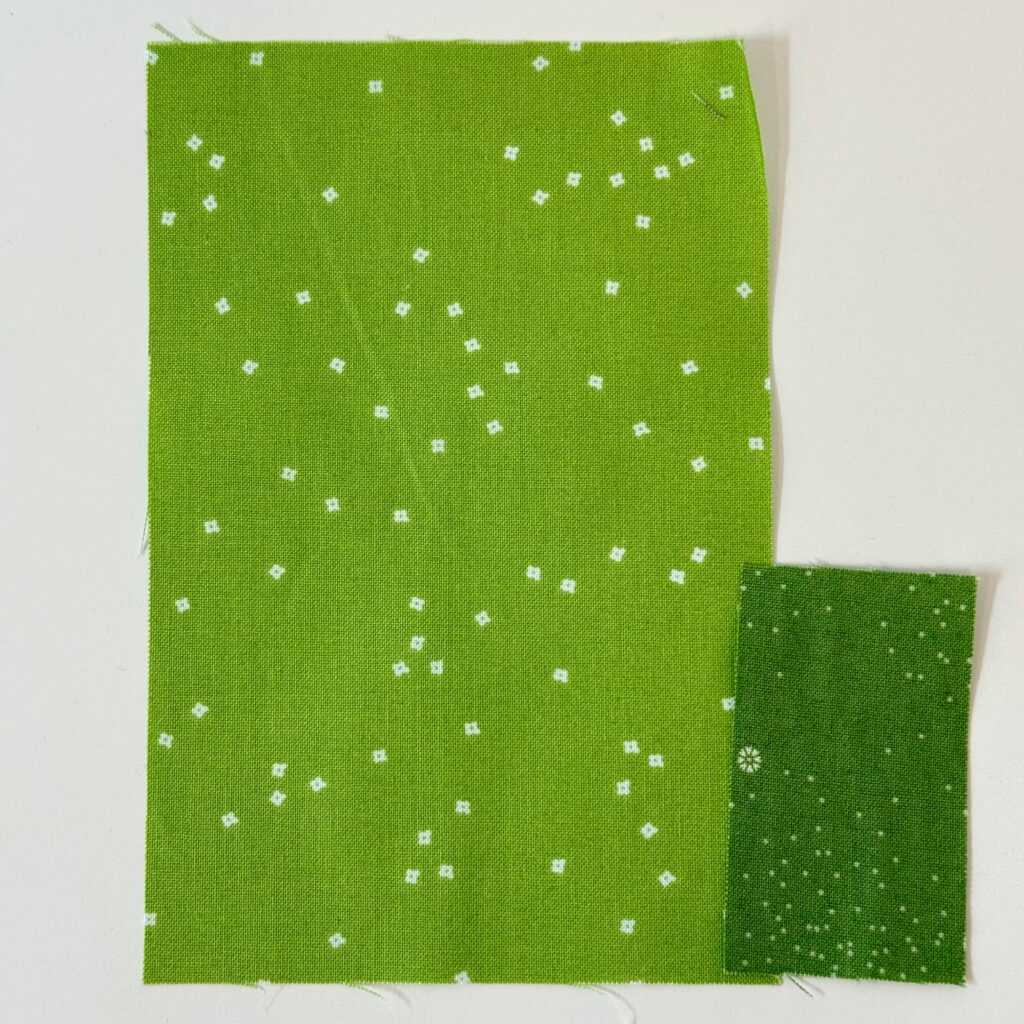
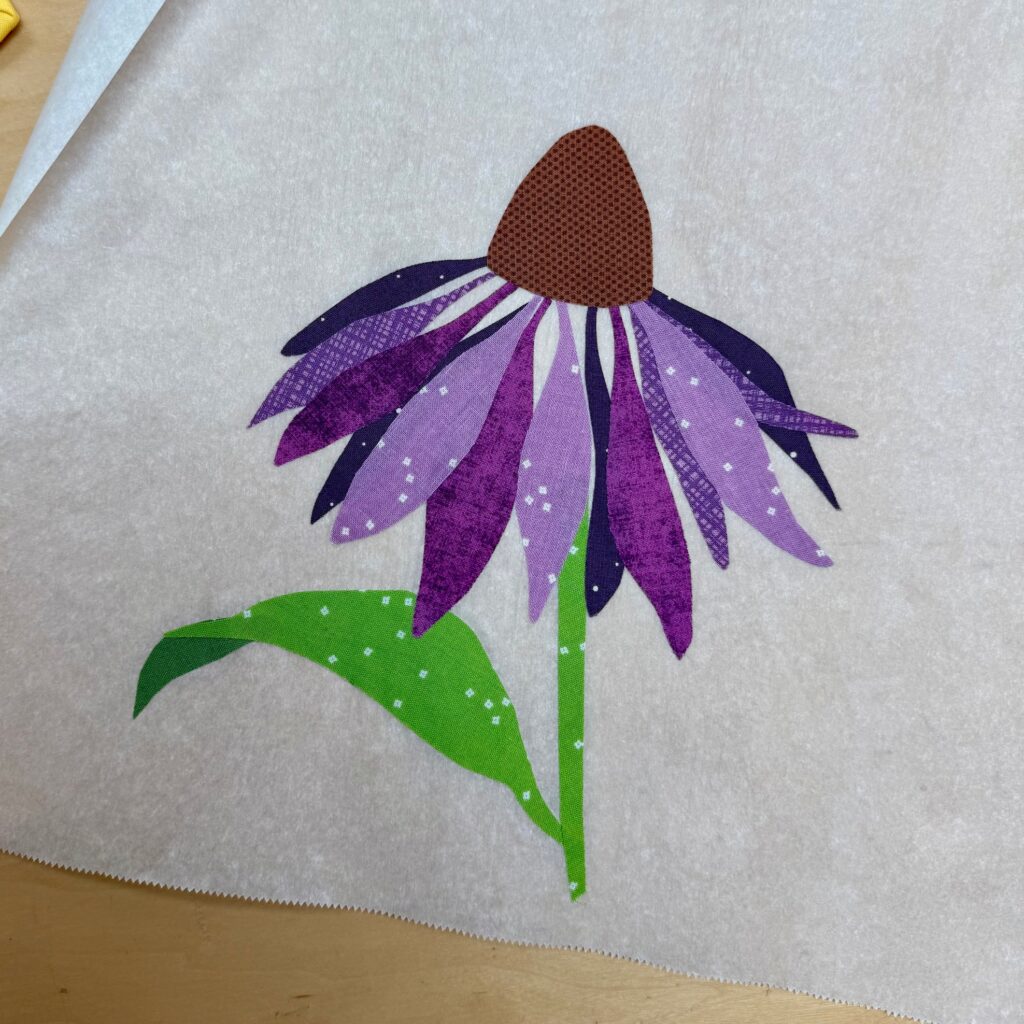
See how I used the darker green to shade the small under bit of the leaf? This creates the illusion that the leaf is folded over and has a curve and that we are looking at the underside of the leaf. When I make the whole leaf out of the single lighter color it looks flat and like we are viewing it from a single side.
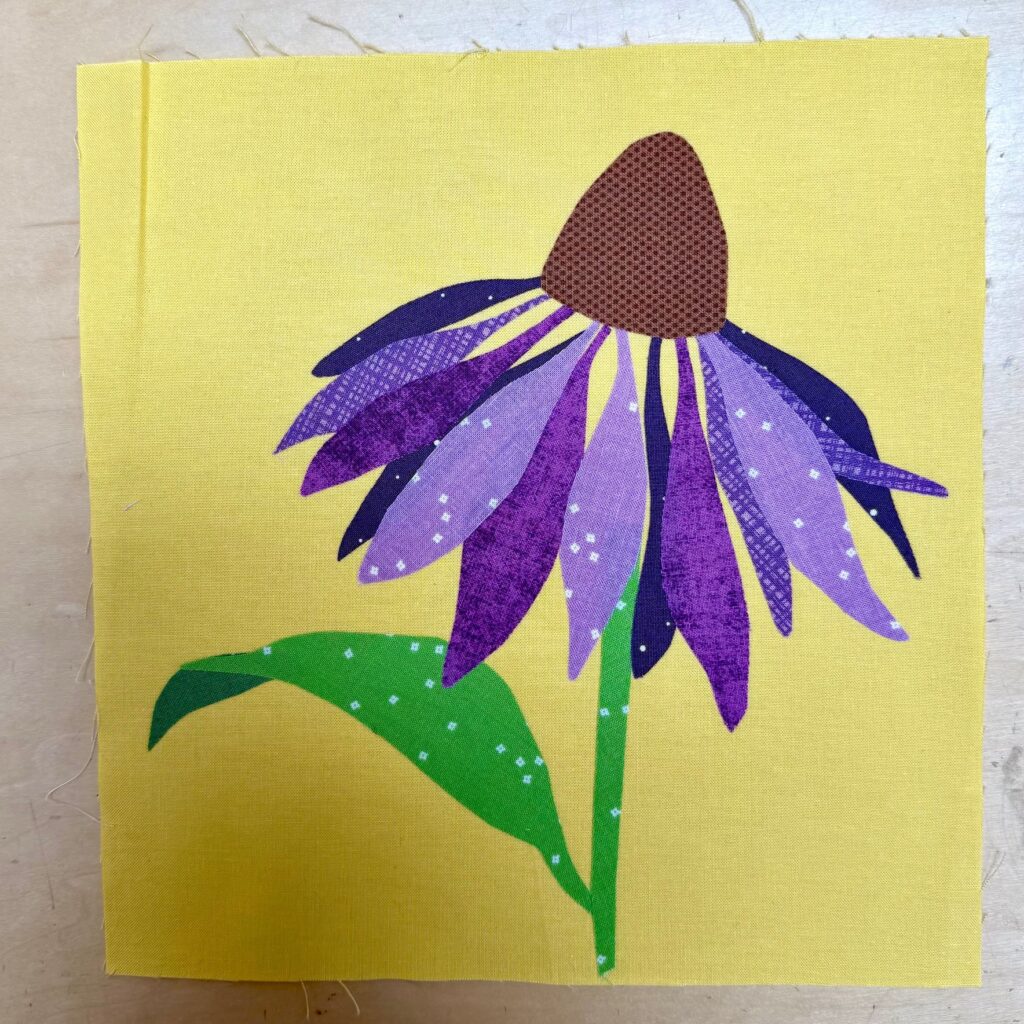
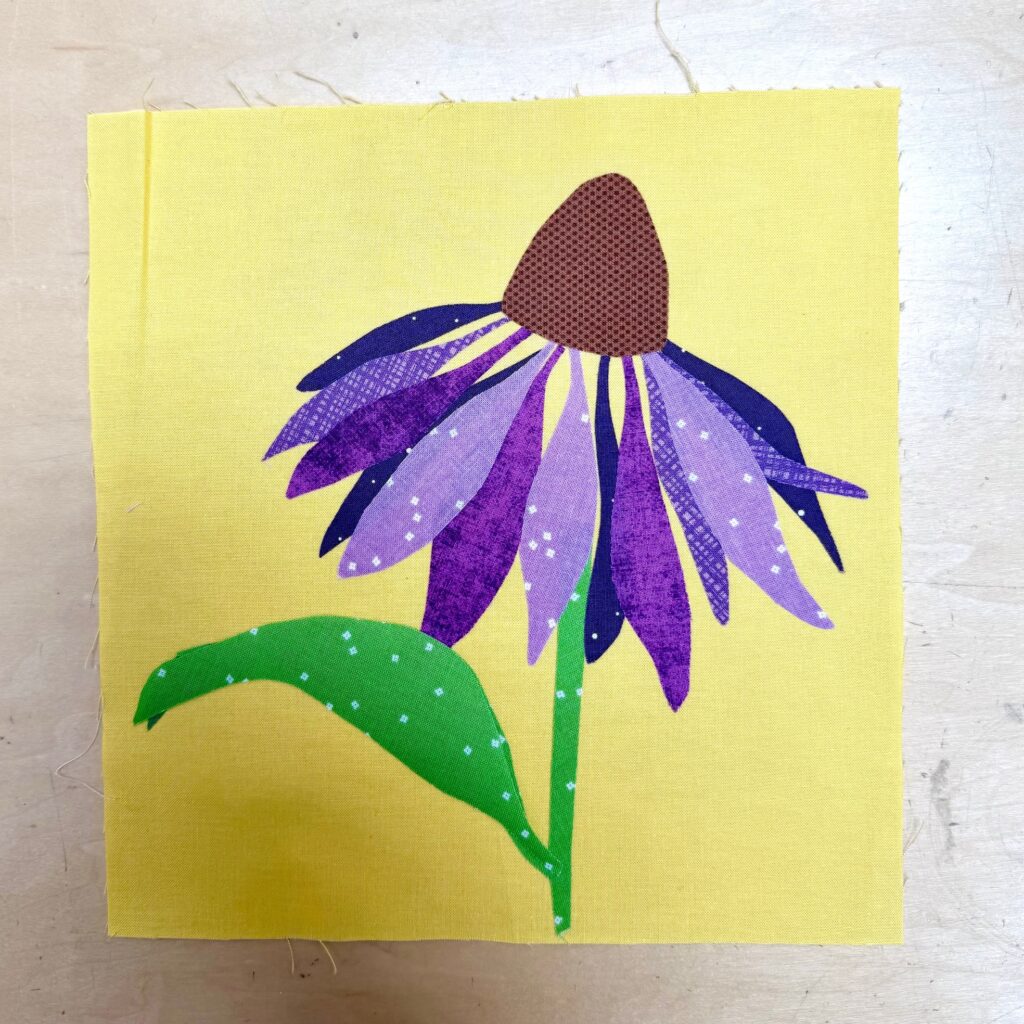
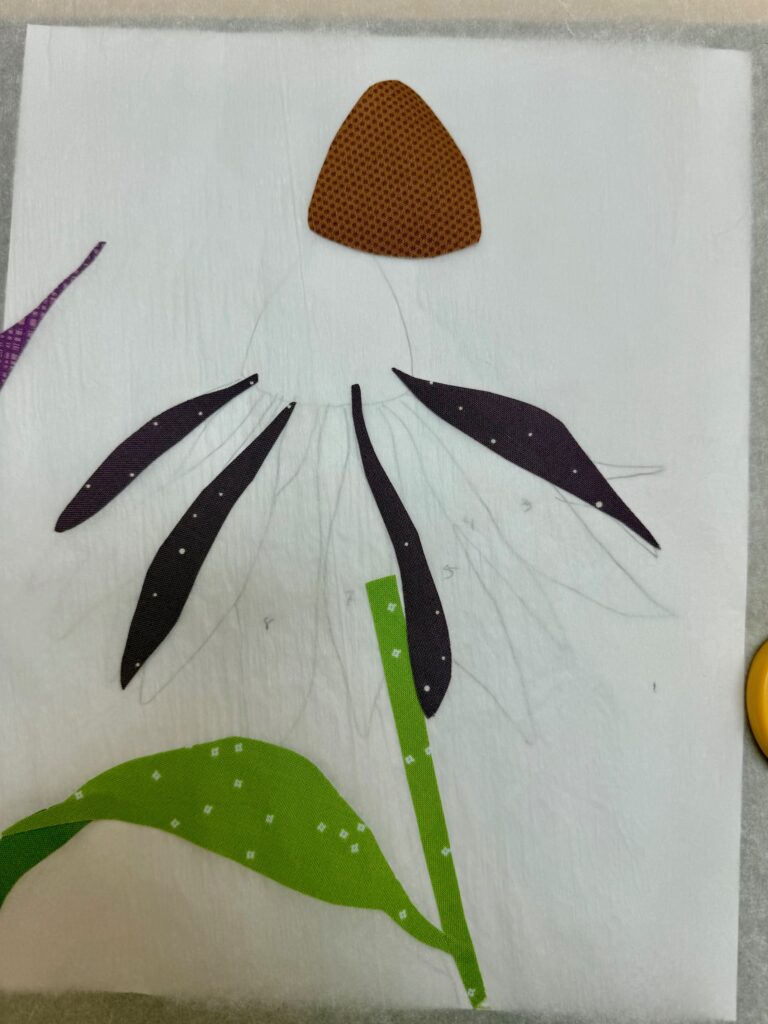
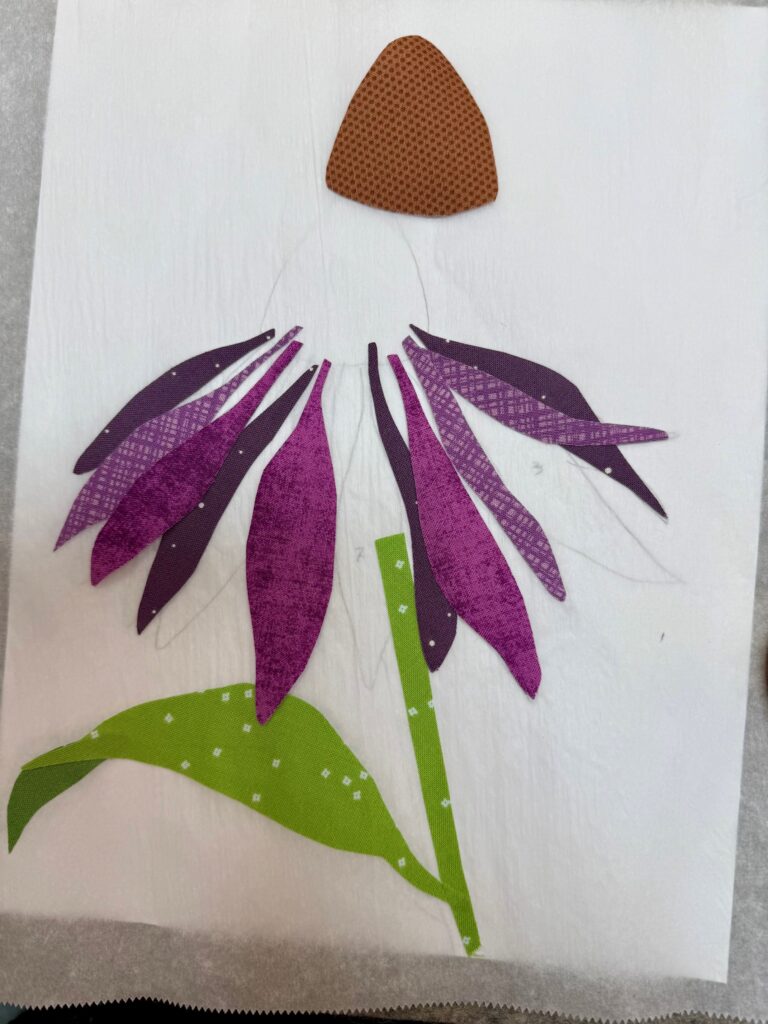
You can get a similar effect with the petals of the flower. I started by thinking about which of the petals were on the back or underside and I used the darkest purple for those petals as they would be most in shade. If this was a real flower, the petals closest to the top receive the most sunlight, and so I used the lightest value of purple there. I found it helpful to number each petal and write down which color I wanted to use for each petal on my pattern.

Alternatively, if you don’t want to think about it and randomly decide where each color goes, it will still look amazing!
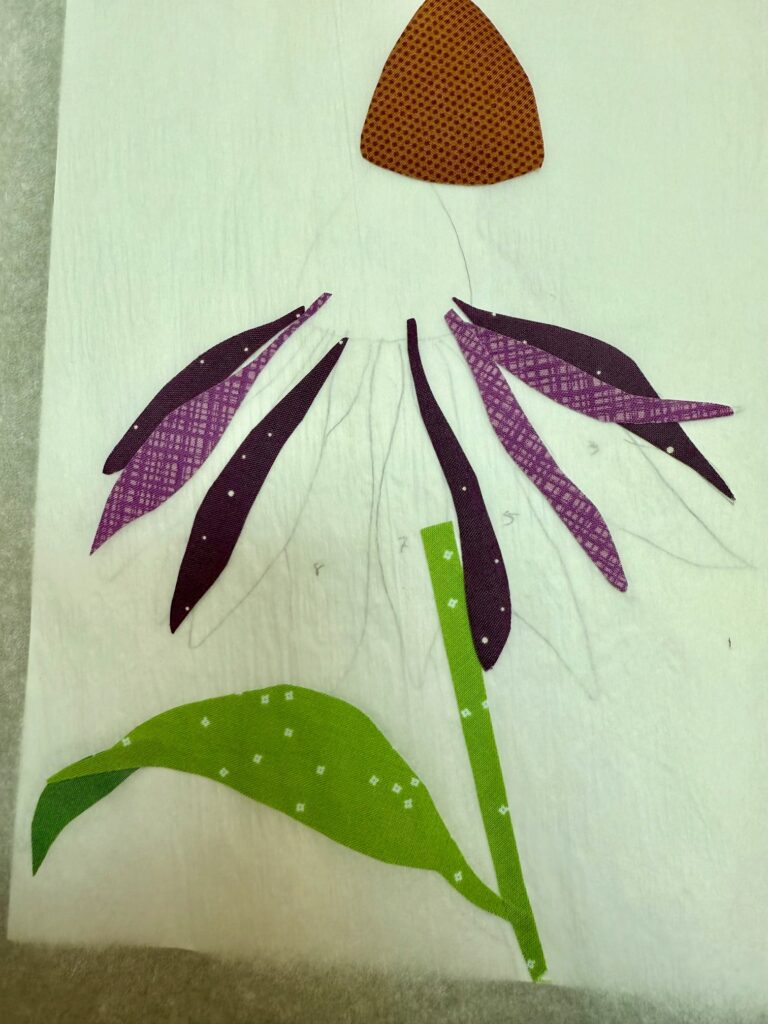
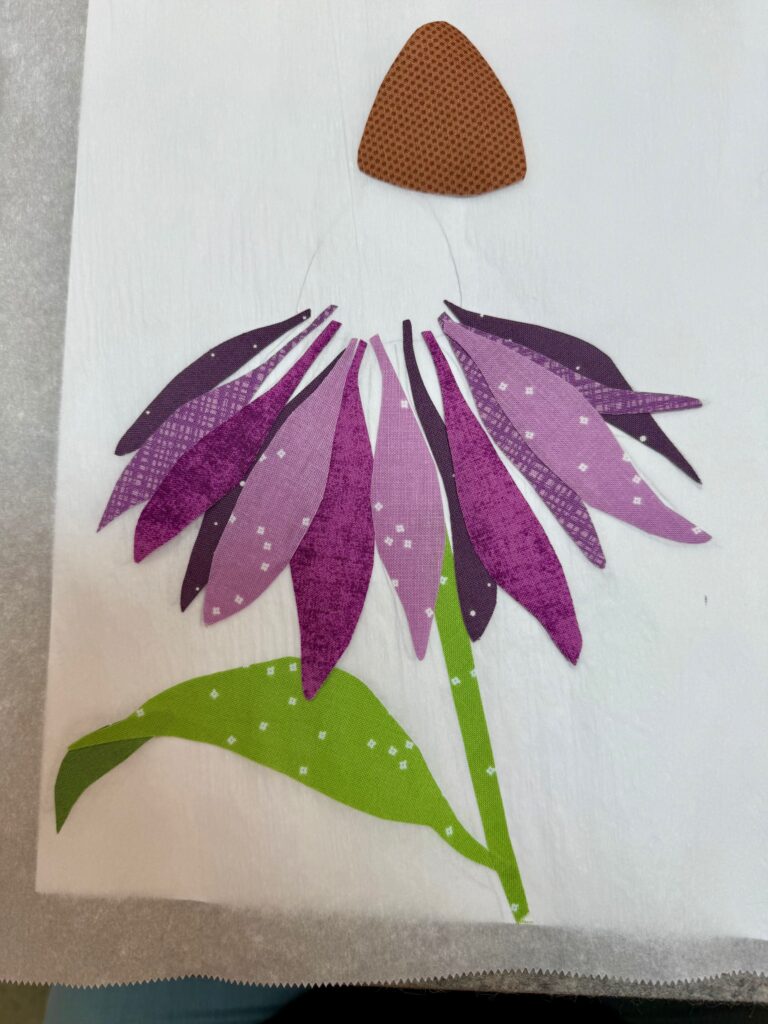
I built the flower on parchment paper and started with the darkest petals first as they would be on the back side of the flower and the other petals will be layered on top. Once I was pleased with the placement of those petals I moved onto the 3rd darkest petals and 2nd darkest. I finished with the lightest on top.
You can read more about using parchment paper for raw edge applique on my post about the Hollyhock block.
Get a refresher on how to do raw edge applique here:
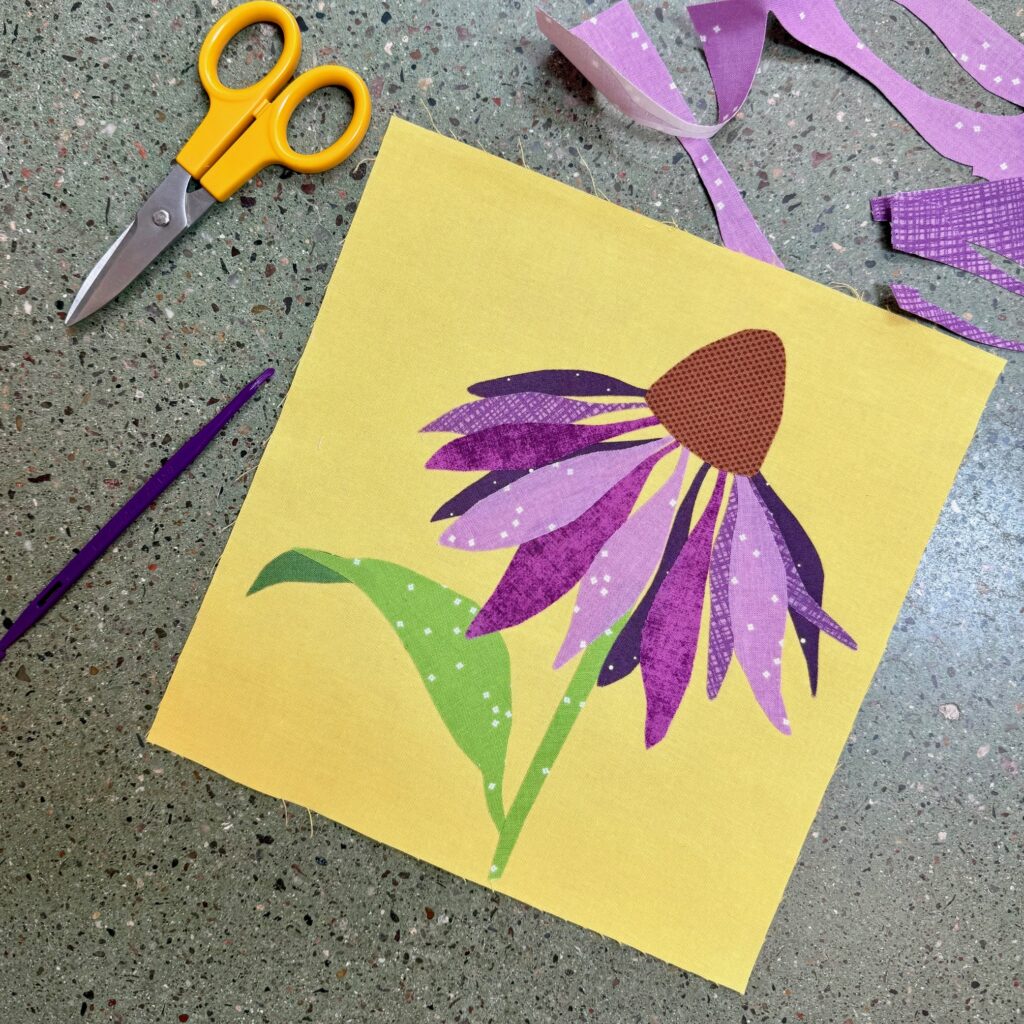
You have now completed the Echinacea block and created some depth with shading! You can set the block to the side until all the blocks are finished, or you can quilt her now and make her a small wall hanging. We will be back next month with our 6th block!
Thanks for reading!
Melisa


You May Also Like
Cherry Tree Lane Quilt Featuring Blossom Lane Fabric + Free PDF Pattern

From Our House Sew Along: Week 4