Seam matching with an Albion Cheater Print
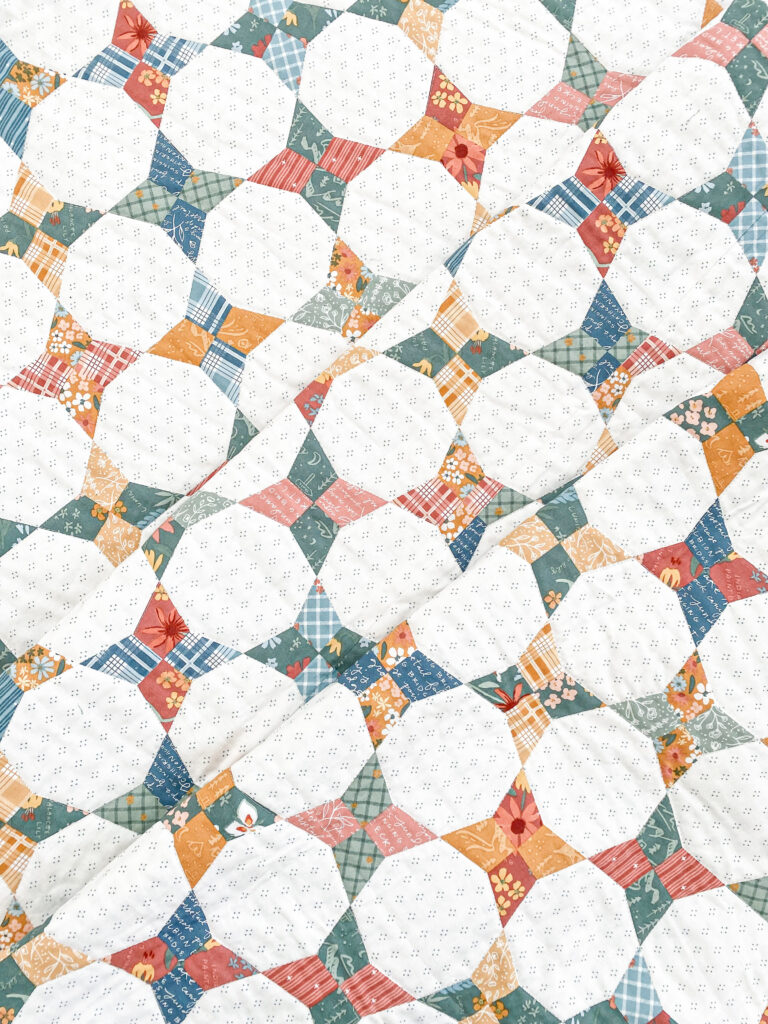
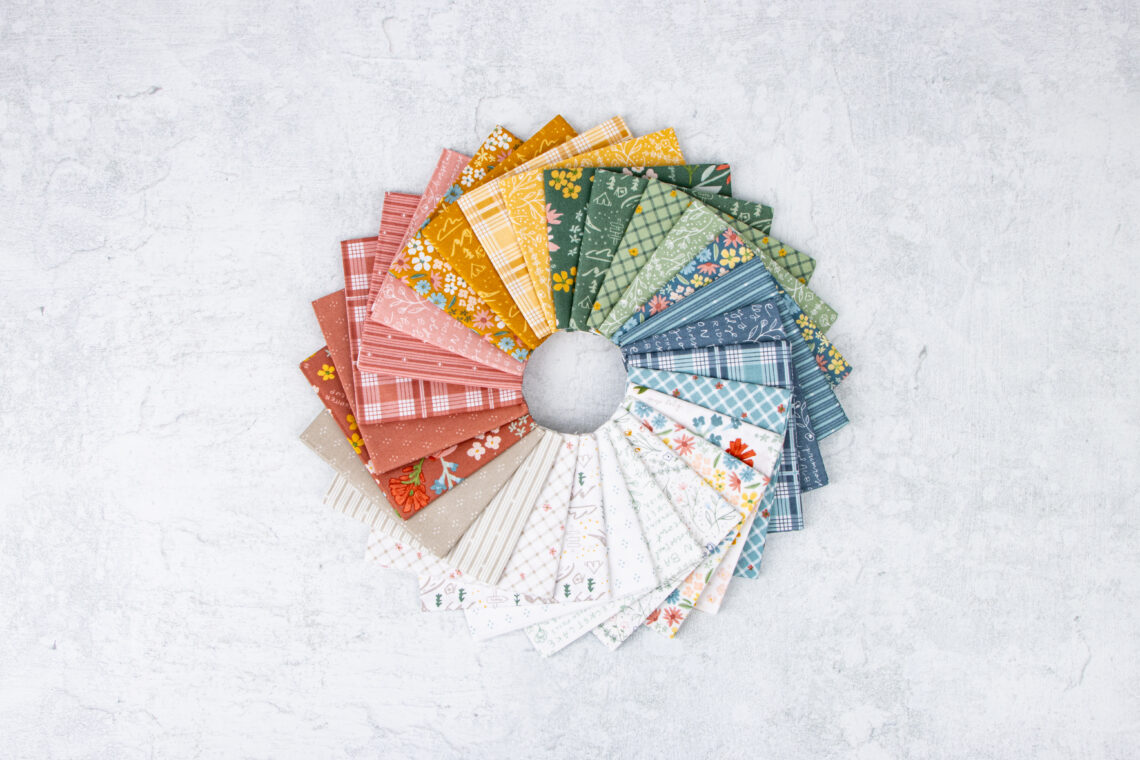
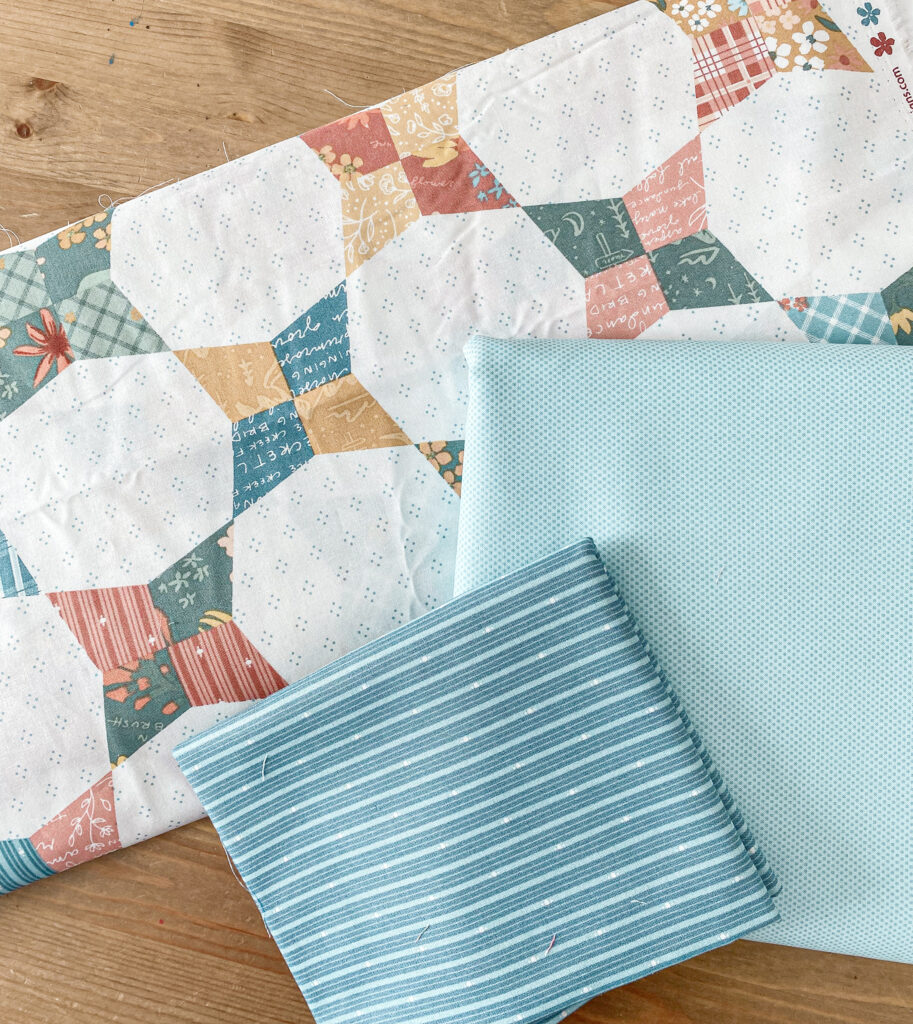
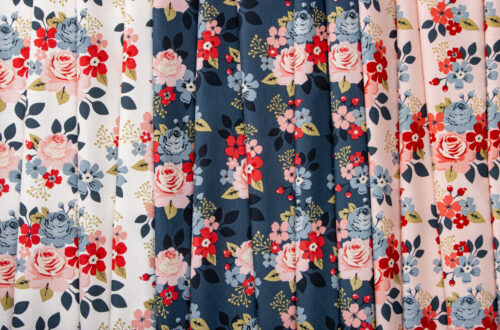
Are you a match your printed backing kind of quilter? Or are you a cut and sew, it doesn’t really matter how the backing lines up, kind of quilter? For me, most of the time I don’t fuss too much with the backing (because let’s be real, prepping backing isn’t that fun on the best of days!) When it is a really obvious print I convince myself to match it up, and I am always so happy once I’ve done it. Amy Smart from Diary of a Quilter, has a beautiful new fabric line coming out called Albion and every single print is just fantastic! I couldn’t decide which to use, and as luck would have it, there is a beauty of a cheater print that showcases all of the prints perfectly! This was the perfect time to whip up a cheater quilt and match some seams. There are many many great you tube videos and blogs showing exactly how to match a print, but I will give you a quick summary!
- First, cut your backing pieces for your quilt-make sure to have at least 6-8 inches extra as you may need the extra length when matching the print.
- Trim your selvages.
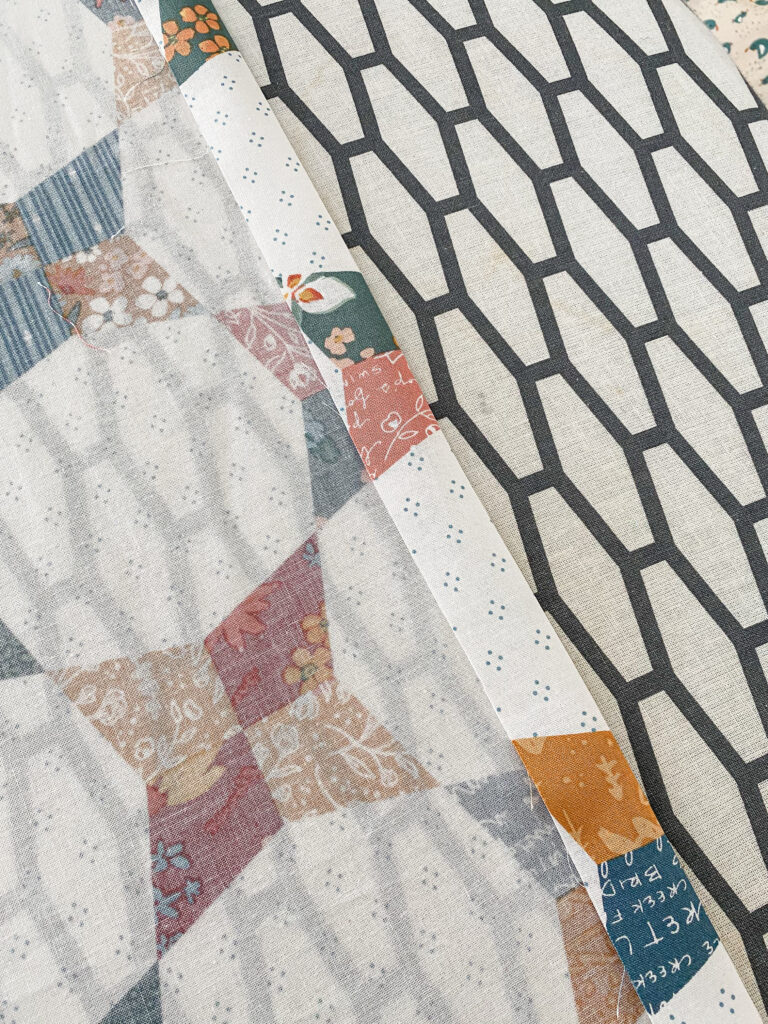
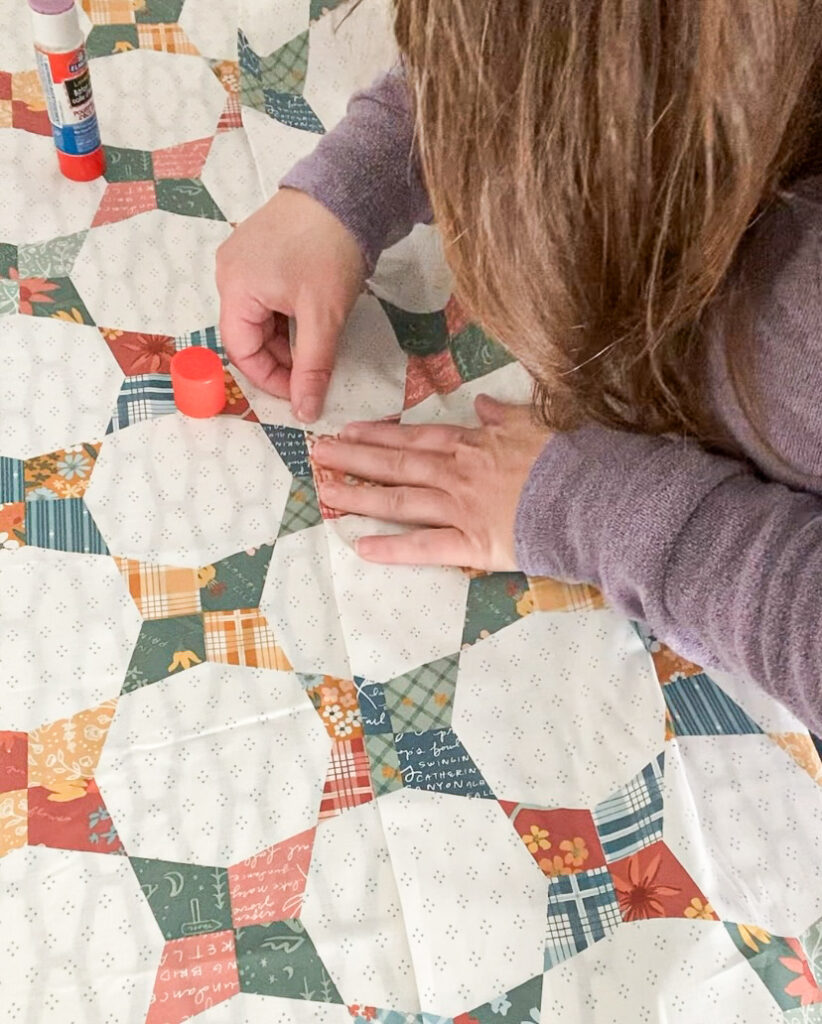
- On one of the edges (to be joined) fold down the fabric approximately 1″ and press to get a crisp crease. (see picture 1)
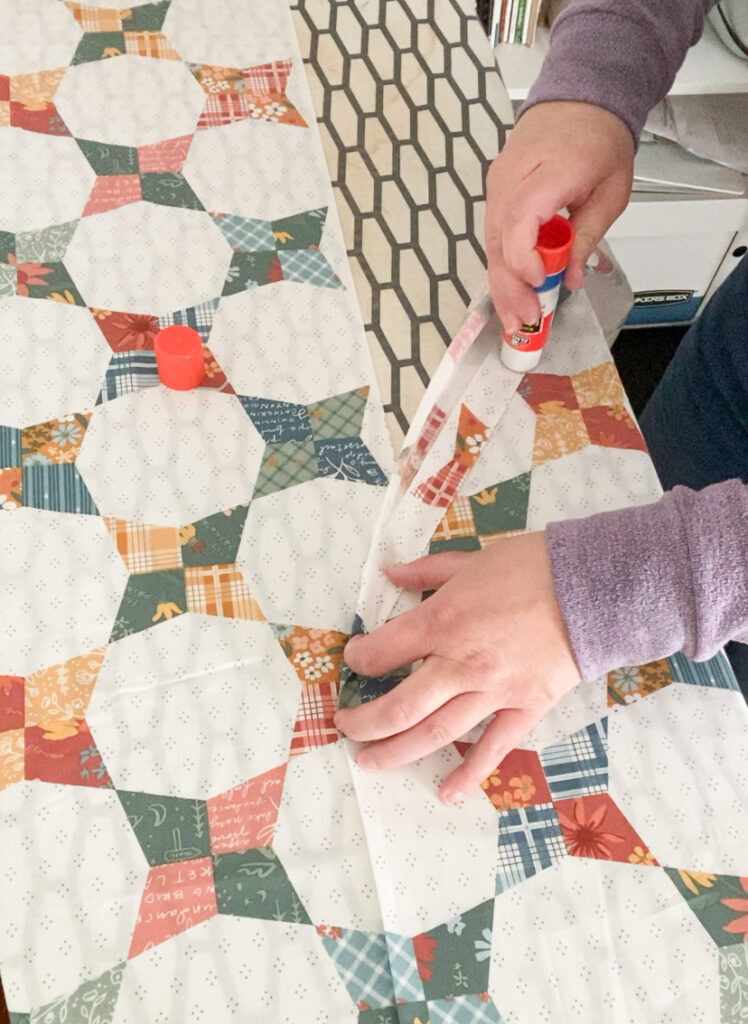
- Lay the piece that isn’t folded, right side up. Take the piece that is folded (keeping it right side up) and line up your folded edge with the print you want to match (this is when having the extra length will come in handy), glue it down. (see pictures 2 & 3) Use any washable glue stick for this part.
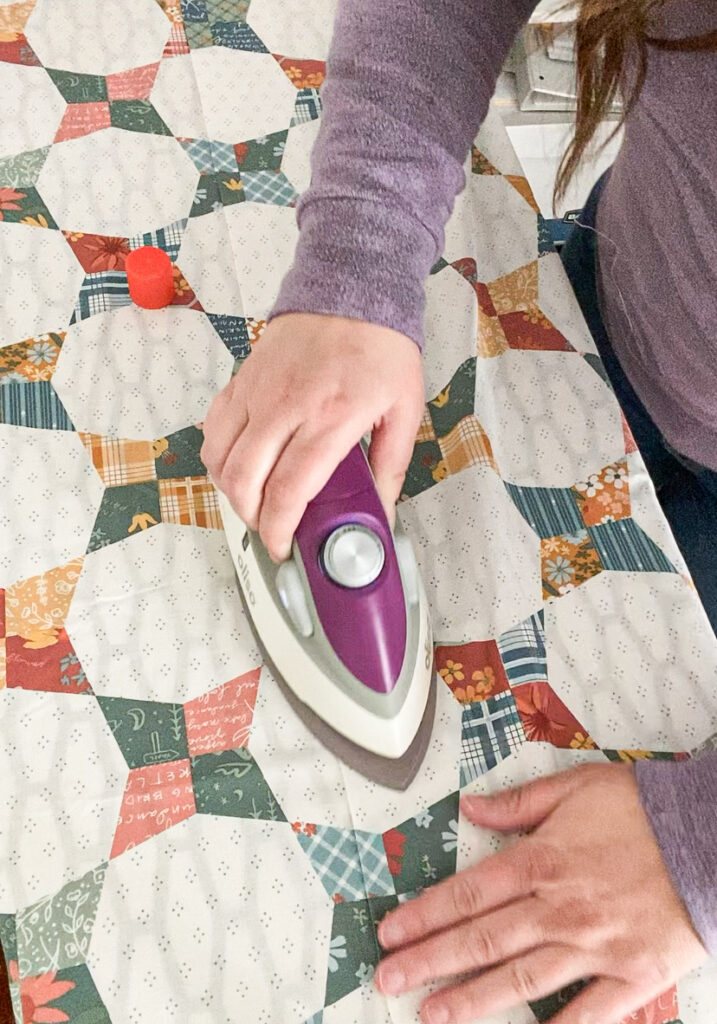
- Use your iron to set the glue. (picture 4)
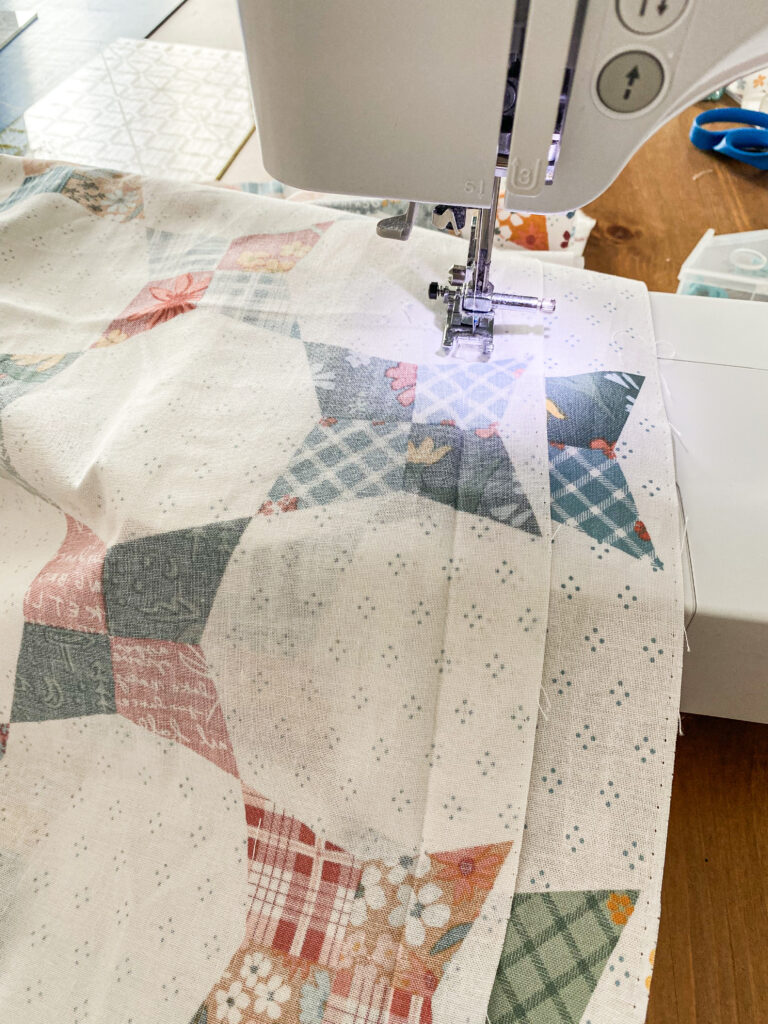
- Lift the folded piece over so that the right sides of the two pieces of fabric are together. Sew on the crease. (picture 5)
- Trim your seam-I like to trim my backing pieces to 1/2″.
- Press your seams open (or however you like to do it) you may have to peel the seam apart to press open but this usually comes apart quite easily.
- Enjoy your lovely seam and quilt that quilt!
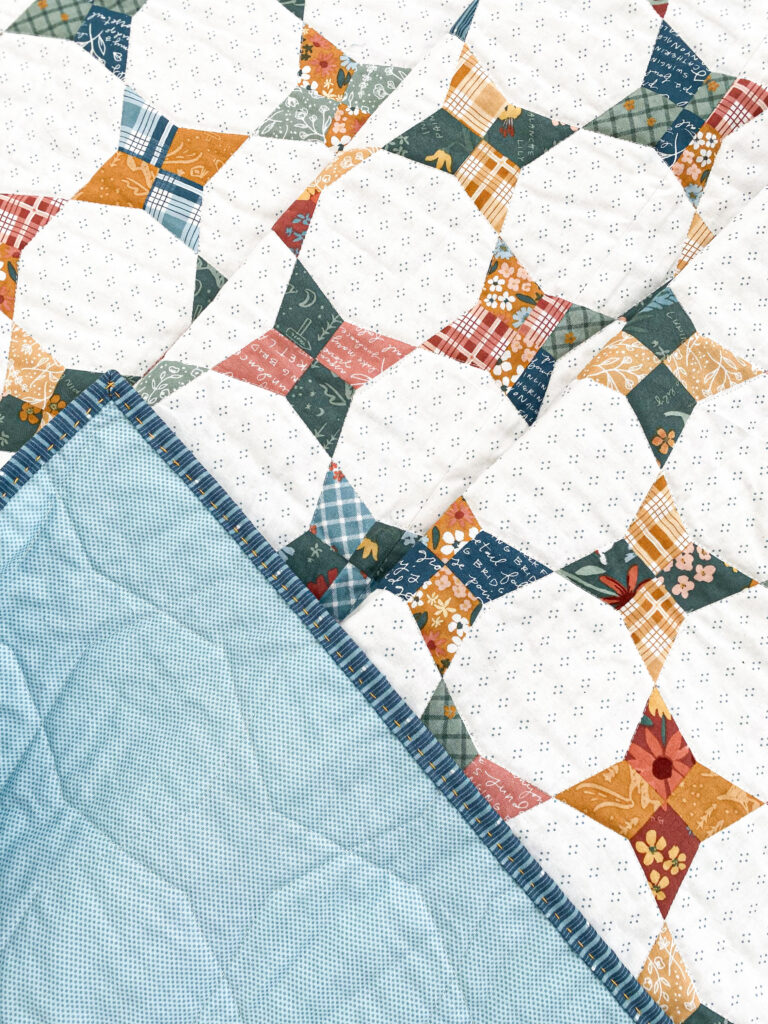
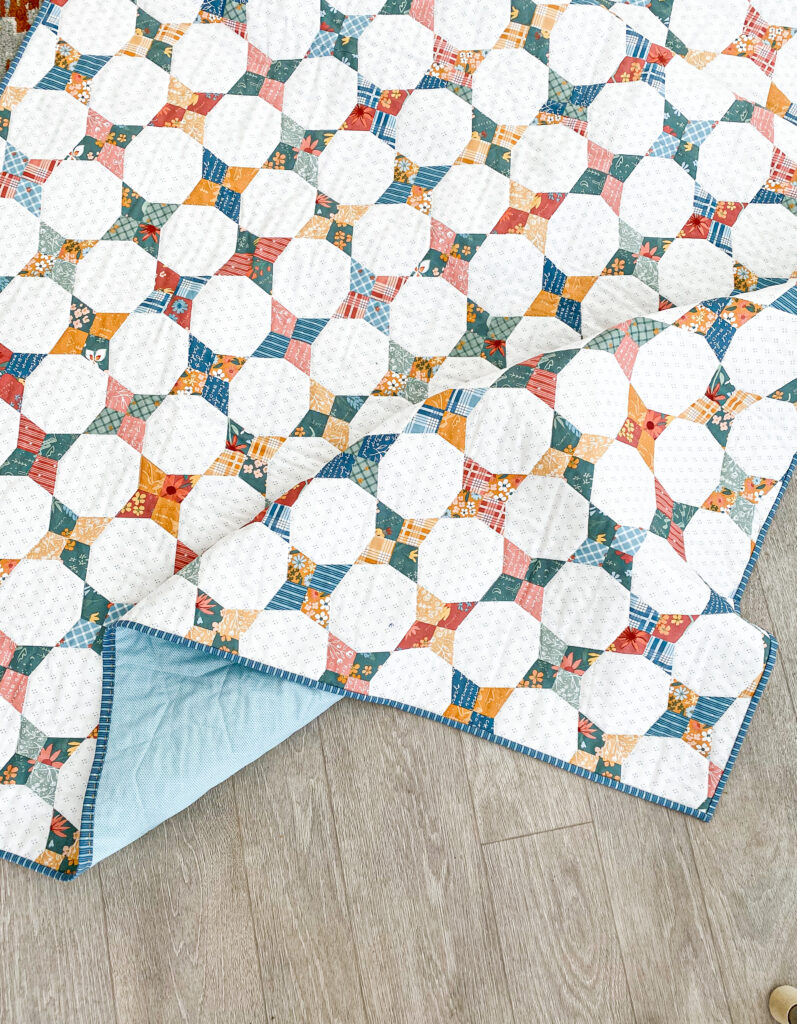
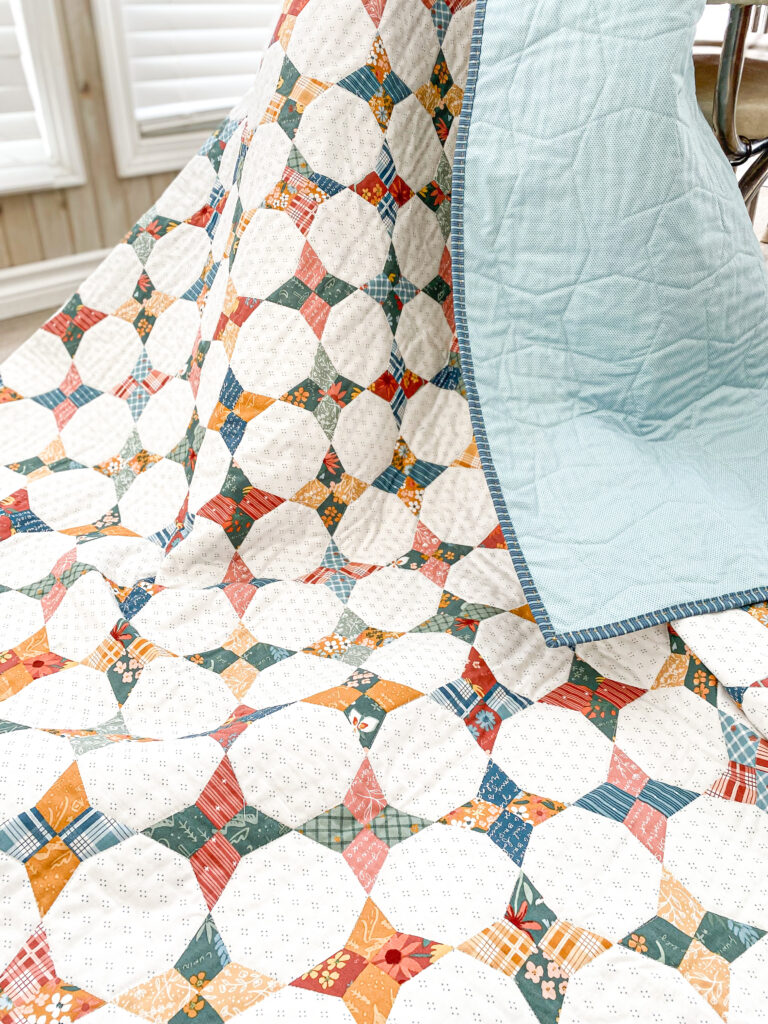
I used the natural shapes of the pattern and quilted this on my domestic machine and the backing is from the Riley Blake Basics line Poparazzi. I finished it off with some big stitch binding, and I am so happy with how it turned out!
For a quick little video reel highlighting the above steps and more of my quilty makes check out my Instagram page Quilts by Lesley!


4 Comments
Pingback:
Pingback:
Pingback:
Pingback: