Flora and Fauna of Route 66 Design of the Month-Cobalt
Hi there all you cool Pins and Needles! It’s Melisa from Stitchology in Albuquerque, New Mexico: I am a designer of raw-edge applique art quilts, and today I’d like to introduce you to my Design of the Month Program. From June 2026 to February 2027 we will release a new 9″ raw edge applique block kit on the 2nd Friday of each month. This year’s theme is Flora and Fauna of Route 66 so you can expect to see designs that reflect the nature and beauty of each of the 8 states Route 66 runs through. This will be a fun way to celebrate the Centennial anniversary of the historic highway. After we release all 8 blocks there will be a kit to sew them into a quilt. The blocks are available as kits or PDF downloadable patterns and once the month is over that kit will no longer be available, so you will need to be sure to check back monthly to see the new design and to grab your kit while you can!
Kits can be purchased here:
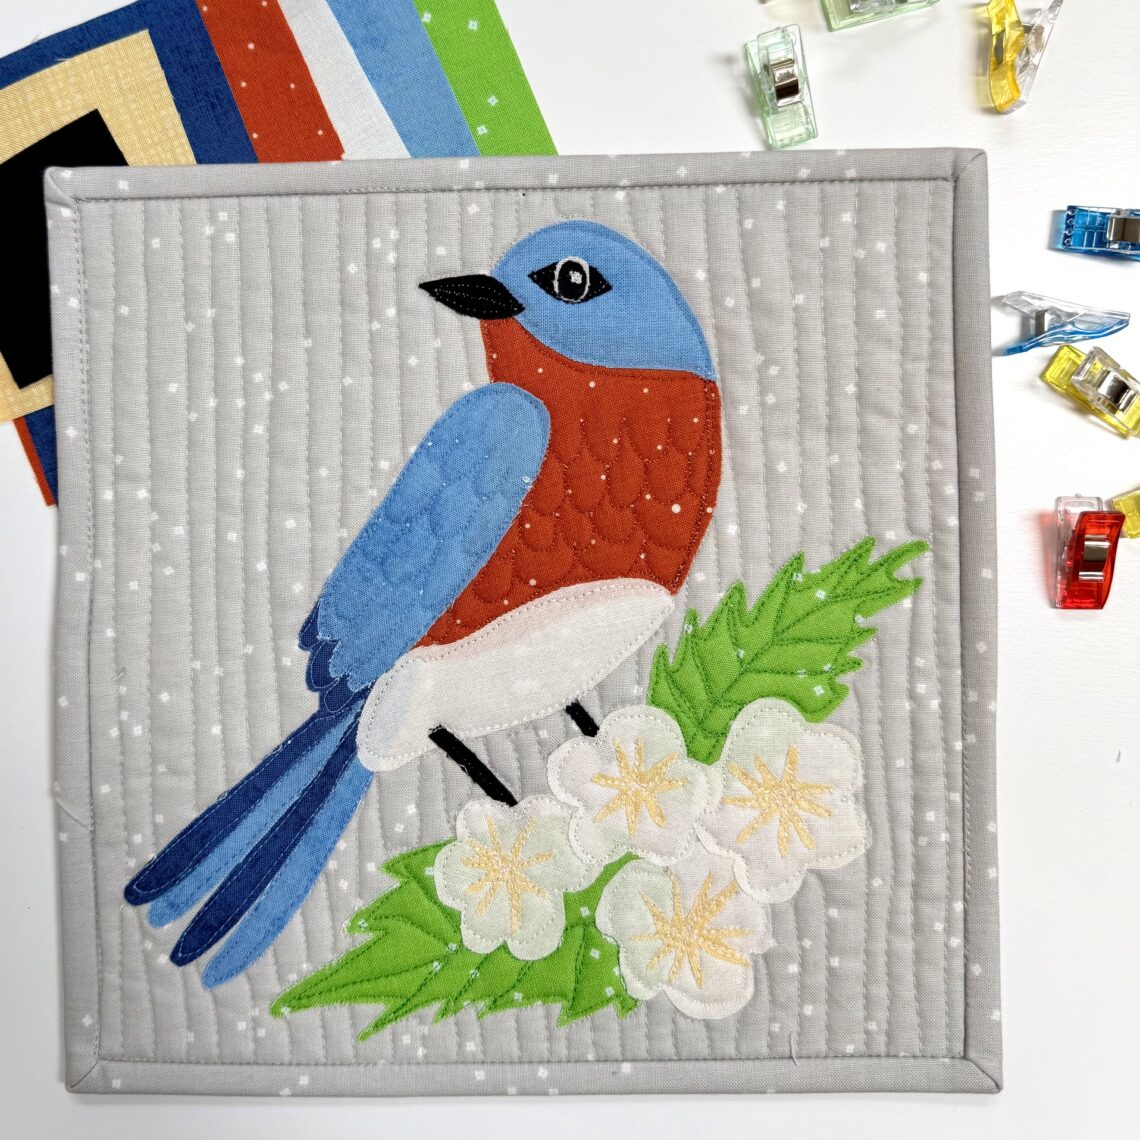
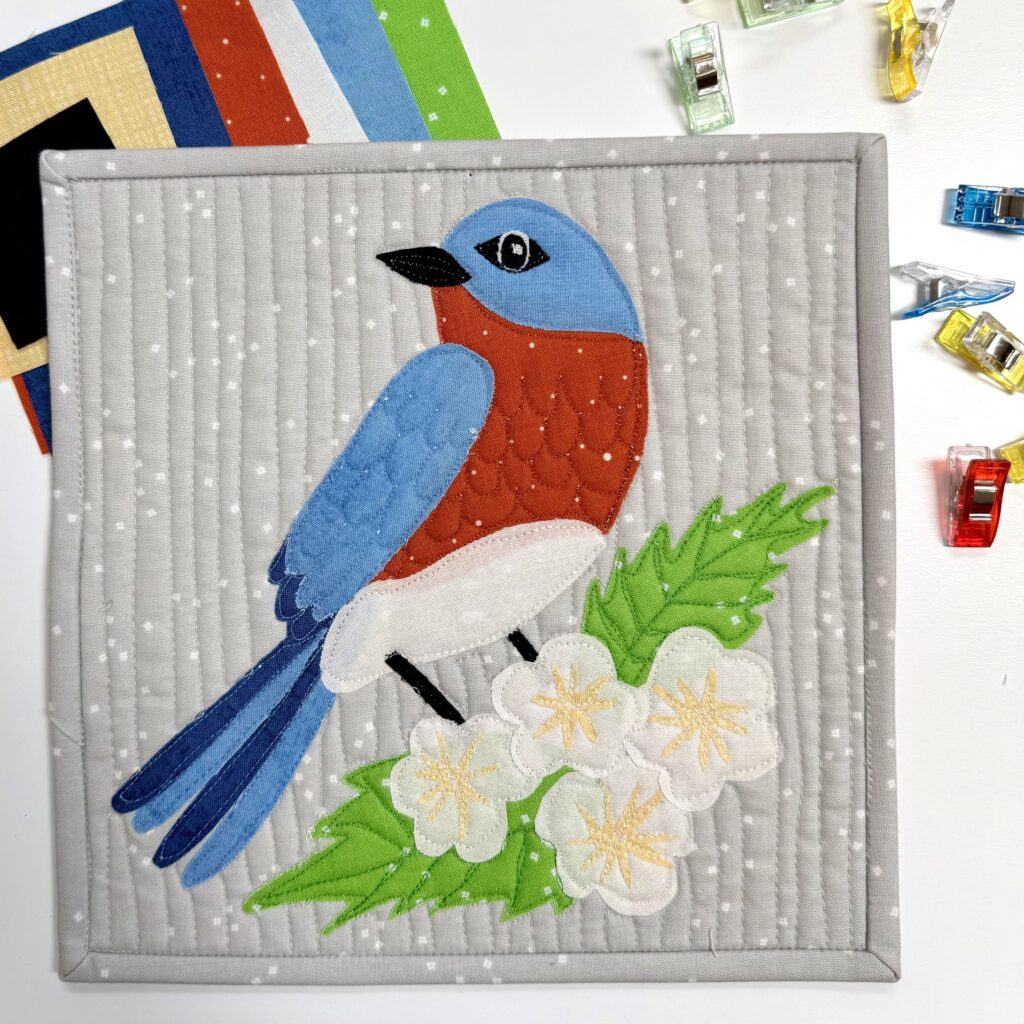
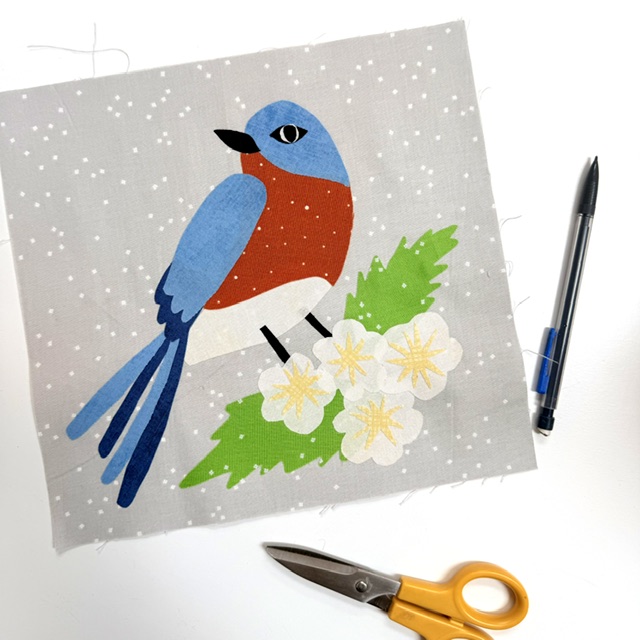
Our second block is Cobalt the Blue Bird! The second state on Route 66 is Missouri which boasts the Eastern Blue Bird and White Hawthorn Blossom as it’s state bird and flower.
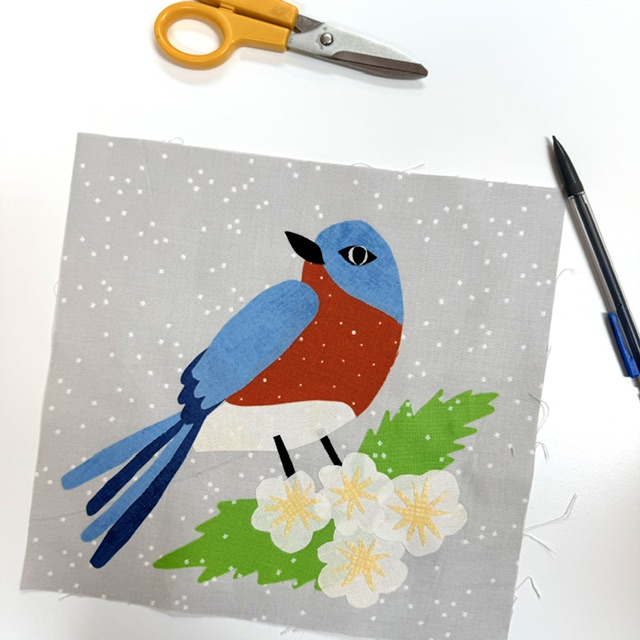
As promised, today I will show you how to make the raw edge applique blocks. I love raw edge applique because you can achieve impressive results with minimal skill! As long as you can use scissors and an iron you can create stunning pieces. You will need to assemble the necessary supplies and you can find more information about some of my favorite tools in my earlier post:
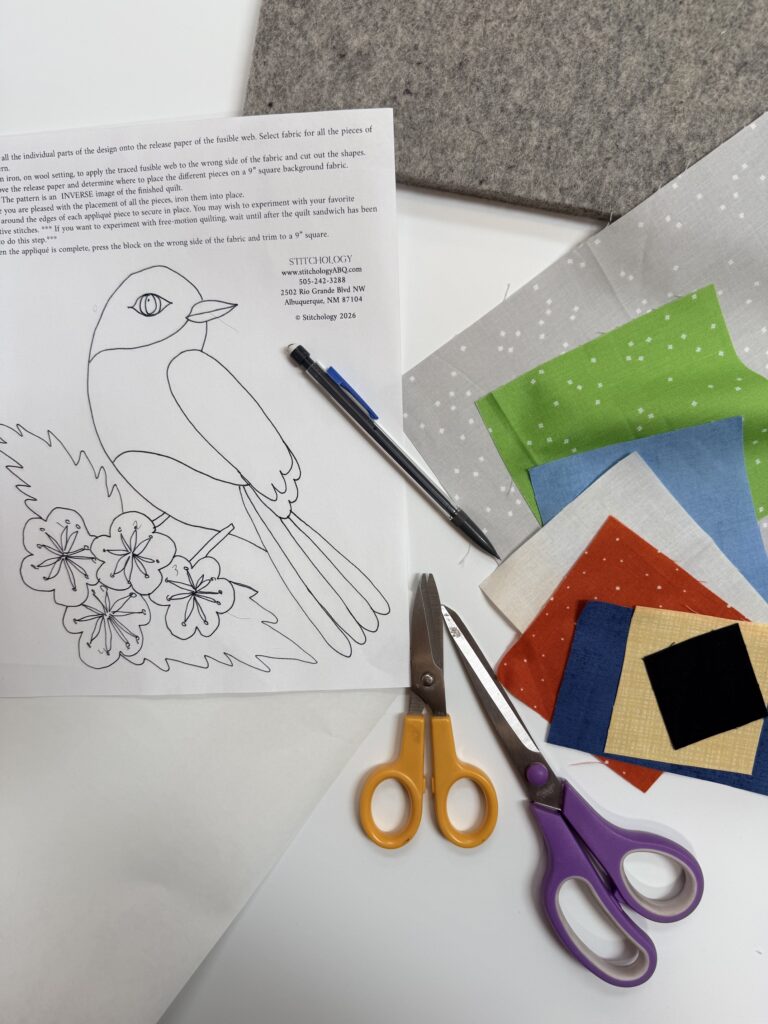
At the very minimum you will need: fabric, pattern, fusible webbing, pencil, fabric scissors and an iron with a steam setting. You might also find it useful to have a wool pressing mat.
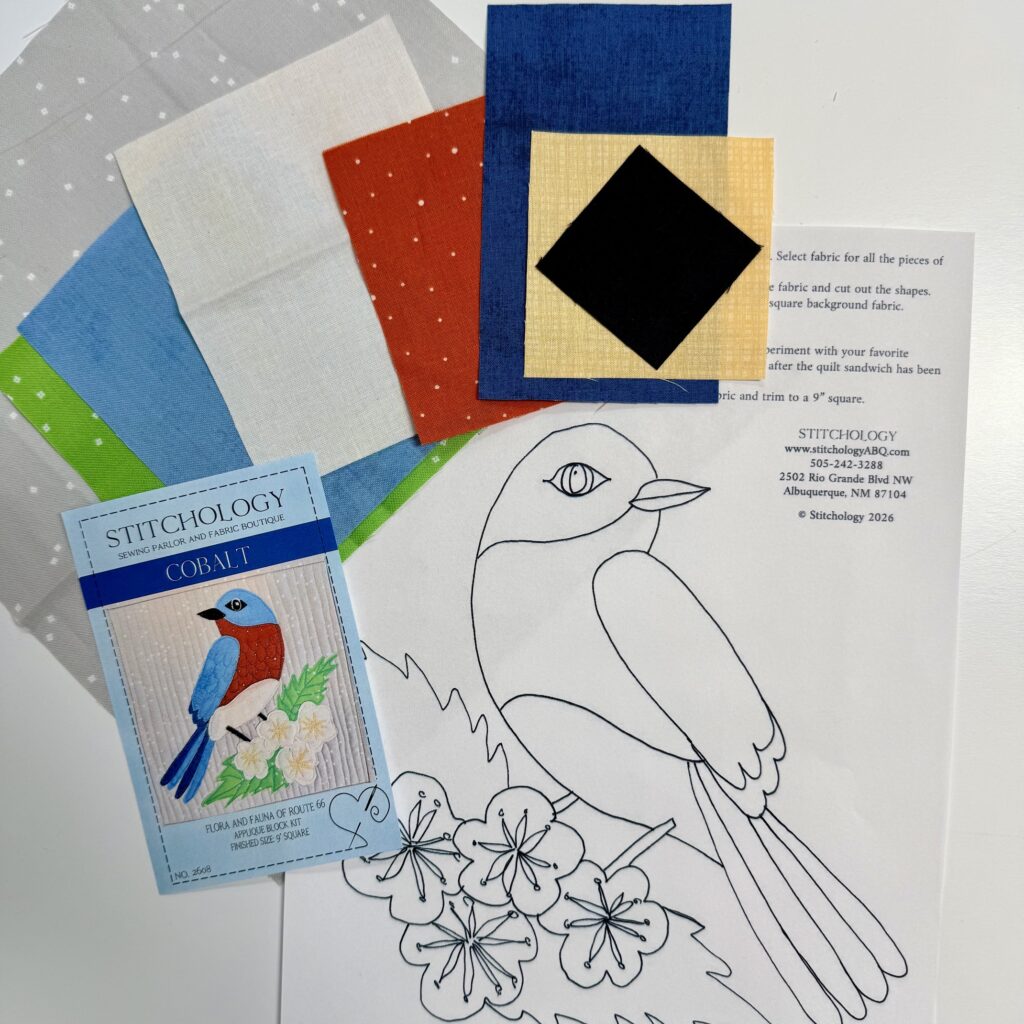
Note. The pattern is an INVERSE image of the finished block. This is by design.
- You will begin by tracing all the individual parts of the design onto the release paper of the fusible web. If you are using HeatNBond, this is the smooth side. You should be able to see through the HeatNBond but if not, you can hold the pattern up to a window when tracing. Study the pattern and if you have pieces that overlap, be sure to add a little extra to allow for the overlap.
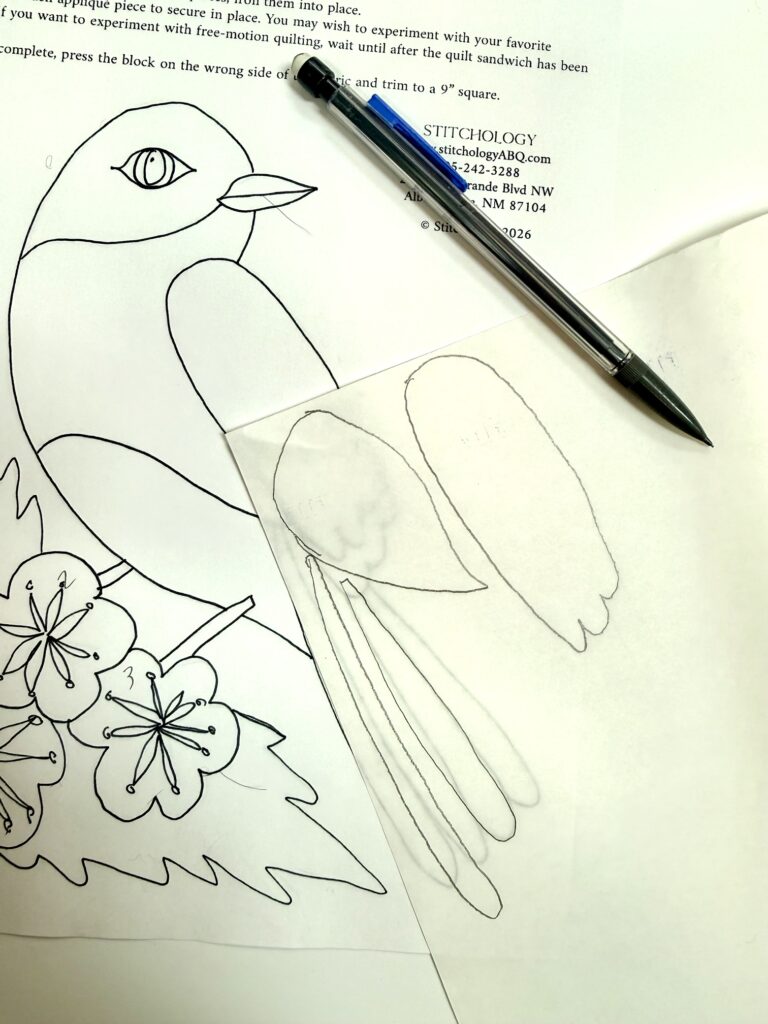
2. Once you have traced each element, select fabric for all the pieces of the pattern and roughly cut the pieces from the HeatNBond. DO NOT cut directly on the lines yet. Place the rough side of the HeatNBond to the wrong side of the fabric. I find it is useful to work on my wool pressing mat as it makes it easy to carry the small pieces to the ironing board.
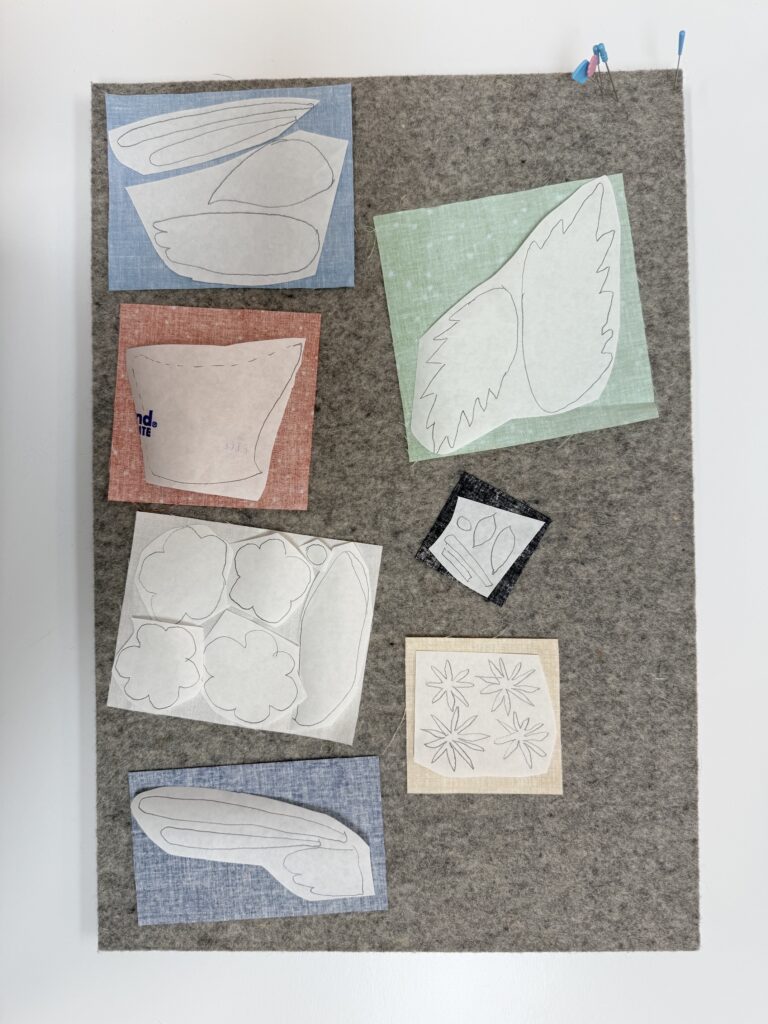
3. With your iron on the wool setting, apply heat to the fusible web. Hold the iron for 3-5 seconds and do not use steam.
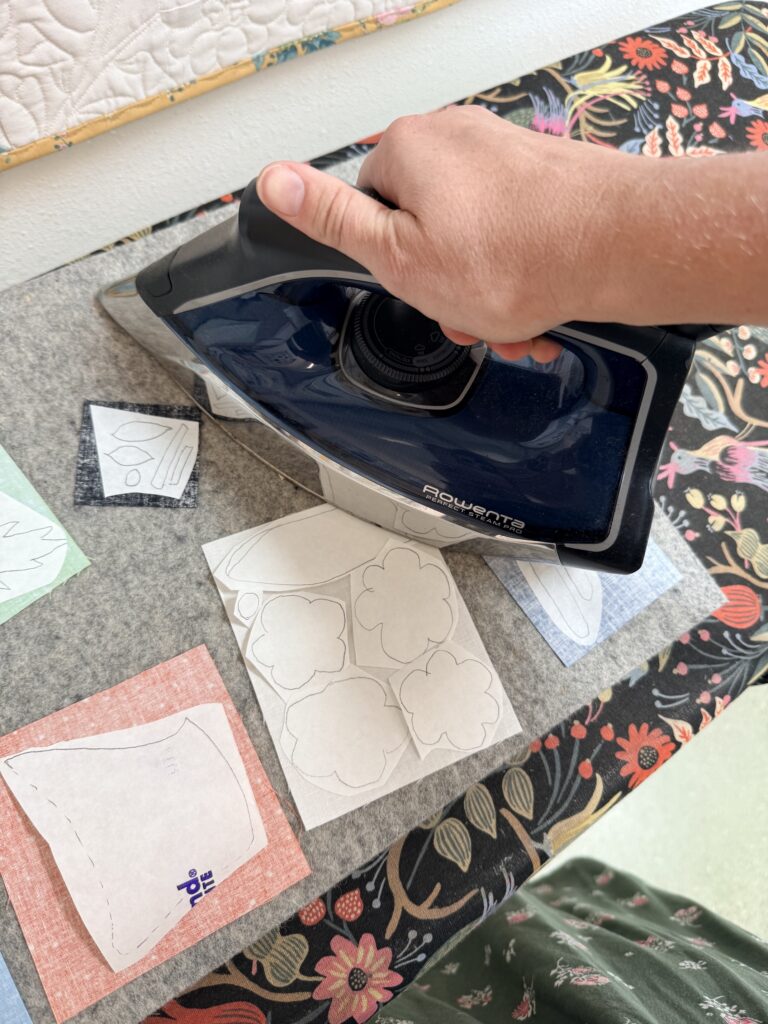
4.Allow to cool and cut out the shapes directly on the traced lines. I like to wait to cut smaller pieces until I need them so they don’t go missing.
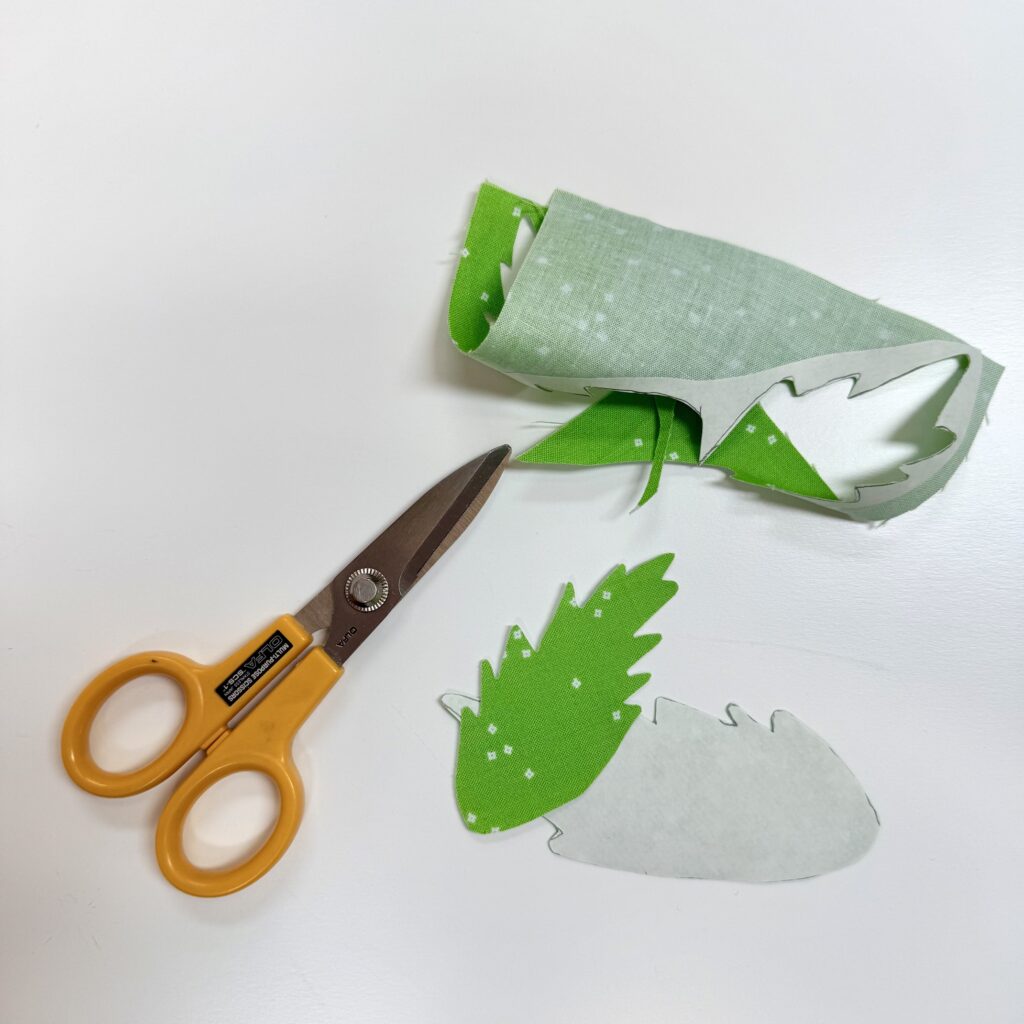
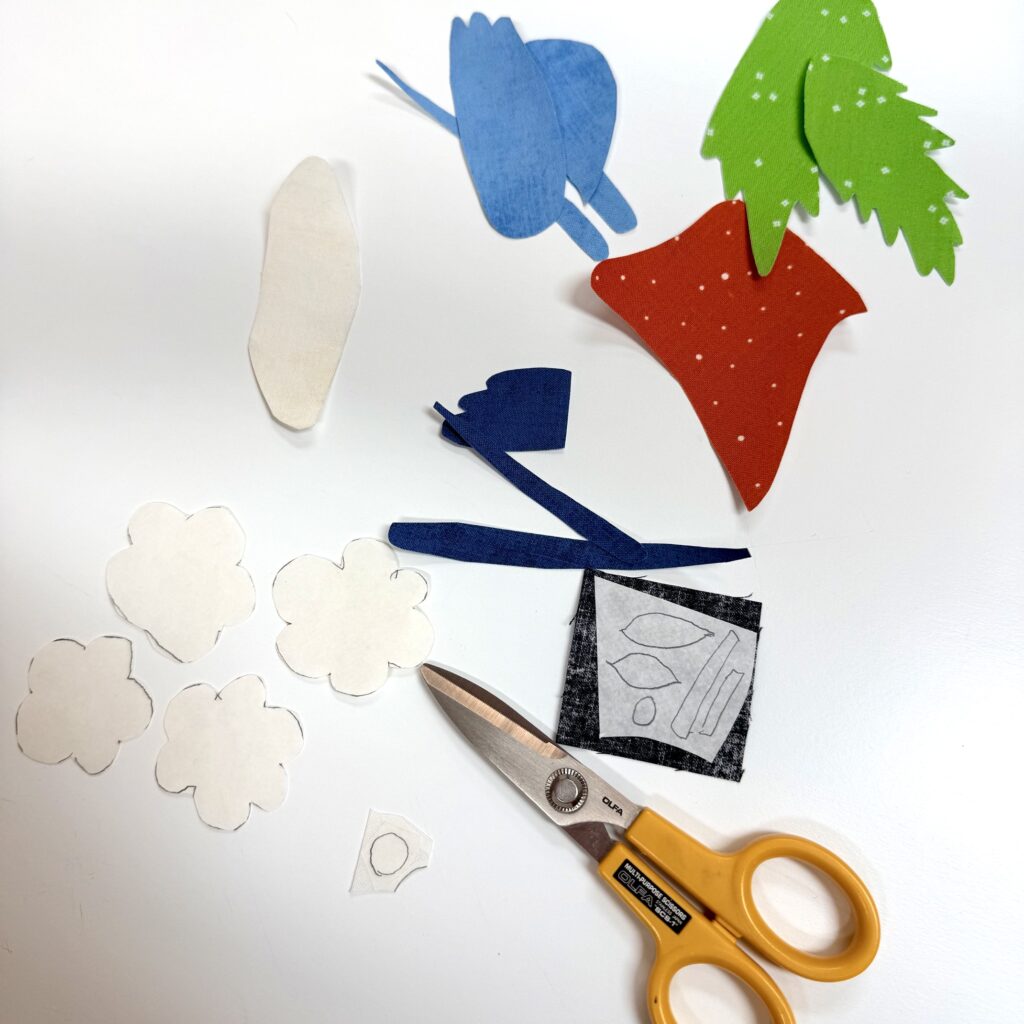
5. Remove the release paper and determine where to place the different pieces on the background fabric. If pieces overlap, start with the bottom layer and work your way up. Remember, the pattern is a reverse image. You can refer to the picture on the kit for layout suggestions. Don’t worry if your block looks a little different. Each one takes on a personality of their own and that is part of the charm!
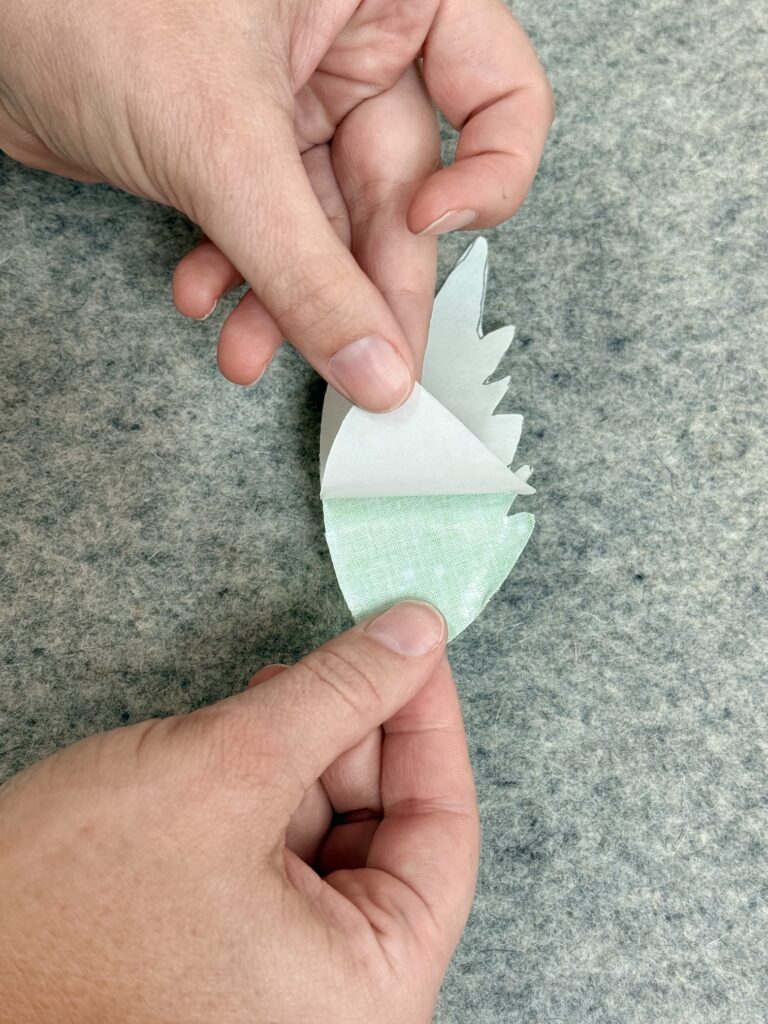
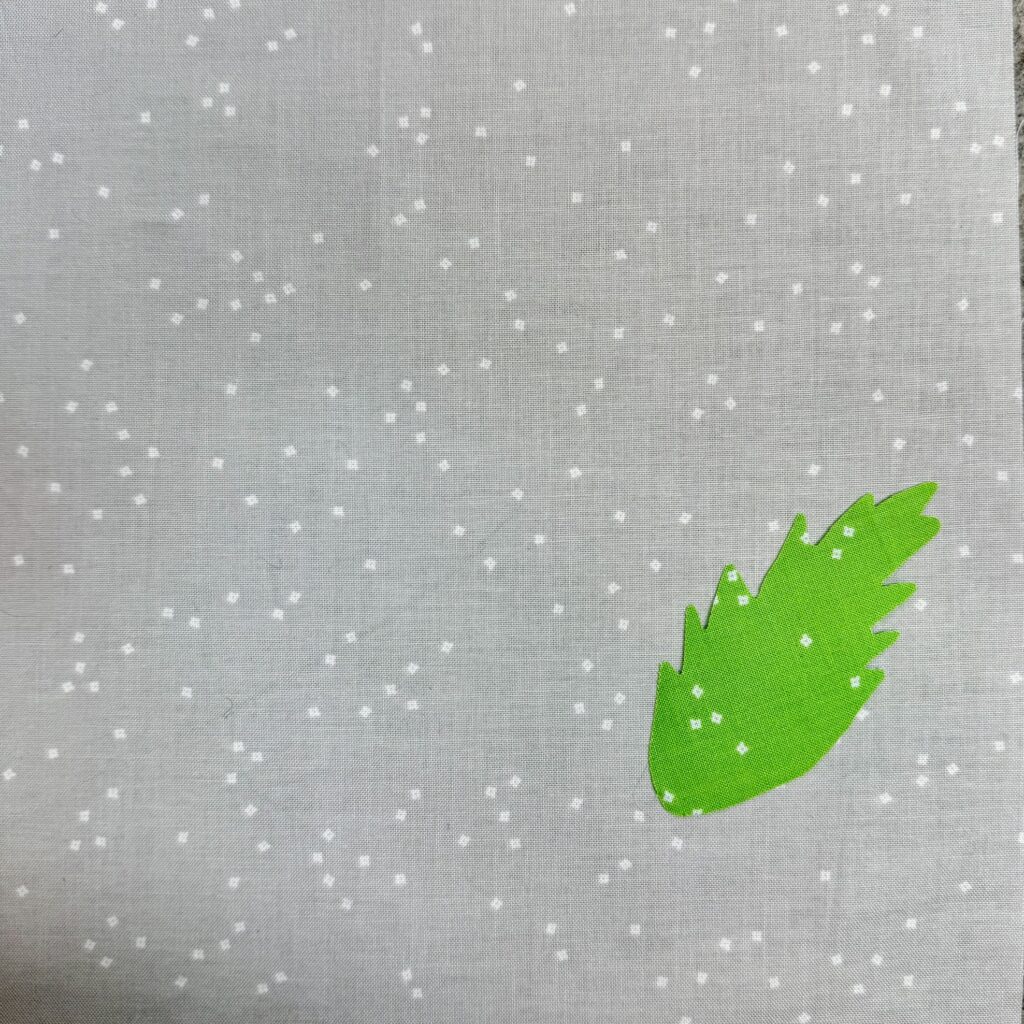
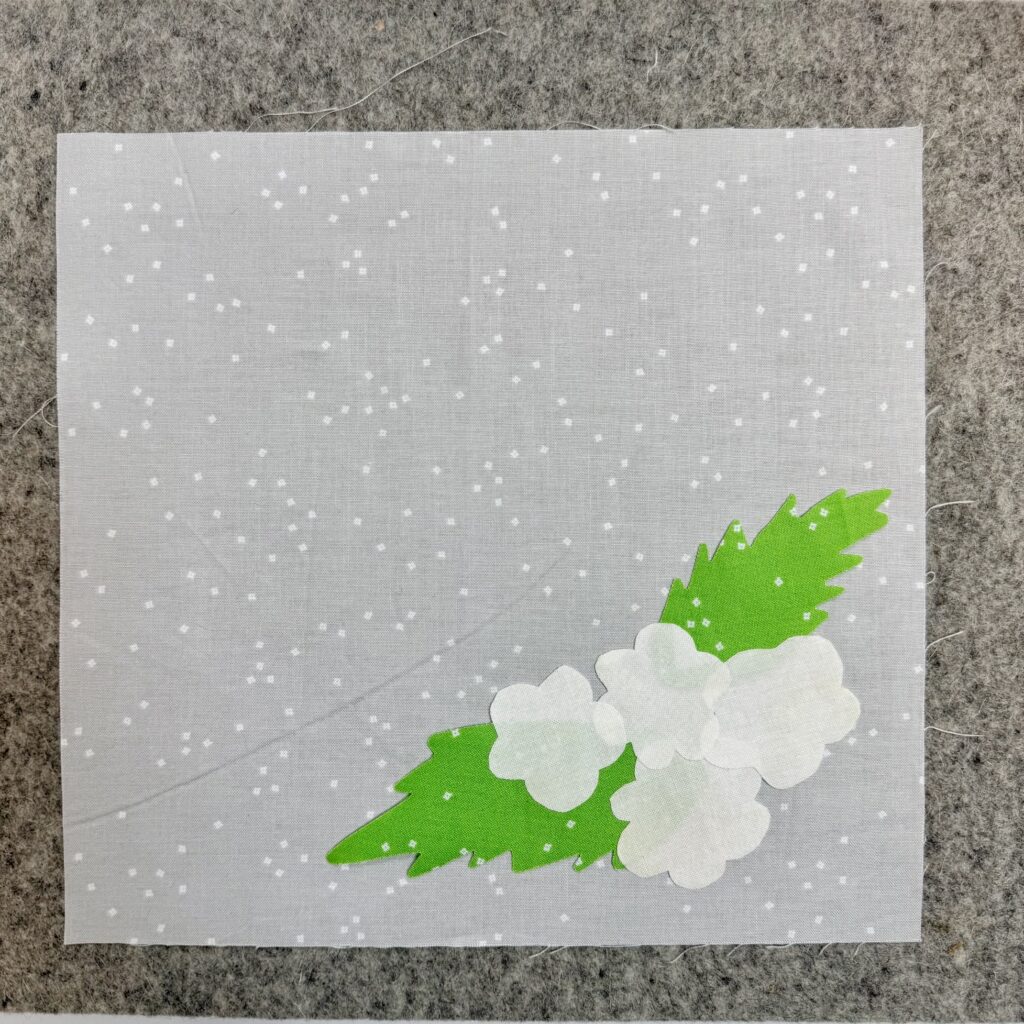
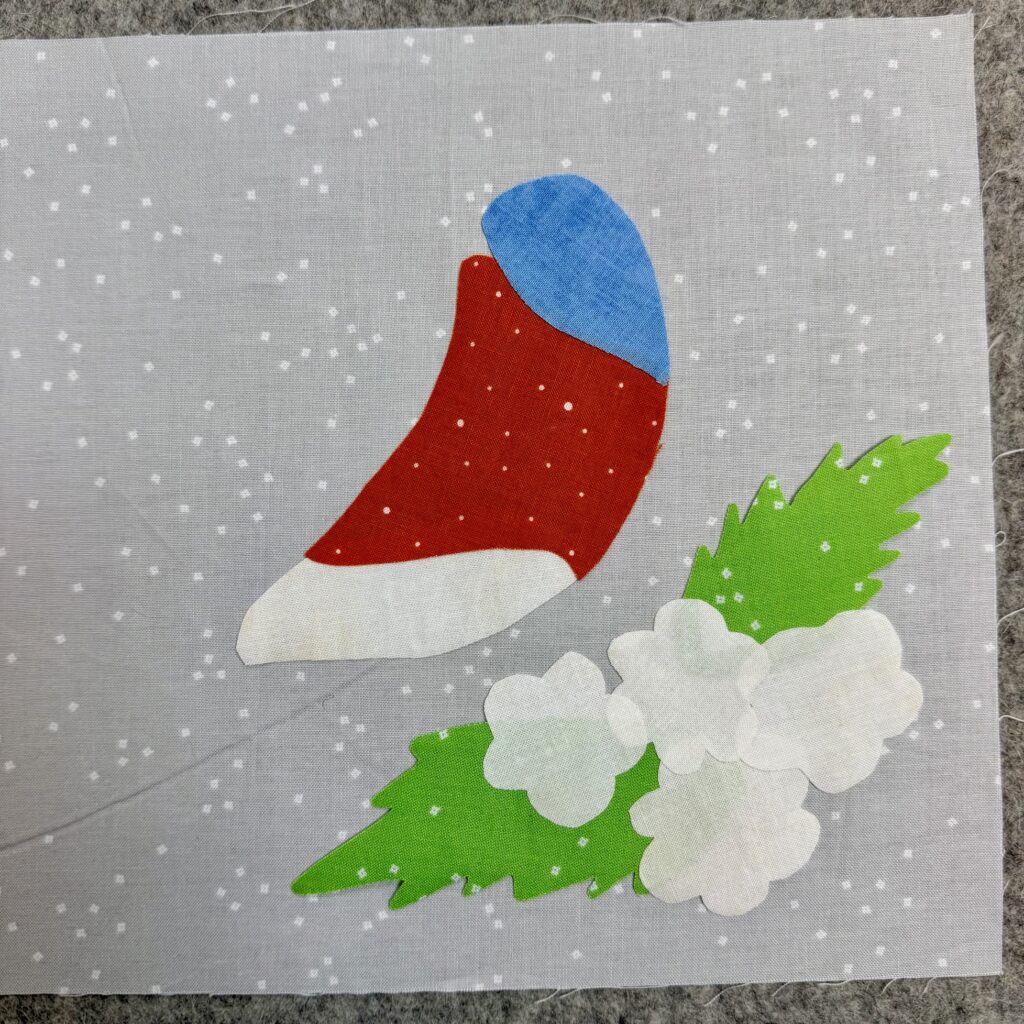
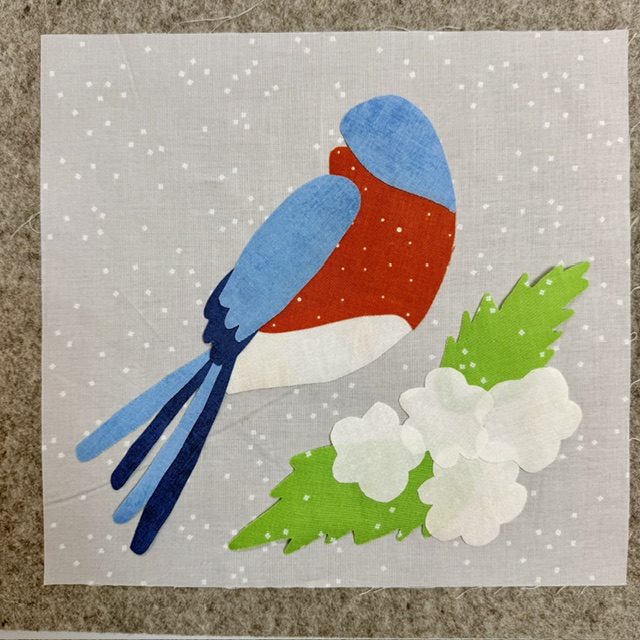
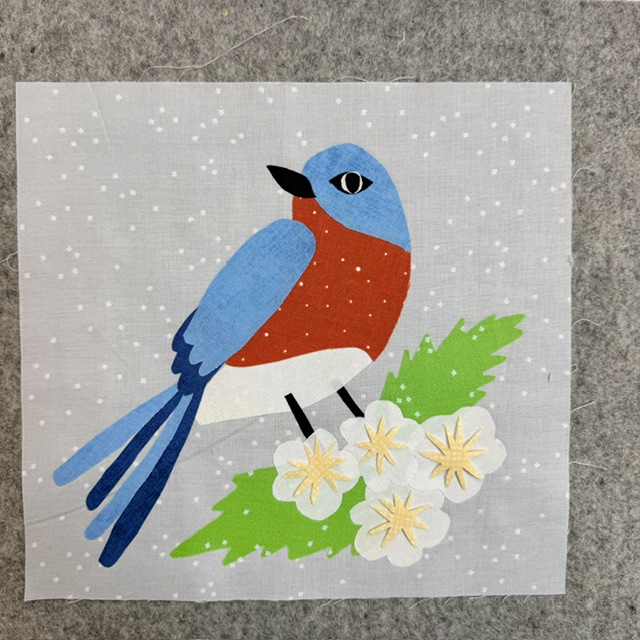
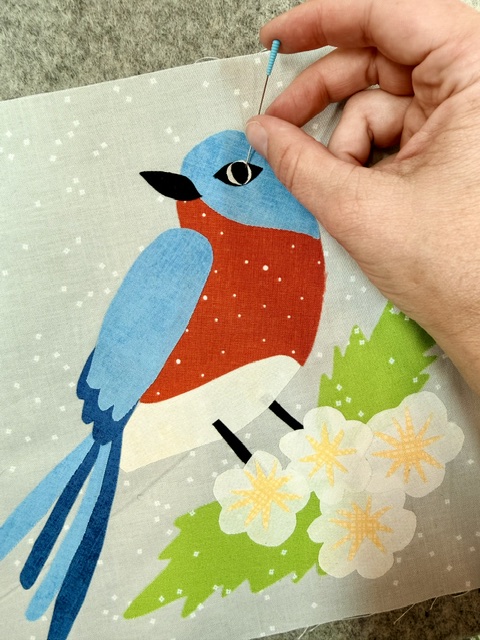
Stitchology Tip: Use a pin to help move smaller pieces into the right spots.
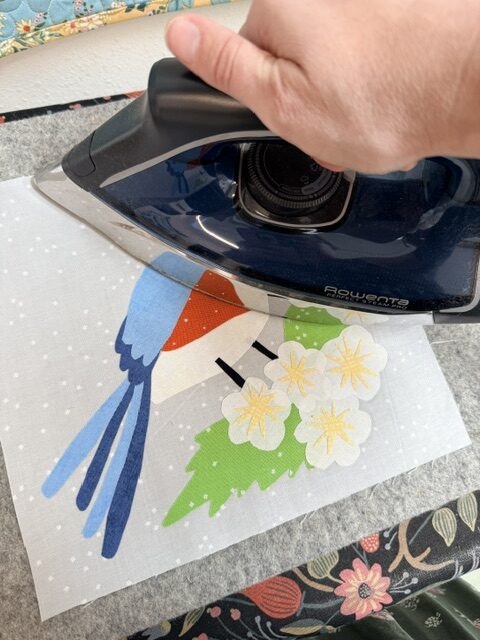
6. Once you are pleased with the placement of all the pieces, iron them into place. Iron for a few seconds to secure all the pieces and then apply steam to help melt the HeatNBond. I love my wool pressing mat for this step because it helps to circulate the steam and melt the HeatNBond. Be sure to lift the iron when you move it instead of sliding it so you don’t move any of the pieces!
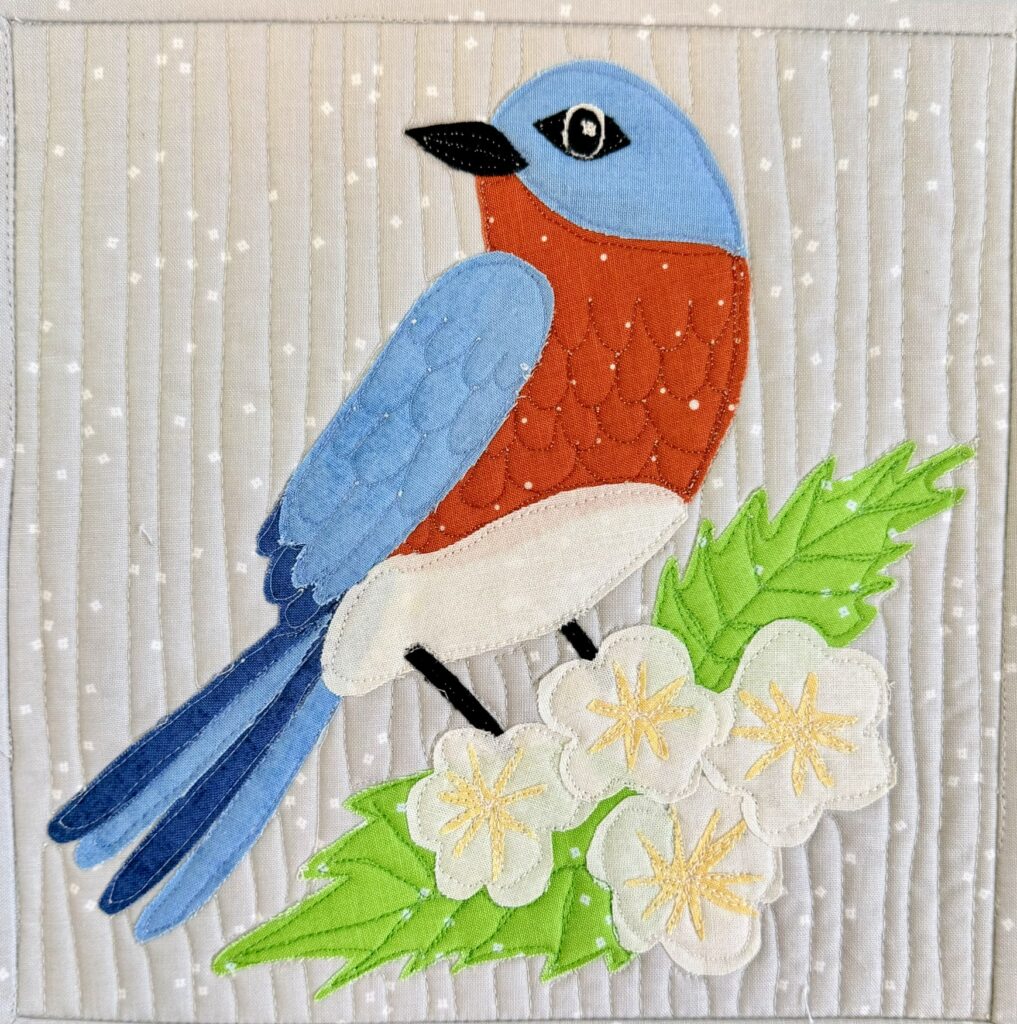
7.You will need to sew around the edges of each piece. This can be done now, or I often wait until the quilt top is completed and I free motion quilt around the pieces and make it part of the quilting. I especially enjoy waiting because you can use the quilting to add additional texture such as the feathers on Cobalt’s wing and belly . We will address this more in a future post.
If you are a visual learner, you can find a video tutorial on raw-edge applique here:
You have now completed the Cobalt block and she can be set to the side until all the blocks are finished, or you can quilt her now and make her a small wall hanging. We will be back next month with some more tips on raw edge applique.
Thanks for reading!
Melisa


You May Also Like
Let it Bloom by Little Forest Atelier
New Free Quilt Patterns!