Design of the Month Program with Stitchology
Guest Blog Post by Melisa Hart of Stitchology
Hi there, all you cool Pins and Needles! It’s Melisa from Stitchology: I am a designer of raw-edge applique art quilts, and today I’d like to introduce you to my Design of the Month program. On the 2nd Friday of each month, I release a new nine inch raw edge applique block kit. This year’s theme, Desert Daydreams, is inspired by my childhood in New Mexico. The series starts in May, and you can look forward to seeing designs portraying the natural wildlife of Northern New Mexico made exclusively with Riley Blake fabrics. In addition to the monthly blocks, we will release a quilt that incorporates all 12 blocks as we approach the finish line. The blocks are available as kits or PDF downloadable patterns and once the month is over that kit will no longer be available, so you will need to be sure to check back monthly to see the new design and to grab your kit while you can!
Kits can be purchased here: https://www.stitchologyabq.com/s-projects-basic-1
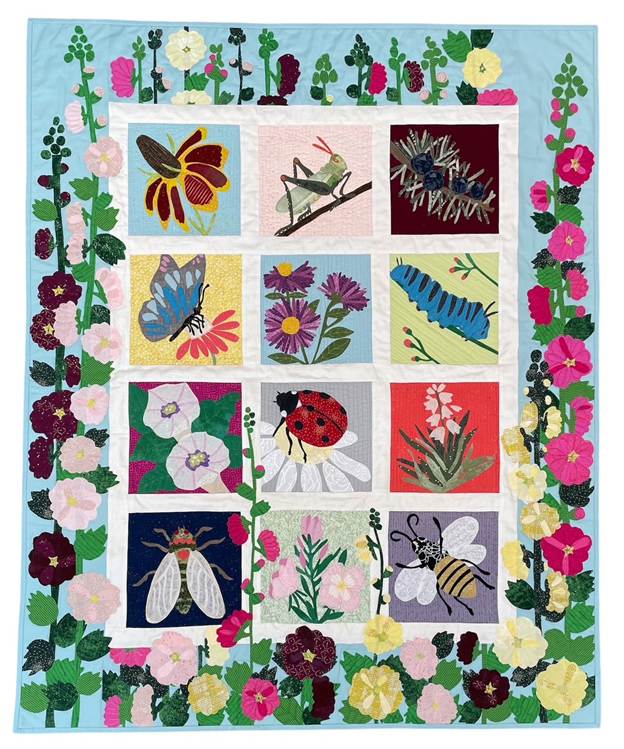
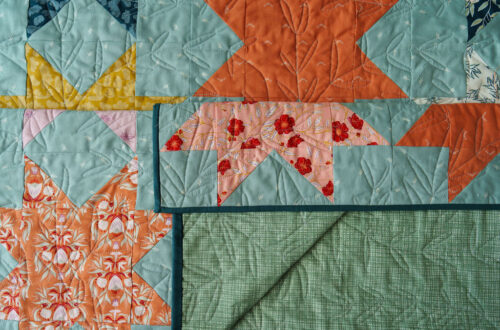
Below is last year’s completed quilt. The theme was Bugs and Blossoms and we had so much fun making flowers and pollinators. You can learn more about the blocks and quilt here: https://www.stitchologyabq.com/copy-of-design-of-the-month
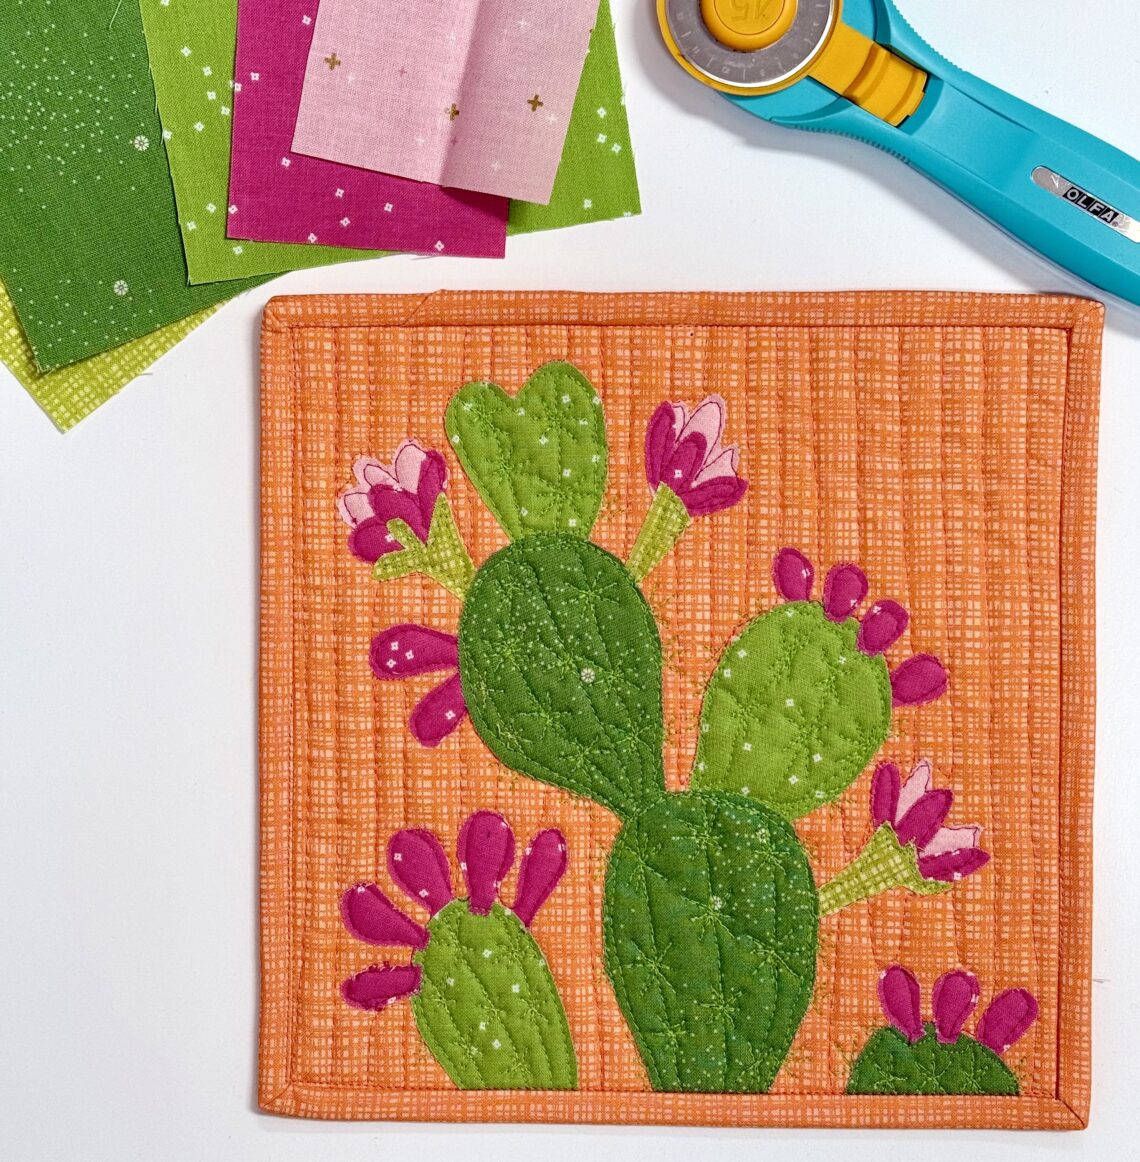
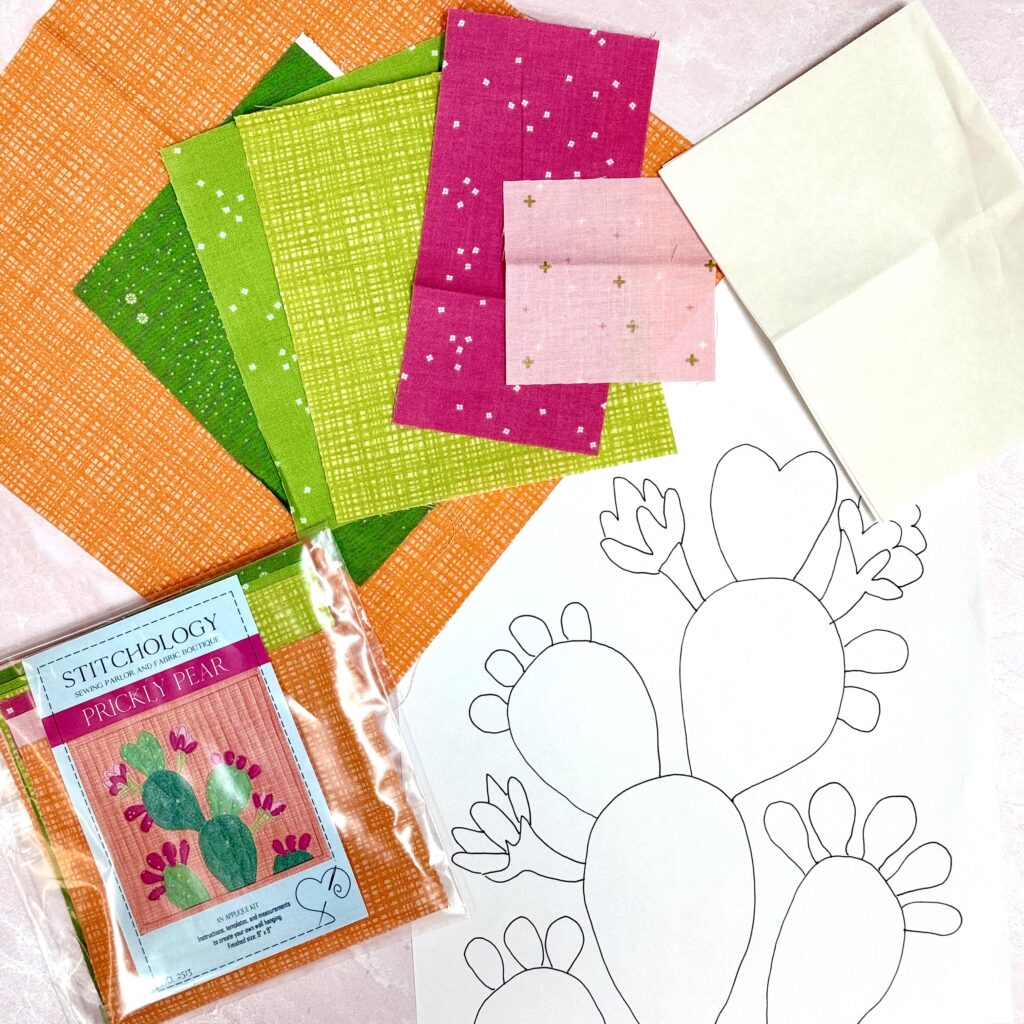
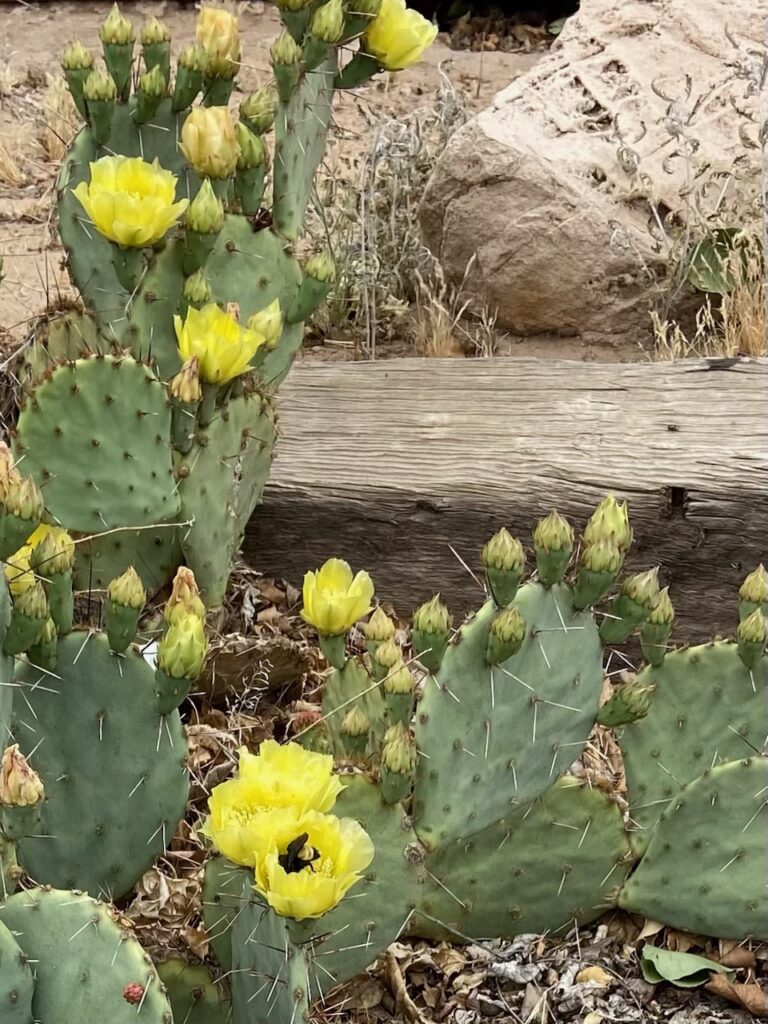
Let’s get started on our first block of the 2025/2026 series-the Prickly Pear Cactus.
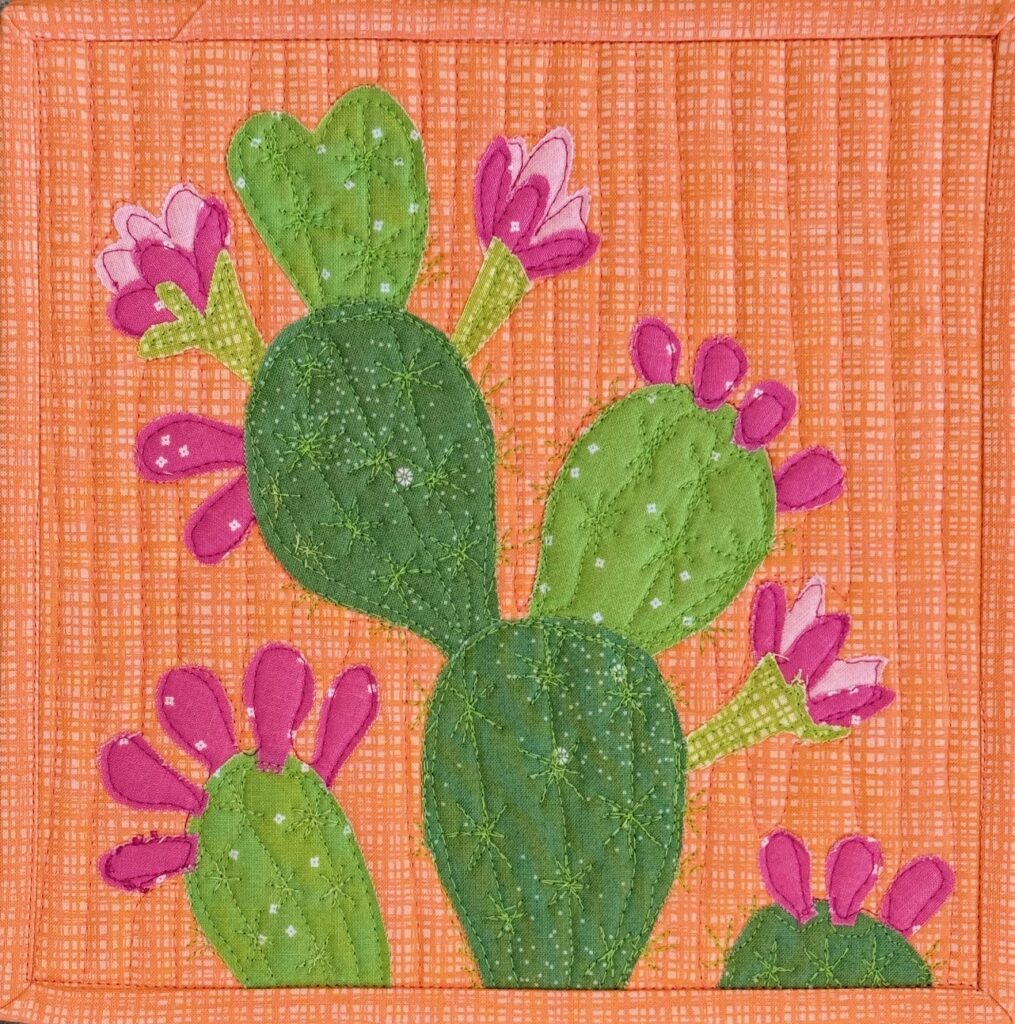
This cactus is common around my hometown of Albuquerque and produces a stunning magenta fruit that is used to make many things including jelly, syrup, or -my favorite-cheesecake! I knew I had to include it in this year’s blocks because it’s such a beautiful and useful plant.

I love raw edge applique because you can achieve impressive results with minimal skill! As long as you can use scissors and an iron you can create stunning pieces and my goal with these blocks is to make this art form more accessible. But before we dive into the nitty gritty of how to do raw edge applique, we need to accumulate the necessary tools.

At the very minimum you will need: fusible webbing, pencil, fabric scissors and an iron with a steam setting. You might also find it useful to have a wool pressing mat, small iron and parchment paper (this will be covered in more depth in a future post).
My favorite tools to use are:
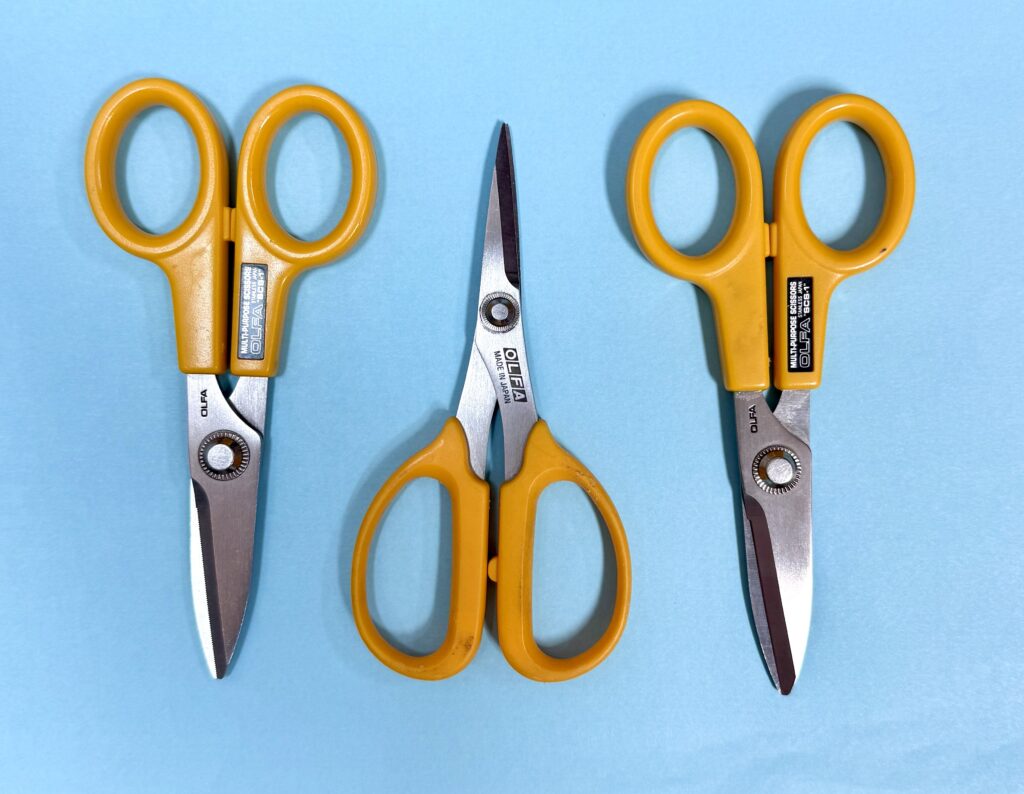
1. Olfa micro-serrated 5” scissors-These scissors are the perfect size to cut the smaller shapes that are common in raw edge applique, but the micro-serrated edge gives them a good grip. Plus they are nice and sharp allowing for accurate and precise cutting.
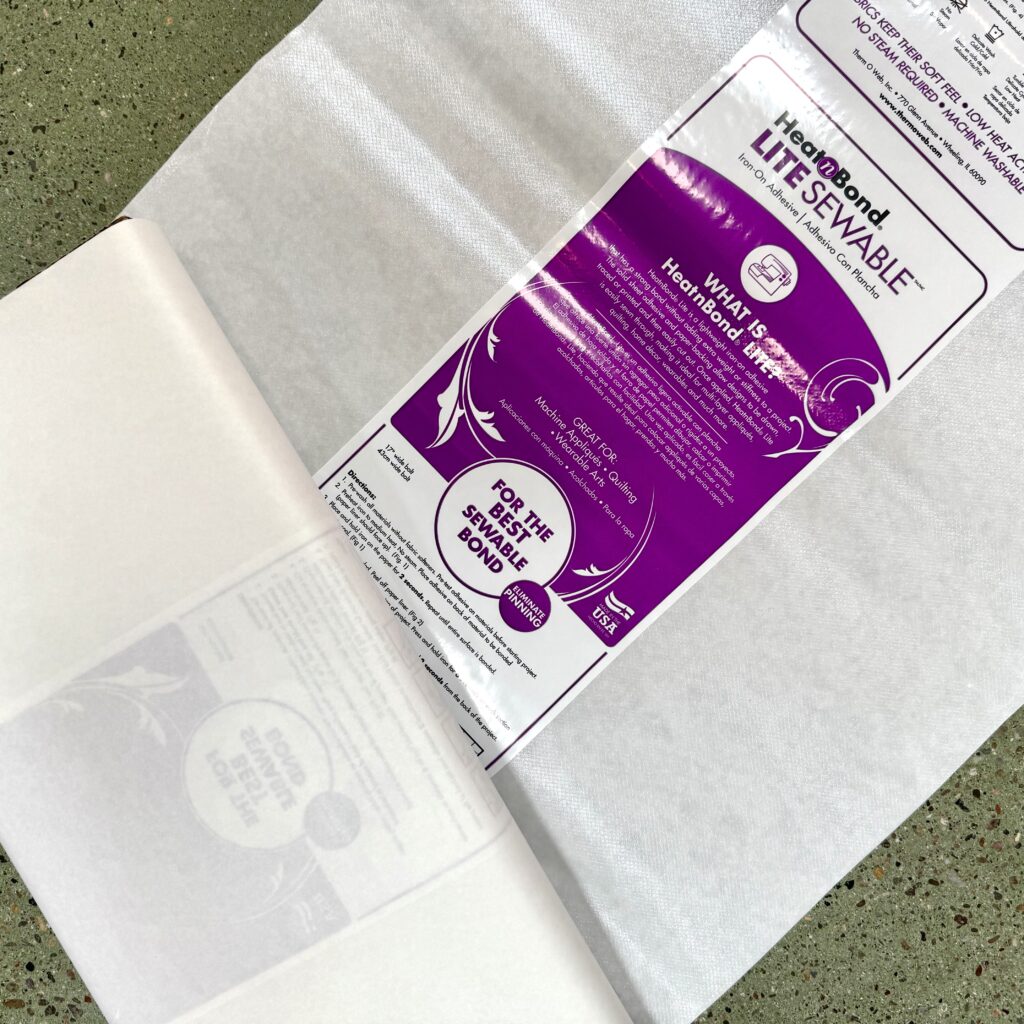
2. HeatNBond Light fusible webbing-Raw edge applique requires a fusible webbing to bond the fabrics together and for these smaller blocks this is my preferred brand, and the light is a great weight. HeatNBond is included if you purchase a kit.
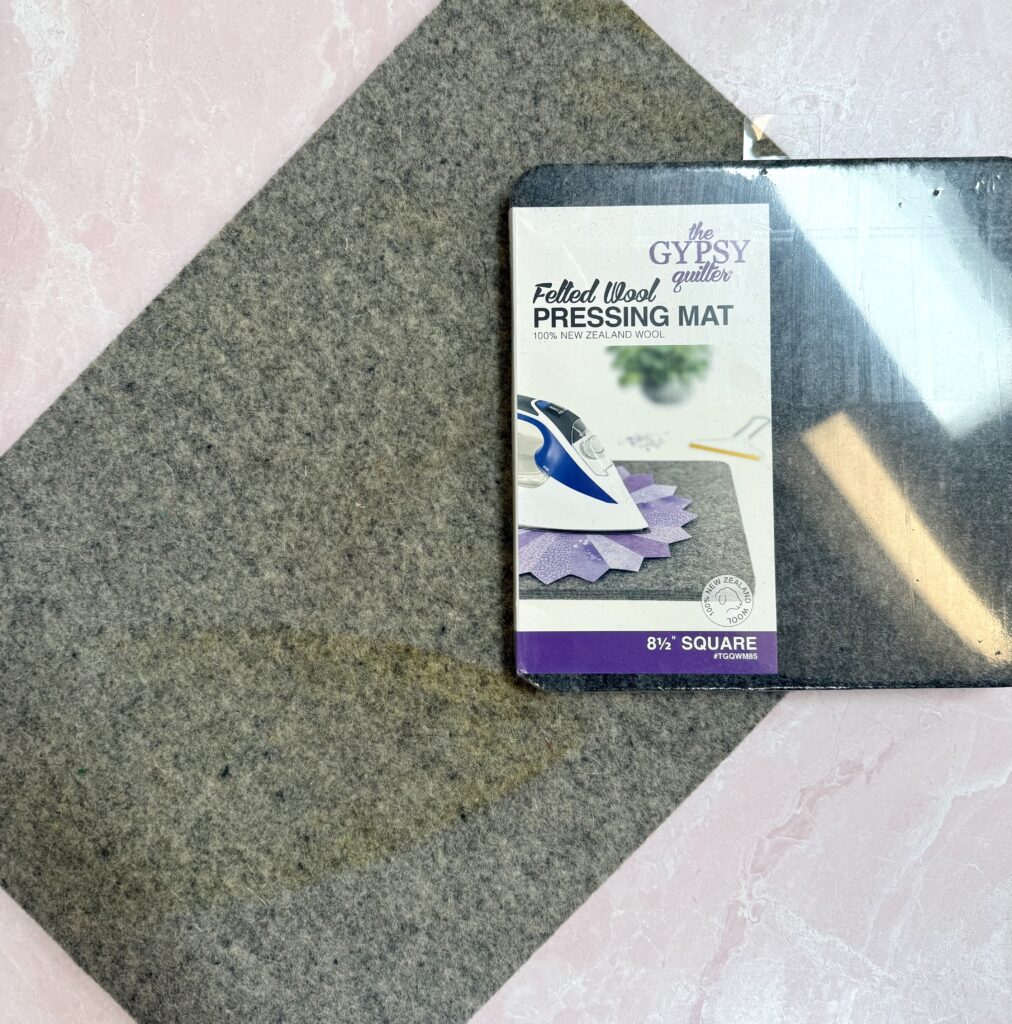
3. Gypsy Quilter Wool Pressing Mat -While this is not a necessity, I find it helps circulate the steam allowing the fusible webbing to melt better, and it serves as a good work surface because it can carry your smaller pieces to the ironing board, or you can iron directly onto it at your worktable. You can find wool pressing mats in several sizes, but I find the 14 1/3” x 17 3/8” one to be ideal for my applique work.
Now that you have your tools ready, check back next month and I will show you the basic steps of raw edge applique and reveal the second block in the series!
If you are eager to get started, you can find a video tutorial on raw-edge applique here: https://www.stitchologyabq.com/s-projects-basic-1
I hope you will enjoy following along on this trip around New Mexico!
-Melisa


4 Comments
Pingback:
Pingback:
Pingback:
Pingback: