Mastering Snowball Corners with BloomBerry
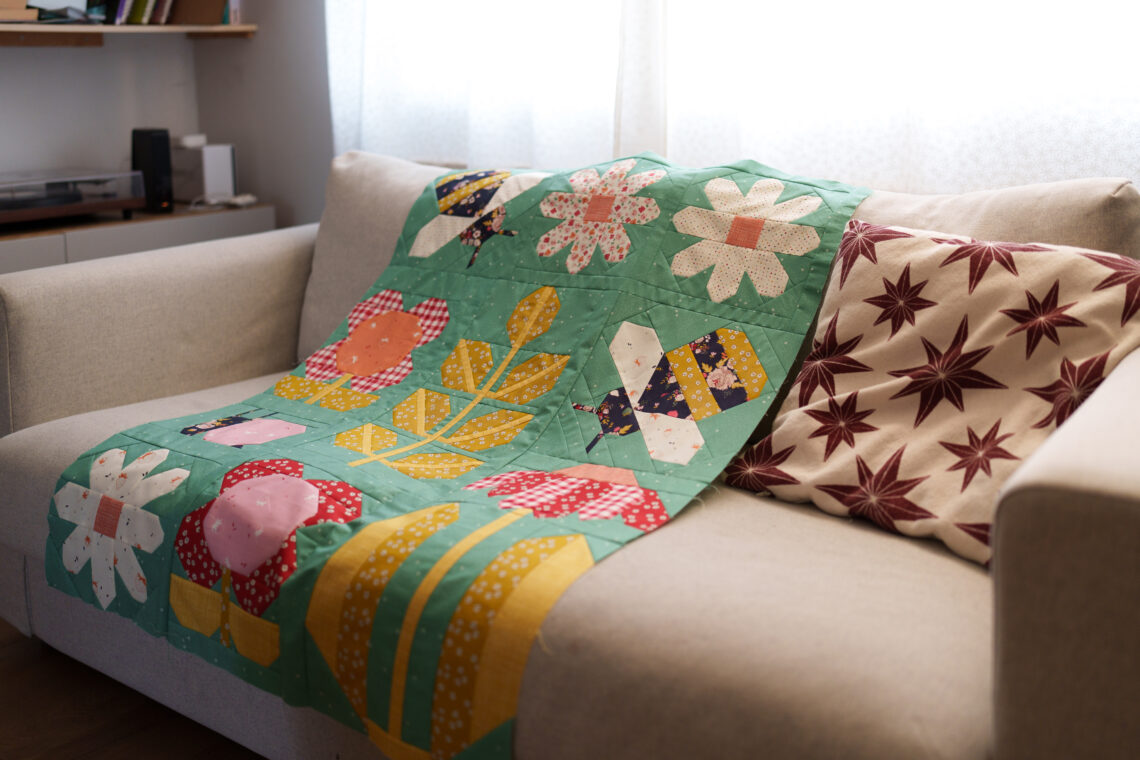
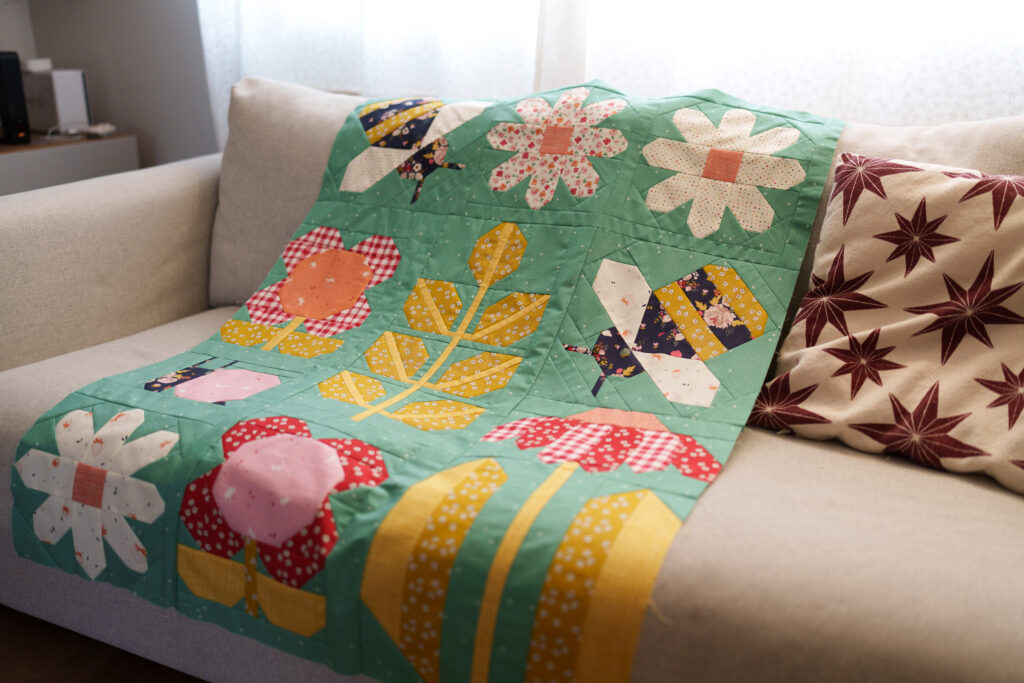
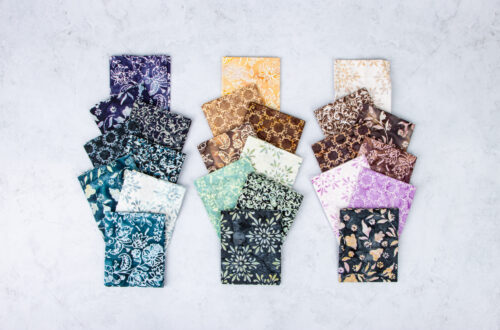
Hey quilters, it’s Sara from Rose Hill Quilts, bringing you some top tips for snowball corners. When I saw this gorgeous BloomBerry collection by Minki Kim, I knew I wanted to tackle the Pen and Paper Patterns sampler quilt!
Pen and Paper Patterns Sampler Quilt
If you have made any quilts by Pen and Paper patterns before, you will have encountered snowball corners many times.
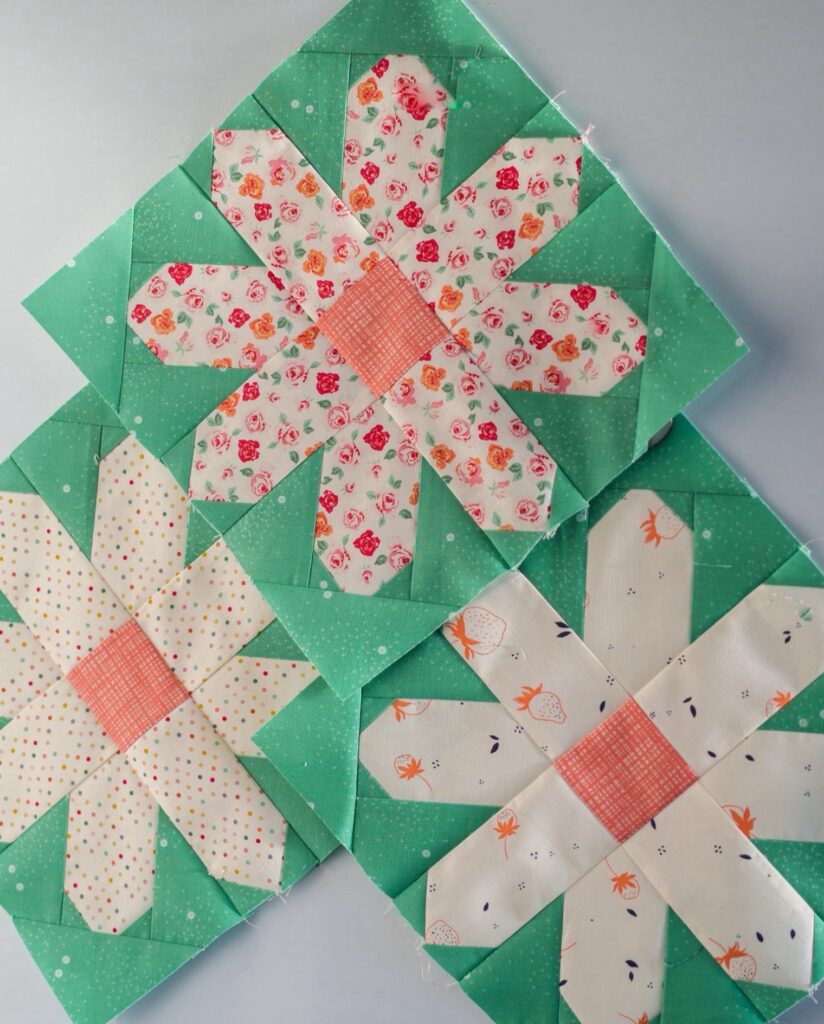
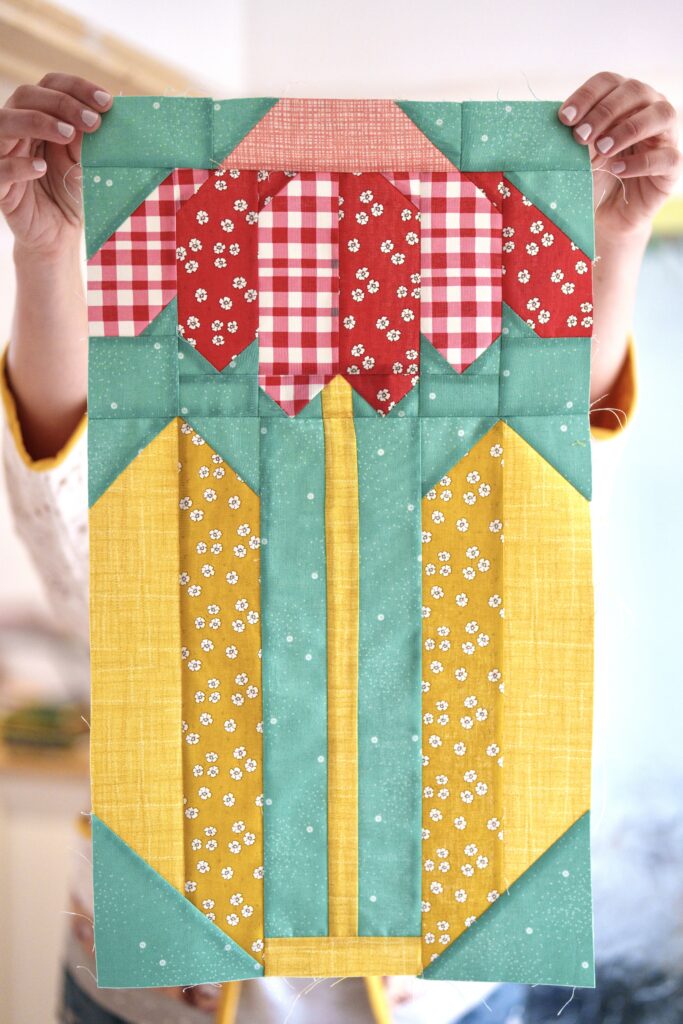
Top tips for snowball corners
Snowball corners (also known as flippy corners, or stitch-and-flip) require precision, patience, and a keen eye for detail. Having made lots of Pen and Paper Pattern quilts before, I wanted to share some top tips for snowball corners with you:
- Accurate Measurements: Precision begins with accurate measurements. Ensure that you measure and cut your fabric pieces with care. Even a slight deviation can affect the symmetry and overall appearance of your snowball corners. This multiplies as you add more and more seams to your quilt!
- Marking Guidelines: Before sewing, mark the exact points where you’ll stitch your snowball corners. Use fabric pencils or washable markers to make precise guidelines on the wrong side of your fabric squares. These guidelines will help you sew with confidence and accuracy.
- Corner Placement: Pay close attention to the placement of your snowball corner fabric. Position it precisely on the corner of your base fabric, ensuring that edges align perfectly. Double-check the orientation to avoid sewing the wrong side!
- Pin Strategically: Secure your fabric layers with pins before sewing to prevent shifting and ensure consistent seam allowances. This is particularly important if you are working with a bigger piece! which may shift as you sew.
- Sew Next To The Line: You will fold the fabric on the line, so sewing just next to it will give you a bit of space for the thread and the fabric fold.
- Stitching Techniques: When sewing your snowball corners, use a shorter stitch length to reinforce the seams and prevent unraveling.
- Press first, trim second: Remember your snowball corners are stitched on the bias of the fabric, which can be stretched. Press carefully with a very hot iron, and be mindful not to distort the fabric.
- Trim Excess Seam Allowance: After pressing, trim the excess seam allowance to reduce bulk and achieve crisp, clean corners. Be mindful not to cut too close to the stitches, leaving a quarter inch seam allowance. Press the seams open or towards the darker fabric to create a smooth, flat surface.
- Test and Adjust: Practice makes perfect, so don’t hesitate to test your snowball corner technique on scrap fabric before working on your main project. Use this opportunity to fine-tune your stitching, corner placement, and trimming methods until you’re satisfied with the results.
- Consistency is Key: Aim for consistency in size, shape, and placement of your snowball corners throughout your quilt.
Mastering snowball corners can really improve the appearance of your quilts. However, do not despair if some of your snowball corners are a bit wonky, as long as you a being very consistent in your seam allowance, sashing will help even out the blocks!
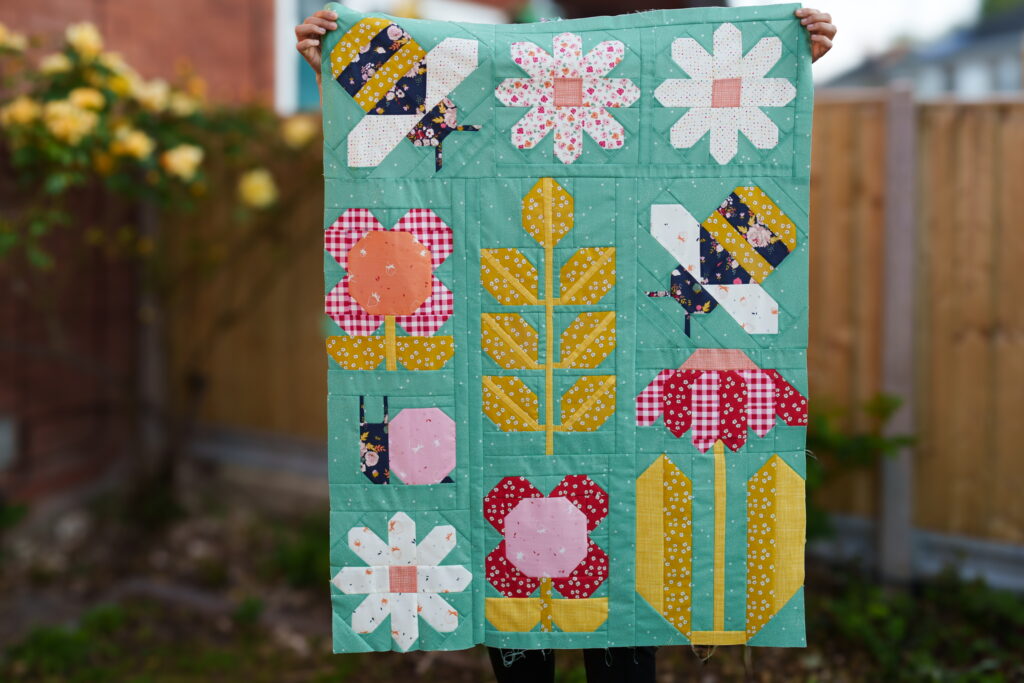
I originally wanted to make this sampler as a cot quilt, but I love it so much that I decided I’d keep going! The pattern can be easily adapted to a size of your choice, depending on how many of the blocks you’d like to incorporate. You can see more progress on my sampler quilt on my instagram @rosehillquilts.
Do you have any other suggestion to get really good snowball corners? Comment below and share them with other makers. Happy quilting!


2 Comments
Zaineb
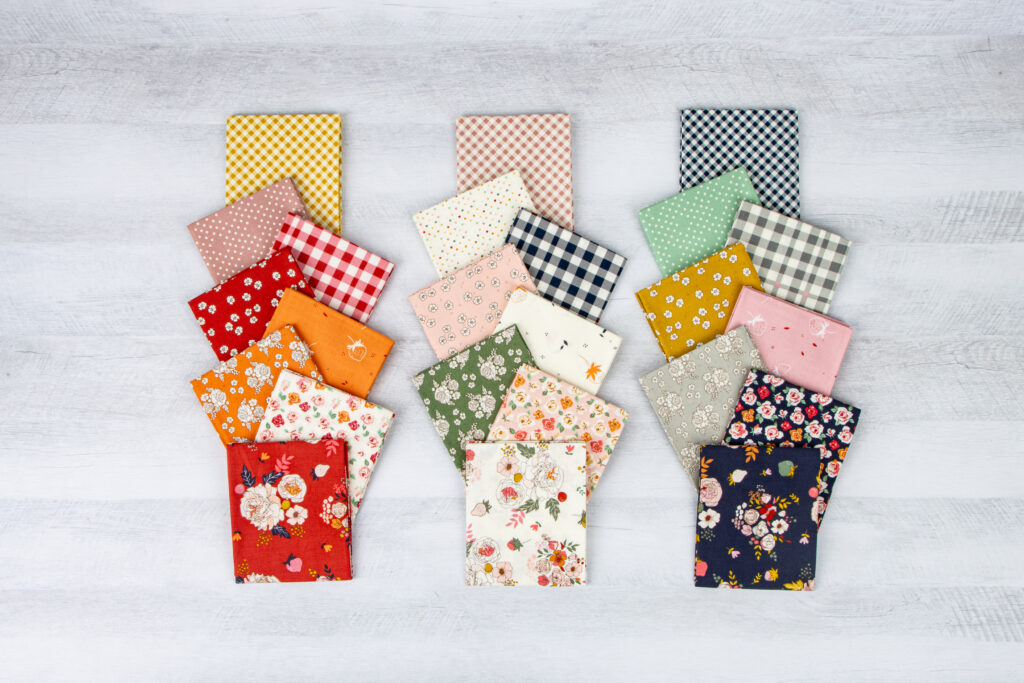
Thanks for the useful tips! I love the green background used. It makes the yellows, whites, pinks and navy in the collection really pop!
Sara Fernandez
Thank you! This collection has really wonderfully saturated colours, I really wanted to use a background that would make them shine!