Nutcracker Backpack: A Festive Handmade Project for the Holiday Season
Hello friends! This is Jennifer Long from Sew A Story.
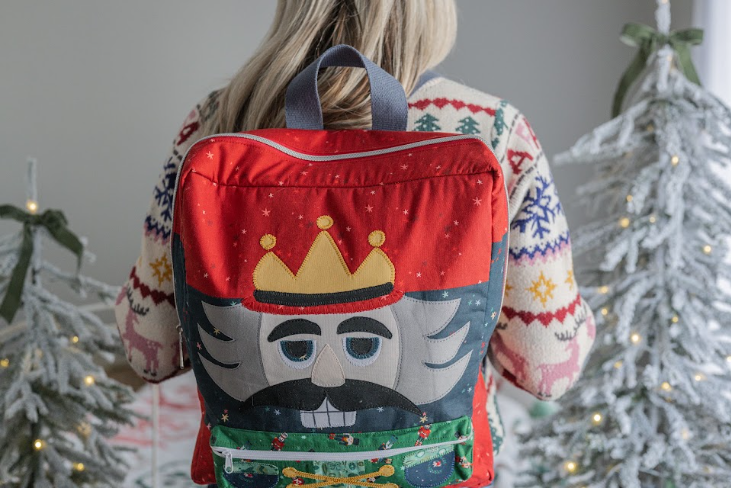
There is something so fun about sewing a project that can be used and enjoyed throughout the Christmas season. The Nutcracker Backpack brings together practical bag making, playful appliqué, and the storytelling feel of the holidays in one creative project.
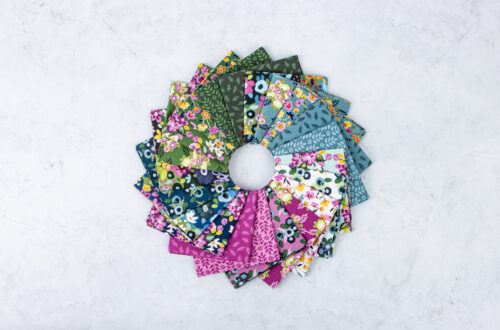
Featuring fabrics from my Nutcracker Tradition collection for Riley Blake Designs, this backpack finishes at approximately 13″ × 15½” × 4″ and is designed as an intermediate sewing project.
A Nutcracker You Can Take Along
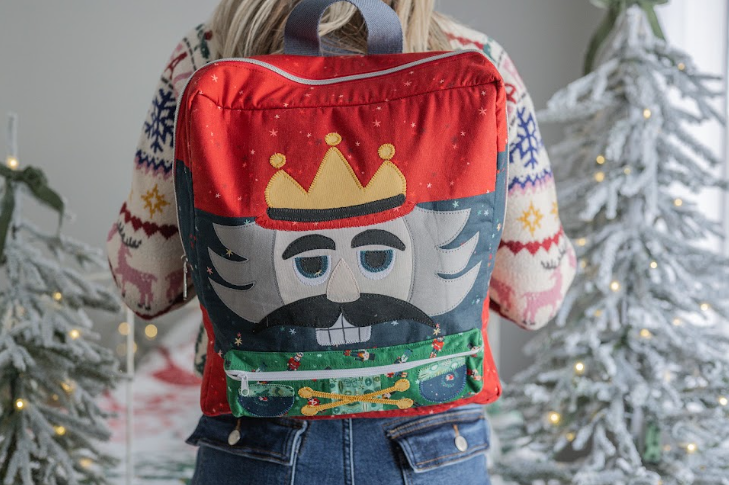
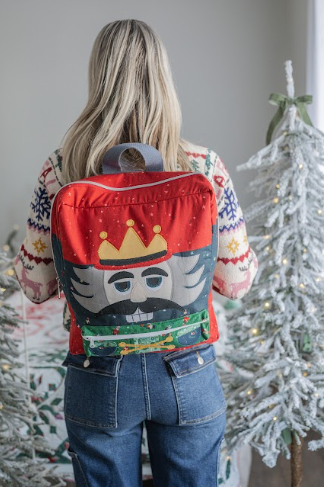
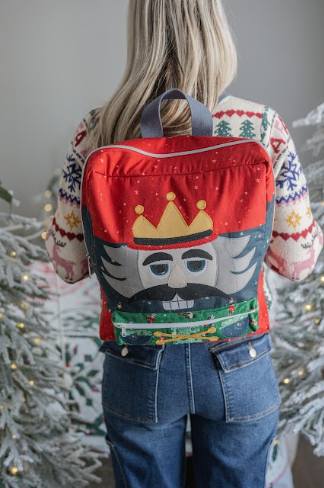
The front of the backpack is where the personality really comes to life. A large appliquéd Nutcracker face fills the main panel, complete with his crown, moustache, expressive eyes, and classic Nutcracker teeth.
Below him is a dimensional zippered front pocket featuring fabrics from the Nutcracker Tradition collection. The appliquéd mitten hands and crossed gold laces add another playful detail and help transform the entire front of the backpack into a Nutcracker character.
I love how this project gives you the opportunity to enjoy the Nutcracker theme in a completely different way while also creating something useful.
Building Your Bag Making Skills
This project is a wonderful opportunity to practice several useful sewing techniques in one project.
You will work with fusible fleece and firm interfacing to give the backpack structure, create a zippered gusset, make an interior zipper pocket, add adjustable webbing straps, construct a dimensional front pocket, and finish the inside seams with binding.
You will also use iron-on adhesive to build the Nutcracker appliqué one layer at a time. Watching his face take shape as each piece is added is such a fun part of the sewing process.
Three Tips for Sewing Your Nutcracker Backpack
1. Prepare and Label Everything First
There are several fabric, interfacing, webbing, and zipper pieces in this project. Cutting and labeling your pieces before you begin will make it much easier to stay organized as you sew.
2. Take Your Time with the Appliqué
The Nutcracker’s face is created by layering the appliqué pieces in order. Lay everything out before fusing so you can check the placement and make any small adjustments before permanently attaching the pieces.
3. Keep the Zippers Open During Final Assembly
When it is time to construct the backpack, remember to open the main gusset zipper before attaching the front and back panels. This opening allows you to turn the completed backpack right side out at the end.
Made for Holiday Adventures
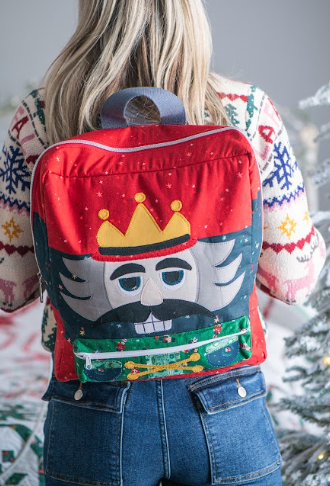
The finished backpack includes adjustable straps, a carrying handle, an exterior zippered pocket, and an interior zippered pocket, giving you plenty of space for crafting supplies, books, little treasures, or anything you need to bring along.
You can even add the optional Nutcracker Charm to the zipper pull for one final festive detail.
Whether you sew it as a special Christmas gift or make one to enjoy throughout the season, I hope the Nutcracker Backpack becomes a project that brings creativity, storytelling, and a little Christmas fun into your holiday traditions.
Yours in storytelling creativity,
Jennifer Long
Sew A Story


You May Also Like
Show Teachers Some Love
Home Town Holiday- Project Pouch