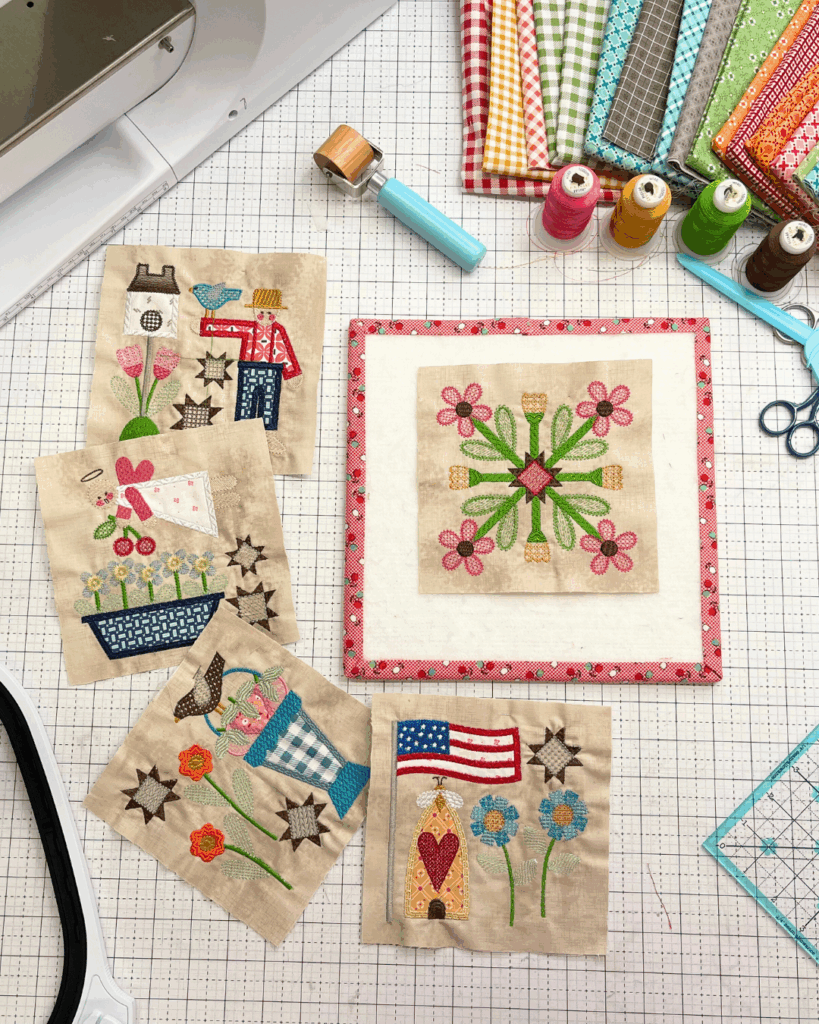
Prim Machine Embroidery Stitch Along – Block 5
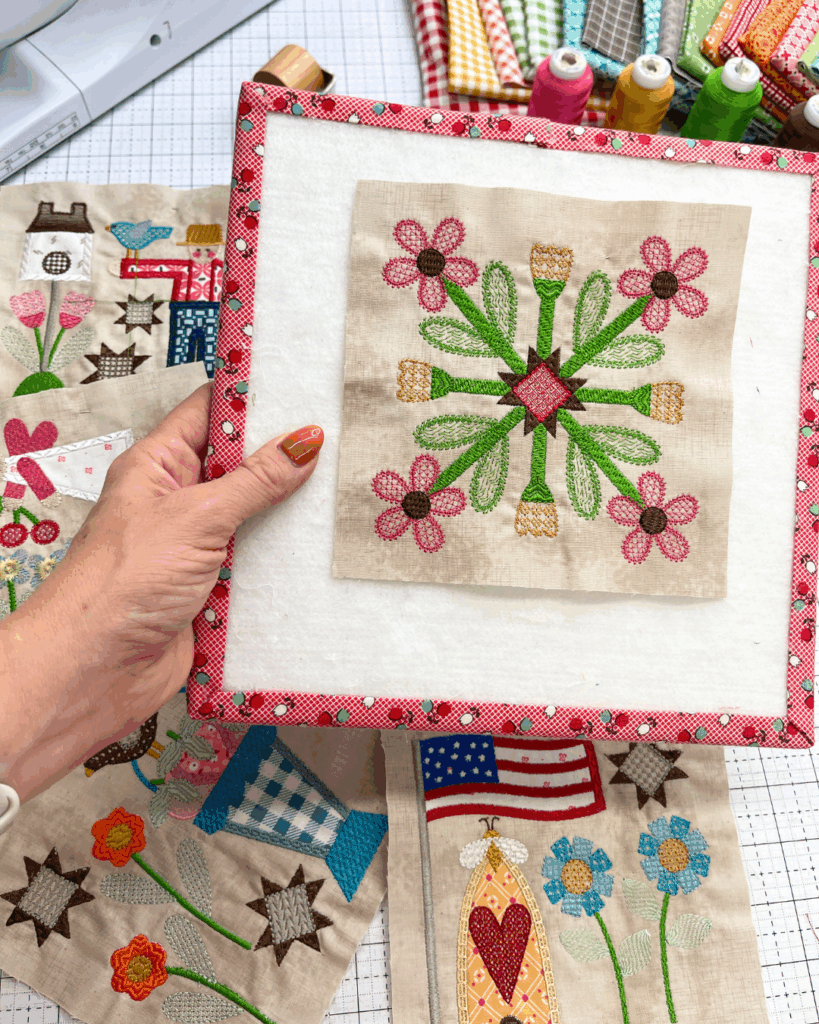
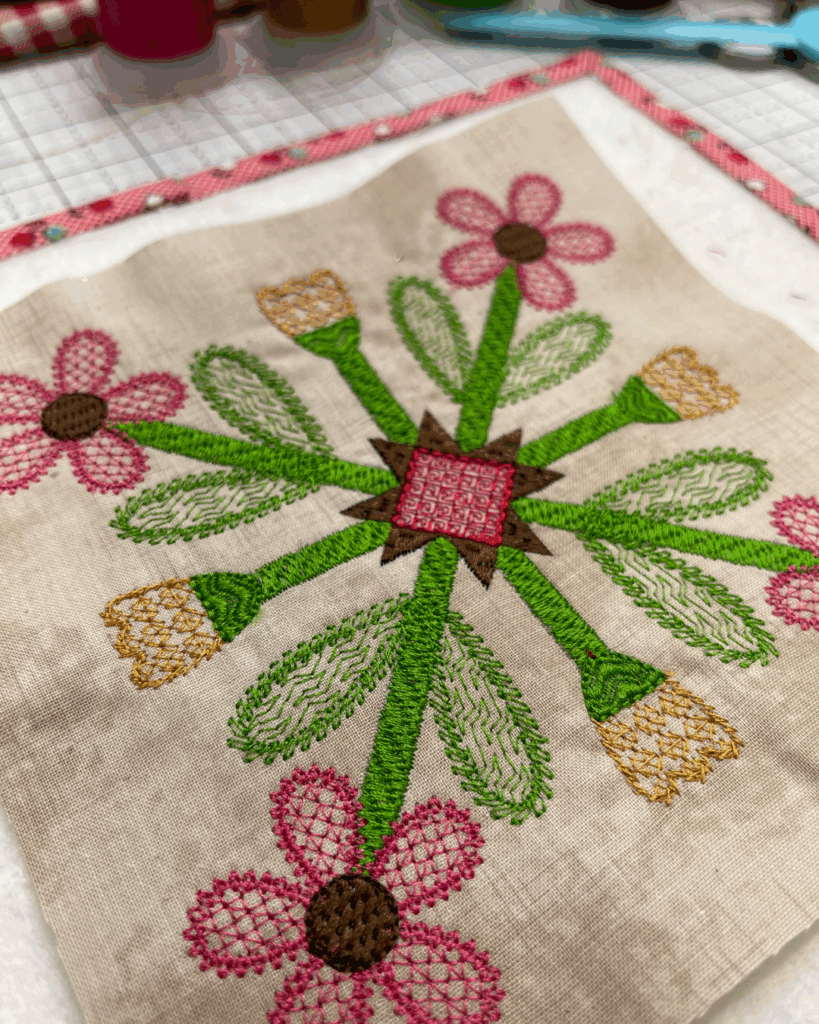
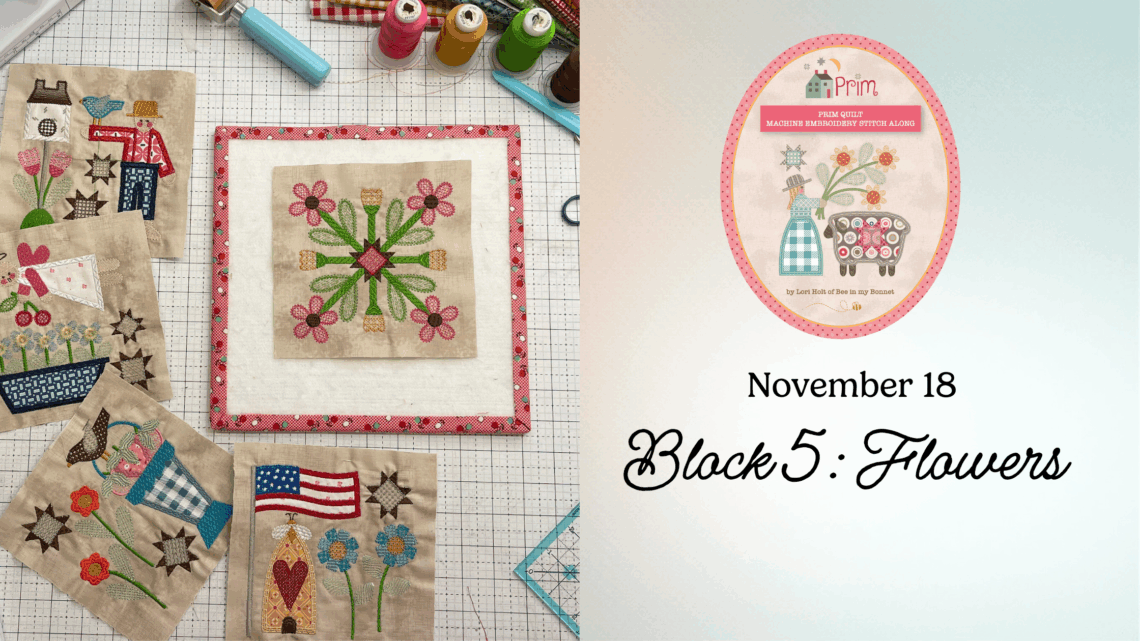
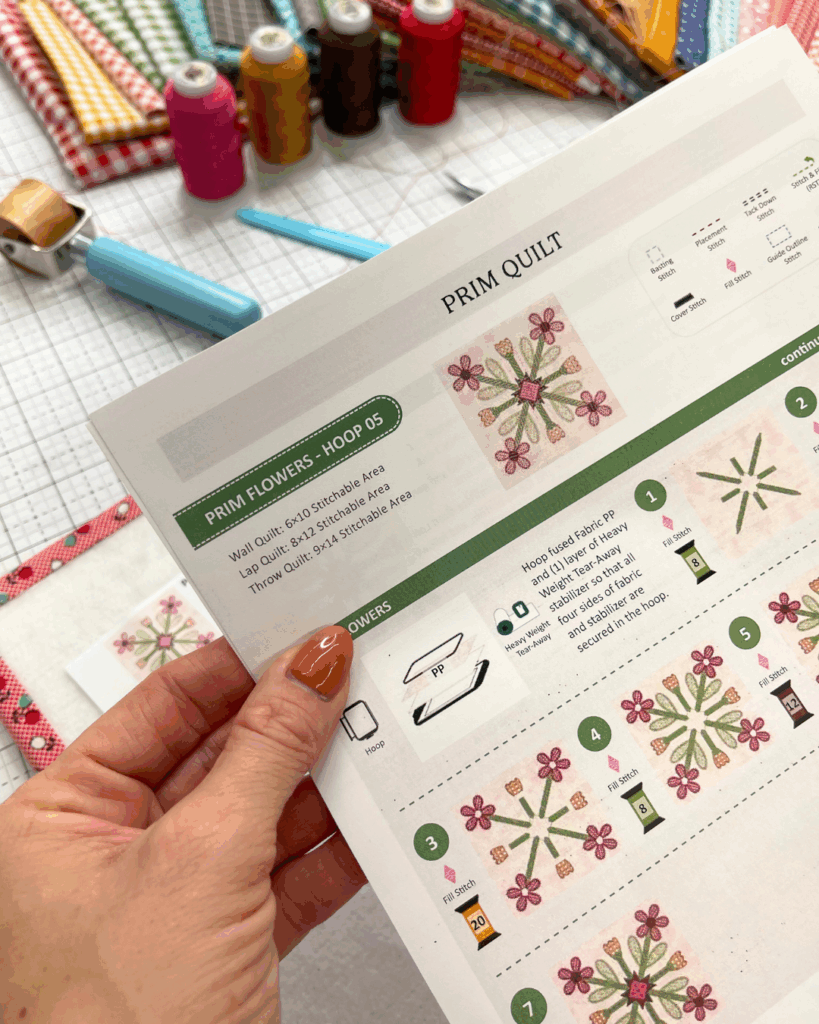
Block 5: Prim Flowers
The Prim Flowers block brings cheerful color and movement to the quilt, combining precise appliqué placement with beautiful satin stitching. This design is a perfect opportunity to focus on stitch density and cover stitch quality, which together define the polished look of your finished embroidery.
Understanding Satin Stitch Density
Satin stitches are used throughout this block to outline petals, stems, and centers. The right density gives each edge a smooth, full appearance without adding excess bulk.
Here’s what to watch for:
- Use proper stabilizer support. This block uses Heavy Weight Tear-Away Stabilizer, which prevents puckering under dense stitches.
- Avoid thread buildup. If your stitches begin to look heavy or uneven, check that the hoop is evenly tensioned and the fabric hasn’t shifted.
- Let your machine run at a steady speed. Consistent speed helps maintain smooth, even coverage in dense satin areas.
The goal is to achieve edges that are full and even, with no gaps or tight pulling along curves.
Improving Cover Stitch Quality
Cover stitches finish the edges of appliqué pieces, hiding raw fabric and creating a clean outline. On curved shapes like flower petals, tension and speed control make a noticeable difference.
Tips for smooth edges:
- Slow your machine slightly when stitching tight curves to maintain even tension.
- If the edge begins to lift, pause and ensure the stabilizer is still fully supporting the fabric underneath.
- Avoid trimming appliqué pieces too close before the final satin stitch — leave a narrow margin so the stitch can fully encase the edge.
Well-executed cover stitches elevate your block from “handmade” to “professionally finished.”
Stabilizer and Hooping Setup
Hoop your fused fabric and one layer of Heavy Weight Tear-Away Stabilizer, making sure all four sides are evenly tensioned. Smooth hooping supports the satin stitches, especially along long stem lines where density can cause slight fabric draw-in.
Refer to the Riley Blake Designs Stabilizer Chart for additional guidance on stabilizer brands and types.
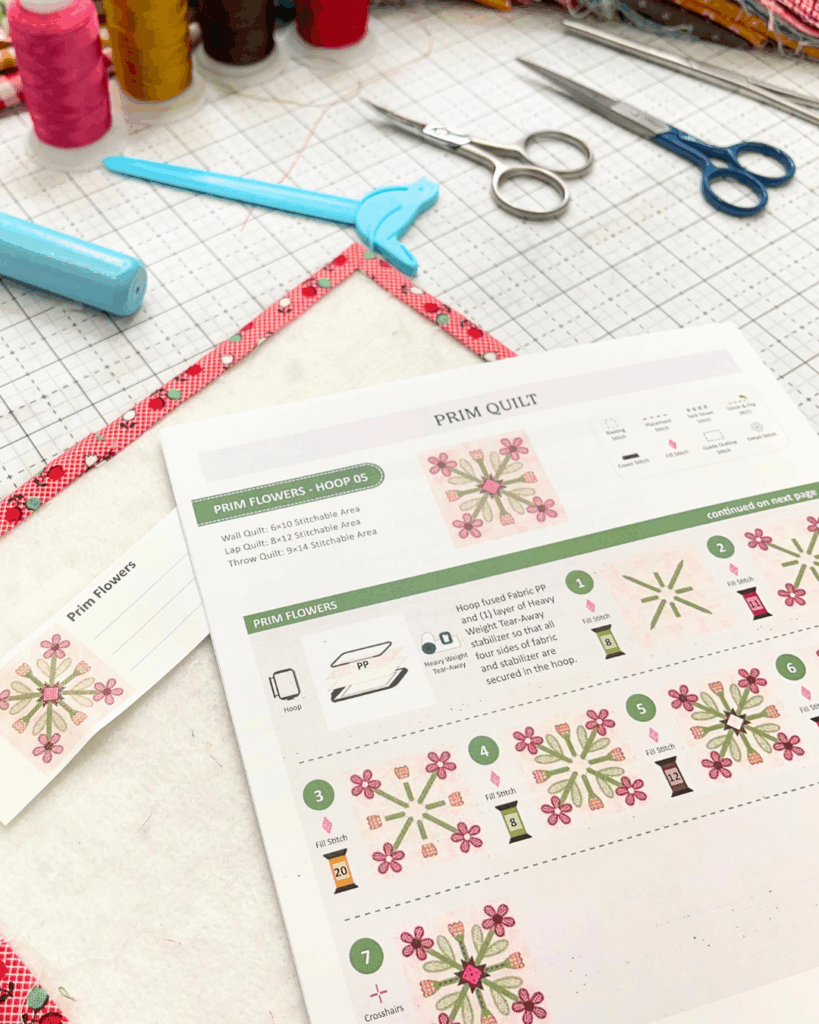
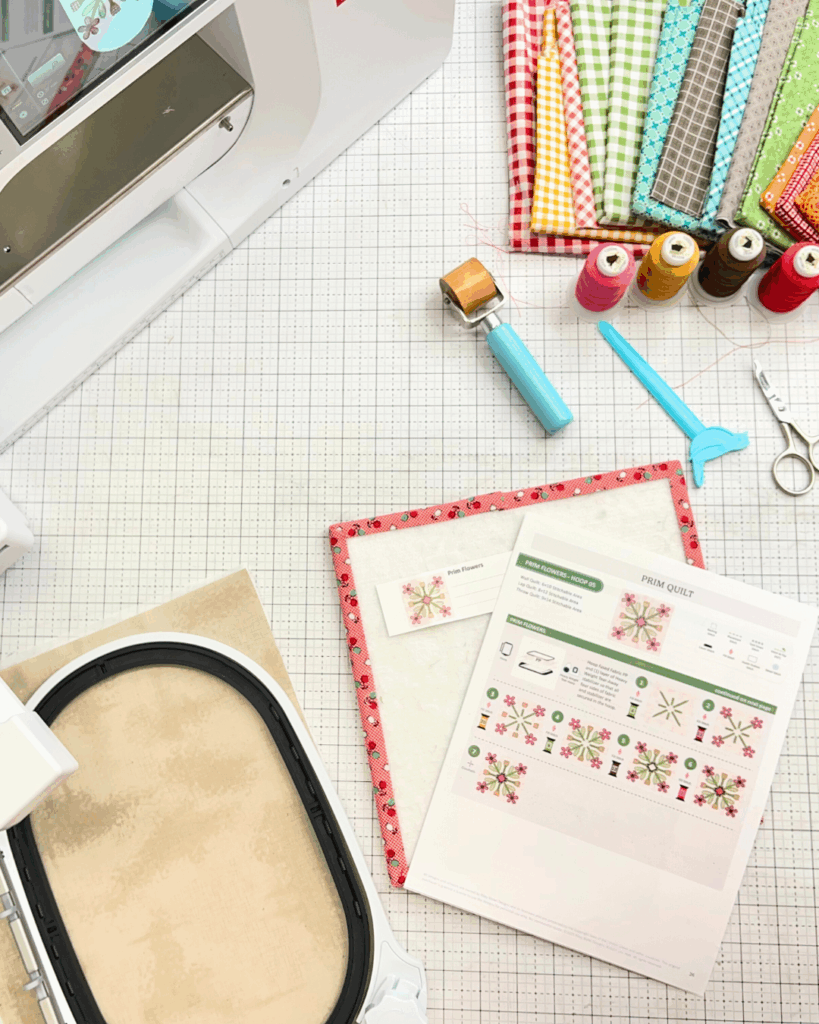
Trimming and Finishing
Once your block is stitched, gently remove the stabilizer and press from the back using a wool or Jillily Studio Press It Pad. Trim to size using Lori Holt’s Trim-It™ Rulers, aligning the crosshairs with the center of your design for perfect balance.
A clean trim line helps the floral shapes stand out beautifully in the finished quilt layout.
Watch and Stitch Along
Follow the complete Block 5: Prim Flowers tutorial on the Riley Blake Designs YouTube channel.
This video demonstrates satin stitching along curves, density control, and how to achieve smooth coverage in floral shapes.
Share Your Progress
Show us your Prim Flowers block in the RBD & M.E. Facebook Group to connect with others stitching along. Share your work on social media using #RileyBlakeDesigns, #RBDandMe, and #PrimStitchAlong so we can celebrate your progress.
Credits:
- Prim Quilt designed by Lori Holt of Bee in My Bonnet
- Machine Embroidery Files by Riley Blake Designs
Blog and education by Jennifer Long, Machine Embroidery Manager, Riley Blake Designs


You May Also Like

5 New Free Halloween Patterns!
New Box of Crayons Square Up Baby Quilt