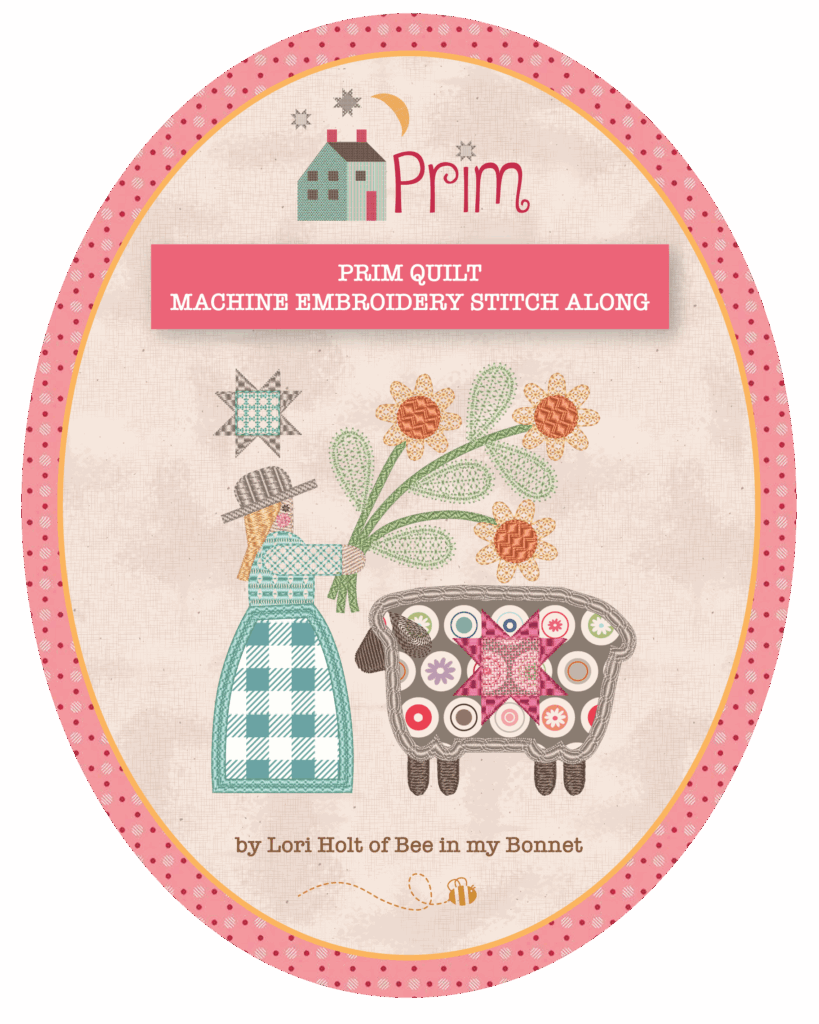
Get Ready for the Prim Quilt Machine Embroidery Stitch Along
Hello, stitchers! My name is Jennifer Long, Machine Embroidery Manager at Riley Blake Designs, and I’m so excited to welcome you to the Prim Machine Embroidery Stitch Along!
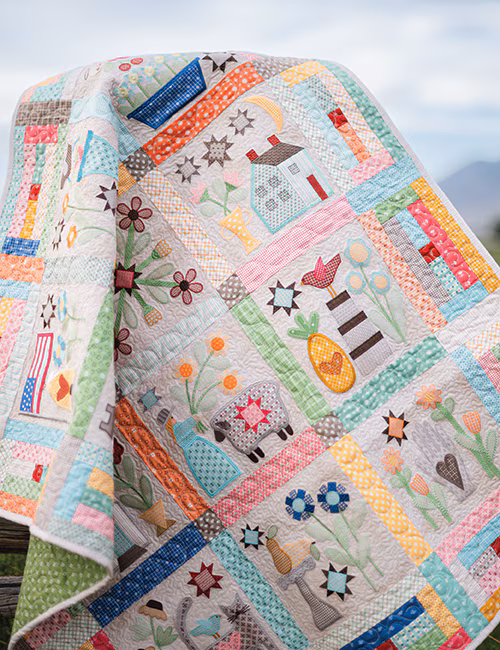
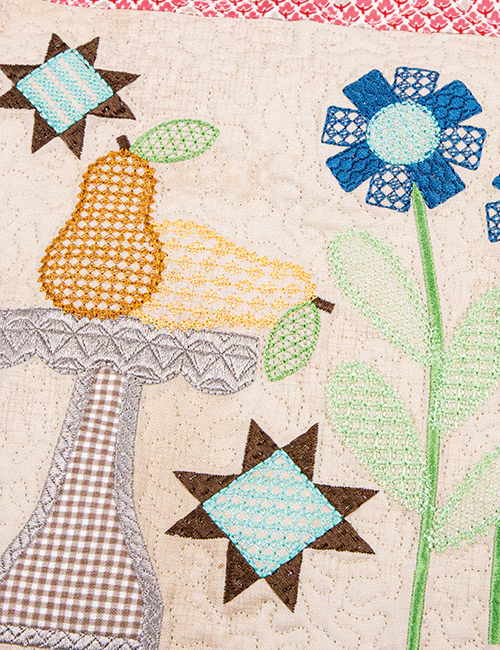
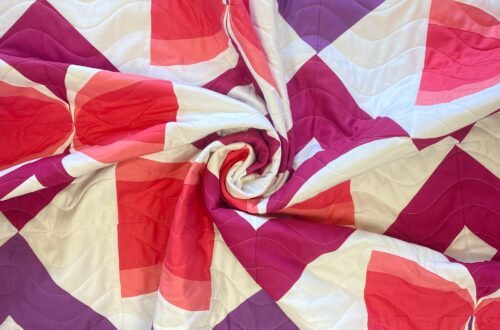
This series celebrates Lori Holt’s beloved Prim quilt, reimagined for machine embroidery. Whether you’re new to embroidery or a long-time Lori Holt fan, you’re going to love creating this heartwarming quilt block by block using your embroidery machine.

What Makes the Machine Embroidery Version Special
The Prim Machine Embroidery Quilt comes in three stitchable area sizes: 6×10, 8×12, and 9×14 so you can choose the version that fits your machine and space. Each option results in a slightly different finished size, from a cozy wall quilt to a generous lap quilt.
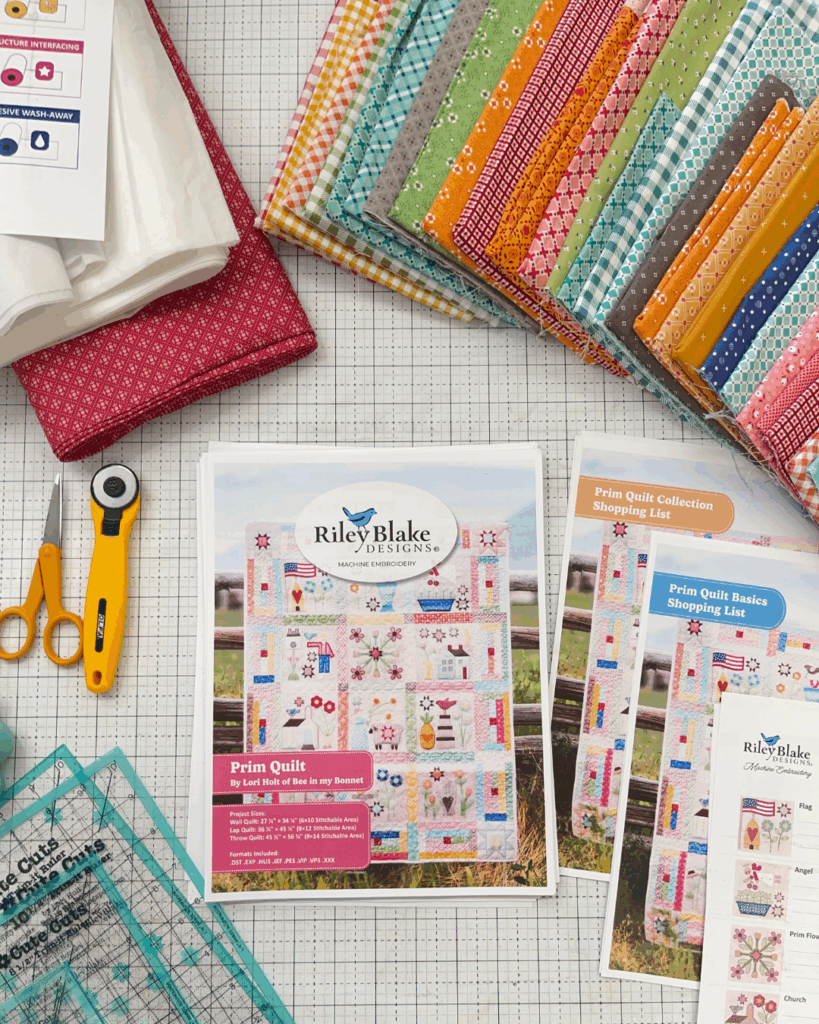
All the details are included in the Prim Machine Embroidery pattern, which you can find on your Prim Quilt USB marked at Instructions.pdf. That’s also where you’ll find the Stitch Along Schedule, so you can follow along as we post each block.
Choosing Your Fabrics
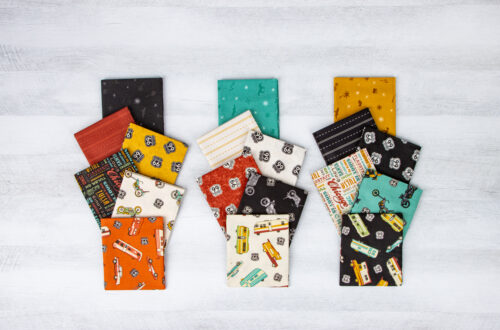
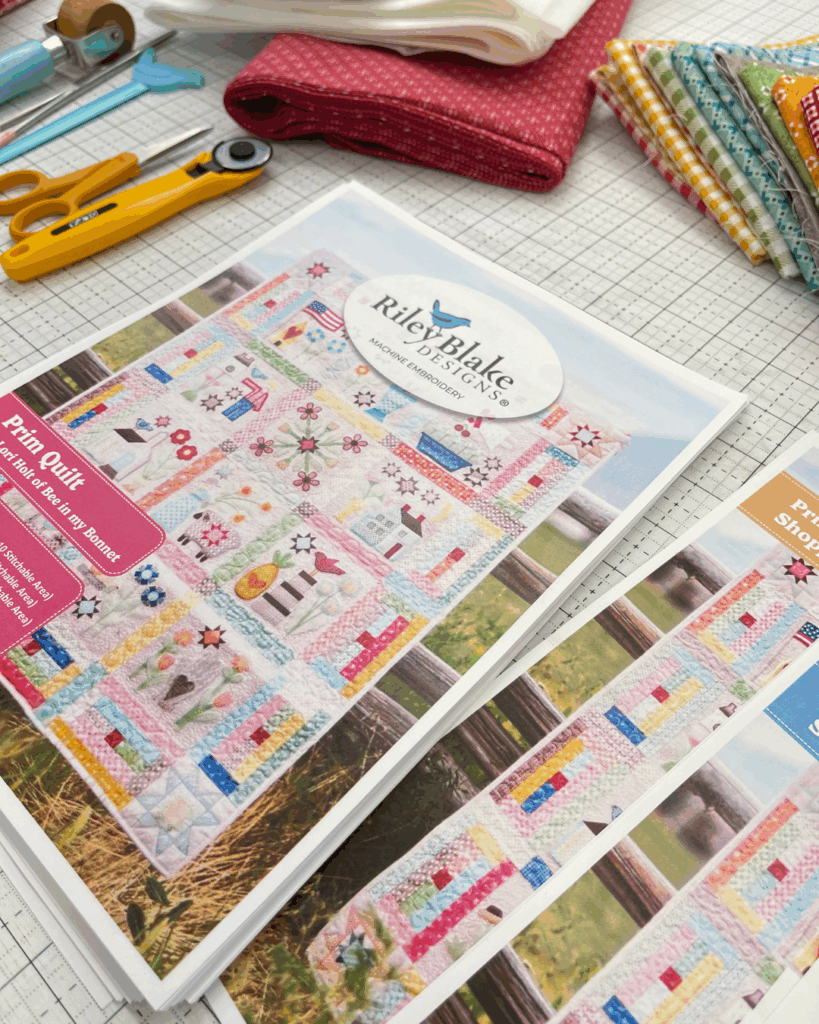
You can make your quilt exactly like Lori Holt’s original Prim design by using the Prim fabric collection, or you can mix and match with your favorite Riley Blake Basics for a custom look. We have BOTH versions available in cutting and fabric allocation on the website HERE.
Here’s a simple way to decide:
- Using the Prim Collection: Perfect if you love Lori Holt’s vintage style, soft colors, tiny florals, and nostalgic prints.
- Using Riley Blake Basics: Great for stash-friendly flexibility. Look for small-scale prints, ginghams, dots, and solids that coordinate with your palette.
Whichever you choose, keeping consistency in color and scale will help your finished quilt feel balanced and cohesive.
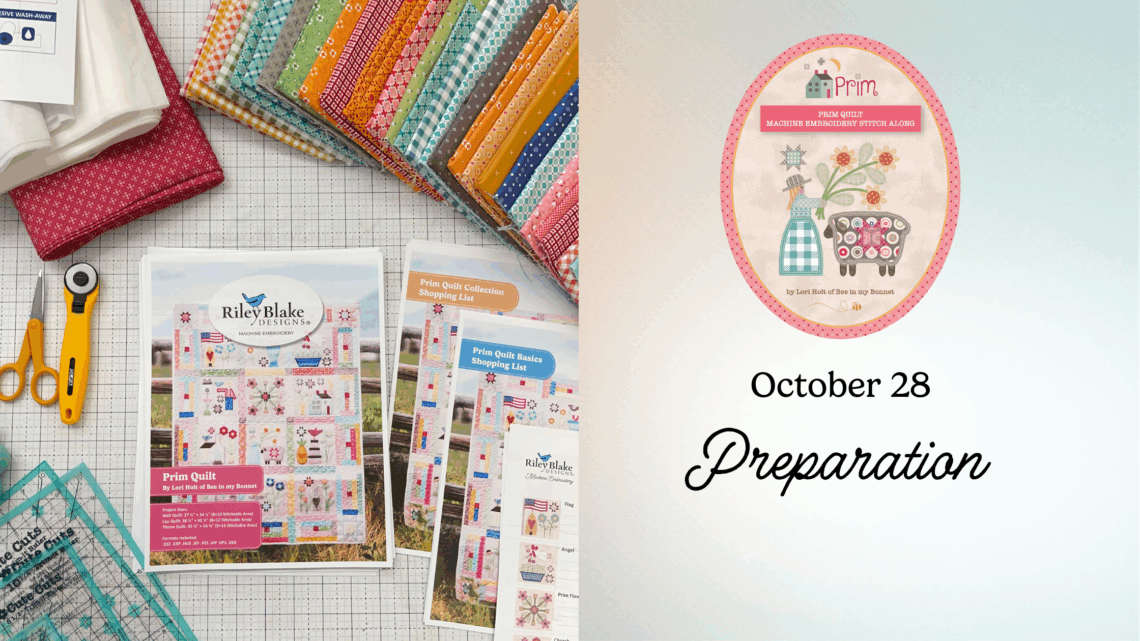
Preparing and Cutting Your Fabrics
Before we start stitching, let’s get everything ready:
- Press your fabrics. Smooth, flat fabrics hoop better and ensure clean stitches.
- Cut according to your pattern. Use the cutting charts included in your Prim Machine Embroidery pattern.
- Pre-cut applique pieces. This saves time when stitching each block.
- Label everything! We’ve included printable Block Labels in your download files on your USB.
- Stabilize your fabric with the pink iron icon. This step makes all the difference for professional results!
Understanding Stabilizers
Machine embroidery stabilizers provide the foundation your fabric needs for dense stitching and layered applique.
For the Prim quilt, follow the stabilizer types exactly as written in the pattern:
- Use Heavy Weight Tear-Away Stabilizer for most quilt blocks (such as Angel, Farmhouse, Prim Flowers, and Heart). Hoop your fused fabric with one layer of heavy weight tear-away so that all four sides are secured in the hoop.
- Use No Show Mesh Cut-Away Stabilizer for the Prim Steps blocks. Hoop one layer so that all four sides of the stabilizer are secured in the hoop.
These two stabilizer types provide the right support for each block, ensuring your stitches stay crisp, your applique edges remain smooth, and your quilt finishes beautifully.
You can find detailed brand recommendations and stabilizer weights in the official Riley Blake Designs Stabilizer Chart. This helpful chart will guide you in choosing the correct stabilizer for your fabric and design type to achieve the best stitch quality possible.
Download and Use Your Block Labels
Inside your Prim Machine Embroidery pattern, you’ll find an extra download called “Block Labels.” This printable sheet helps you stay organized through all thirteen blocks.
Here’s how to use them:
- Print on plain or sticker paper.
- Cut out each label.
- Attach them to zip bags or envelopes to hold your pre-cut fabric pieces.
This small step keeps your project tidy and lets you move from one block to the next with ease.
Ready to Begin?
Now that your fabrics are prepped, labeled, and stabilized, you’re ready for the first block!
Join us on Tuesday Nov. 4, 2025, as we begin stitching Block 1: Flag together. You can find the full schedule on the Prim Stitch Along Schedule and all additional details under the Machine Embroidery tab on the Riley Blake Designs website.
We’d love for you to join the RBD & M.E. Facebook Group to share your progress, ask questions, and be inspired by others stitching along. It’s a wonderful space to connect, learn, and celebrate your creativity together.
And don’t forget to share your photos on social media using #RileyBlakeDesigns, #RBDandMe, and #PrimStitchAlong so we can cheer you on and showcase your beautiful work!


You May Also Like
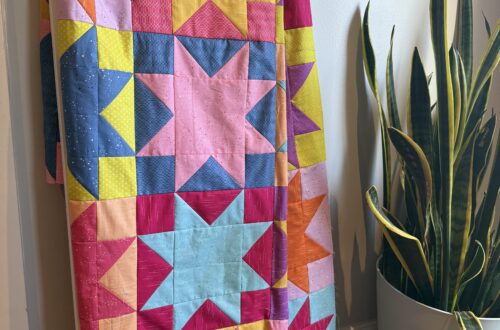
Essence Sawtooth Stars Quilt
Divisadero – A New Modern Quilt Pattern by Sarah Jean Makes