
Desert Daydreams Design of the Month – Hollyhock
Hi there, all you cool Pins and Needles! It’s Melisa from Stitchology. Today I want to share with you our third block in the 2025/2026 Design of the Month program. On the 2nd Friday of each month, I release a new nine-inch raw edge applique block kit. This year’s theme, Desert Daydreams, is inspired by my childhood in New Mexico. In addition to the monthly blocks, we will release a quilt that incorporates all 12 blocks as we approach the finish line. The blocks are available as kits or PDF downloadable patterns and once the month is over that kit will no longer be available, so you will need to be sure to check back monthly to see the new design and to grab your kit while you can!

Kits can be purchased here:
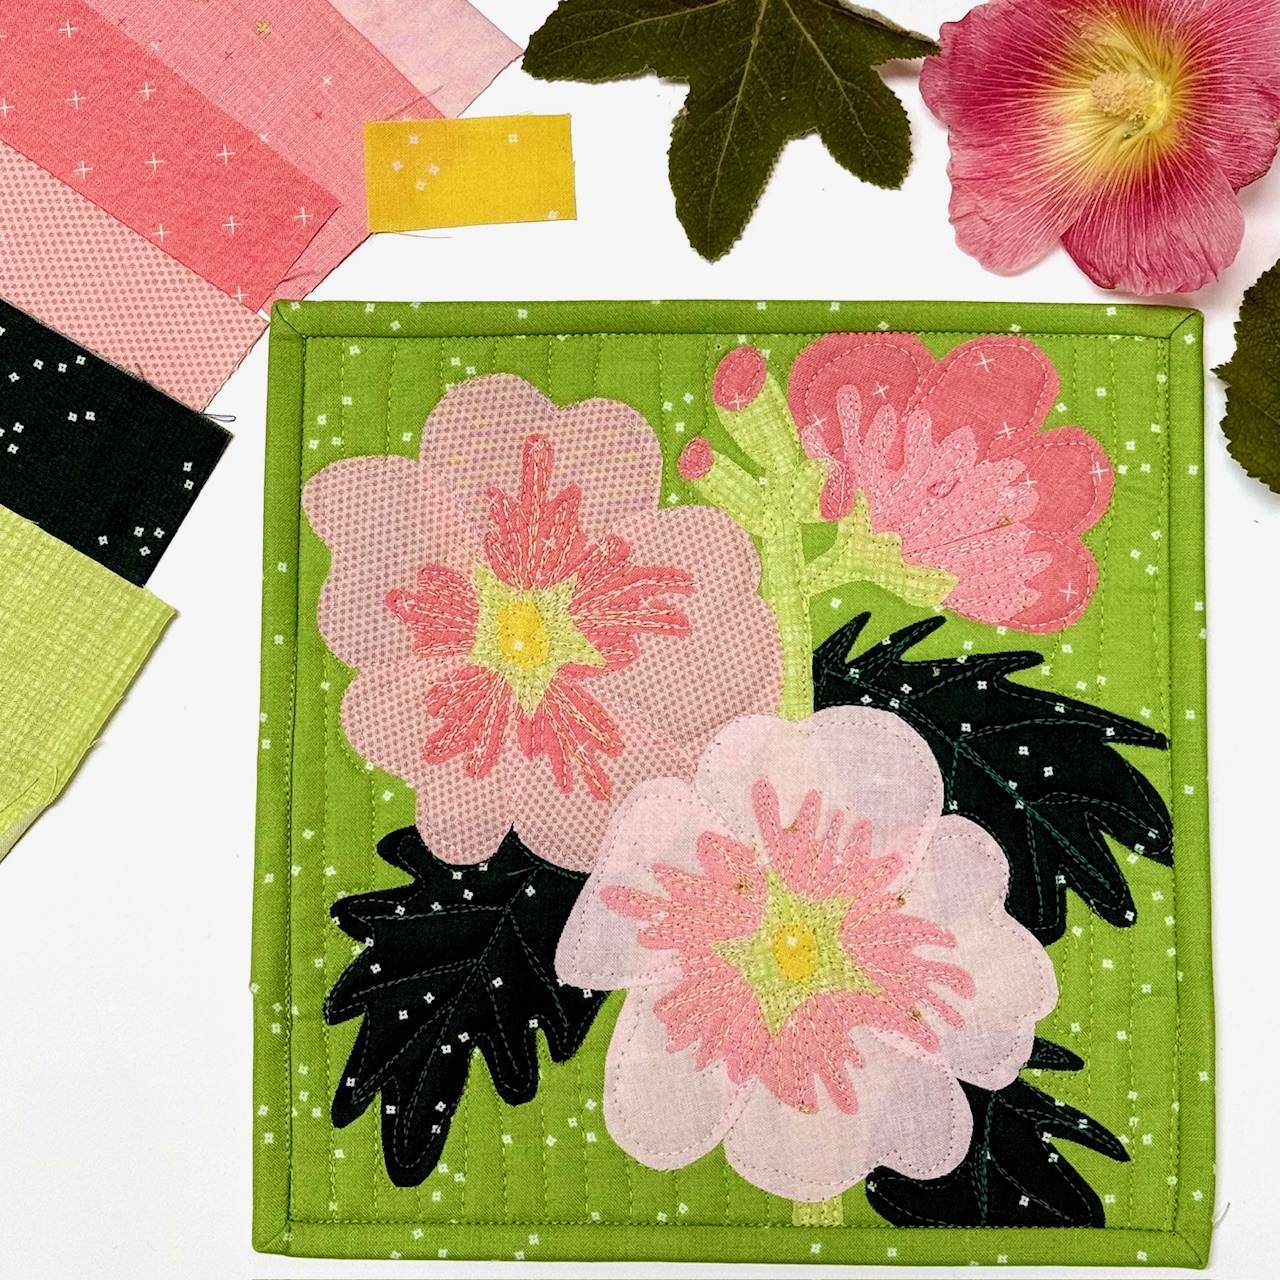
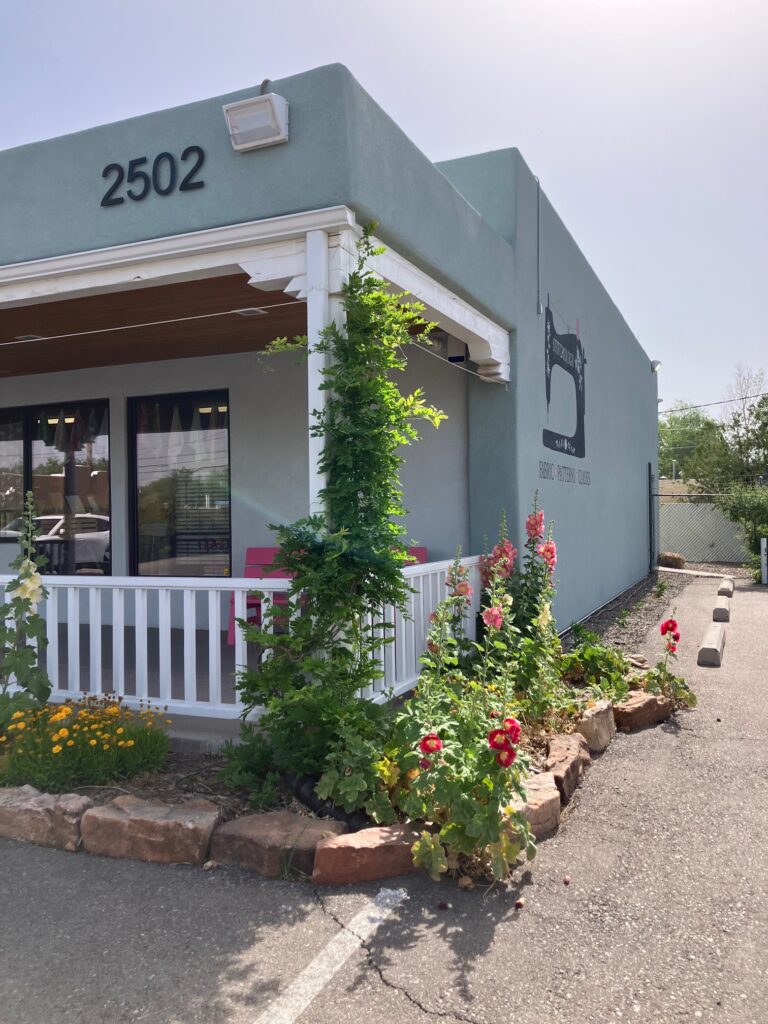
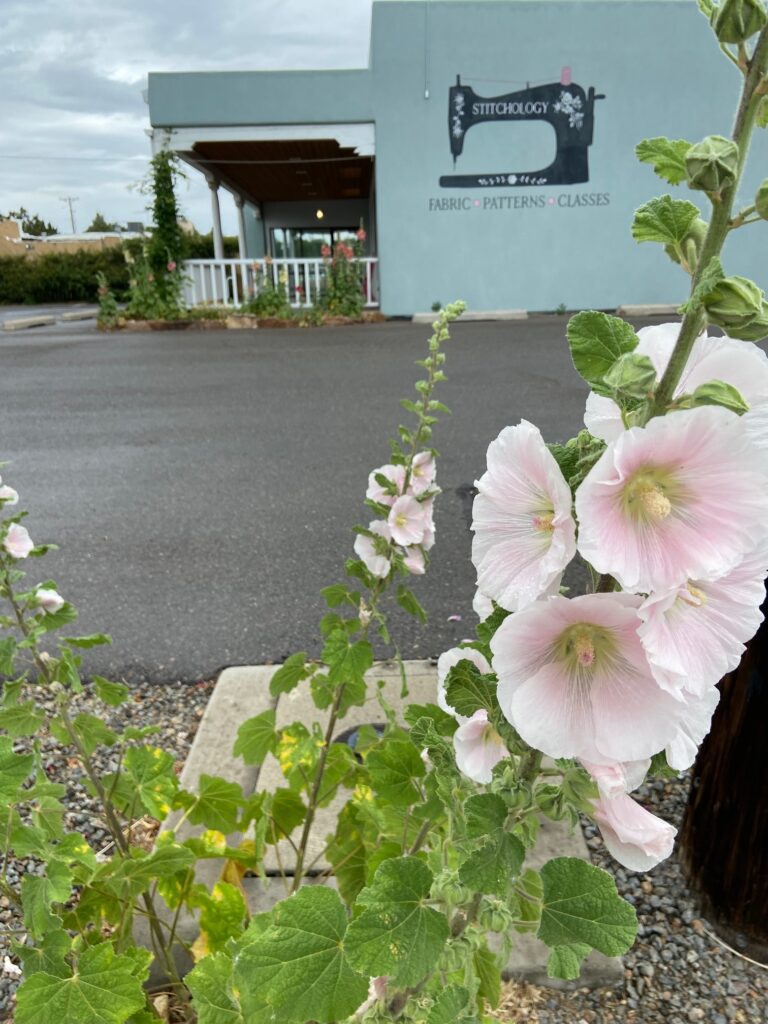
Our third block features the Stitchology Hollyhocks. Hollyhocks are common around New Mexico, and we have a garden that wraps around the Stitchology front porch where the hollyhocks grow wild. Each year they reseed themselves and have produced colors I’ve never seen before. We get peachy pinks that are stunning, so I knew we had to include them in this collection.

Today I will show you how to use parchment paper to make the raw edge applique even easier. I find this technique is helpful in designs that have lots of individual sections such as this hollyhock block. It’s also incredibly helpful when I’m designing because often the background fabric I think is going to be perfect is a disappointment and this technique allows me to build my applique design before auditioning different background fabrics.
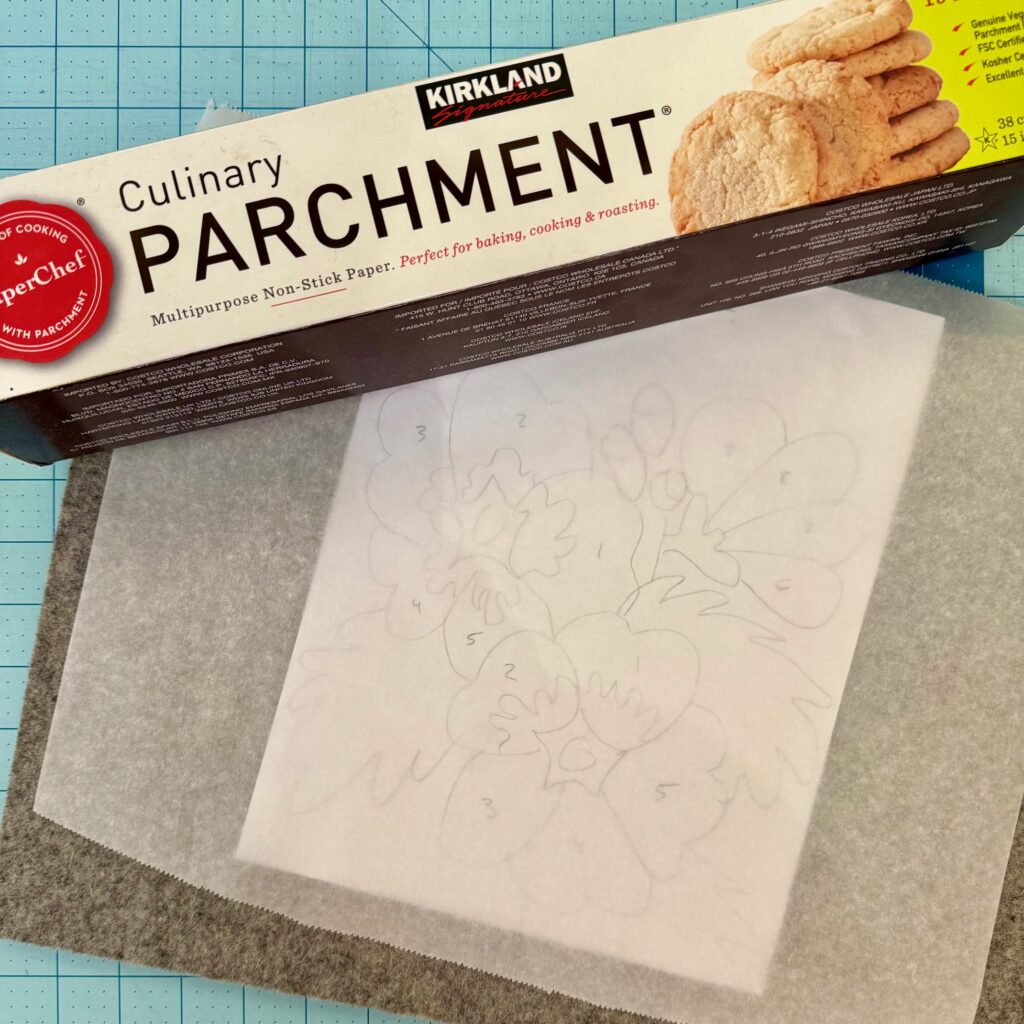
In addition to the regular supplies, you will also need culinary parchment paper. I purchase mine at Costco, but you should be able to find it at most grocery stores in the baking section. you can find more information about some of my favorite tools in a previous post:
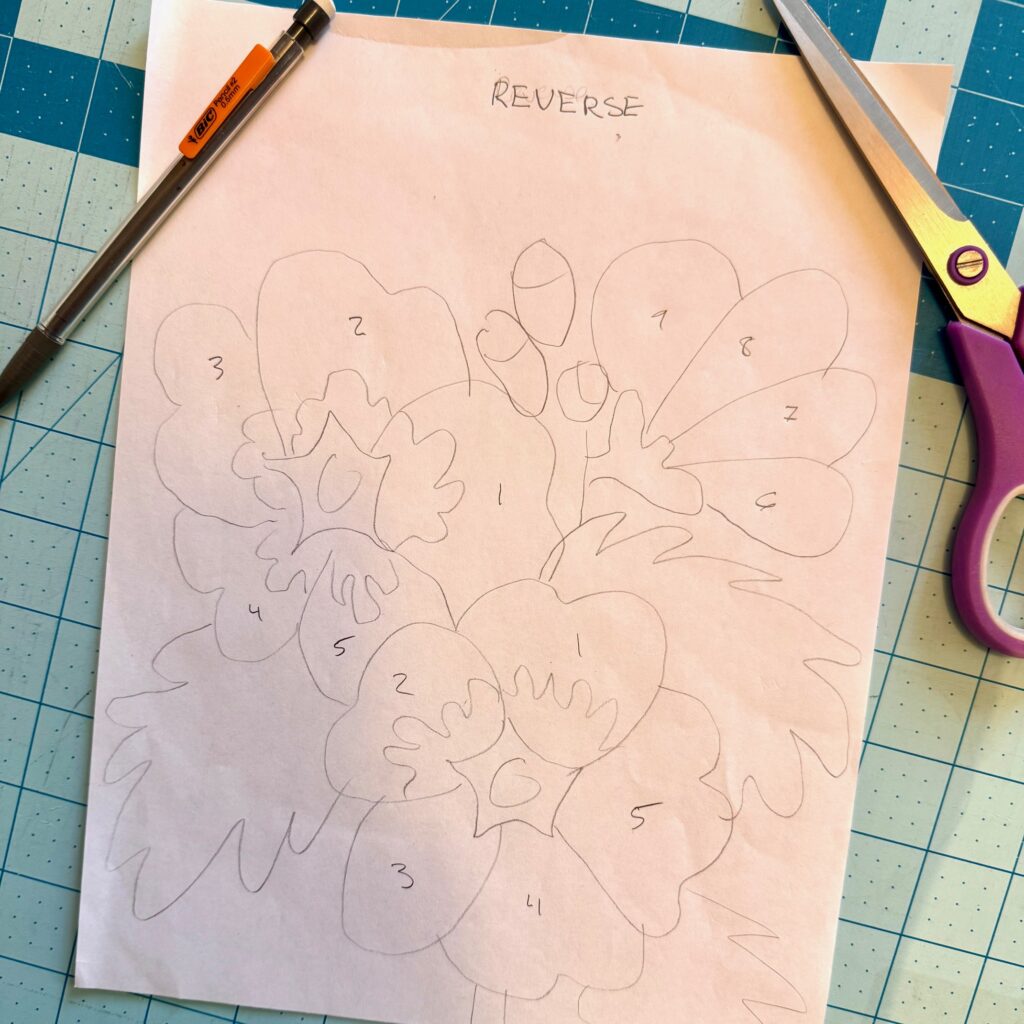
Note. The pattern is an INVERSE image of the finished block. This is by design.
- This design has several different pieces so the first thing I did was number each piece on the pattern. As I traced each individual piece onto the release paper of the fusible web, I made sure to include the number for future reference.
- Prep all the pieces by tracing them onto the release paper of the fusible web and ironing them to the wrong side of the fabric. You can read more about the process in my last post here:
3. I chose to build each flower section separately so I waited until I was working on a section to cut out my fabric so I didn’t have to worry about loosing little pieces, but if you prefer to cut all the shapes at once that works well too!

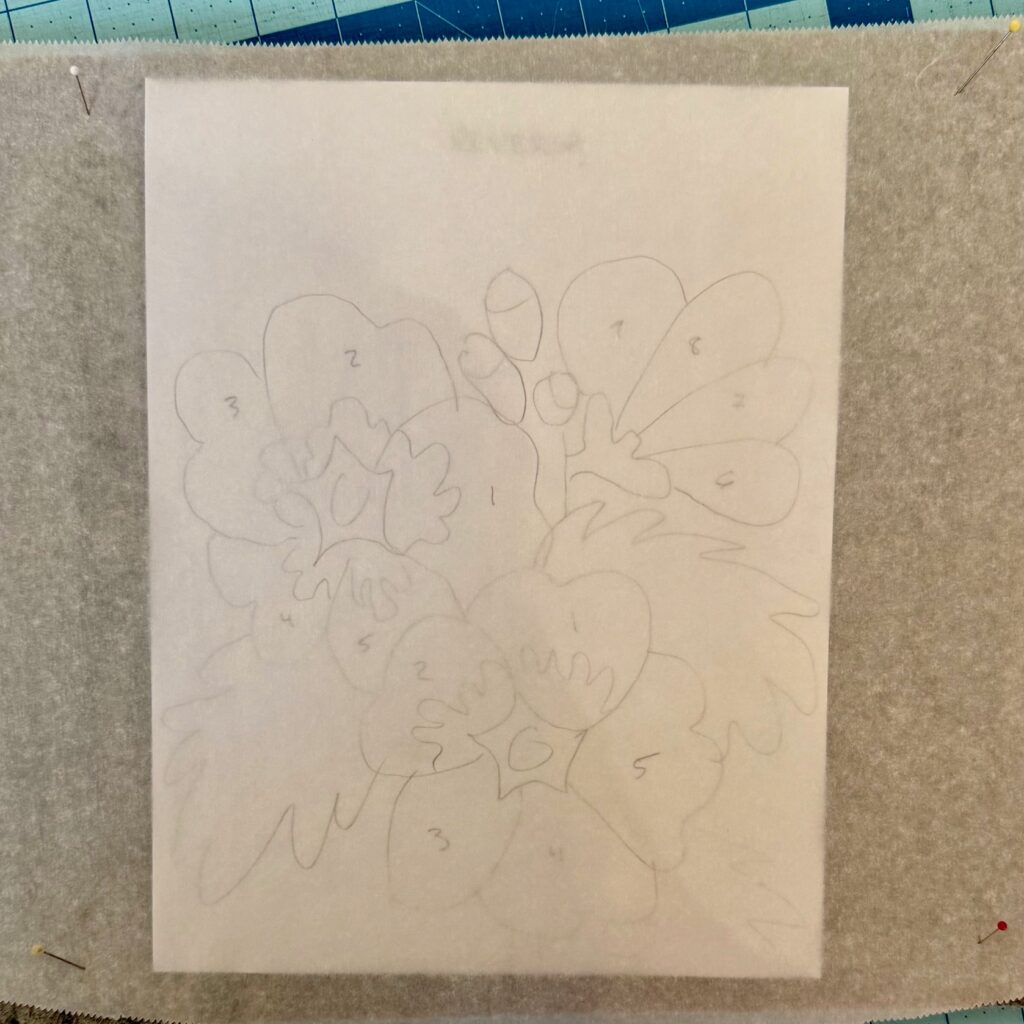
4. Flip the pattern over and use a lightbox or window to trace the pattern onto the flipside of the paper. You will now have an image facing the same direction of the finished block.
5. Tear off a piece of parchment paper and place it over the newly traced pattern. I find I prefer to do this step on a wool pressing mat because I can use pins to pin the parchment paper in place. I have yet to find a tape that sticks well to parchment paper, but painters’ tape or cloth medical tape work the best if you do not have a wool pressing mat. The parchment paper is easy to see through so you can use your traced pattern as a layout diagram.
6. I’m going to start by assembling each of the flower sections separately. If you have not already, finish cutting all the individual parts for one flower.
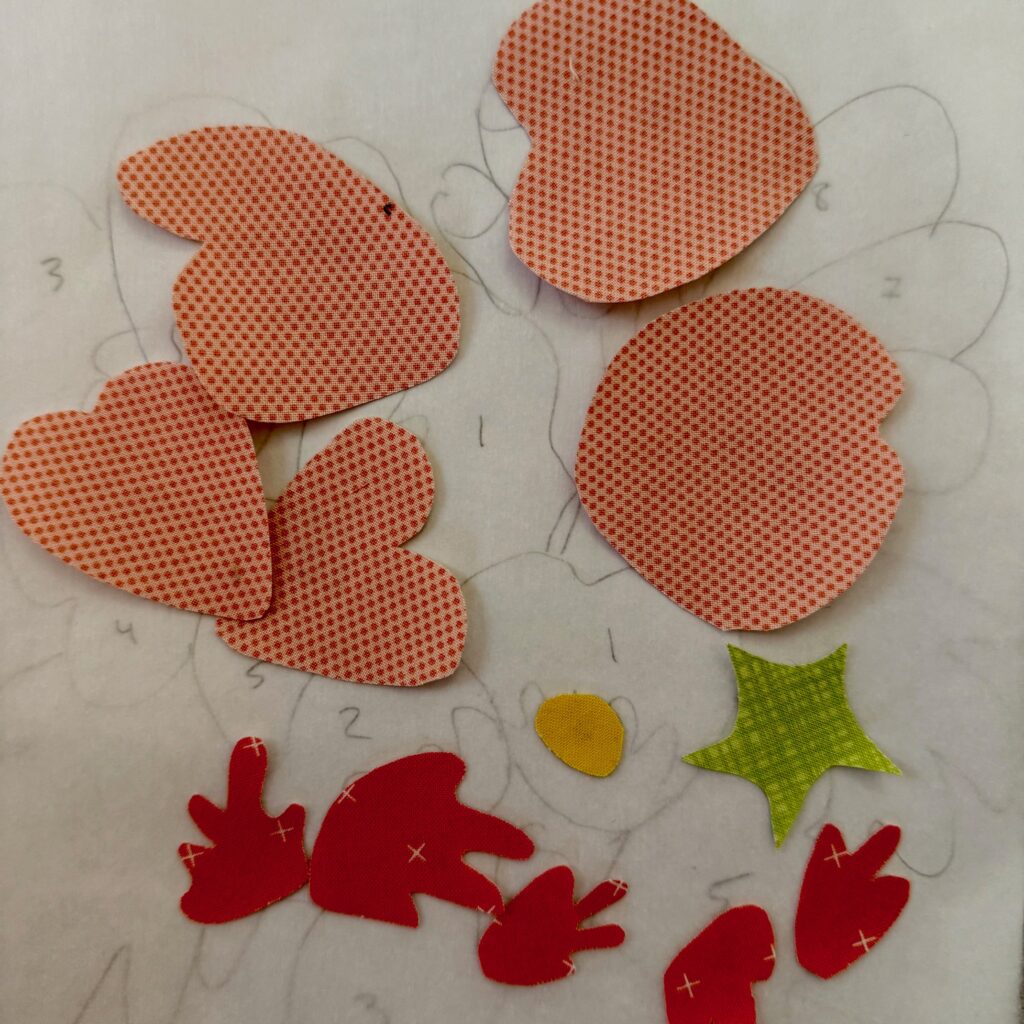
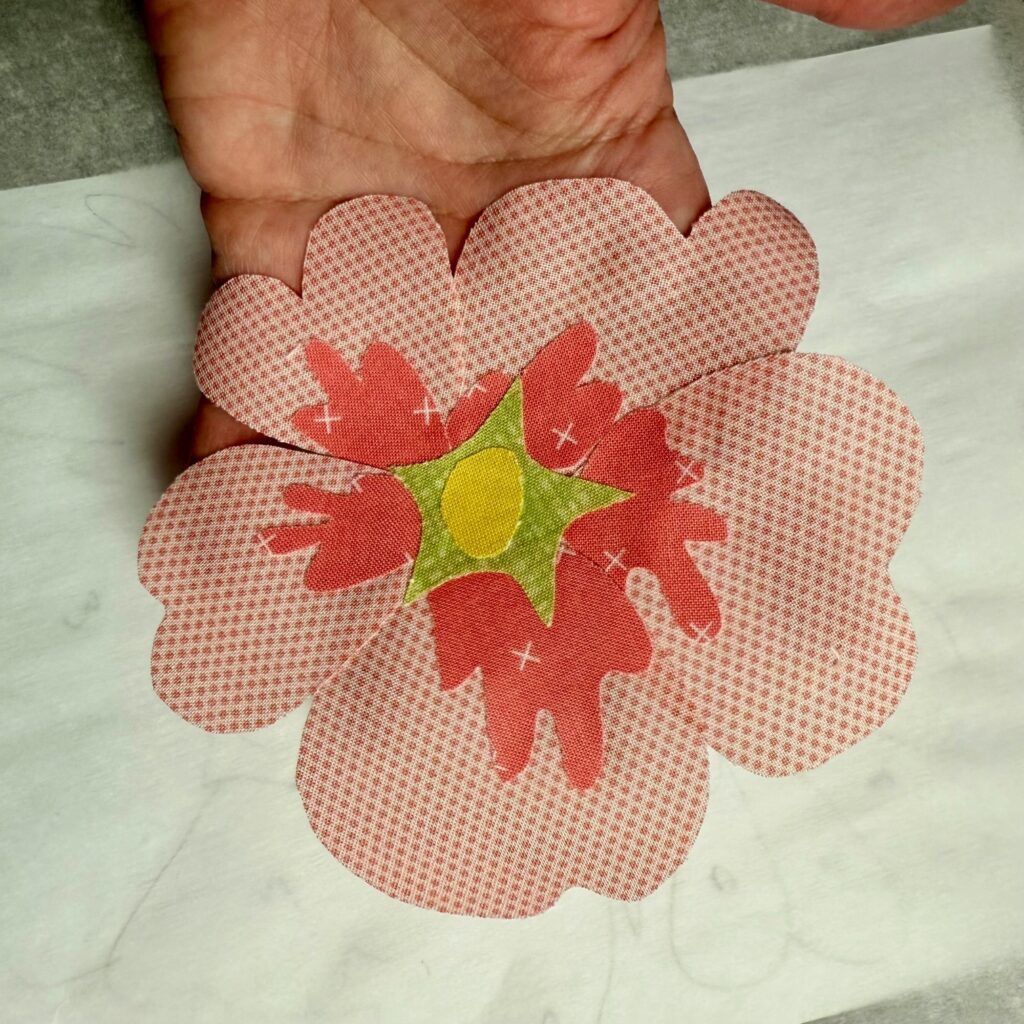
7. Remove the release paper and arrange each piece where you like. Place all the pieces on the parchment paper and use the pattern underneath as a guide. If pieces overlap, start with the bottom layer and work your way up. Don’t worry if your block looks a little different. Each one takes on a personality of their own and that is part of the charm!
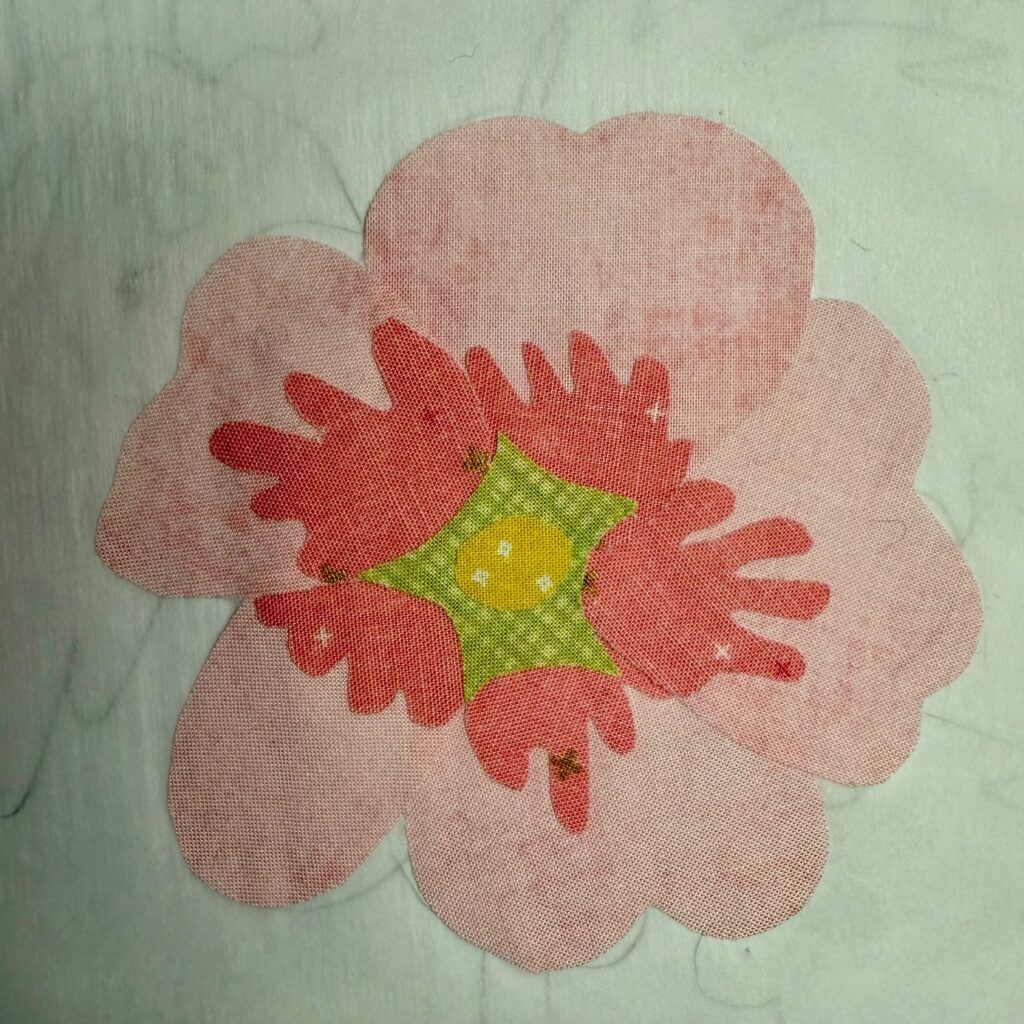
8. Keeping your fabric on the parchment paper, iron the pieces in place. You can use steam now, but I try not to as it will cause the parchment paper to curl.
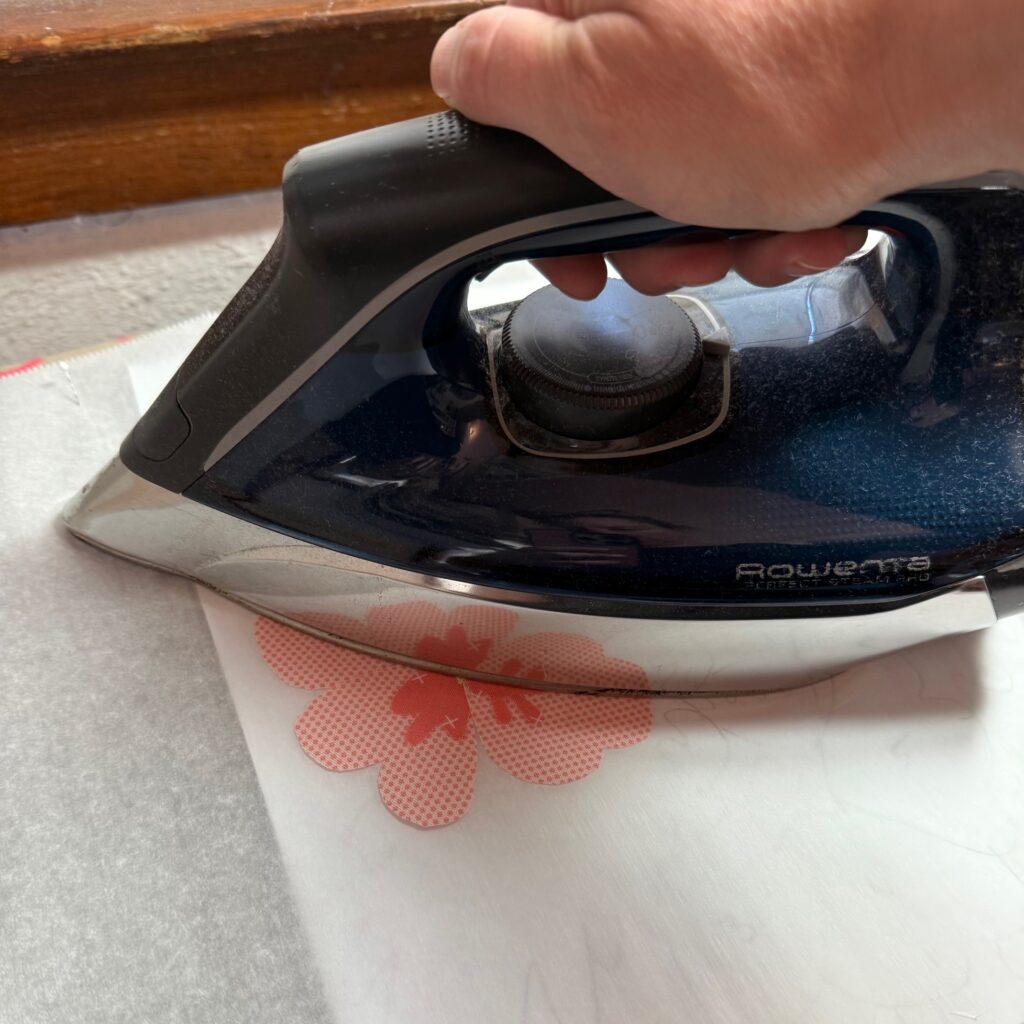
9. Allow the pieces to cool for a few seconds. Once they are fully cooled you can peel the applique off the parchment paper.
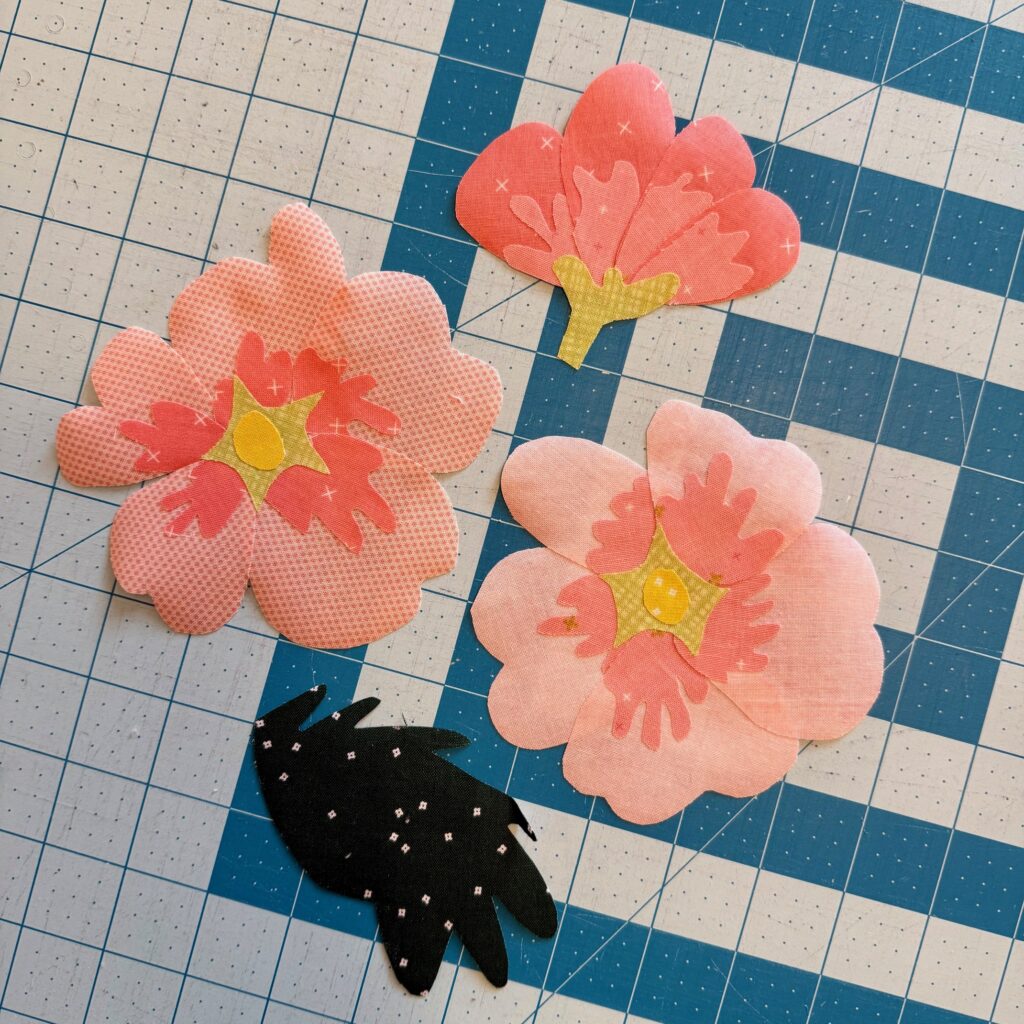
10. Repeat this process until you have built each individual section. In this case that’s two full flowers and the partial flower.
11. Cut out any additional pieces and finish assembling your block. The block can be assembled on the parchment paper or directly to the background fabric. Once you are pleased with the placement, iron all the pieces to the background fabric. Iron for a few seconds to secure all the pieces and then apply steam to help melt the HeatNBond.

If you are a visual learner, you can find a video tutorial on raw-edge applique here:
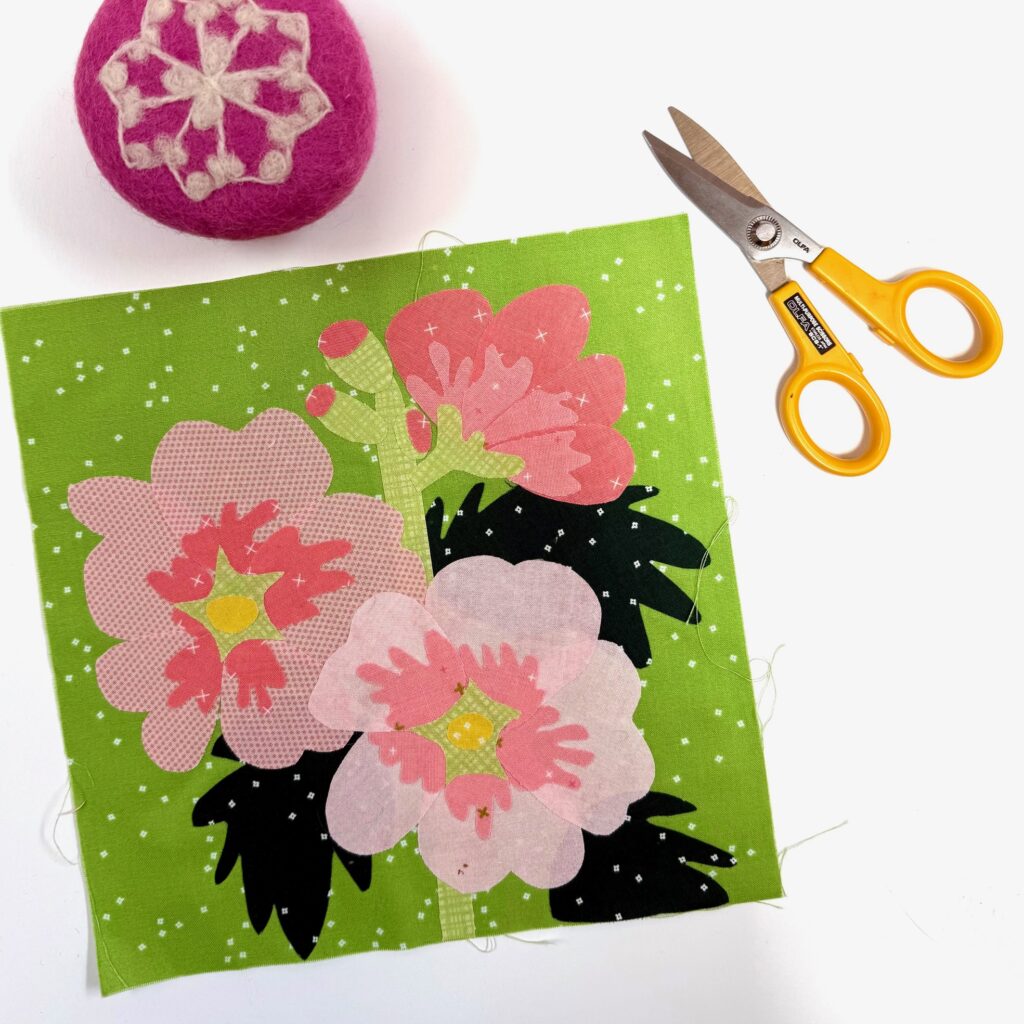
You have now completed the hollyhock block and it can be set to the side until all the blocks are finished, or you can quilt it now and make a small wall hanging. We will be back next month with some more tips on raw edge applique and to show how decorative stitching can bring the designs to life.
Thanks for reading!
Melisa


5 Comments
Lisa Brandt
How do you finish your raw edges?
Melisa Hart
The beauty of raw edge applique is you do not need to finish the raw edges! The HeatNBond keeps the fabric from fraying. It is common to stitch around the individual pieces to keep them secure, but I wait to do this until I quilt the finished project.
Pingback:
Pingback:
Pingback: