Make it Modern Pillows – April 2024 Tutorial
It’s Jamie again from Sew Brainy Designs! It’s year 3 of my Make it Modern Pillows series! I’m so excited and I have some fun designs in store for this year! In case you missed 2022 or 2023 pillow fun, you can click the link below. Last year we started a fun Facebook Group so we can all sew along together!
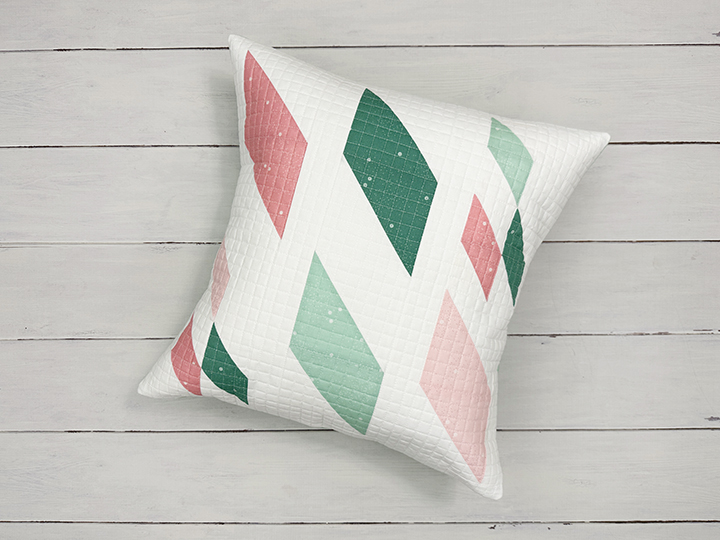
March’s block used HST units to create diamonds for an argyle vibe. In case you missed it, click on the link below to check it out.
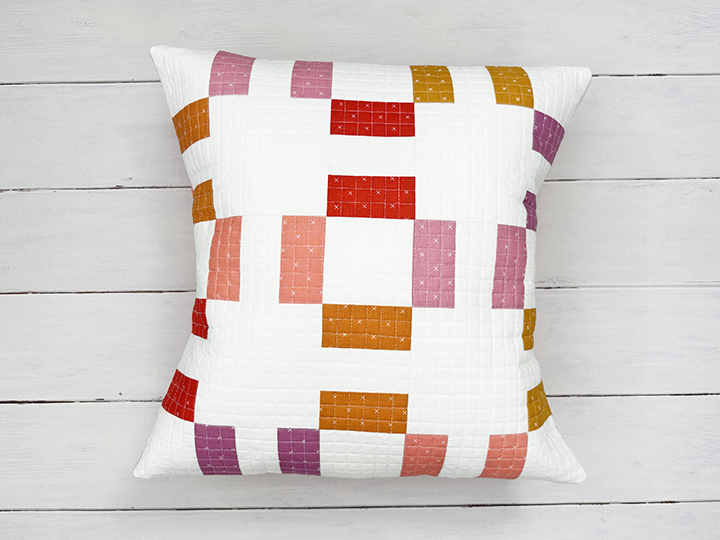
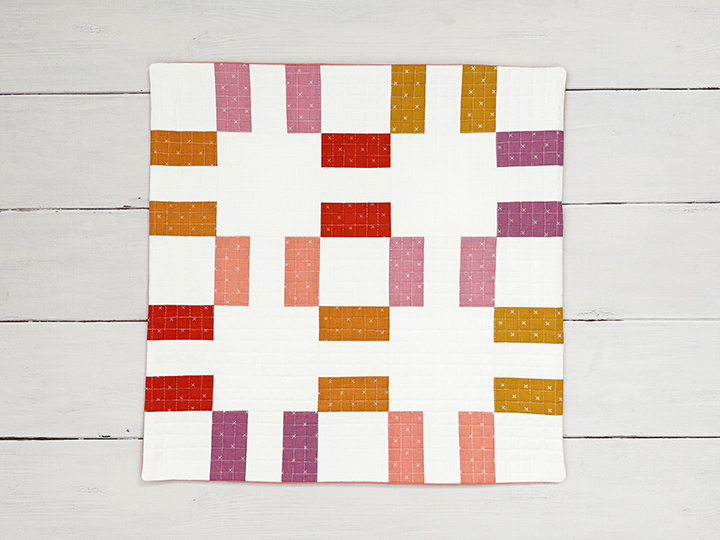
April’s block uses small pairs of rectangles that spin around each other.
I love a soft warm palette like this!
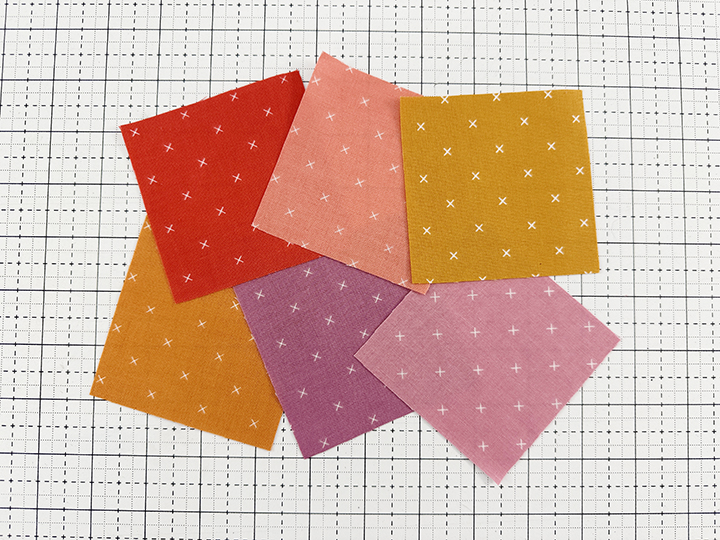
Any colors would work here, plus it’s a great scrap buster!
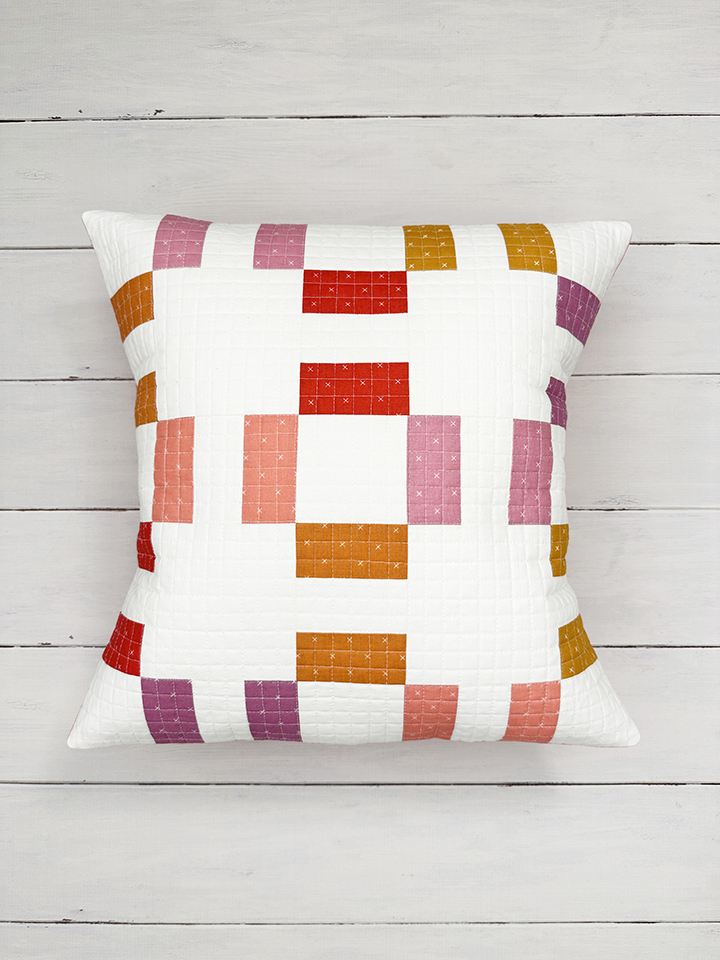
So cheery and still has a spring vibe!
I did a 1/2″ grid quilting with Aurifil 50wt. white thread for this fantastic texture!
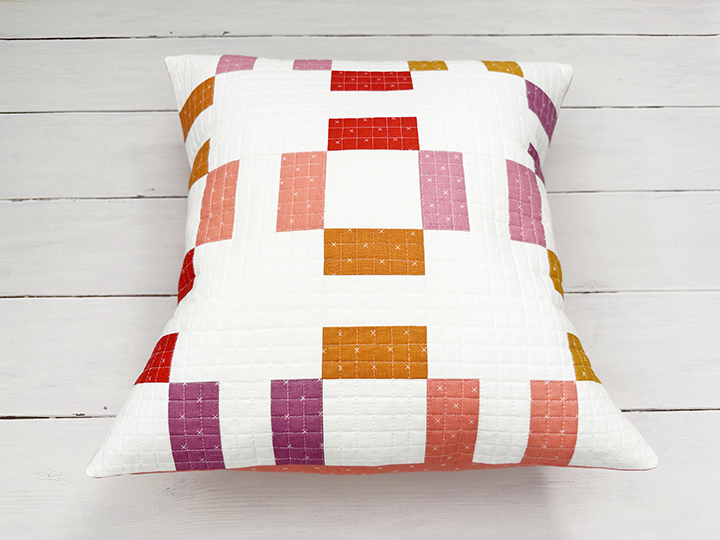
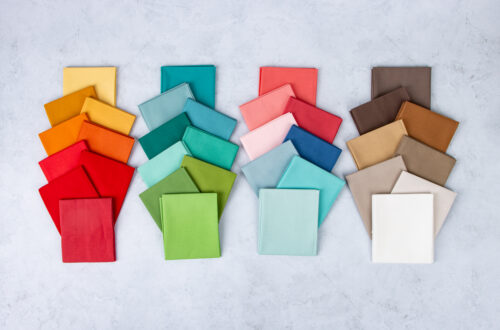
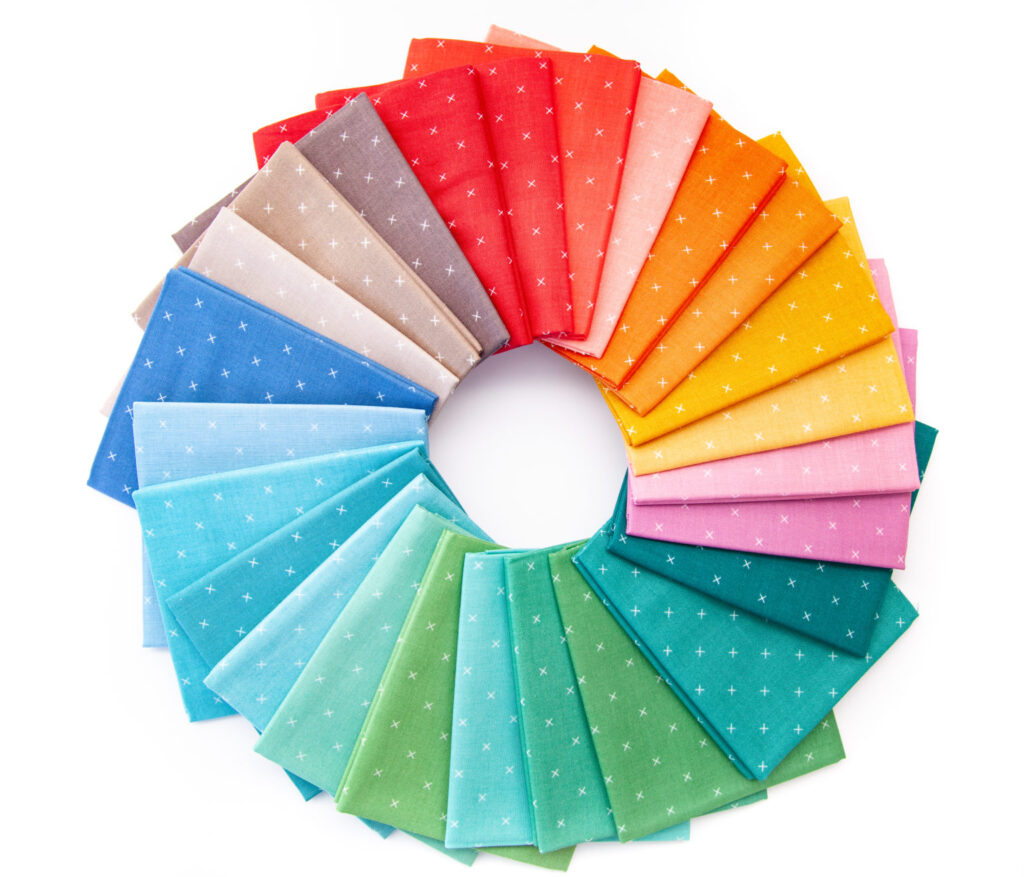
This month’s pillow features Bee Cross Stitch by Lori Holt. The colors I used were Cayenne, Coral, Butterscotch, Pumpkin, Plum, and Taffy.
Now let’s make a pillow!
APRIL 2024 Pillow Tutorial
Pattern Notes
- Please read through all instructions before beginning.
- Seam allowances are 1/4″ unless specified.
- Press all seams open (or in preferred direction) unless specified.
Material Requirements
For the block (pillow top):
This pattern uses (1) BACKGROUND fabric [FABRIC A] and (6) ACCENT fabrics [FABRICS B-G]. Below are the requirements to make ONE 18″ block.

For the pillow body:
- (1) 22-24″ square piece of muslin or other fabric (for quilting the top)
- (1) 22-24″ square piece of batting (for quilting the top)
- (2) 13½” × 18½” pieces of backing fabric (for the pillow envelope)
- (1) 20″ pillow form (my favorite one to use is the FJÄDRAR from IKEA!). I always use a pillow form that is one size larger than my pillow case to make sure it’s extra full.
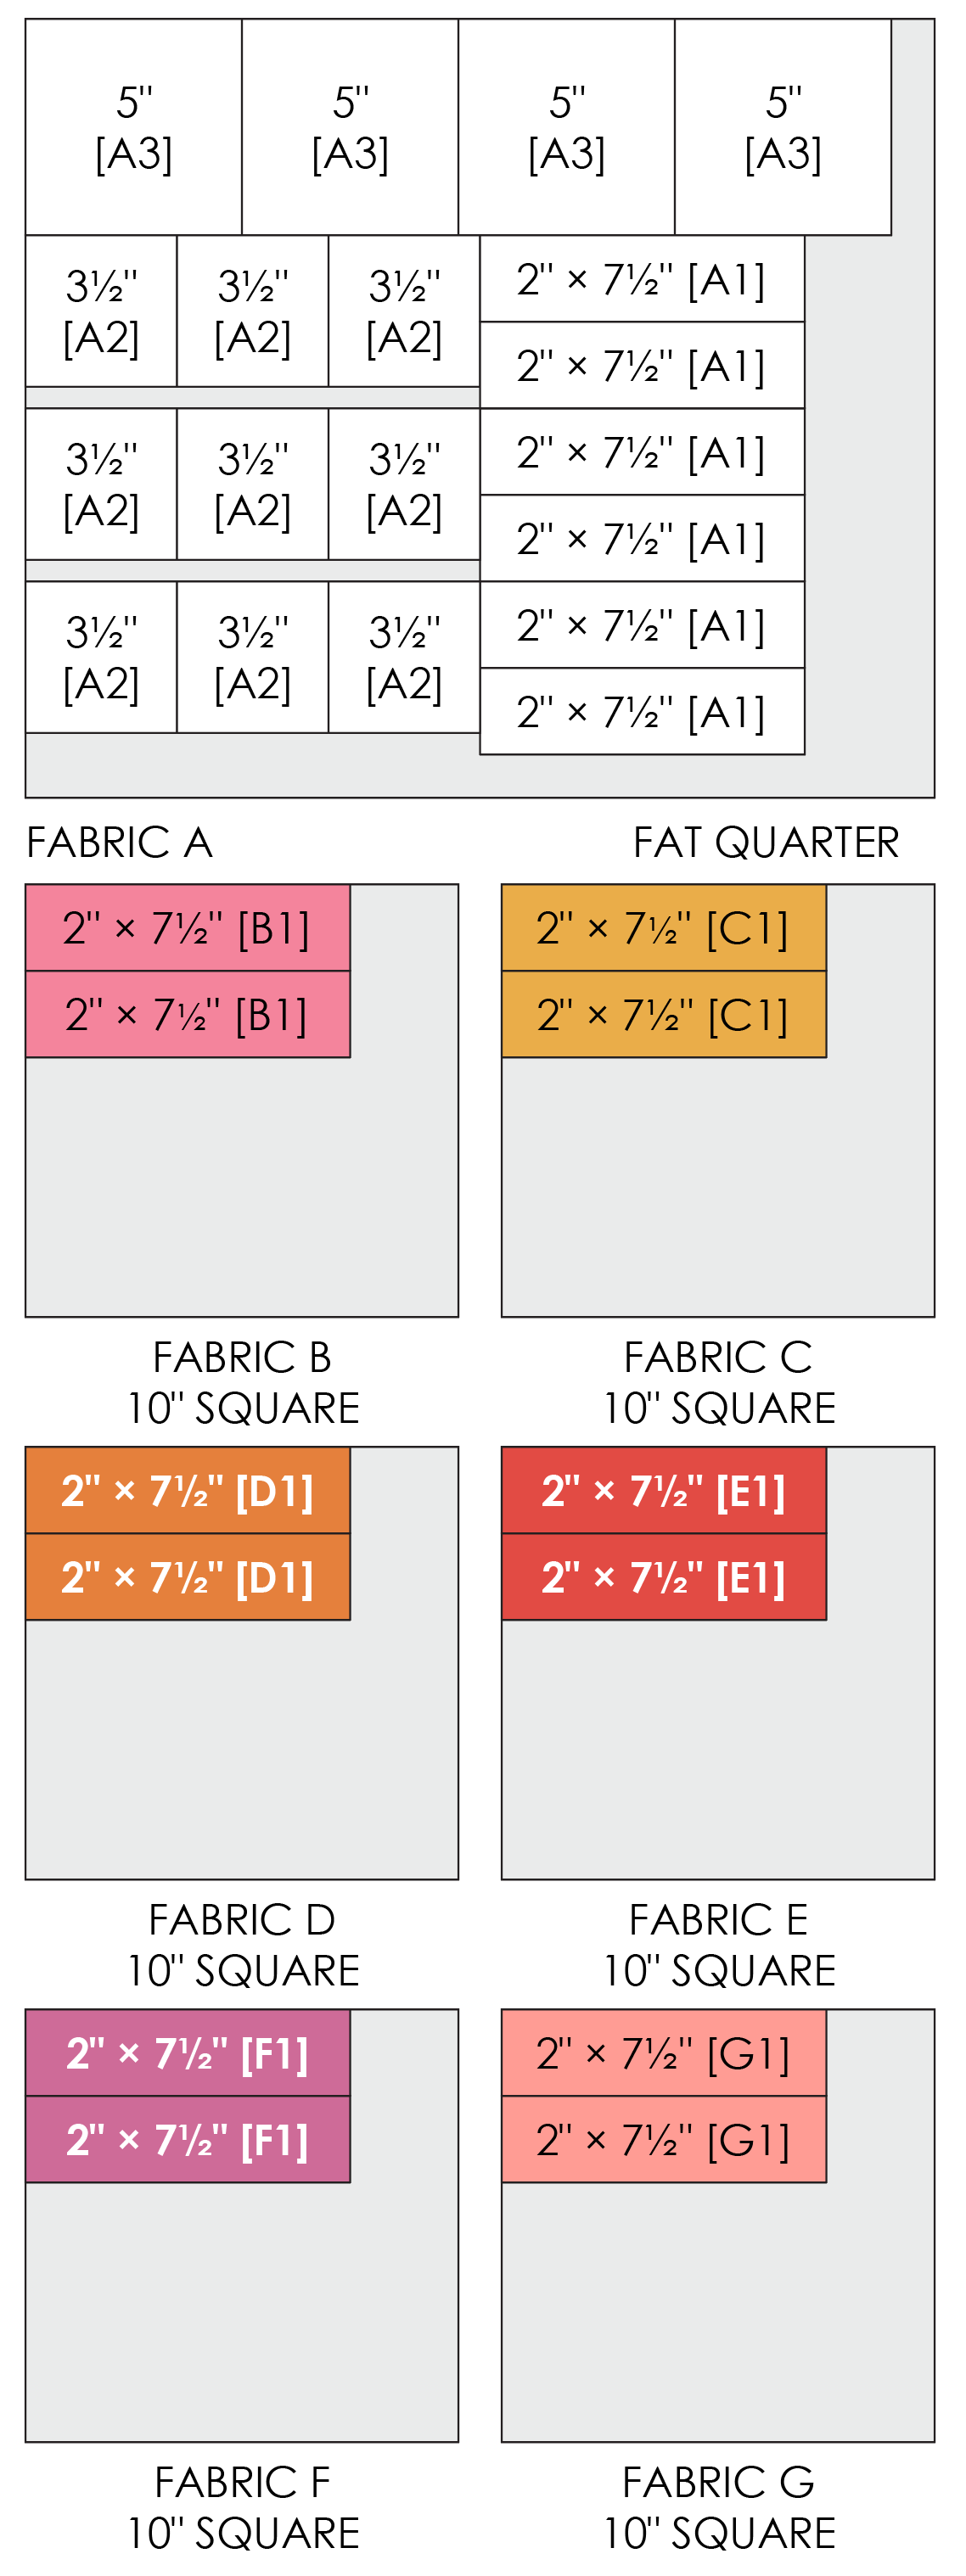
Cutting Directions
From BACKGROUND FABRIC A, cut:
(1) 5″ × WOF strip, subcut:
- (4) 5″ squares [A3]
(3) 4″ × WOF strip, subcut EACH strip:
- (3) 3½” squares [A2]
- (2) 2” × 7½” strips [A1]
From each of the ACCENT FABRICS B, C, D, E, F, and G:
- (2) 2” × 7½” [B1/C1/D1/E1/F1/G1]
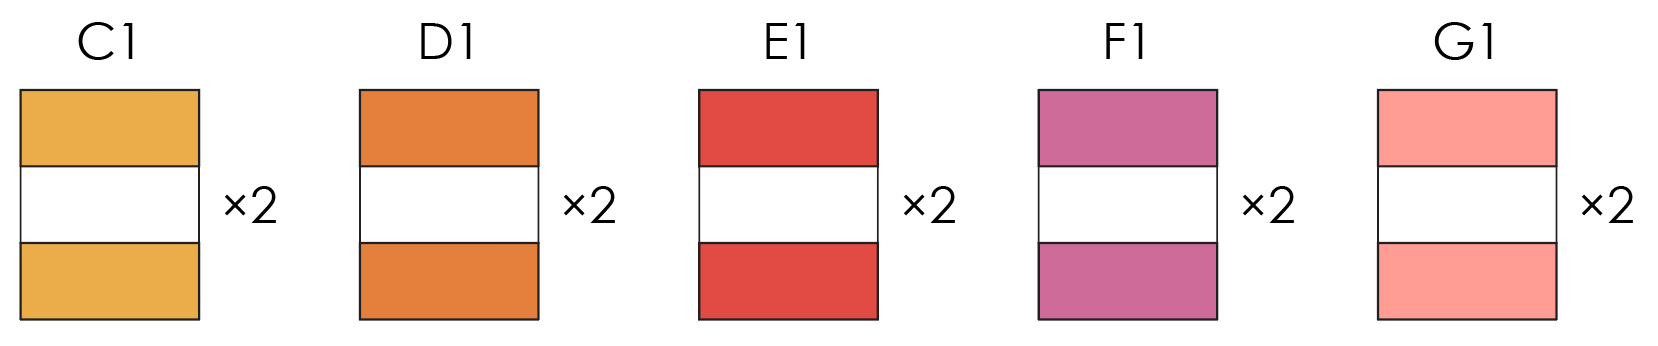
Piecing Directions
1. Lay out (1) A1 and (2) B1 strips as shown below. Sew the THREE pieces together and press the seams to create the STRIP SET.
- Note – Make sure your 1/4″ seams are accurate so that the STRIP SET measures 4½” high.
2. From the STRIP SET, cut (2) segments that are 3½” wide.

3. Repeat STEPS 1 and 2 using the remaining A1, C1, D1, E1, F1, and G1 pieces to create STRIP SETS in the combinations shown below for a total of (12) STRIP SEGMENT units.
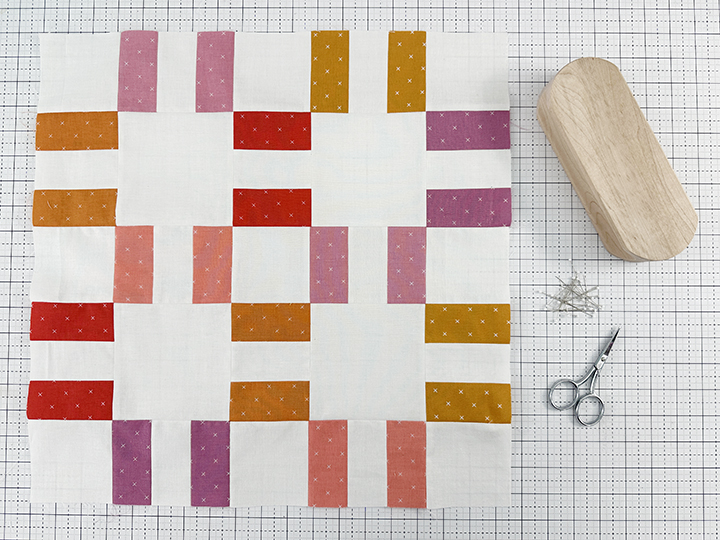
4. Lay out all (12) STRIP SEGMENTS, (9) A2, and (4) A3 as shown below into 5 ROWS. Sew the FIVE pieces in each row together. Press the seams.
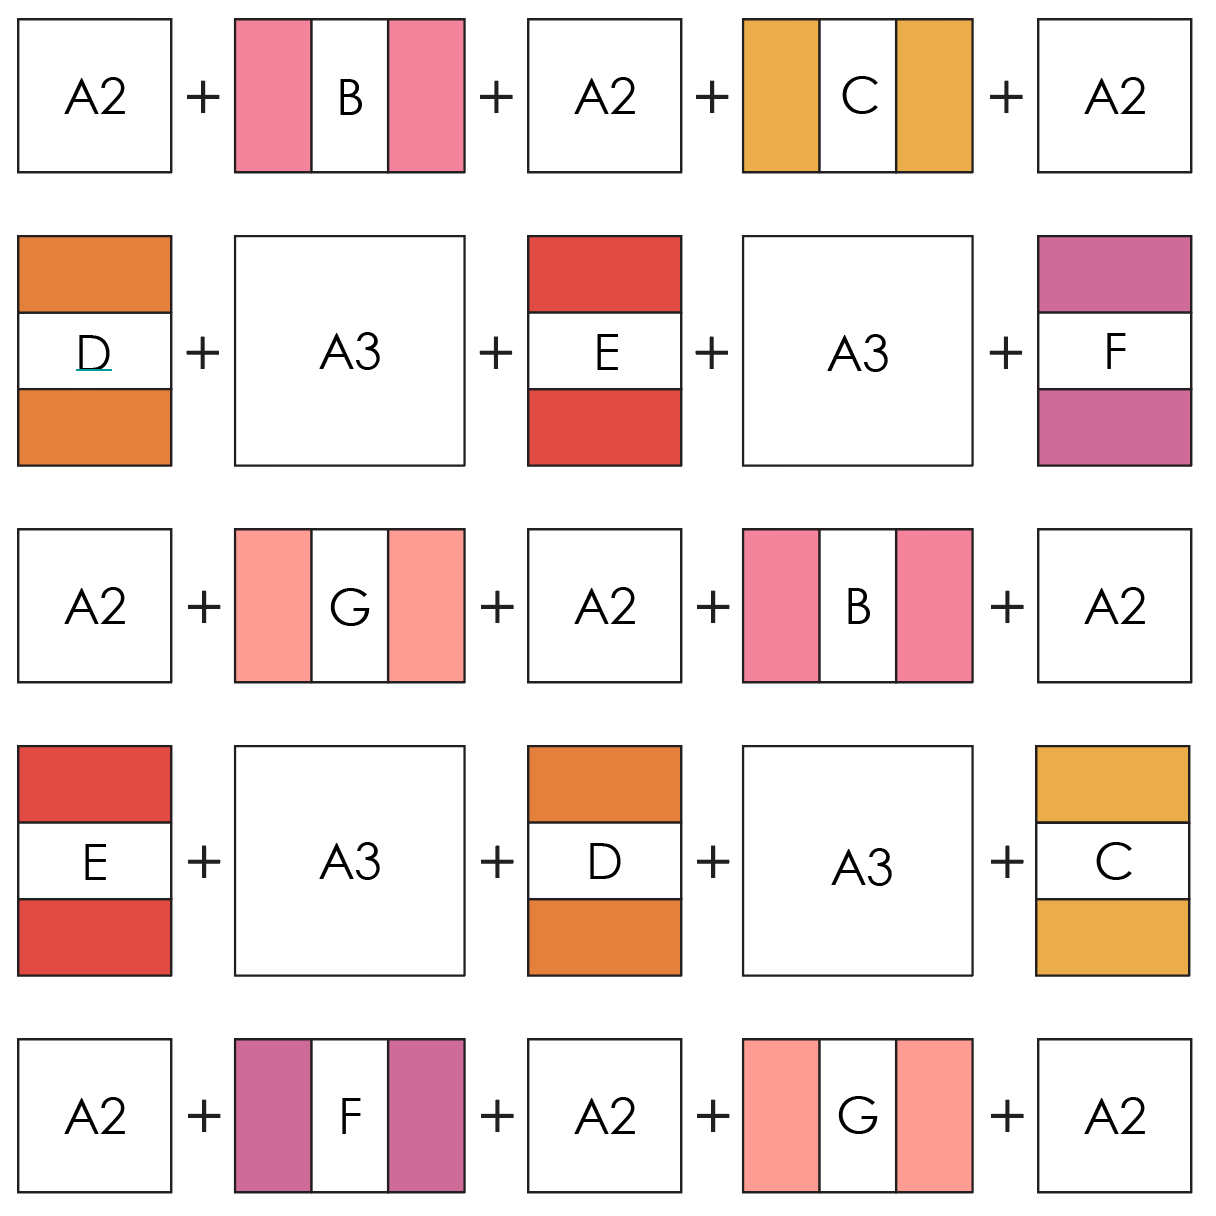
5. Sew the FIVE ROWS together. Press the seams.
6. Your pillow top is now complete!
7. Layer the completed block on top of the 22-24″ batting and muslin squares and quilt the pillow top as desired. When you are done, trim the block to 18½”.
Note – if you add dense quilting, your top may shrink a bit in size. Just trim it to the largest square that you can. You can trim the width of envelope backing fabric a bit in the next step if needed in order to match your actual top size.
8. Create a finished edge on the long side of each of the (2) 13½″ × 18½” pieces of envelope backing by folding 1/2″ of fabric over the wrong side TWICE. Stitch a seam near the edge to secure it.
9. With the square top facing up, layer the envelope pieces RST on top of it as shown below and sew a 3/8″ seam around the edge of the pillow top.

10. Trim the edges of the corners a bit to reduce bulk. Turn the pillow case inside out and insert your pillow form. Your pillow is now done! Enjoy your fun modern make!
I can’t wait to see all the beautiful pillows everyone makes! They can be very addicting! Be sure to share them on social media! #makeitmodernpillows #iloverileyblake #sewbrainydesigns.
If you check out my blog, I have some more color mockups and some freebie coloring pages you can download. Plus a sneak peek of a companion quilt pattern for this block that’s coming soon!
I’ll see you in April with some rectangles! Don’t forget to join us in the Facebook Group!
Until later, happy quilting!
Jamie

Jamie is the creative brain behind Sew Brainy Designs. This self-proclaimed science nerd loves bright colors, big blocks, Mid-century modern design, and using as few seams as possible. Find all of her Make It Modern Pillows on the Riley Blake Designs blog!


You May Also Like
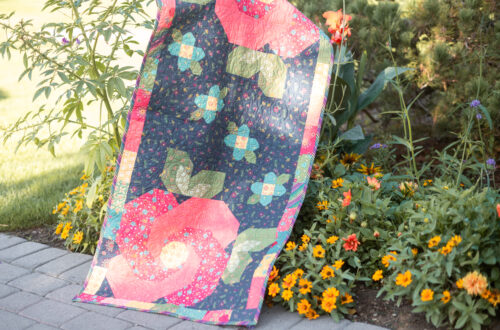
Rose Garden Runner Kit with Market Street
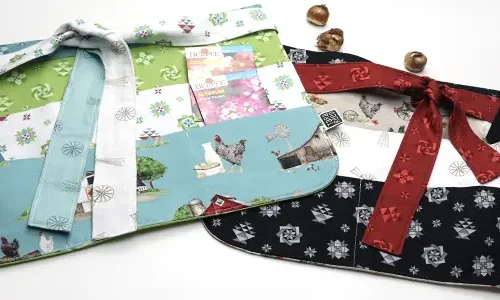
DIY Garden Apron for fun in the dirt!