Trim It – Crochet Lace Edgings with Chunky Thread
Hi, it’s Kristen from Verity Vintage Studio back with another Chunky Thread project! Crochet is a fun skill since you can use it either as a focal point (…afghan, sweater, table runner…), or in a supporting role.
This time it adds the perfect finishing touch to a couple of sewn projects – I made aprons here, but you can see that it could work well for other types of garments or home dec projects as well.
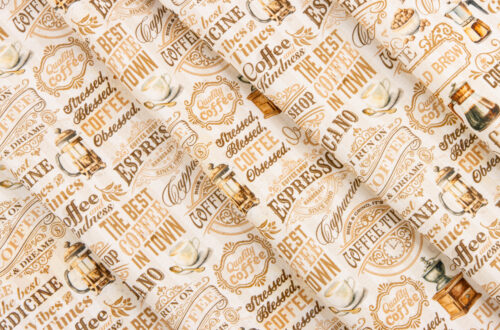
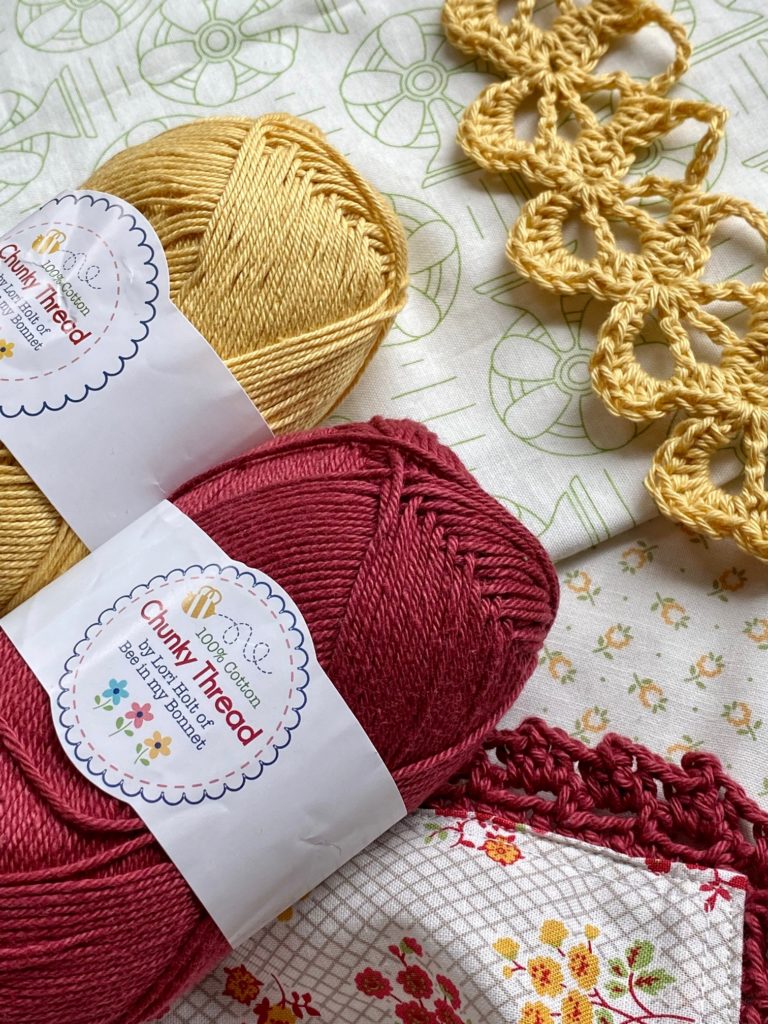
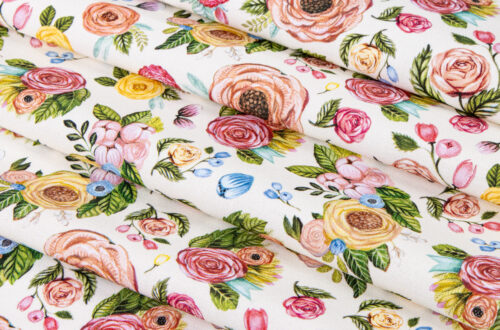
I picked a few cute Bee Vintage prints and paired them with Chunky Thread colors. There are a lot of options for color pairings, and all of them would bring a different flavor, but I ended up choosing Brick and Sunshine for my two different laces.
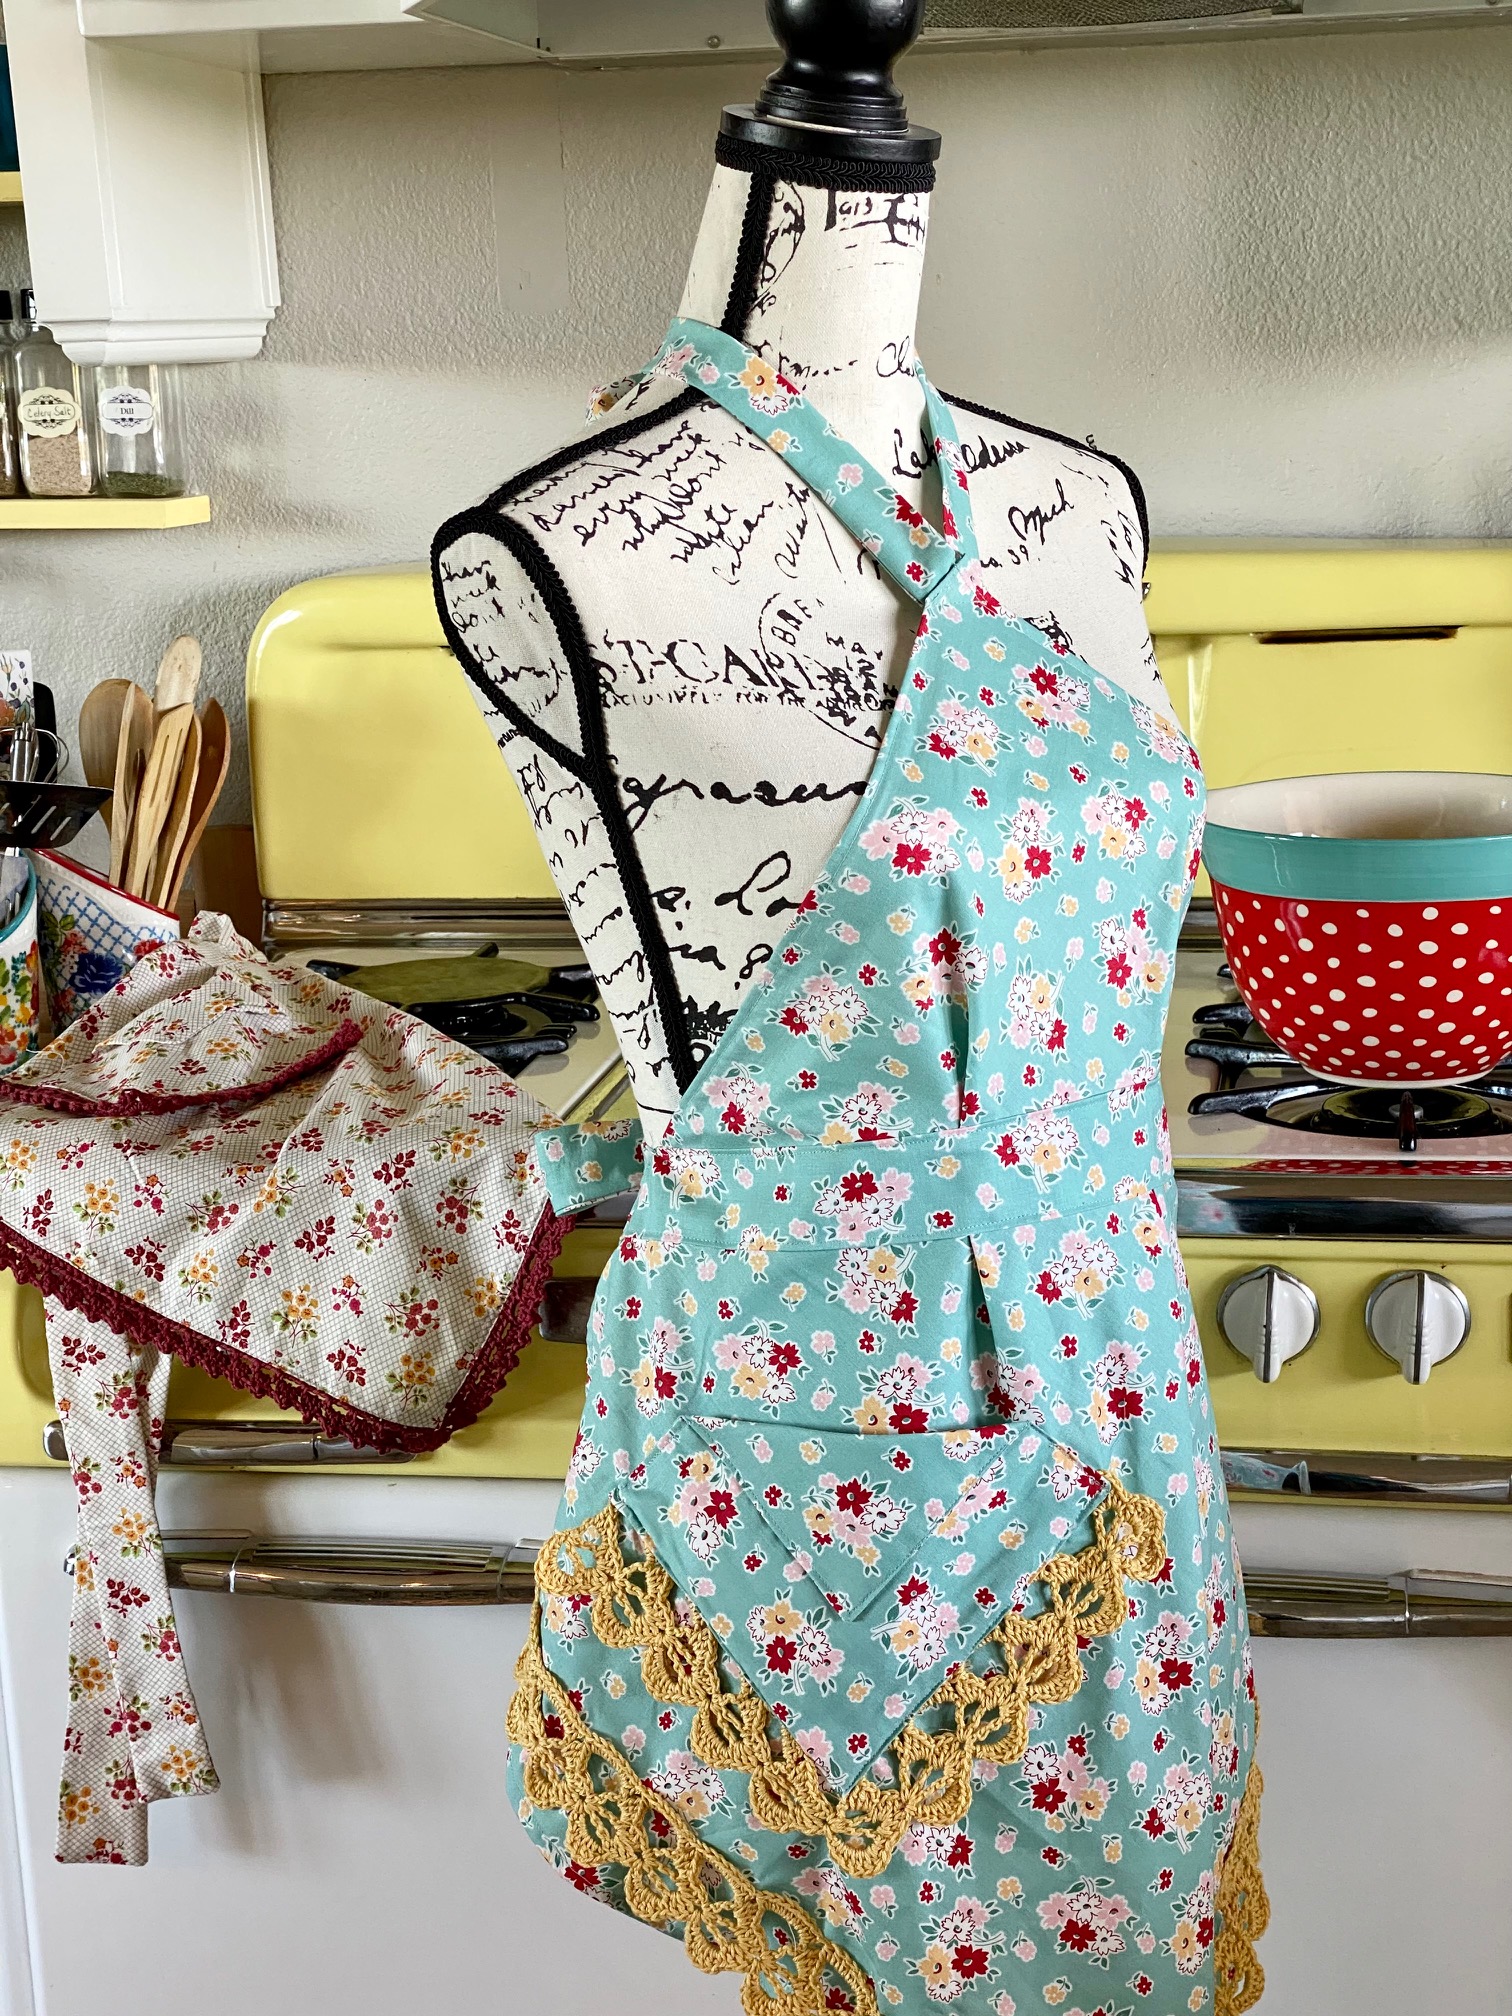
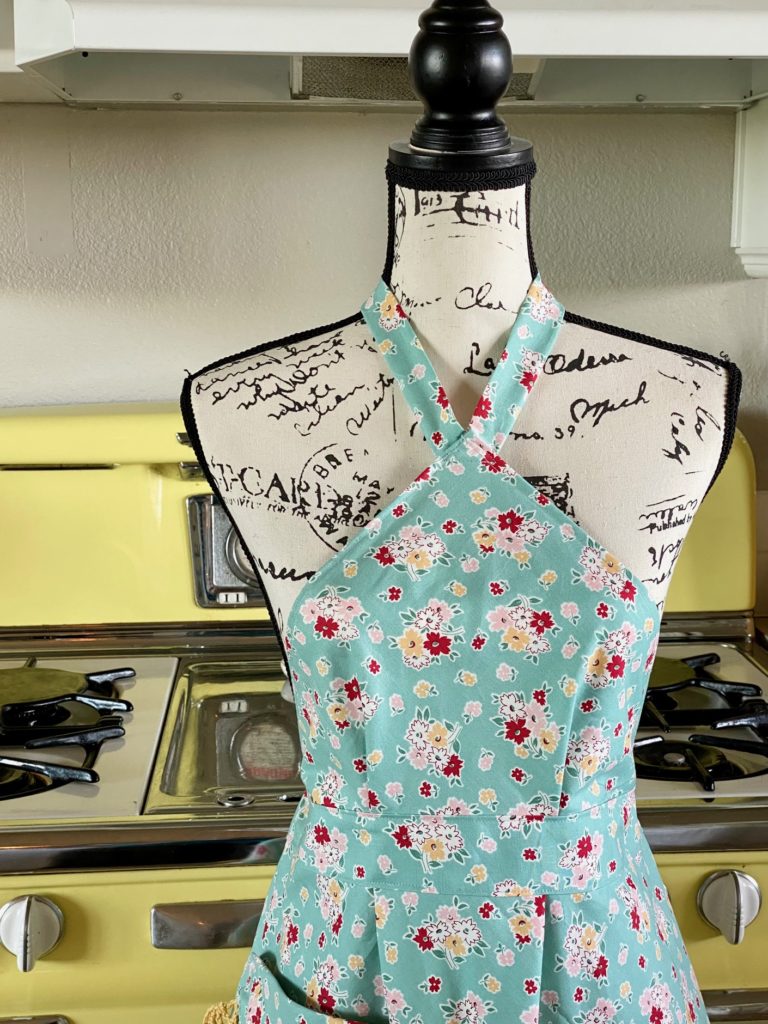
For these projects I made the finished main aprons first, so that I would know exactly how long to make my trim. You do definitely want to avoid cutting hand crocheted trim if at all possible! I was inspired by a 1950s apron pattern in my stash to make fun pointed diamond pinafores.
For the first one, I made up a simple 3 row crochet edging; made my starting chain as long as the edge I wanted to apply it, and when finished I top stitched it underneath the hem of the apron.

It also is inserted between the pocket and apron when stitching on the the pocket, and I crocheted a neck tie too.
This apron is a youth size – I will save it for my daughters when they are a bit bigger since they love to help in the kitchen!

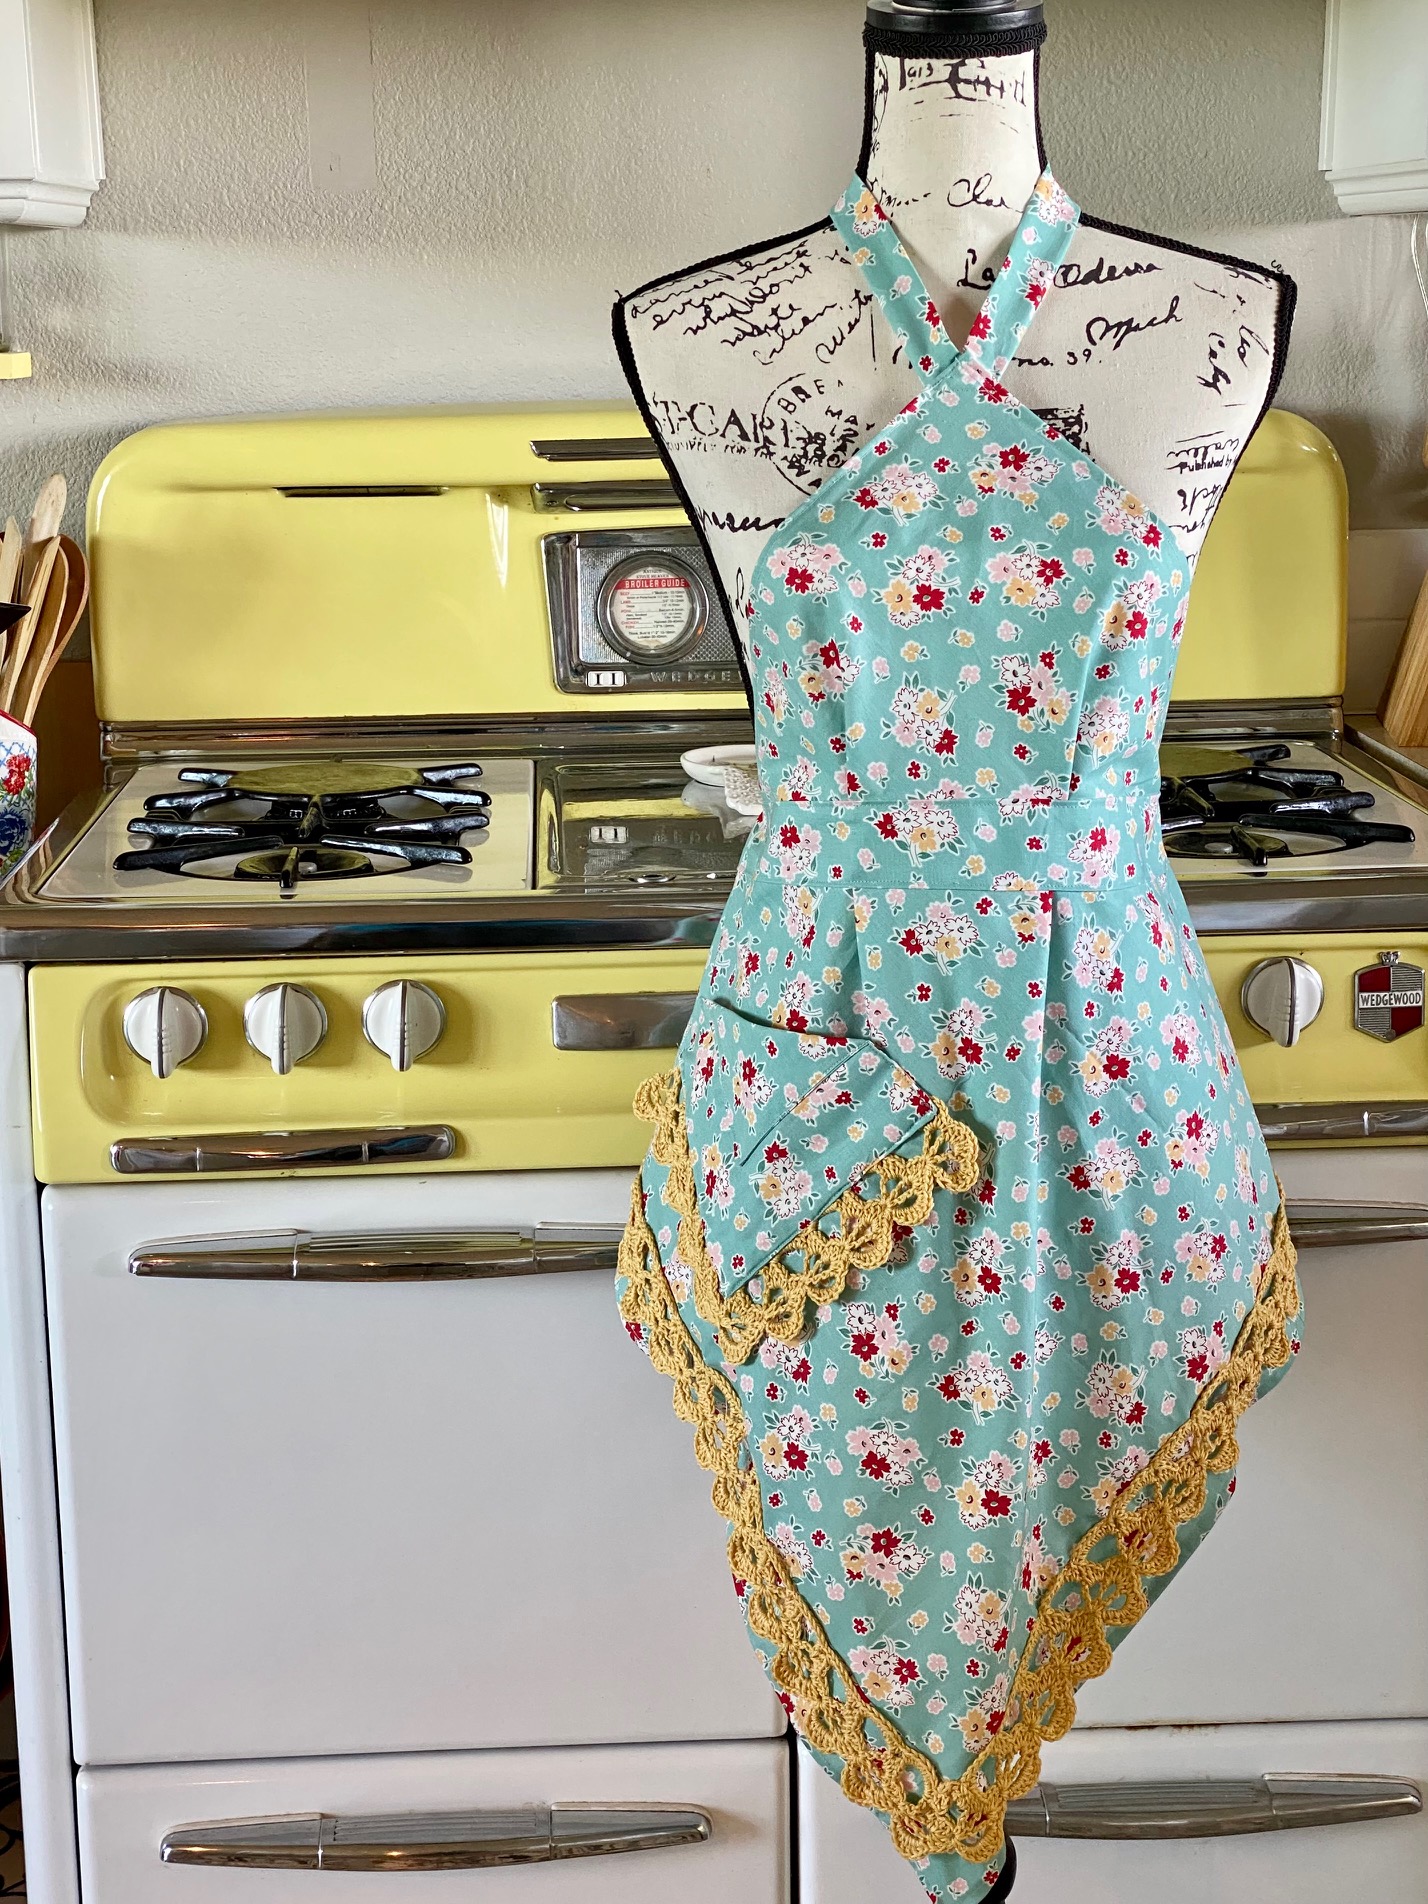
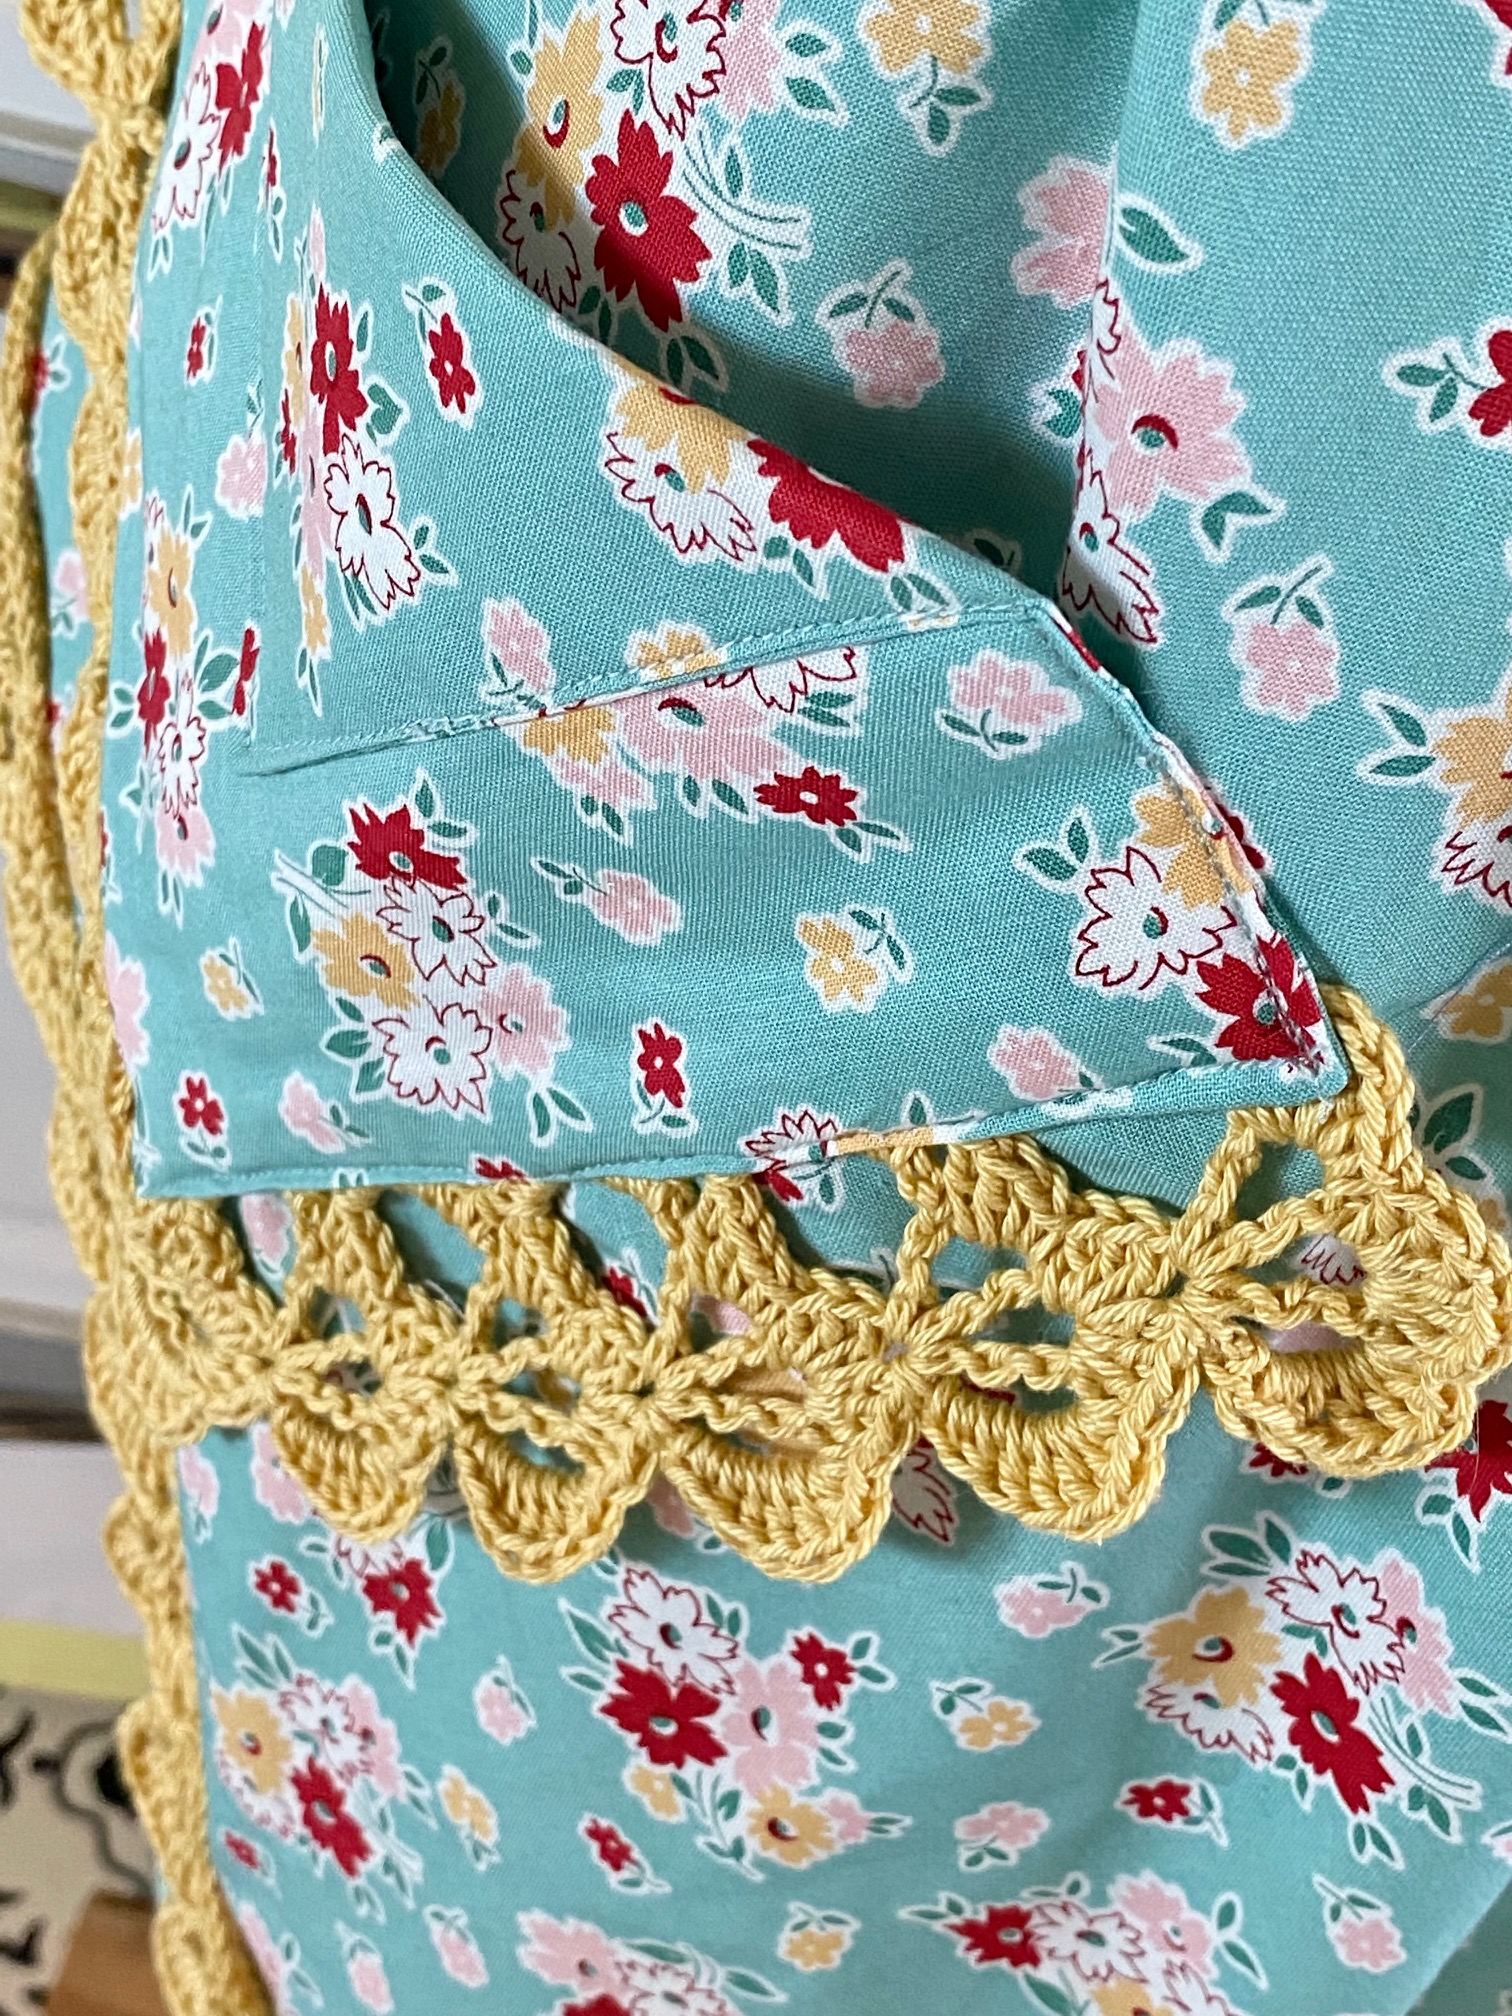
For the second adult sized apron, I wanted to make an edging that could be completed in short rows, so it would be easier to achieve the correct length. I found a photo of a vintage edging booklet and copied this one off of the photo.
Since it’s in the public domain, I can share with you the pattern for how I made it!

- Free Vintage Petal Lace Pattern
Row 1: WS Ch 7, work (tr, ch 2, tr, ch 6, sl st) in 7th ch from hook.
Row 2: RS Ch 1, turn; (sc, hdc, 4 dc, hdc, sc) in first tr/ch sp, (3 dc, ch 1, 3 dc) in center ch sp, (sc, hdc, 2 dc) in next ch sp.

Row 3: Ch 7, turn; work [(tr, ch 2) twice in center ch sp, tr, ch 6, sl st] in same ch sp.

Repeat rows 2-3 until it is as long as you want! End with Row 2. I then turned and worked 8 hdc in each of the ch 7 loops along the top side to make a header for sewing.

It worked up quite quickly, and though the original pattern was intended for thread, I rather like the chunkier version in this sport weight cotton.

This lace I top stitched on the front of the apron, and inserted between the apron and pocket when sewing the pocket. It is definitely tricky to sew with crocheting because it squishes and moves around more than fabric does, but it is easier when you sew it between fabric layers.
If you are just top stitching it, I recommend loosening your sewing machine foot pressure first.

All finished! You can see how the same apron pattern has quite a different look when done in different fabrics, with different colors and styles of lace trim added.

Of course you can make aprons without lace…but it adds such a fun finishing touch!
Happy spring! I’m off now to make aaaallll the floral yarn and fabric things. 🙂


You May Also Like
Sweet Spring by Hester & Cook
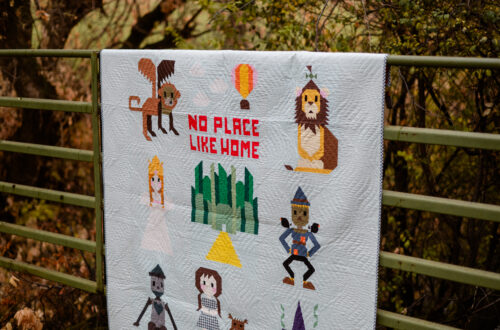
Sew Place Like Home by Art East Quilting Co