The Easy Way to Sew a DIY Travel Tissue Cover
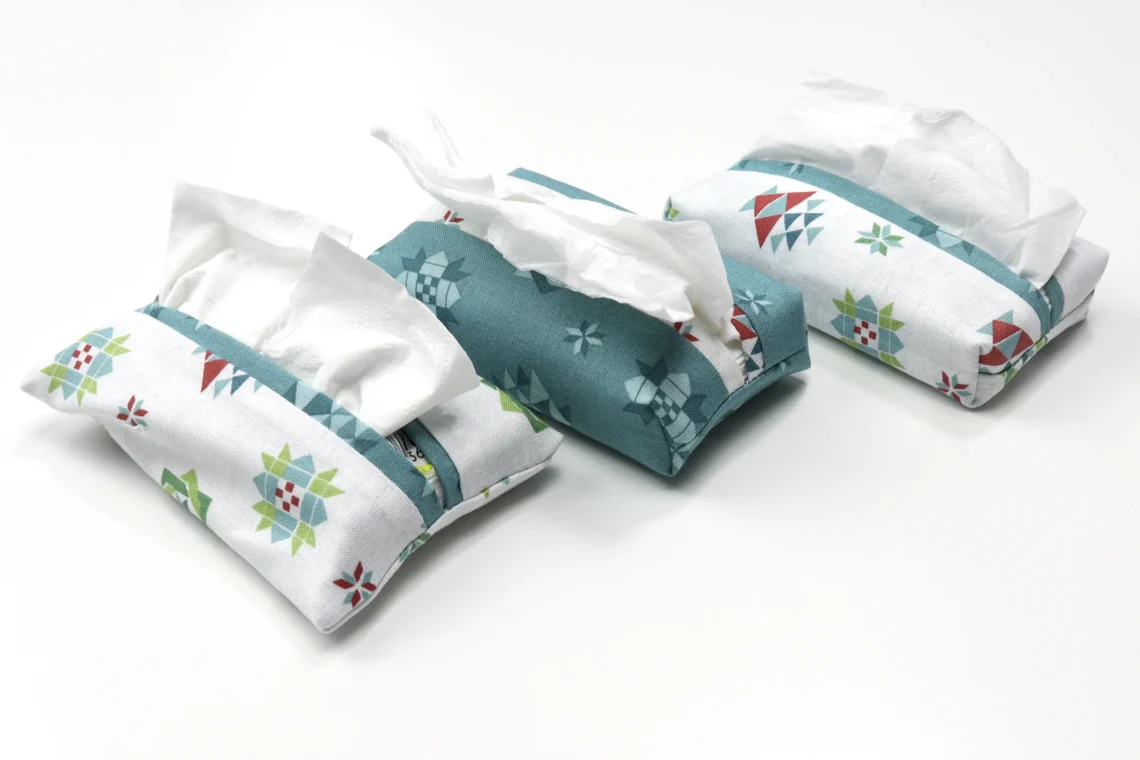
My theory has always been “why have something basic when I can make it pretty?” I’m pretty sure most people who sew or quilt agree. My latest quick project has been to make DIY travel tissue covers. They are quick and oh sew cute!
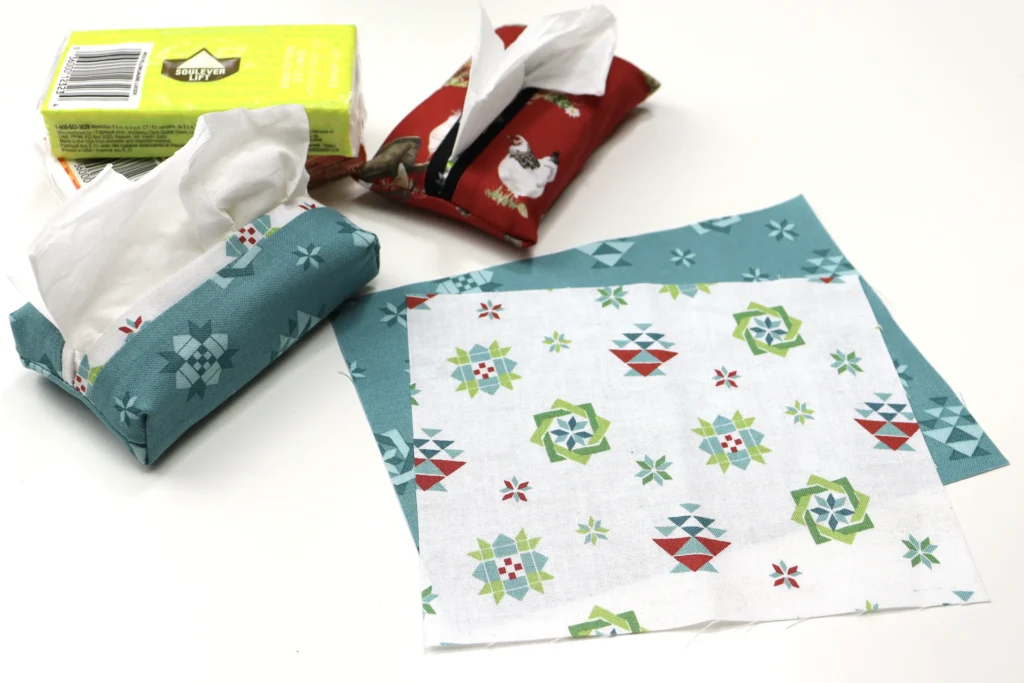
In this tutorial I used the Multi Quilt Blocks and Teal Quilt Blocks prints from my Spring Barn Quilts collection. The chickens are pretty cute for tissue holders too as you can see in the photo below. 🐔
If you have a pile of fabric scraps looking for a project this is the sewing tutorial for you. This simple project is perfect for teaching people to sew since it’s a quick and easy project that will help build confidence.
In this video I’ll show you how to do both a basic corner and a box corner as well as give you a few tips on putting tissues in the covers depending on whether they are for personal use, gifts or things to sew and sell.
🎯 SHORTCUTS TO SPECIFIC TOPICS:
00:00 introduction
00:48 Supplies
01:25 Sew fabrics together
02:34 Fold to form tissue cover
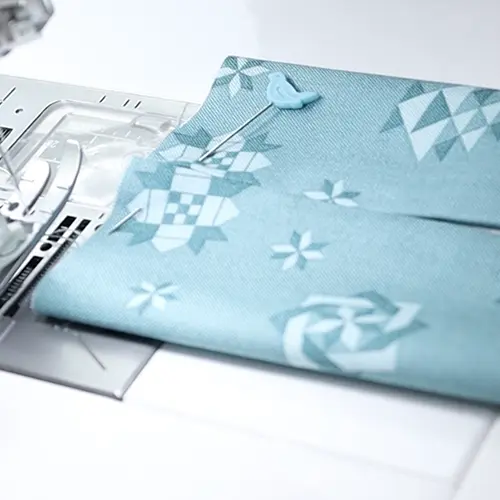
03:11 Zig zag stitch to prevent fraying
03:31 How to use a leader fabric
04:47 How to sew box corners
05:48 How to put tissues into the cover
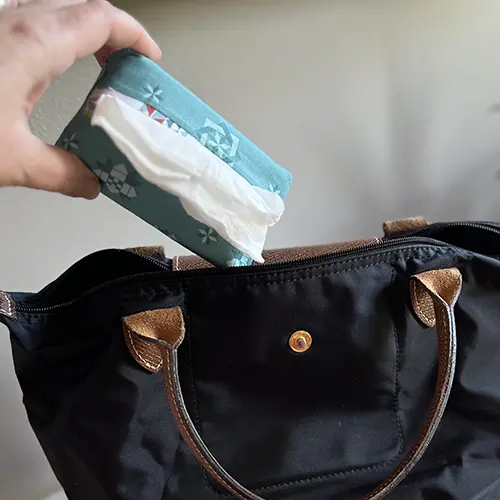
Travel Tissue Covers are great for:
- Teacher Appreciation Gift
- Co-Worker Gift
- A more personal, handmade “thank you” gift
- Stocking Stuffer
- Travel gift basket
- Things to sew and sell
- Wedding, Graduation or other places there will be “happy tears”
- Pop one in your purse, diaper bag or sports bag
- Keep one in the car
How to Make a DIY Travel Tissue Case
FABRIC REQUIREMENTS:
(1) 5½” x 6½” fabric for the outside
(1) 5½” x 7½” fabric for the lining and decorative trim
- Place the fabrics right sides together, lining up one short side and sew with ¼” seam.
- Line up the other side and sew. Because the fabrics aren’t the same size they won’t be flat when you sew the second short side.
- Turn right side out with the smaller, outside fabric facing up.
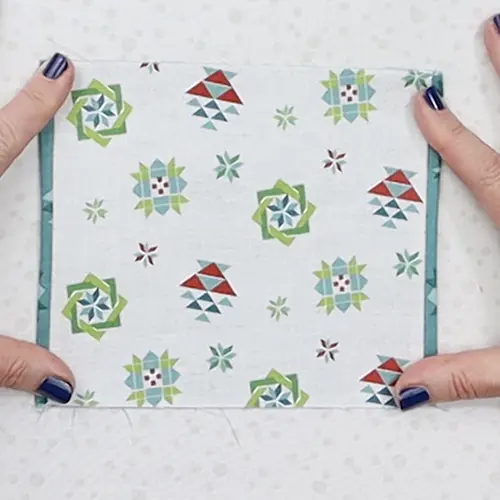
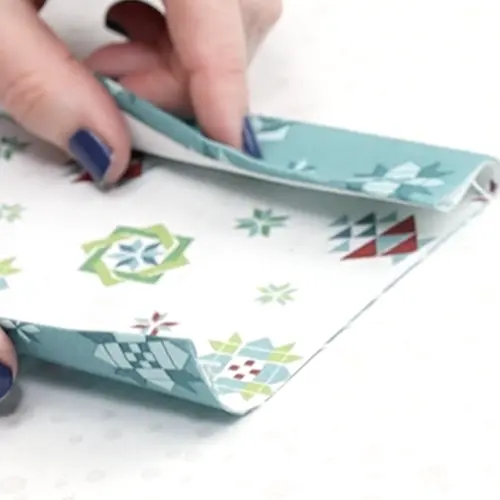
- Adjust the fabric so the amount of lining fabric – which creates the trim – is even on both sides, then press.
- Fold the pressed sides (the trim) into the center, finger press and pin in place.
- Sew both short ends (with raw edges) with ¼” seam.
- (optional) Zig zag stitch the raw edges to prevent fraying.


Finish Option 1:
If you are making a lot of travel tissue covers, the fastest way to make them is to turn them right side out now and insert the tissues. The corners will be a little pointed and less finished looking than if you add box corners (Finish Option 2) but they will still look great!
Finish Option 2:
To make the travel tissue cover more fitted and finished, you can take a few more minutes and add box corners. (You can see how to do that in the video above starting at the 4 min 47 sec mark.)
Leave a comment and let us know if you are “team basic” or “team boxed” when it comes to corners!
If you make and share travel tissue cases or other projects featuring my fabrics on social media, please tag me. I love to see what people create! You can find me on Instagram or Facebook.
– Tara Reed


4 Comments
Jannie
Cute the easier one
Kay Denton
Love this…but where do you find small packs of tissue that would fit into these cases?
Mary
I love the box corner one. So adorable!
Kathy McHaney
Thank you so much for your tutorial. It was very well done, easy to follow with great details. I like the look of the boxed ends but mine didn’t turn out right on all four corners. They slant. I am not sure how to make them straight up and down. I have to make 10 so I don’t know if I will try the boxed corners again.