DIY Clipboard Makeover with Fabric Scraps – Easy No Sew Gift Idea
I love having thoughtful gifts, like this DIY Clipboard Makeover, on hand for those times where you want to give an extra “thank you” you need a last minute hostess gift, birthday gift and more.
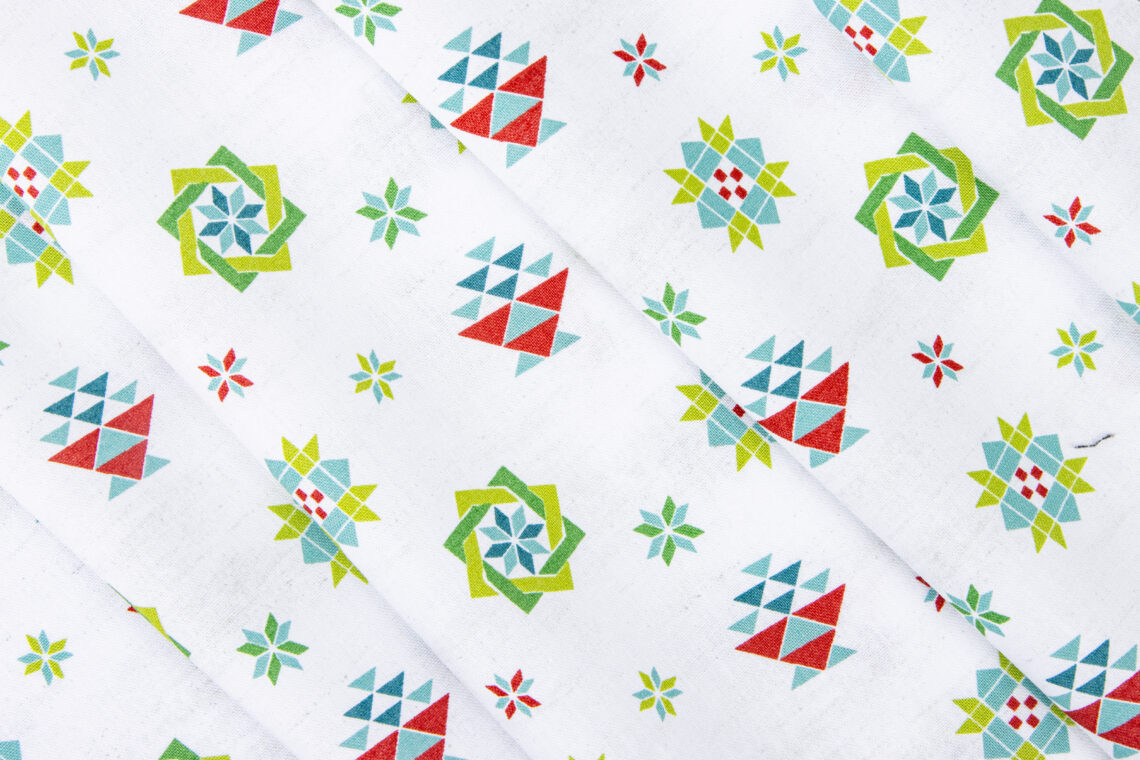
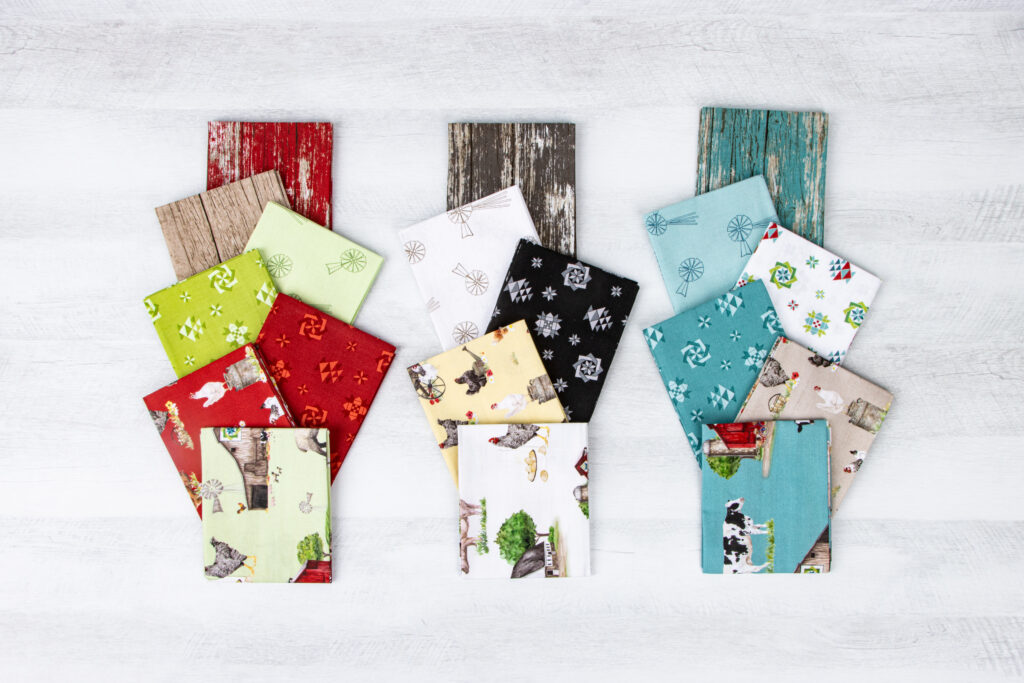
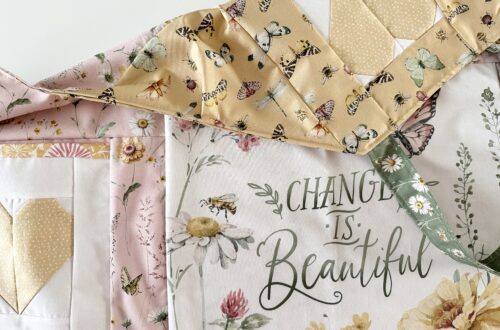
The fabric used in this tutorial is the Spring Barn Quilts collection by Tara Reed for Riley Blake Designs.
In this video tutorial, I’ll show you how to decorate a clipboard using fabric scraps, perfect for gifting to teachers or anyone who loves stationery! This easy, no-sew project is not only budget-friendly but also customizable to suit any style or preference. You can find detailed written directions on my blog.
🎯 SHORTCUTS TO SPECIFIC TOPICS:
00:00 introduction
01:05 How to open Mod Podge when the lid is stuck
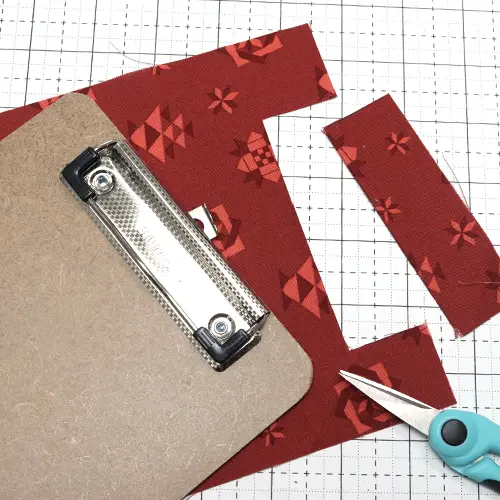
02:10 Cutting your fabric
02:34 How to fussy cut your fabric
03:10 Using a rotating cutting mat
04:09 Cut out the fabric where the clip is
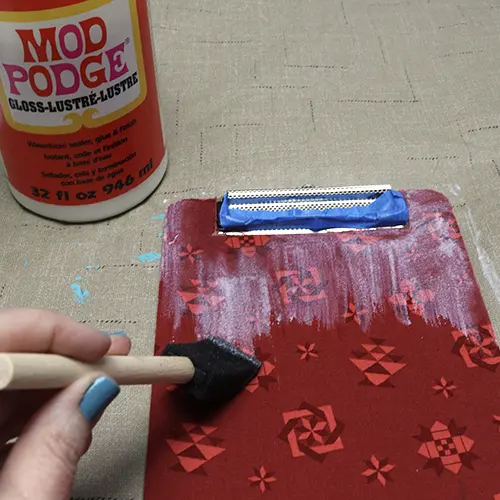
05:12 Cover clipboard with Mod Podge
05:47 Put fabric on the clipboard
06:03 Coat fabric with Mod Podge again
06:51 How to know when Mod Podge is dry
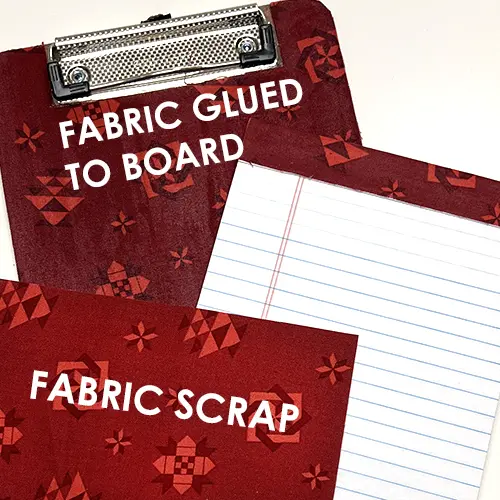
07:07 Color difference in fabric after gluing
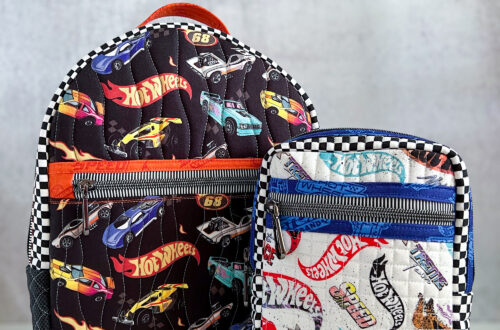
07:25 Cover top of notepad with fabric
08:58 Put fabric on the back of the notepad
09:30 Trimming any excess fabric
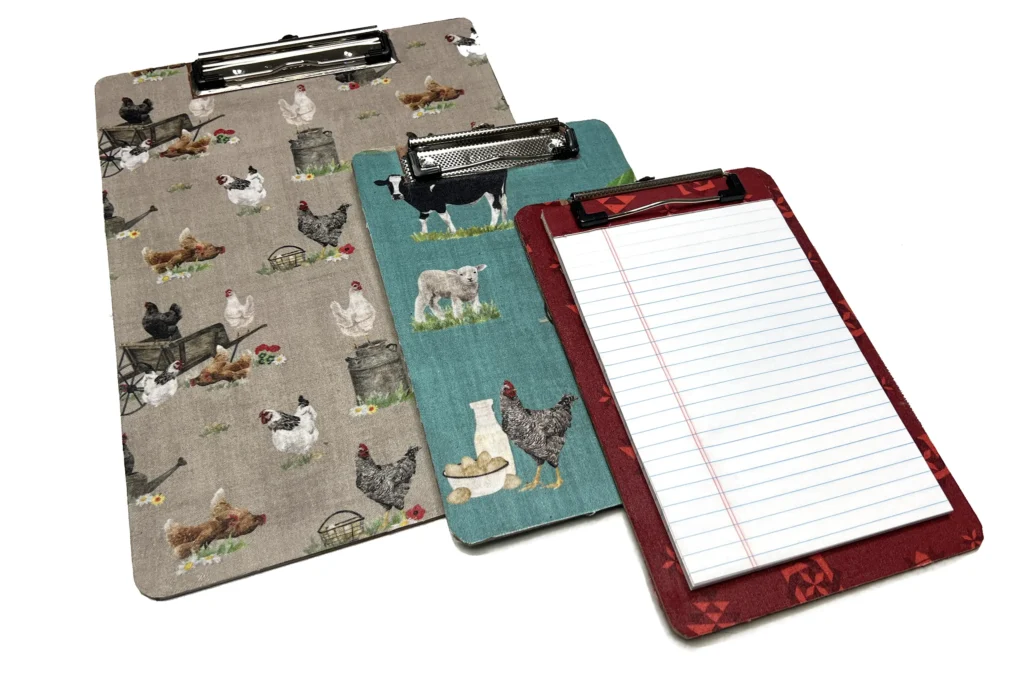
I recommend using chipboard clipboards as they will work best with Mod Podge or glue. My favorite size is the small one that holds a 5″ x 7″ notepad – perfect for lists, notes and more. The letter size clipboards are great for teachers as well. Add a notepad with some matching or coordinating thread over the top of the pad, write a note on the first page and you are all set.
Be aware that the fabric will appear slightly darker on your finished project than it does in your scrap bin because of the Mod Podge.
Why not go the extra mile and add fabric to the top of a notepad to coordinate with your DIY Clipboard Makeover. Smply cut a piece of fabric the width of the notepad and long enough for it to fold over and glue down about 2″ on the back.
This easy, no-sew project is not only budget-friendly but makes the perfect DIY gift for friends, co-workers, teacher appreciation gifts, Christmas gifts, Birthday gifts or just because. Of course you deserve cute and functional things too so don’t forget to make one for yourself!
Leave a comment and let us know who you will make these for and what size you plan to do.
If you make and share clipboards or other projects featuring my fabrics on social media, please tag me as I love to see what people create! You can find me on Instagram or Facebook.
– Tara Reed


2 Comments
Kelly Kirkland
What a cool idea! Something that would be great to get the kids involved in making.
Pingback: