
Rag Quilts with New Designer Flannel
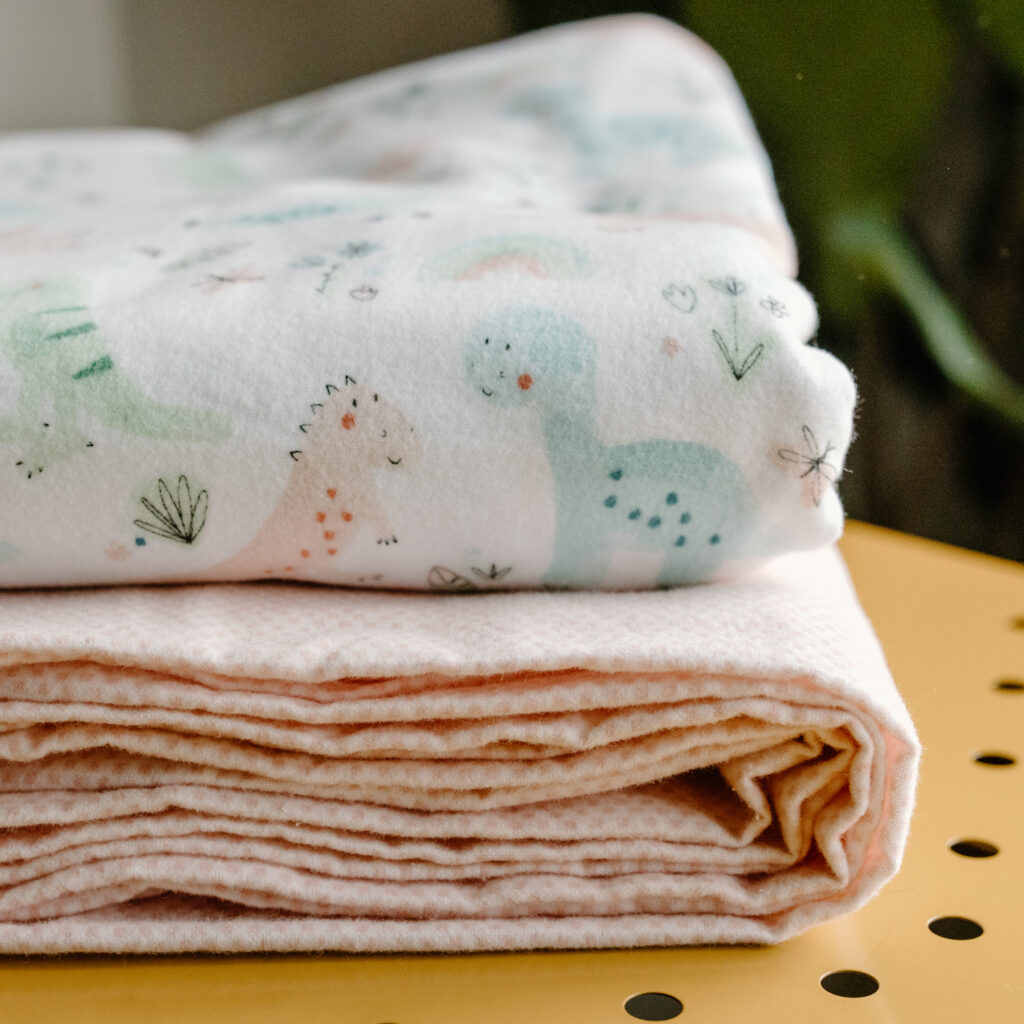
Welcome, friends! I’m Alexis from Stitched By Alexis. I am a quilter who began her journey over 25 years ago, working with massive amounts of flannel. Even now, flannel remains one of my favorite materials, offering unbeatable comfort and warmth not found in many other products on the market. Riley Blake produces high-quality designer flannel that is perfect for a variety of projects, including the rag quilt we’ll be crafting today. This particular project is what initially drew me to quilting and my passion for it has only grown stronger since.
Rag quilts are ideal for beginners and suitable for all skill levels. They don’t demand extreme precision and are very forgiving. So, come on – let’s start sewing!
Finished Quilt Size = 59.5 x 59.5
Supplies:
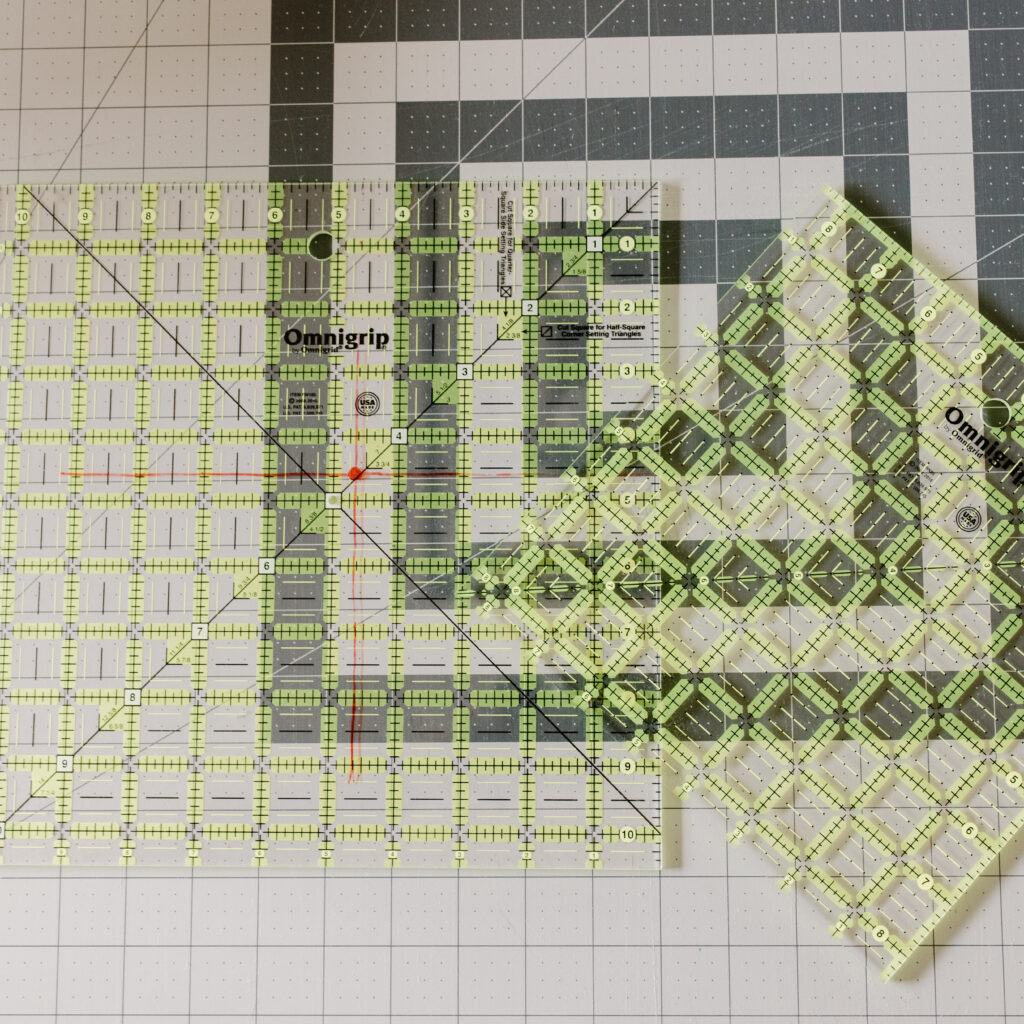
-Ruler(s) (Fig. 2) – I used an 8.5 square and 14.5 square ruler for this project
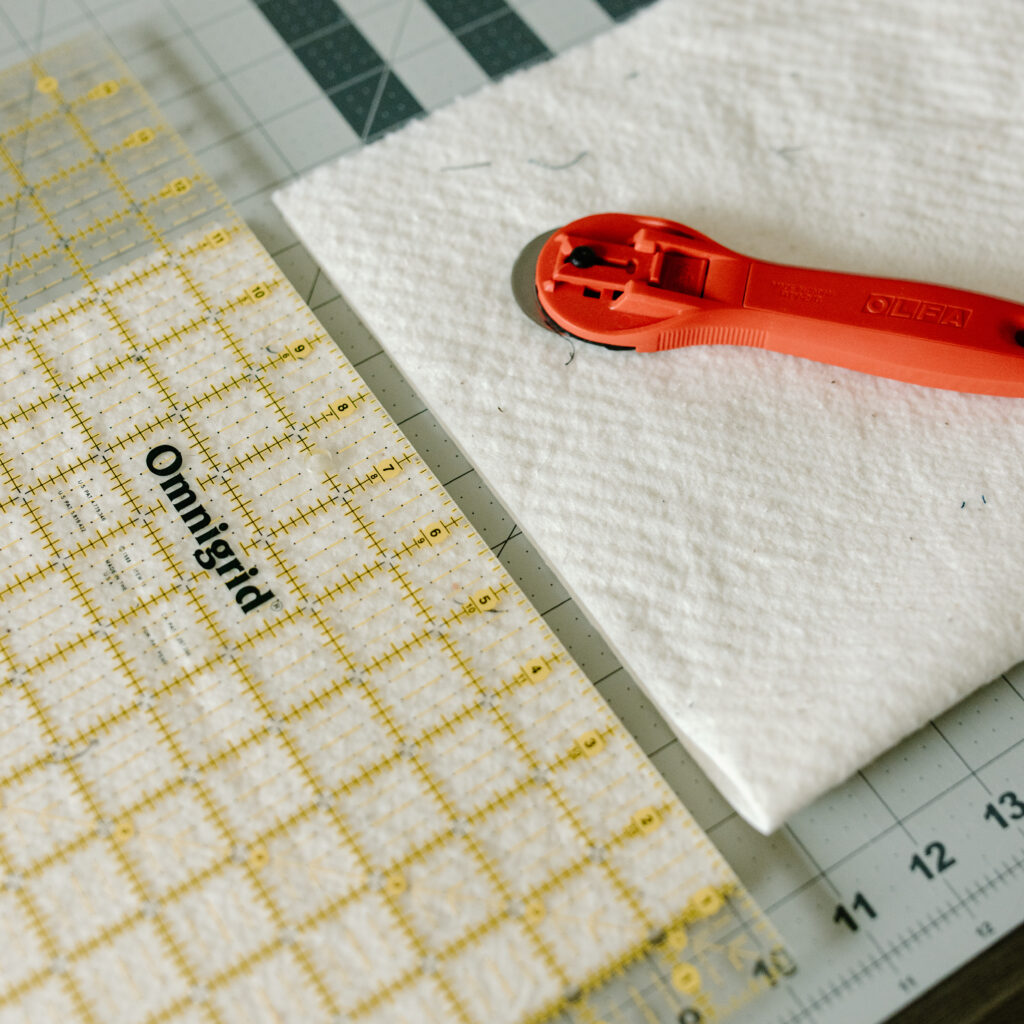
-Cutting mat
-Rotary cutter
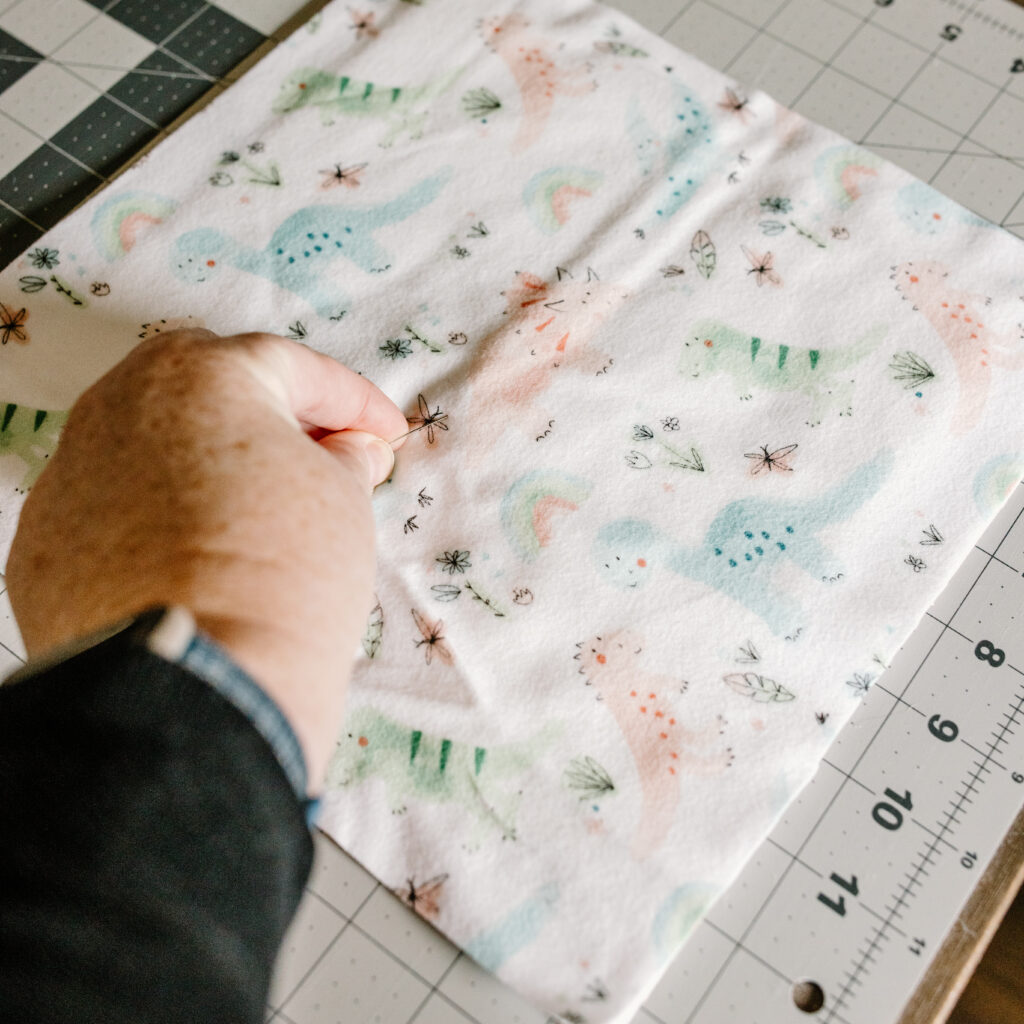
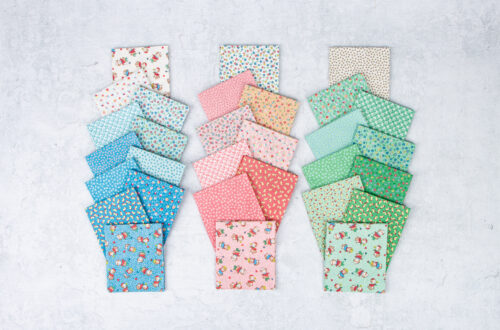
–Riley Blake designer flannel fabric
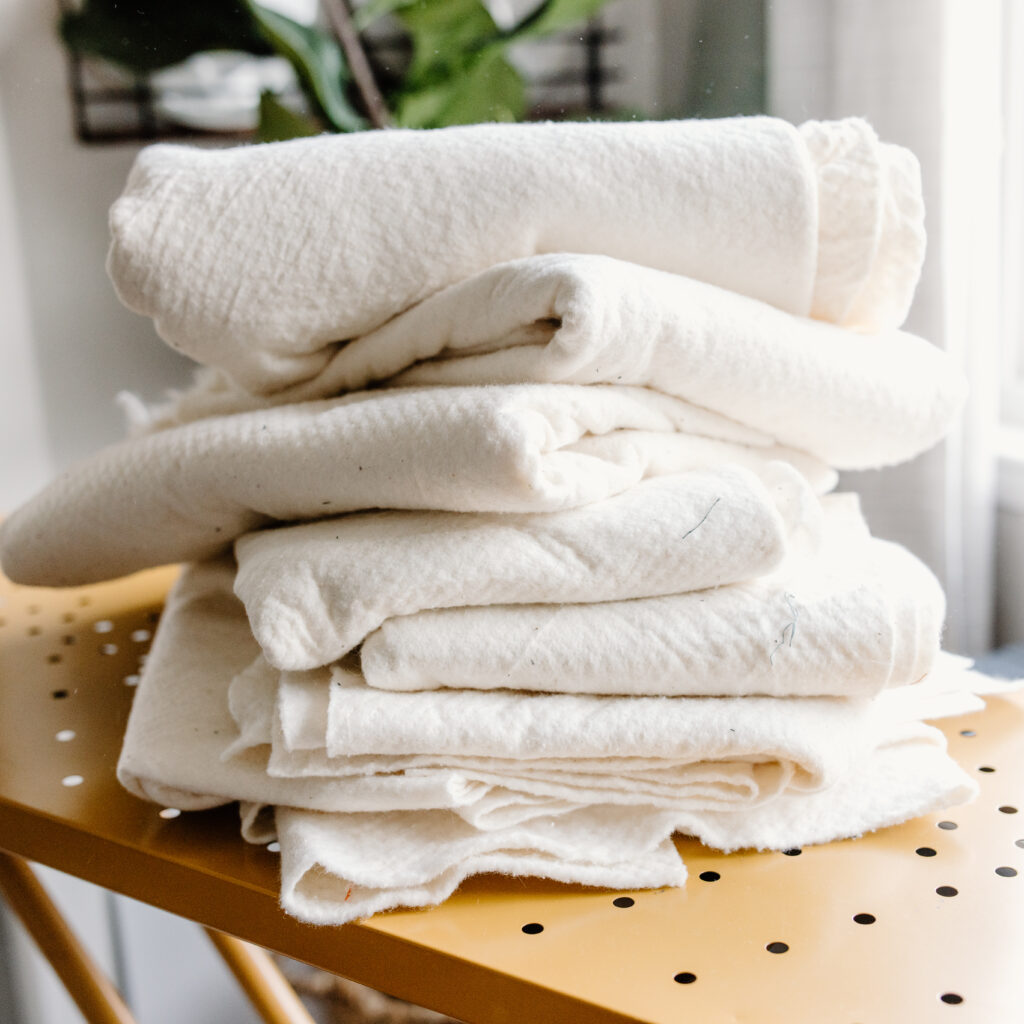
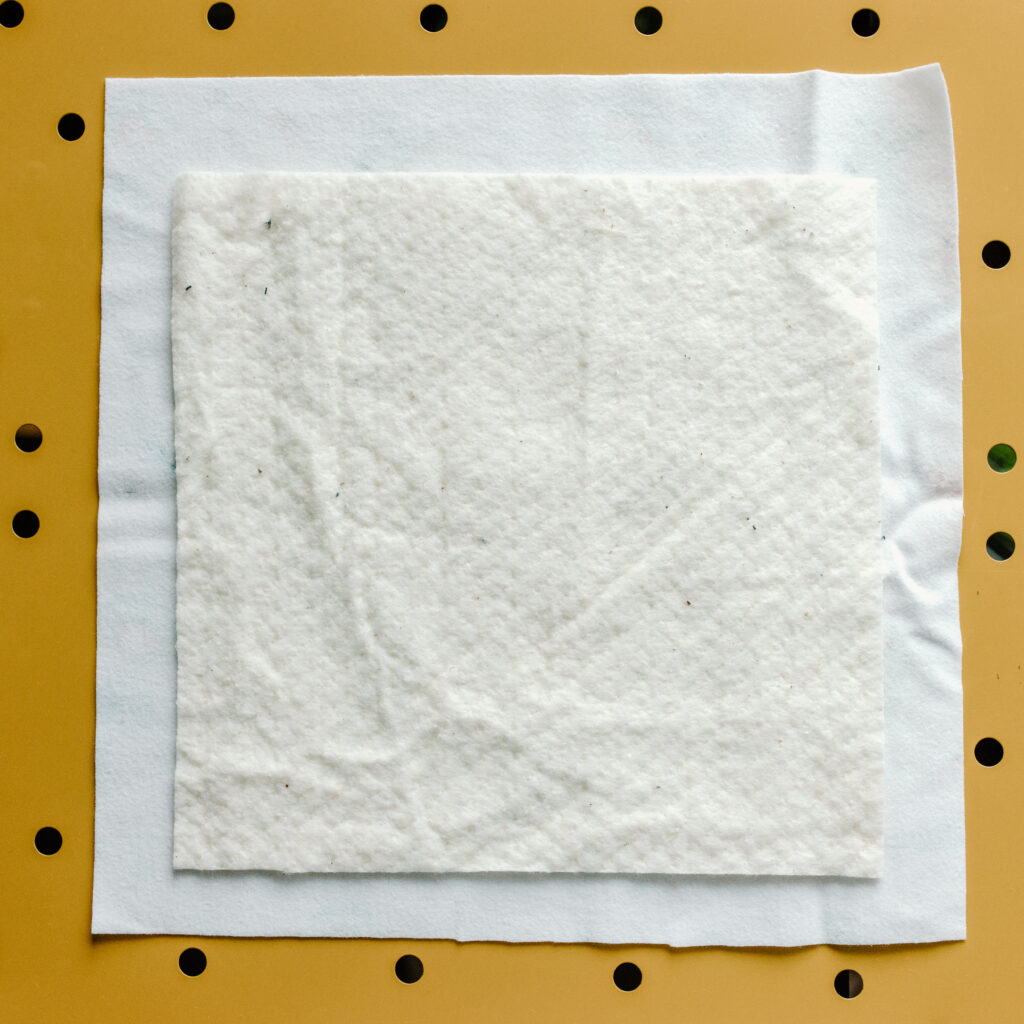
-Scrap pieces of batting (frankenbatting is acceptable) (Fig. 1)
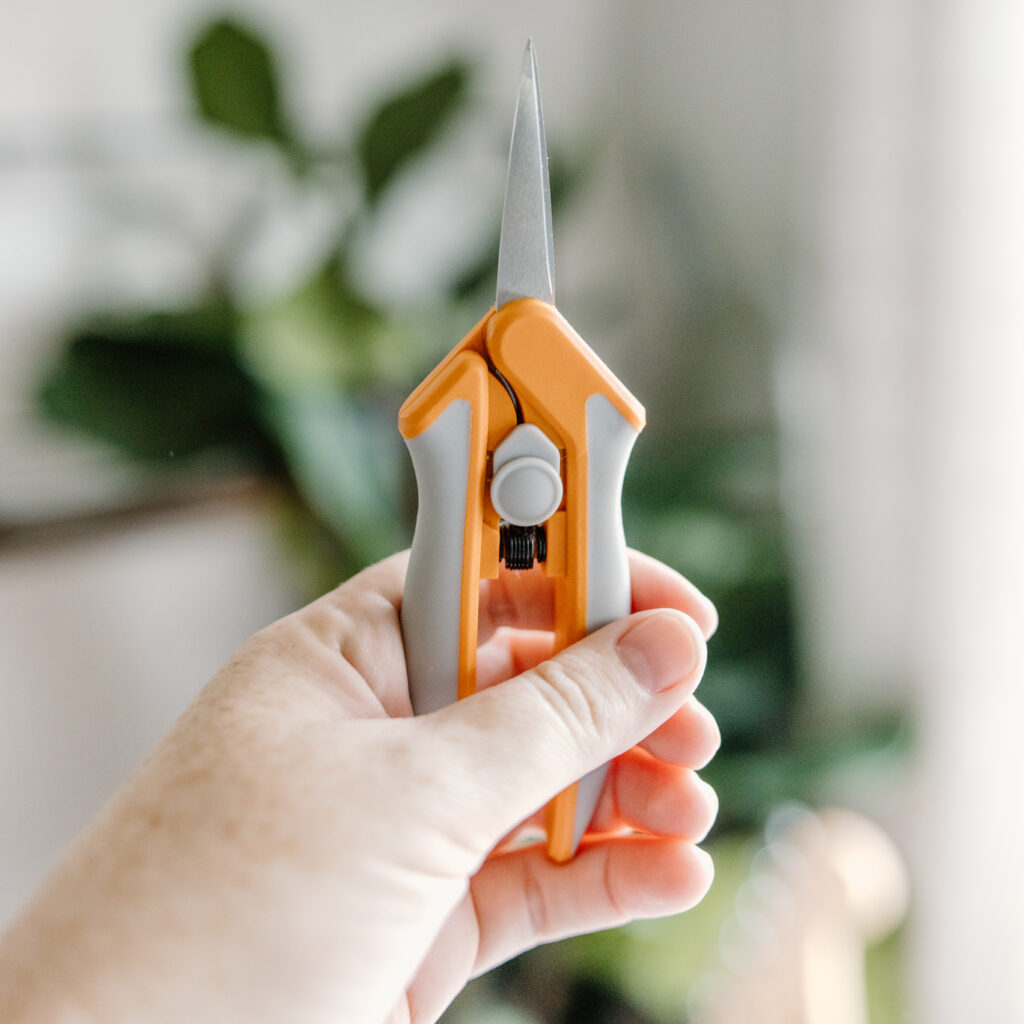
–Sharp short scissors – I’ve used spring-loaded Fiskars for this project, but anything that can easily cut through 4 layers of lofty batting is acceptable. You want something easy to use, as your hands will tire with use.
-Sewing machine
-Thread
Fabric Requirements:
- 6 yards pink fabric
- 2 yards white fabric
- 49 pieces of 8.5 x8.5 square pieces of batting
Notes:
-Please read through all instructions before beginning
-Pattern assumes WOF is 42” wide
Cutting instructions:
- Pink Fabric
- Cut (19) 10.5 inch x WOF strips
- Subcut each strip into (74) 10.5×10.5 inch squares
- White Fabric
- Cut (7) 10.5 inch x WOF strips
- Subcut each strip into (25) 10.5×10.5 inch squares
- Batting
- Cut (49) 8.5×8.5 inch squares
Construction Instructions:
- Layer like a sandwich with a single piece of batting eyeballed to the center (Fig. 3) and two pieces of flannel (right sides facing outward). Place a single sewing pin in the middle (Fig. 4) to hold the layers together.
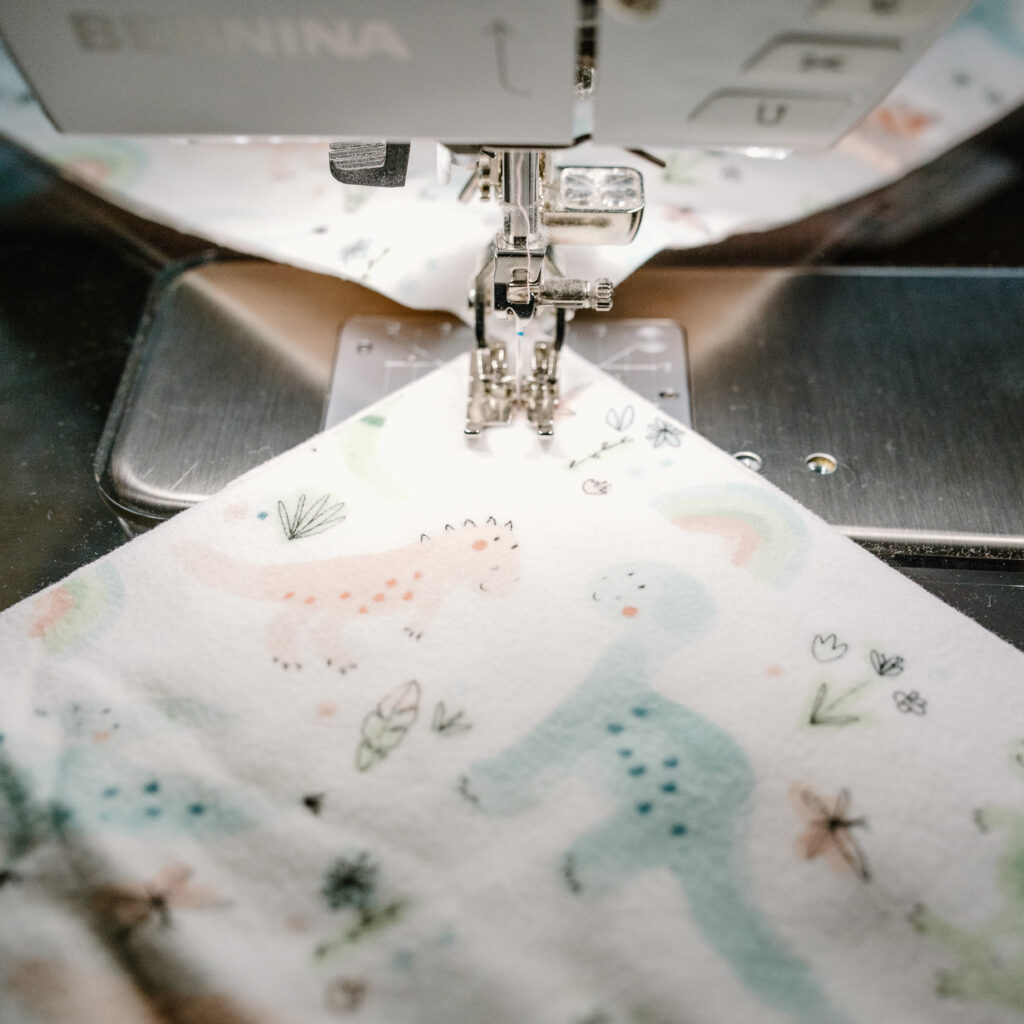
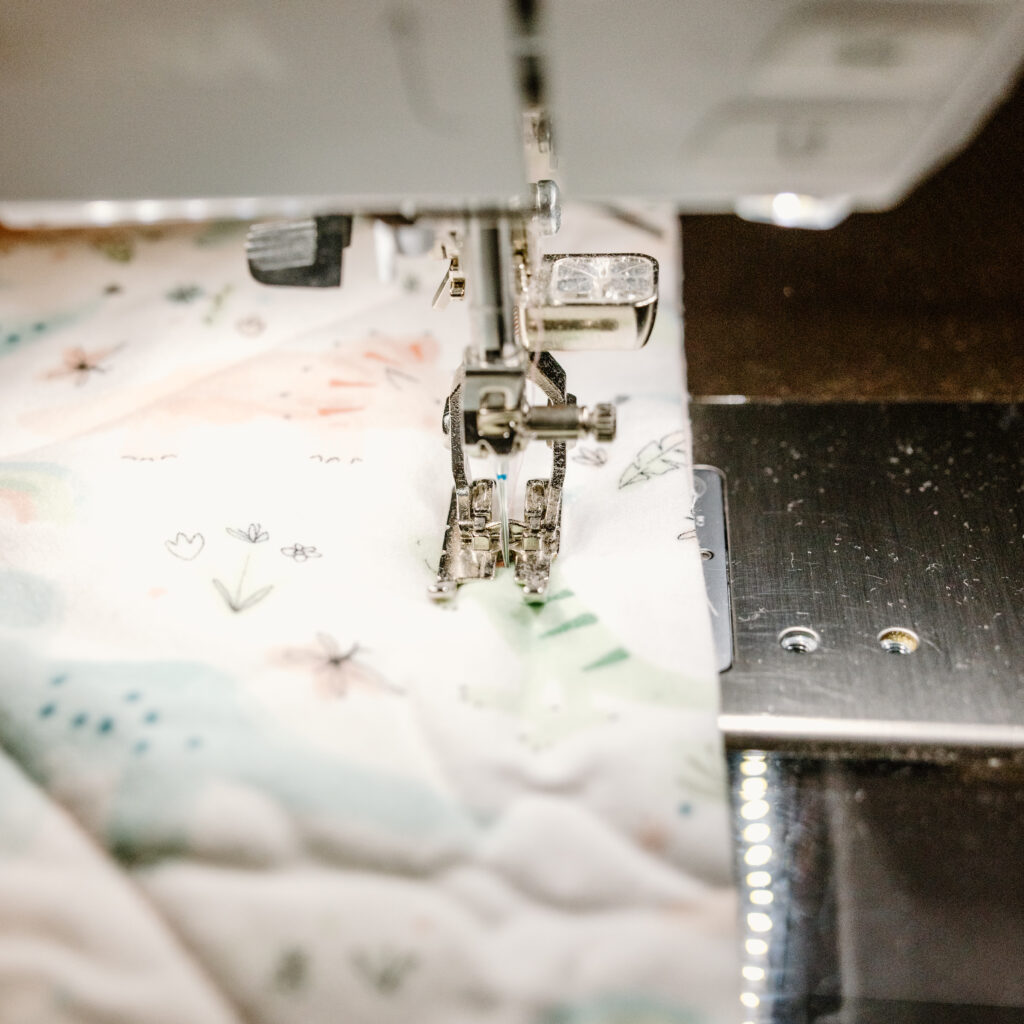
- Sew an “X” across each block/sandwich using a 2.5 stitch length if completing in a straight stitch (Fig. 5). Utilizing the chain piecing method (Fig. 6 & 7) is a great way to be efficient.
Note: You may also use a decorative stitch to complete the “X” lines on your blocks if you prefer. This is your time to get creative.

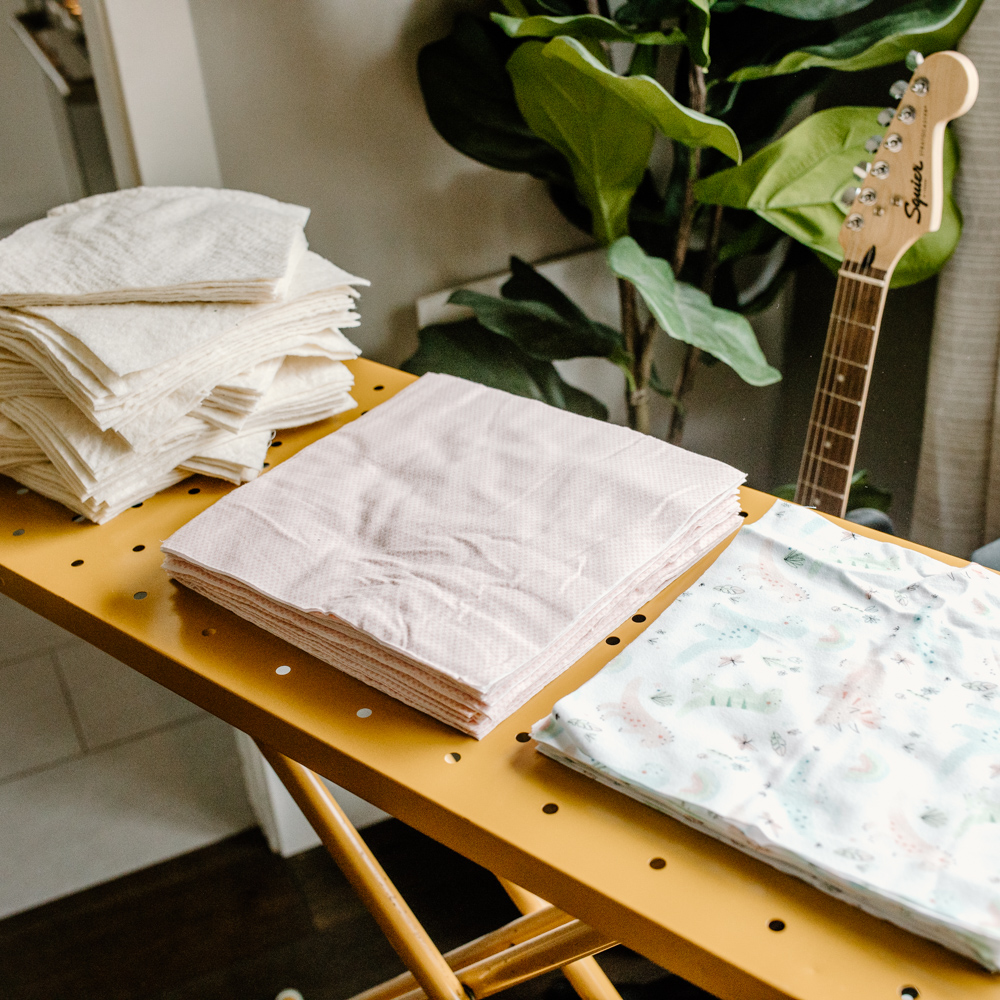
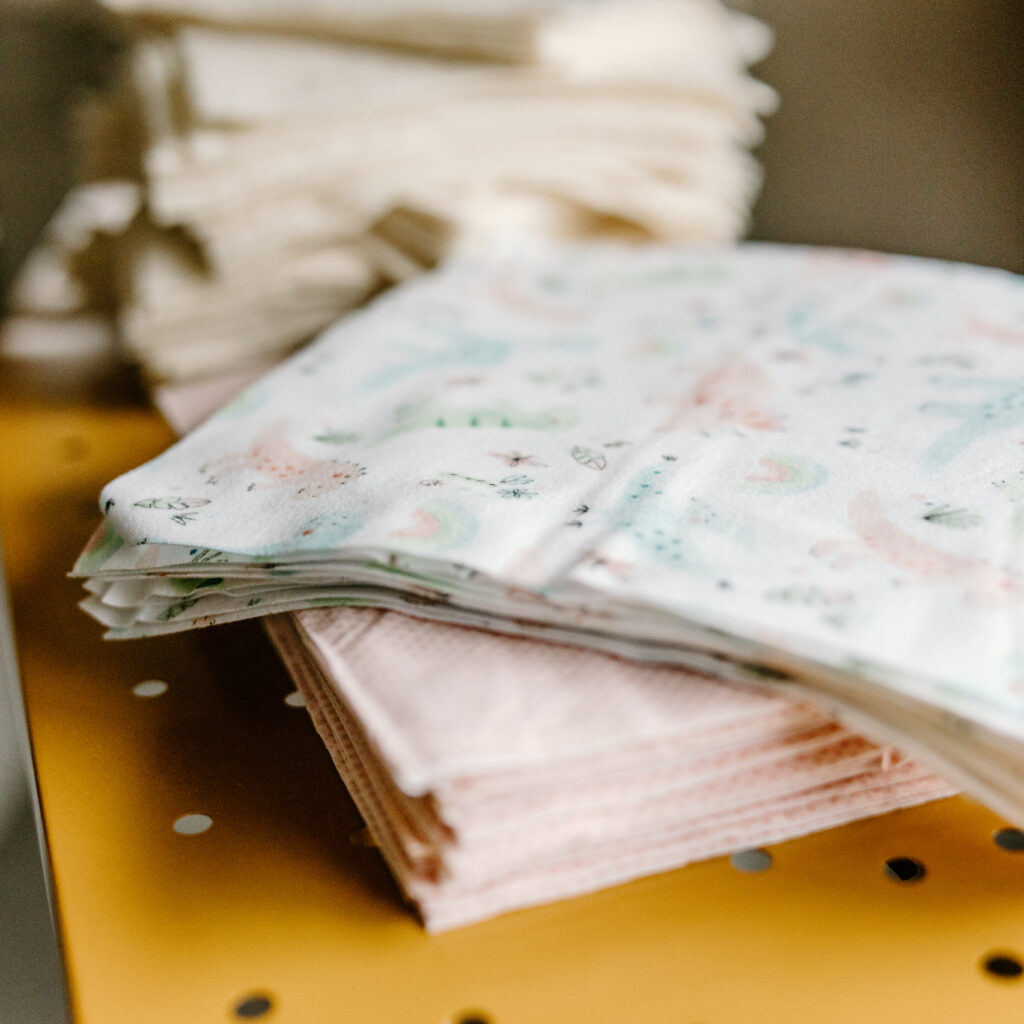
3. Once all pieces are sewn with an “X”, complete your layout for the desired look, and snap a photo if preferred to help with your construction process.
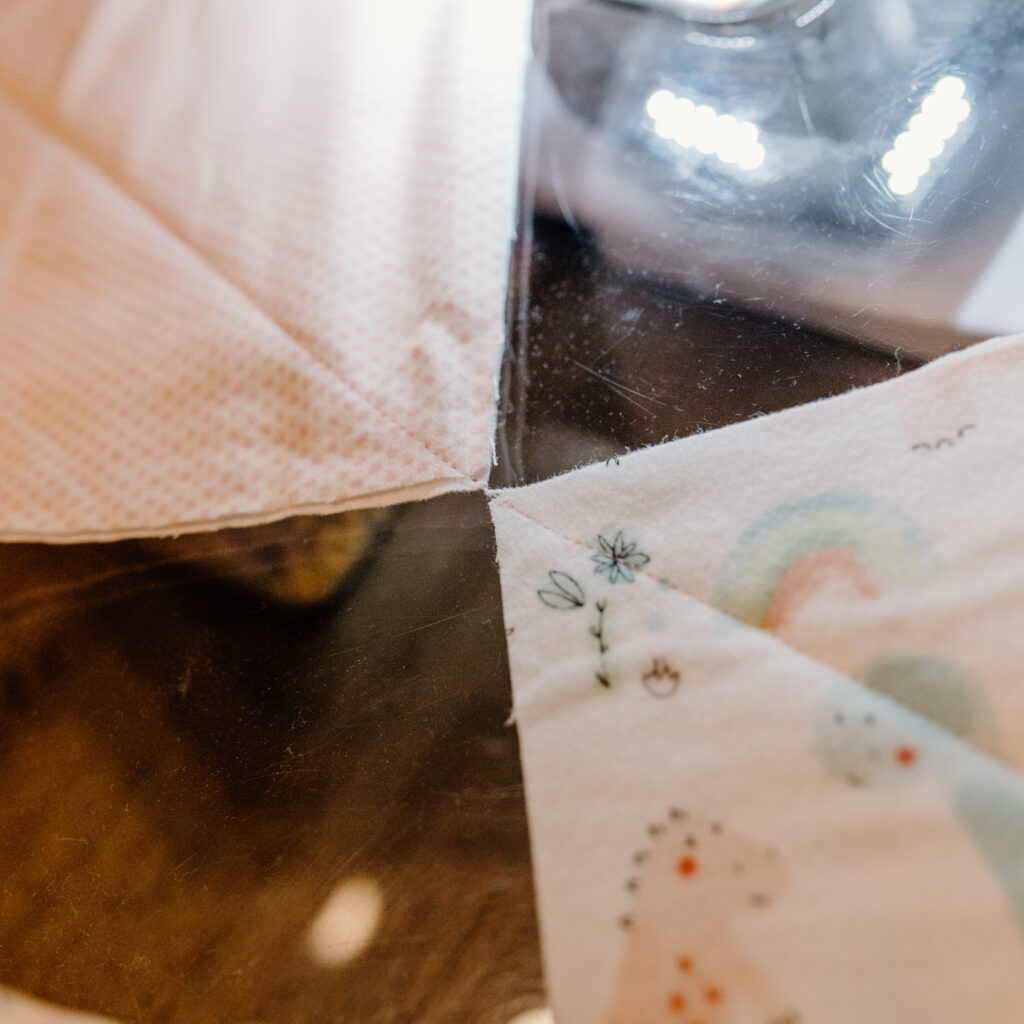
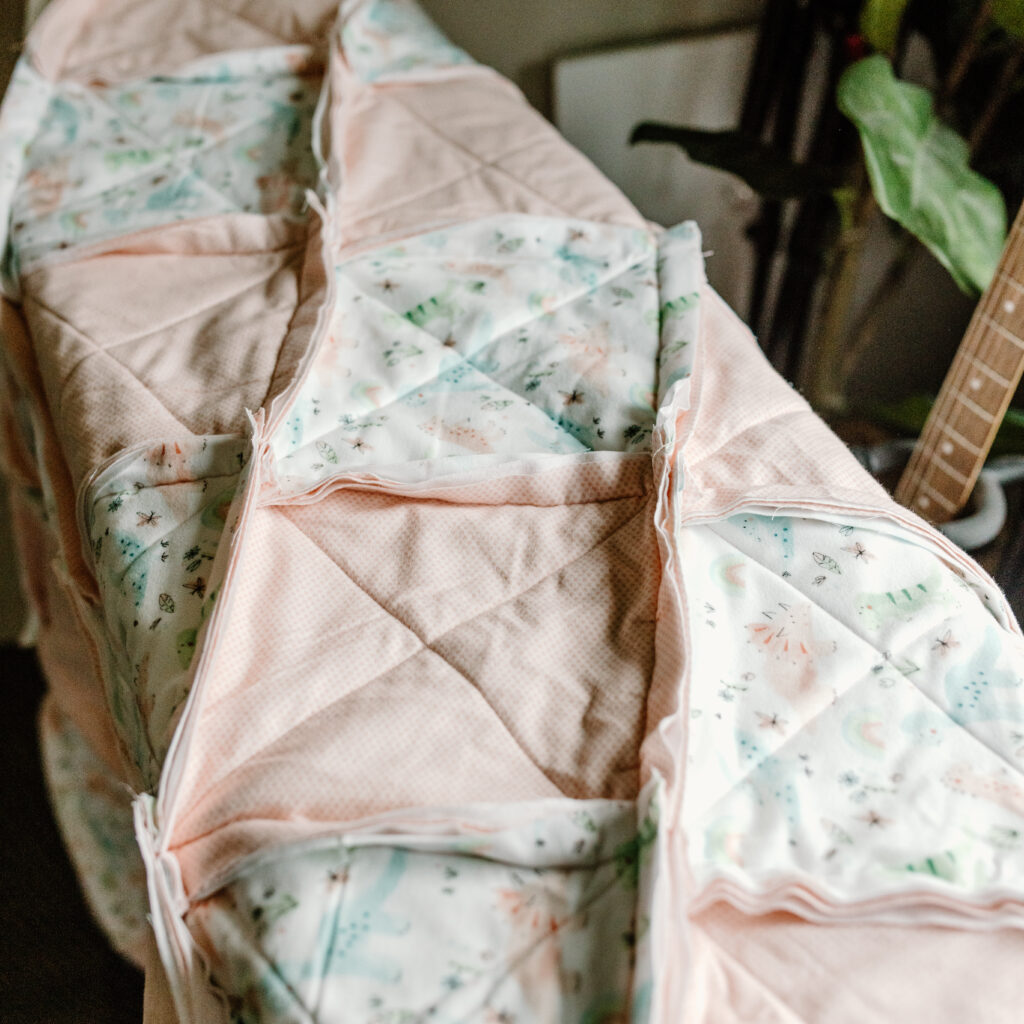
4. Grab two sewn blocks, making sure to note which side is your “back” and which is your front “rag” side. Place your backs right sides together and sew a 1-inch seam (Fig. 10). Complete this process for the remaining pieces until you have your completed rows.
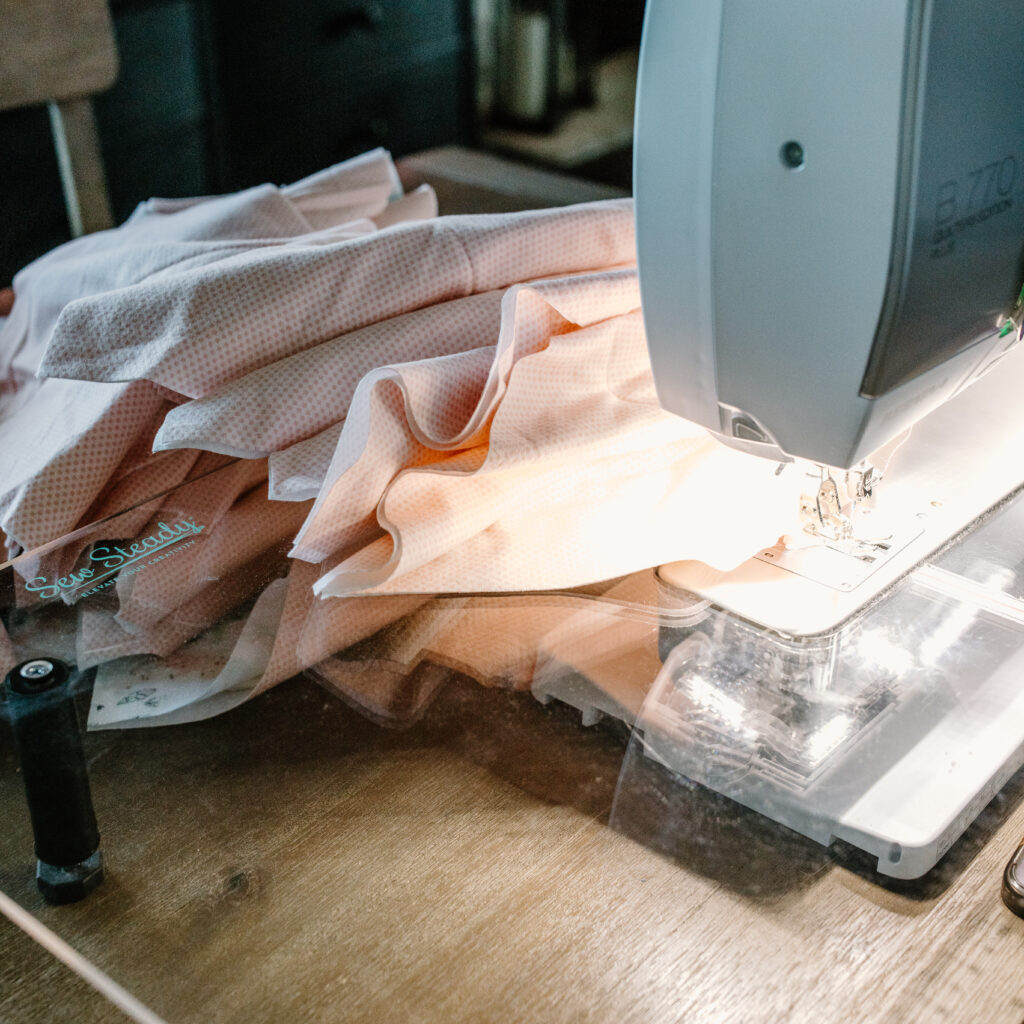
5. Grab two rows and pin together at intersections, alternating the direction of your 1-inch seams to reduce bulk; lower stitch count to 1.8-2.0 if desired (Fig. 8 & 9).
6. Once your quilt is fully constructed, sew a stay stitch around the perimeter of your quilt 1 inch away from the edge (Fig. 11).
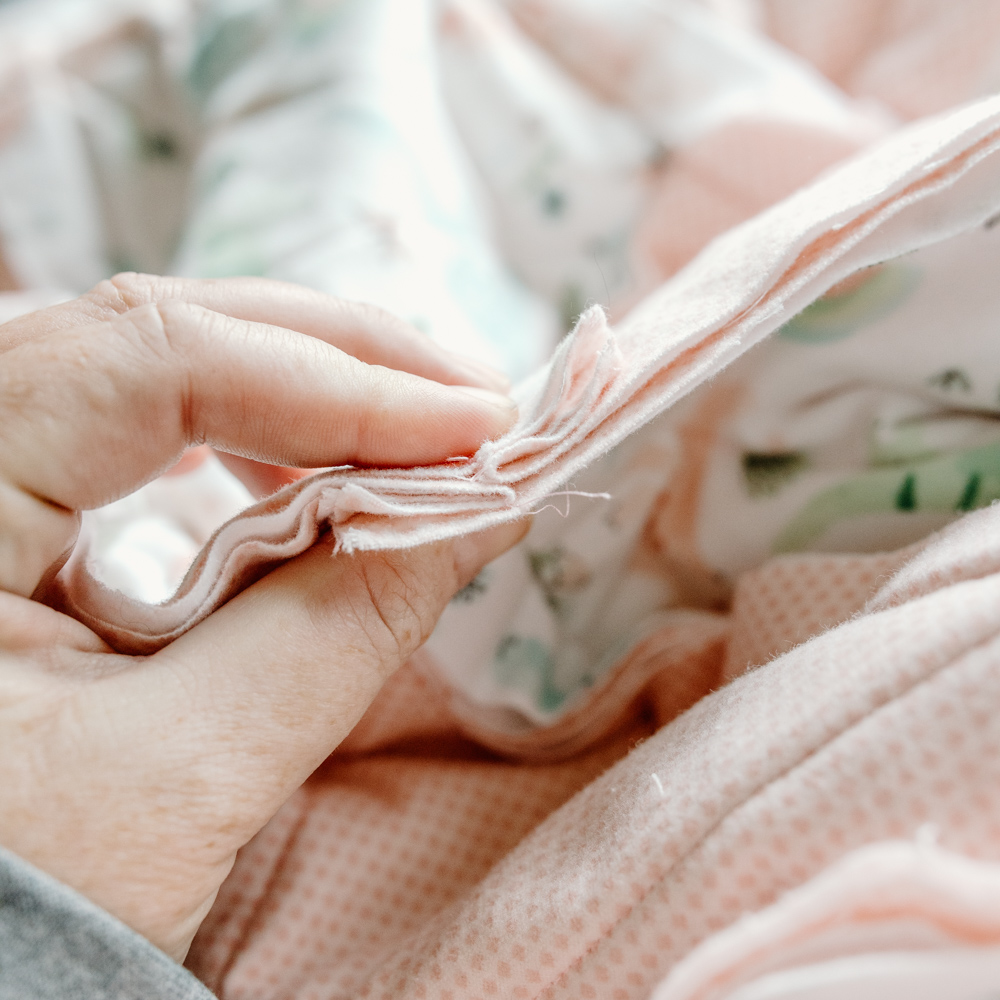
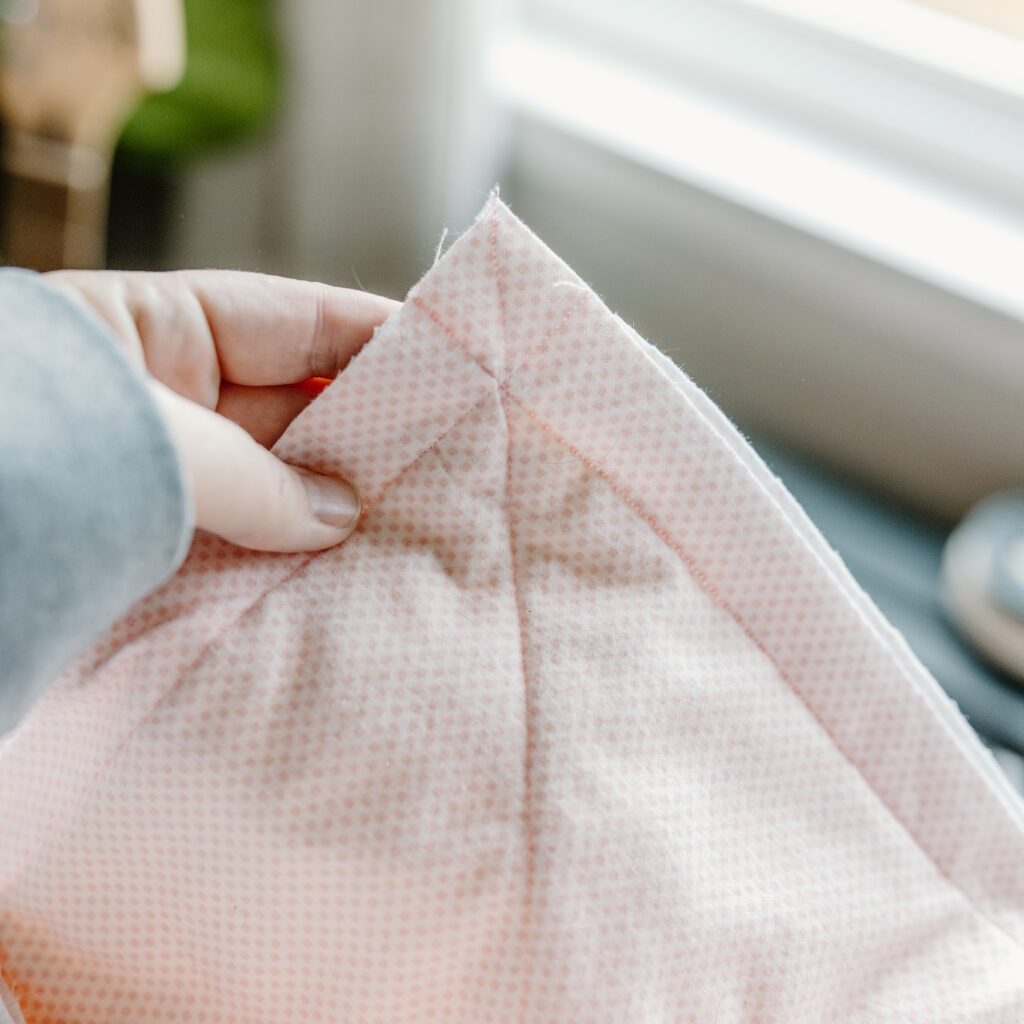
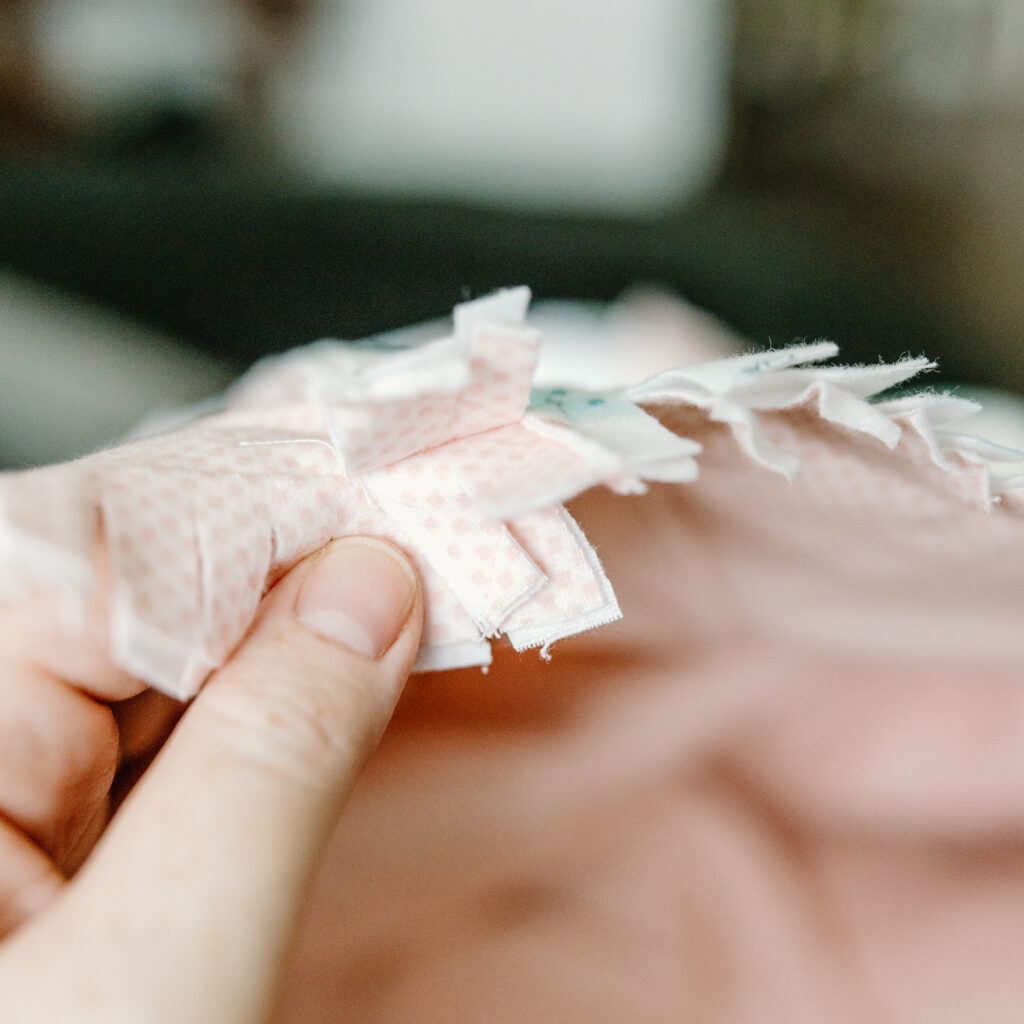
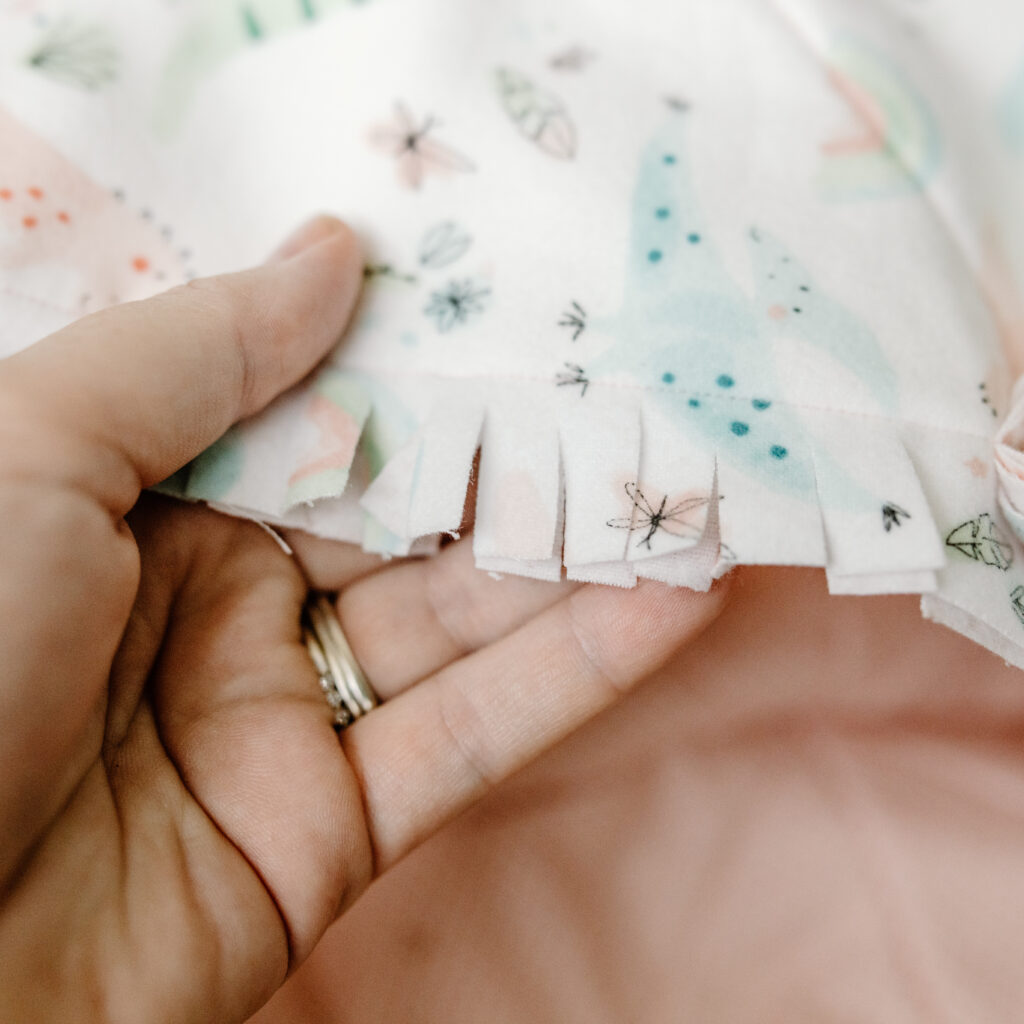
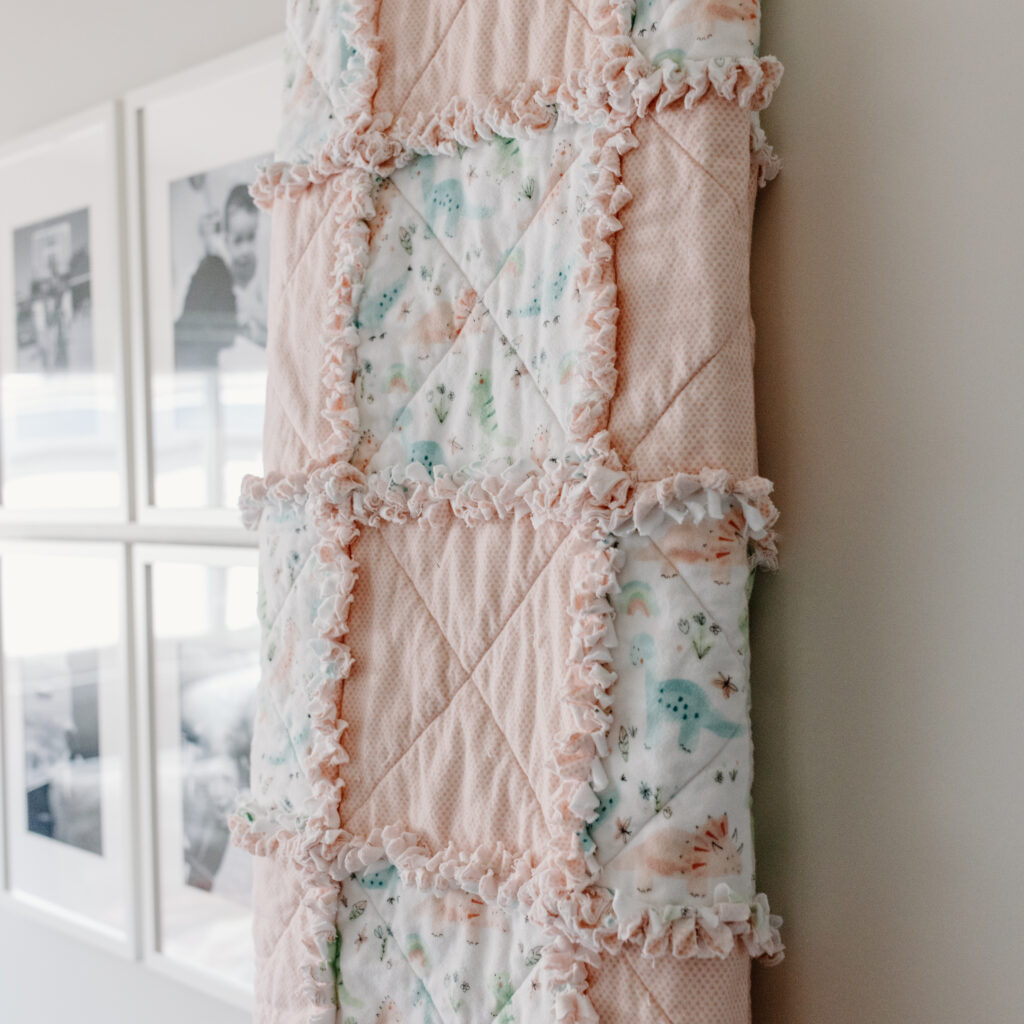
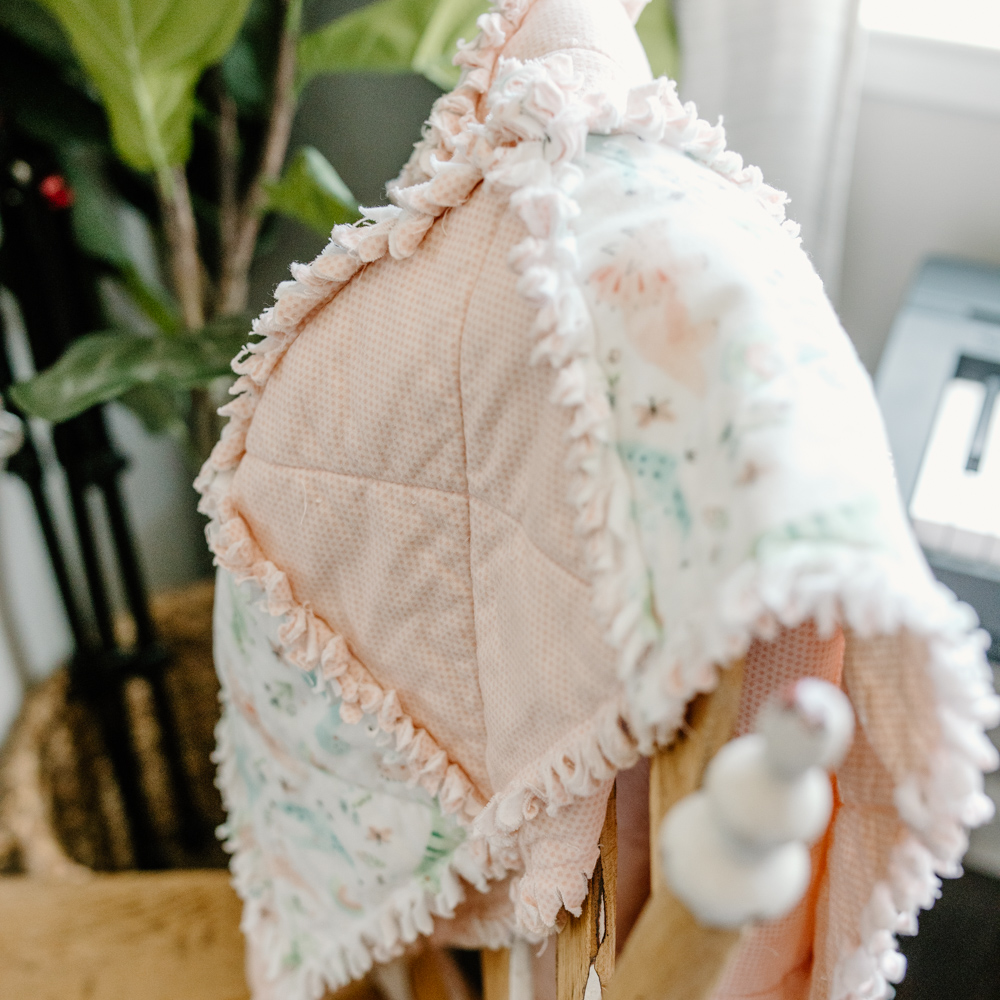
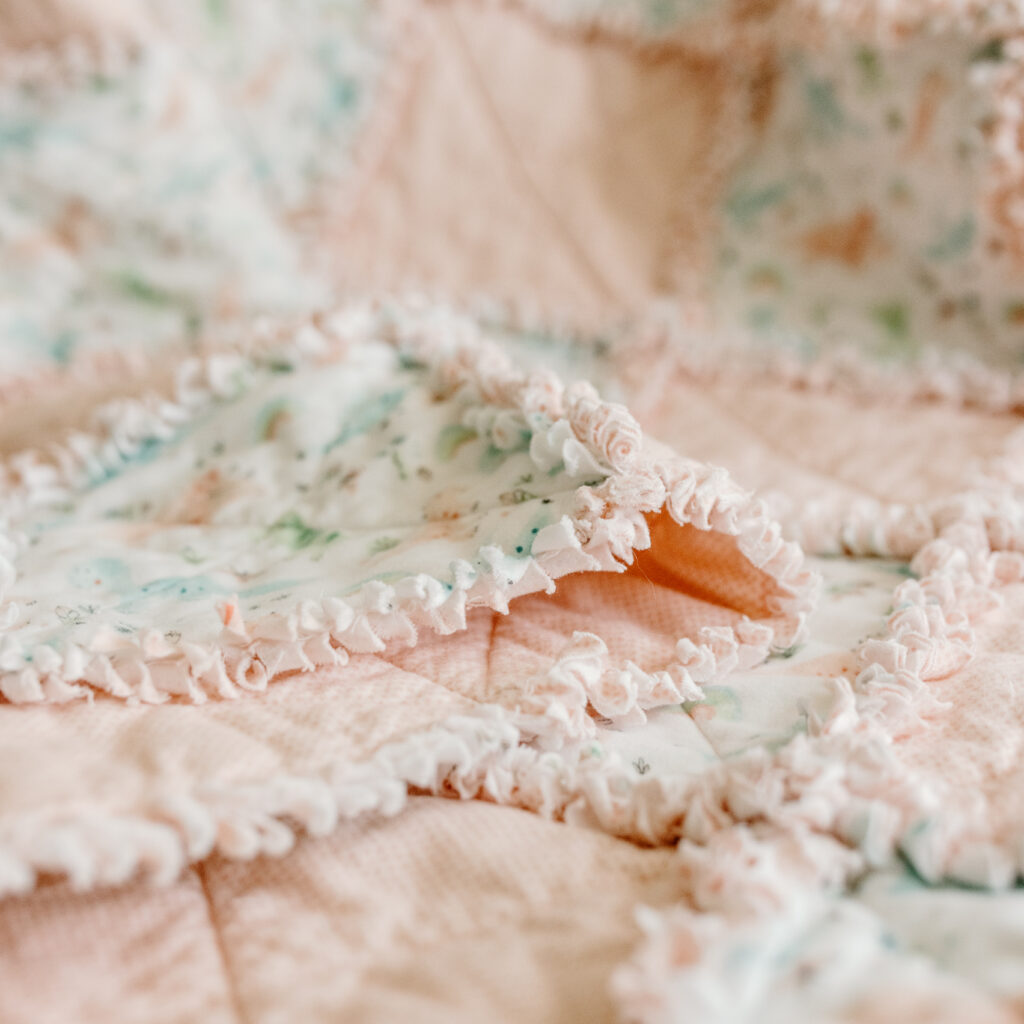
7. Now, it’s time to snip the seams and create the textured rag that is so desirable. Using your short, sharp scissors (Fig. 12), snip your perimeter and all 1-inch seams roughly about 1 finger width or ½ – ¾ inch apart (Fig. 14). The smaller the pieces, the more “rag” it will look after washing. Remember to loosen up all intersections (Fig. 13) but don’t snip past your seam allowance.
Should an accident happen and you snip over a seam, simply take the quilt to the machine and give it a good sew over the “oops,” which will help secure the seam.
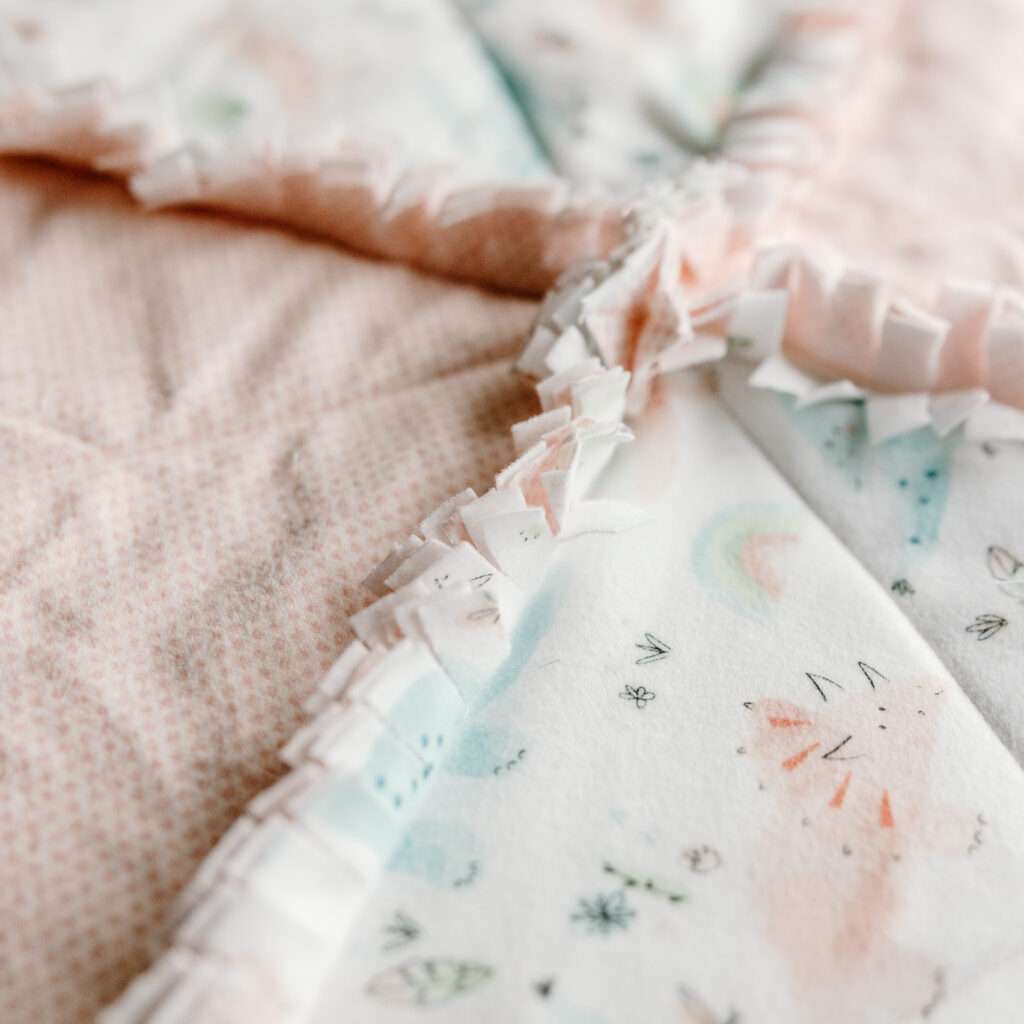
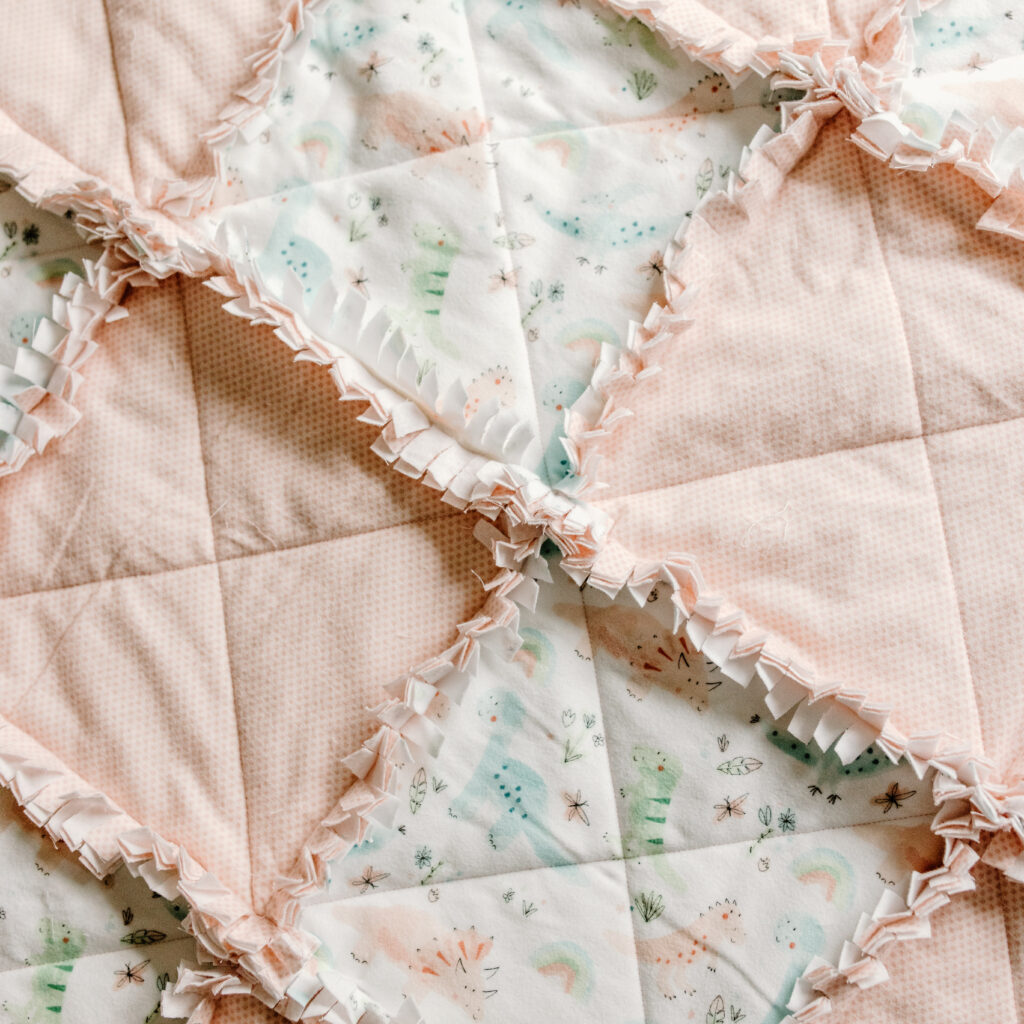
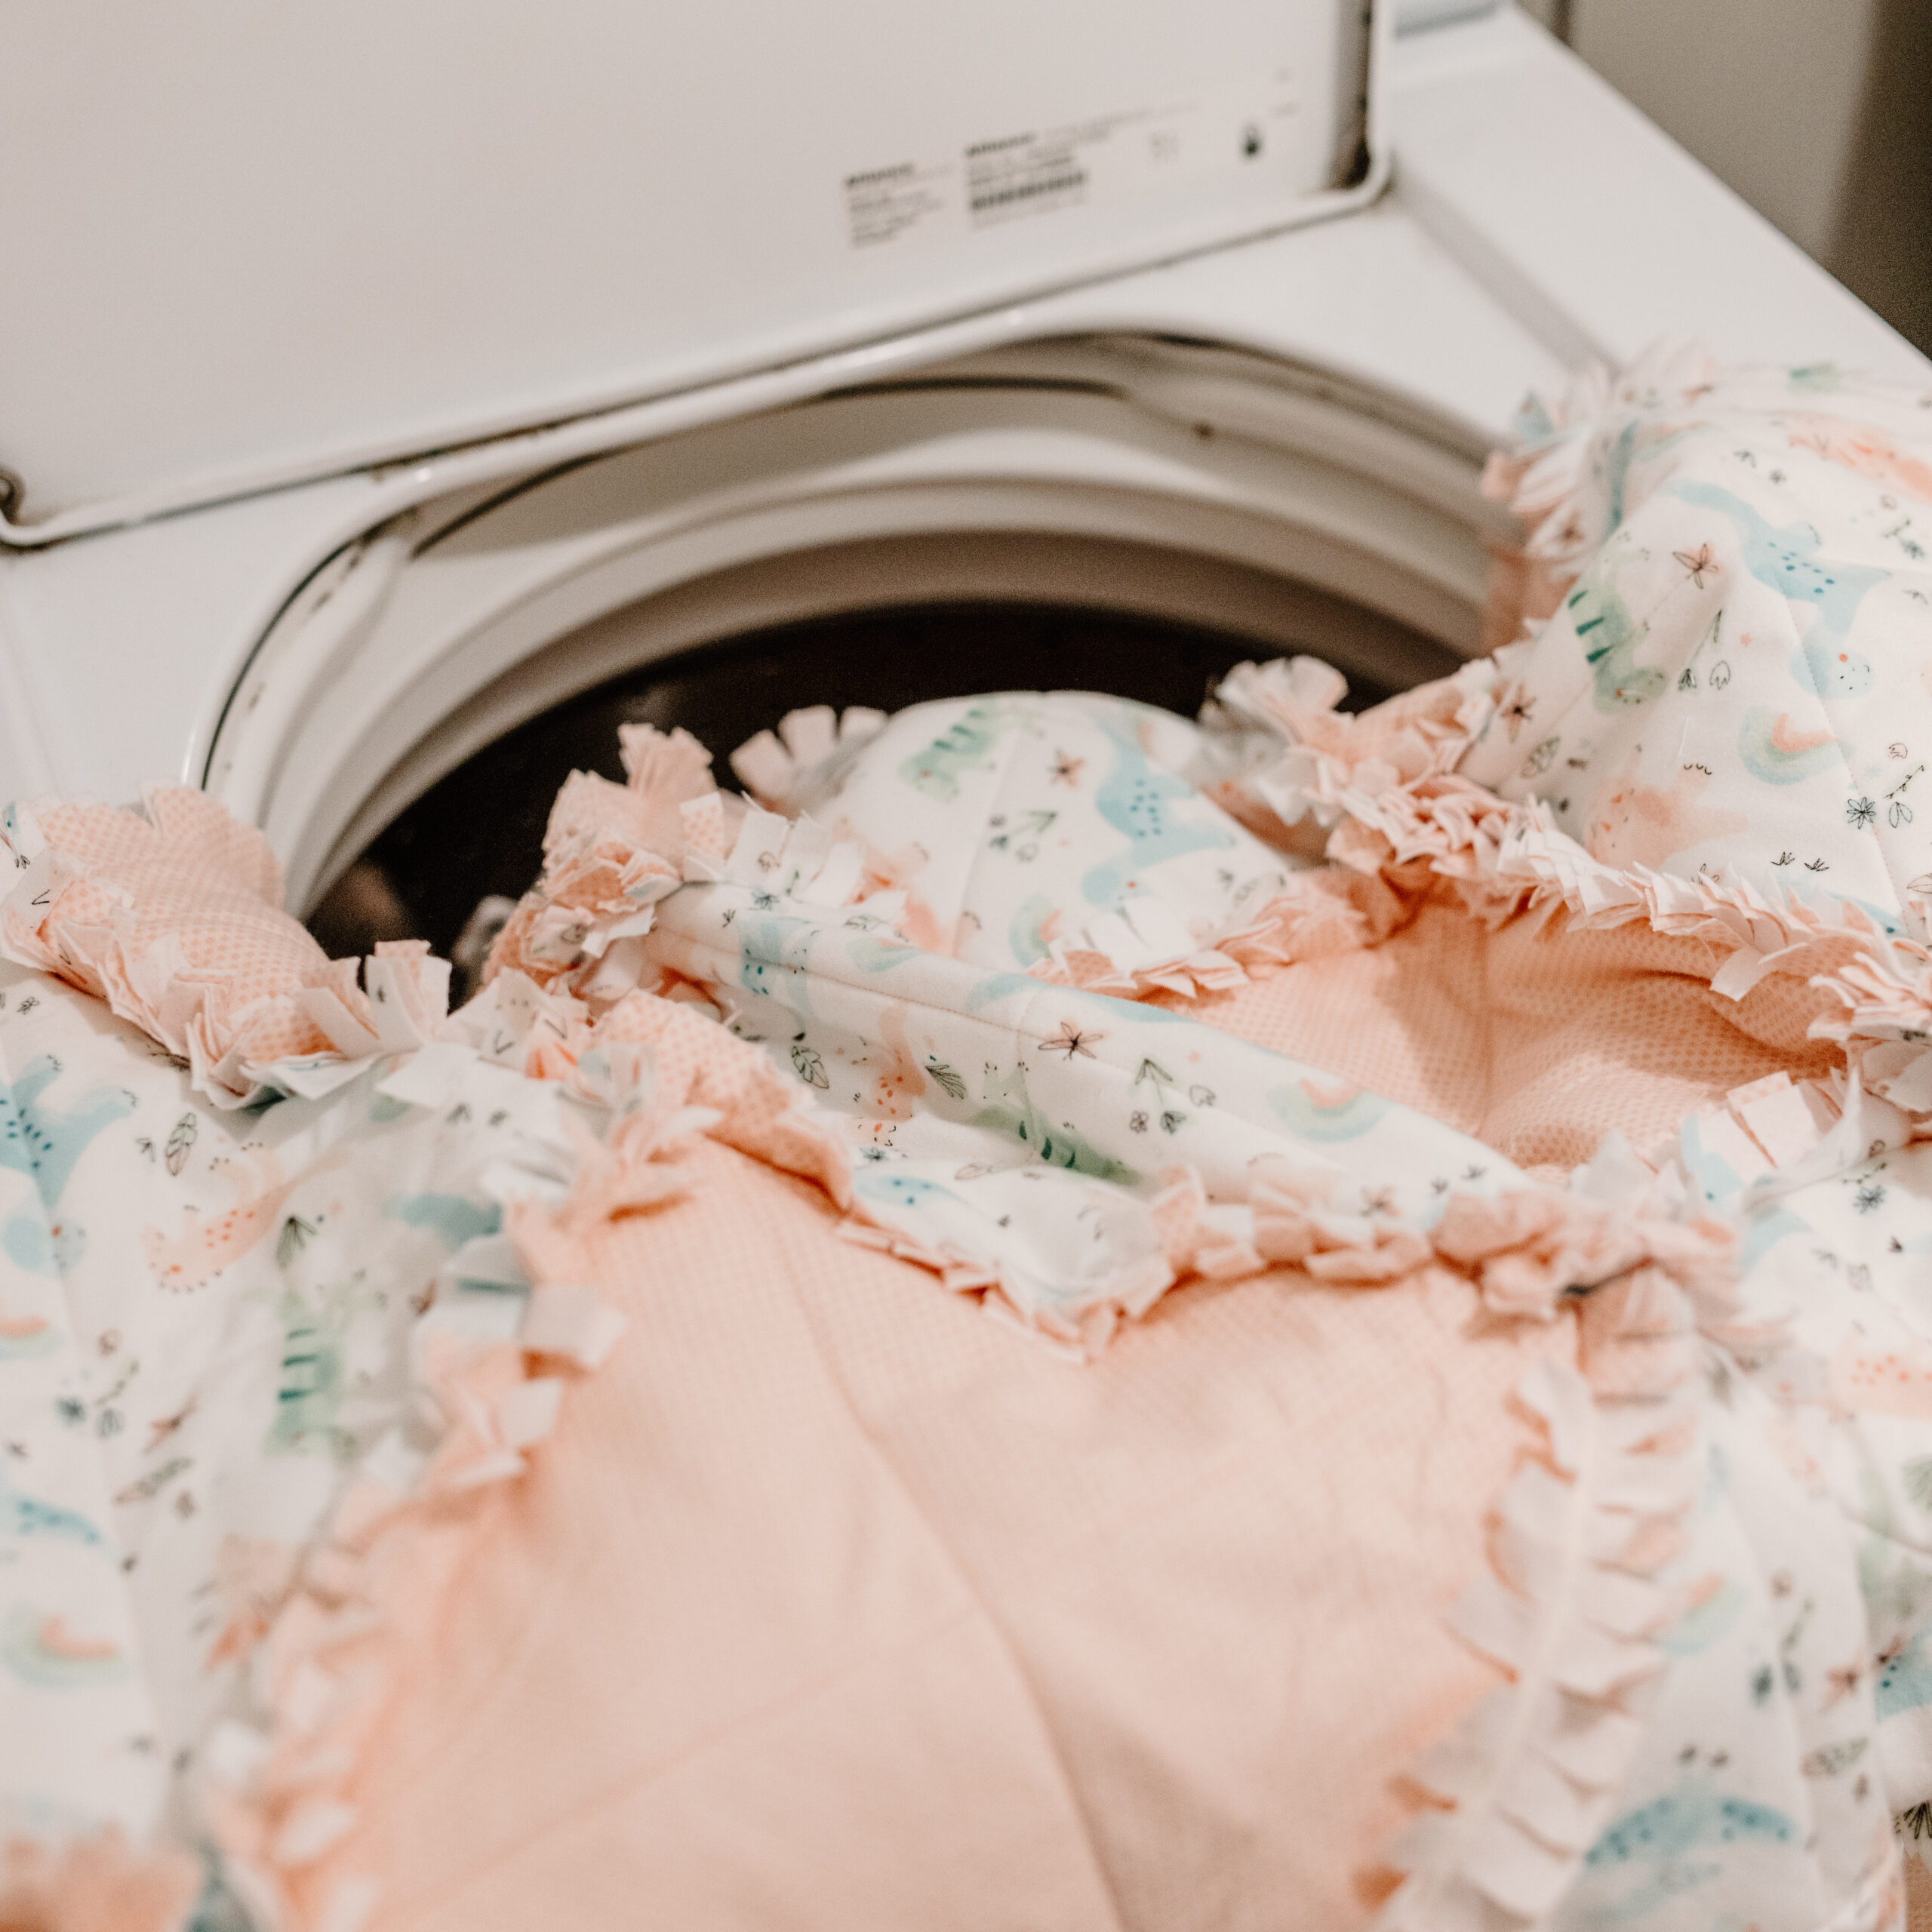
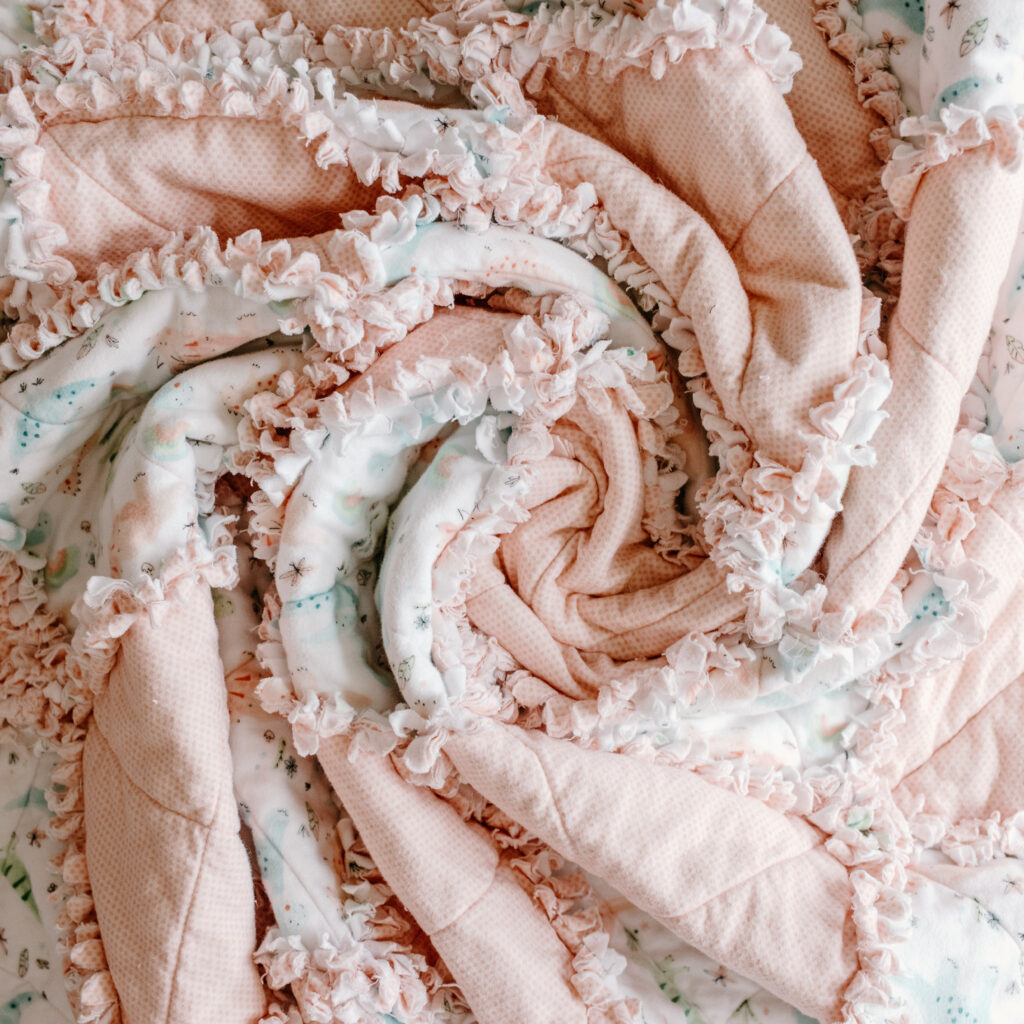
8. Time to wash! (Fig. 15) This is the stage that will bring your quilt to life and make it “rag.” To enhance the rag effect, wash on a heavy-duty cycle in the washing machine. When putting your quilt in the dryer, set a timer for every 10-20 minutes and remember to empty the lint trap. This step is VERY important; otherwise, you may encounter a dryer lint fire if not monitored closely. The photo below (Fig. 16) shows the quilt after 10 minutes of drying. Repeat the washing/drying process 1-2 more times for maximum fluff.

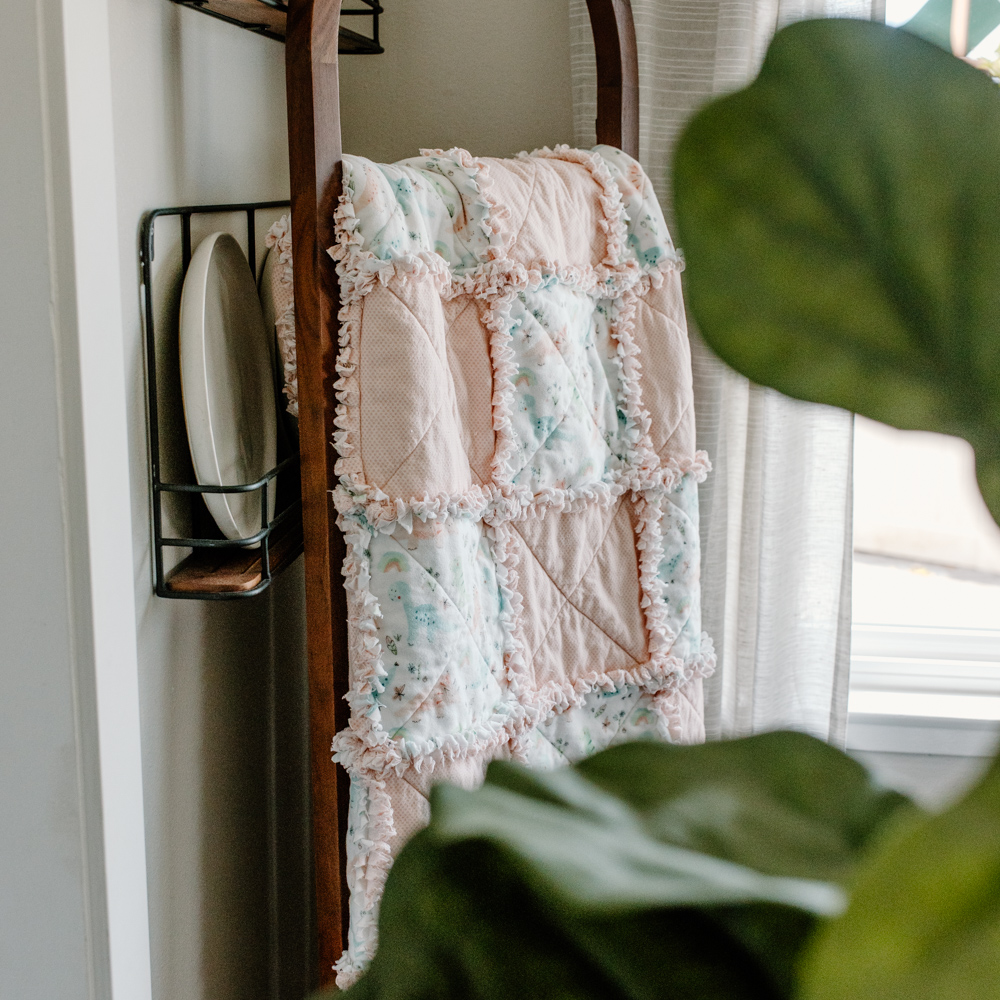
Once your washing is complete, it’s time to enjoy your warm snuggly rag quilt and boy is she snuggly. I own 3 of them but who’s counting.
Ways to add additional creativity:
- Increase/decrease block sizes – Just remember, your batting should be roughly 2 inches smaller than your flannel block size with whatever size flannel block you create.
- Add a raw edge “patch” of a heart/star/alphabet letter, which can be cut out and sewn on with a raw edge that will rag out in the wash.
- Use a decorative stitch for your “X” sewing. Get creative and explore the stitches your sewing machine may have. It’s important to note this may add a little more time to your quilt completion.
- Get scrappy – Do you have a lot of scrap flannel? Cut blocks to size and make a scrappy rag quilt.
Rag quilts are ideal for adding extra warmth during the winter, as well as for gifting at baby showers, weddings, and birthdays. They’re not too time-consuming to make, and the added touch of a handmade gift is always appreciated.
Be sure to explore the Riley Blake Designer Flannel for your next rag quilt project. You won’t regret choosing their fabrics for your cozy creations.
Until next time,
Alexis Plunkett @StitchedByAlexis


3 Comments
Libby
So very cute and dainty 💕💕💕
Karen Guest
Do you prewash the flannel before sewing? thx
Stephanie
Can I use a fabric other than flannel?