Make it Modern Pillows – December 2023 Tutorial
It’s Jamie again from Sew Brainy Designs! Last year I brought you a bunch of modern pillow patterns that I hope you had fun making. And guess what…I’m back again with more pillows this year! In case you missed 2022 pillow fun, you can click the link below. New this year is a fun Facebook Group so we can all sew along together! The group is brand new and I hope you’ll join and sew along with me.
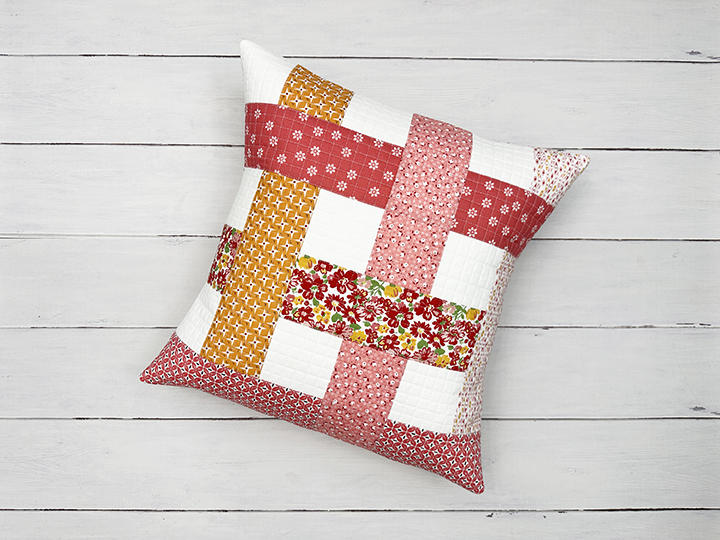
November’s block used strips of fabric to make a fun weaved design.. In case you missed it, click on the link below to check it out.
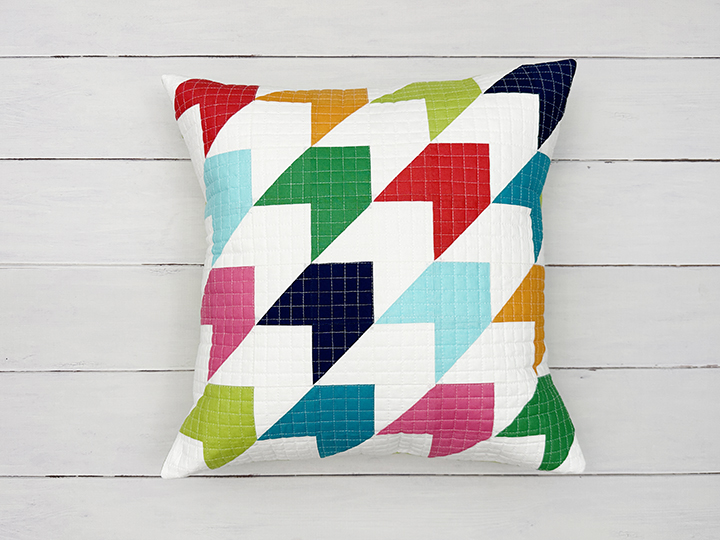
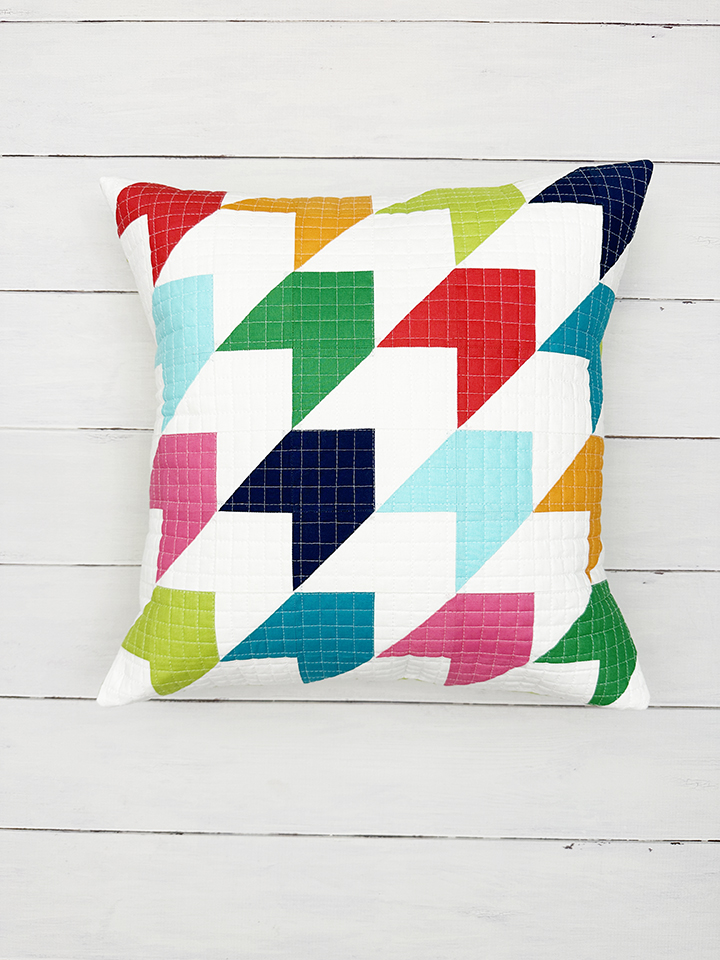
December’s block uses Half Square triangles to make simple arrows.
I really like the playful movement you get with this design!
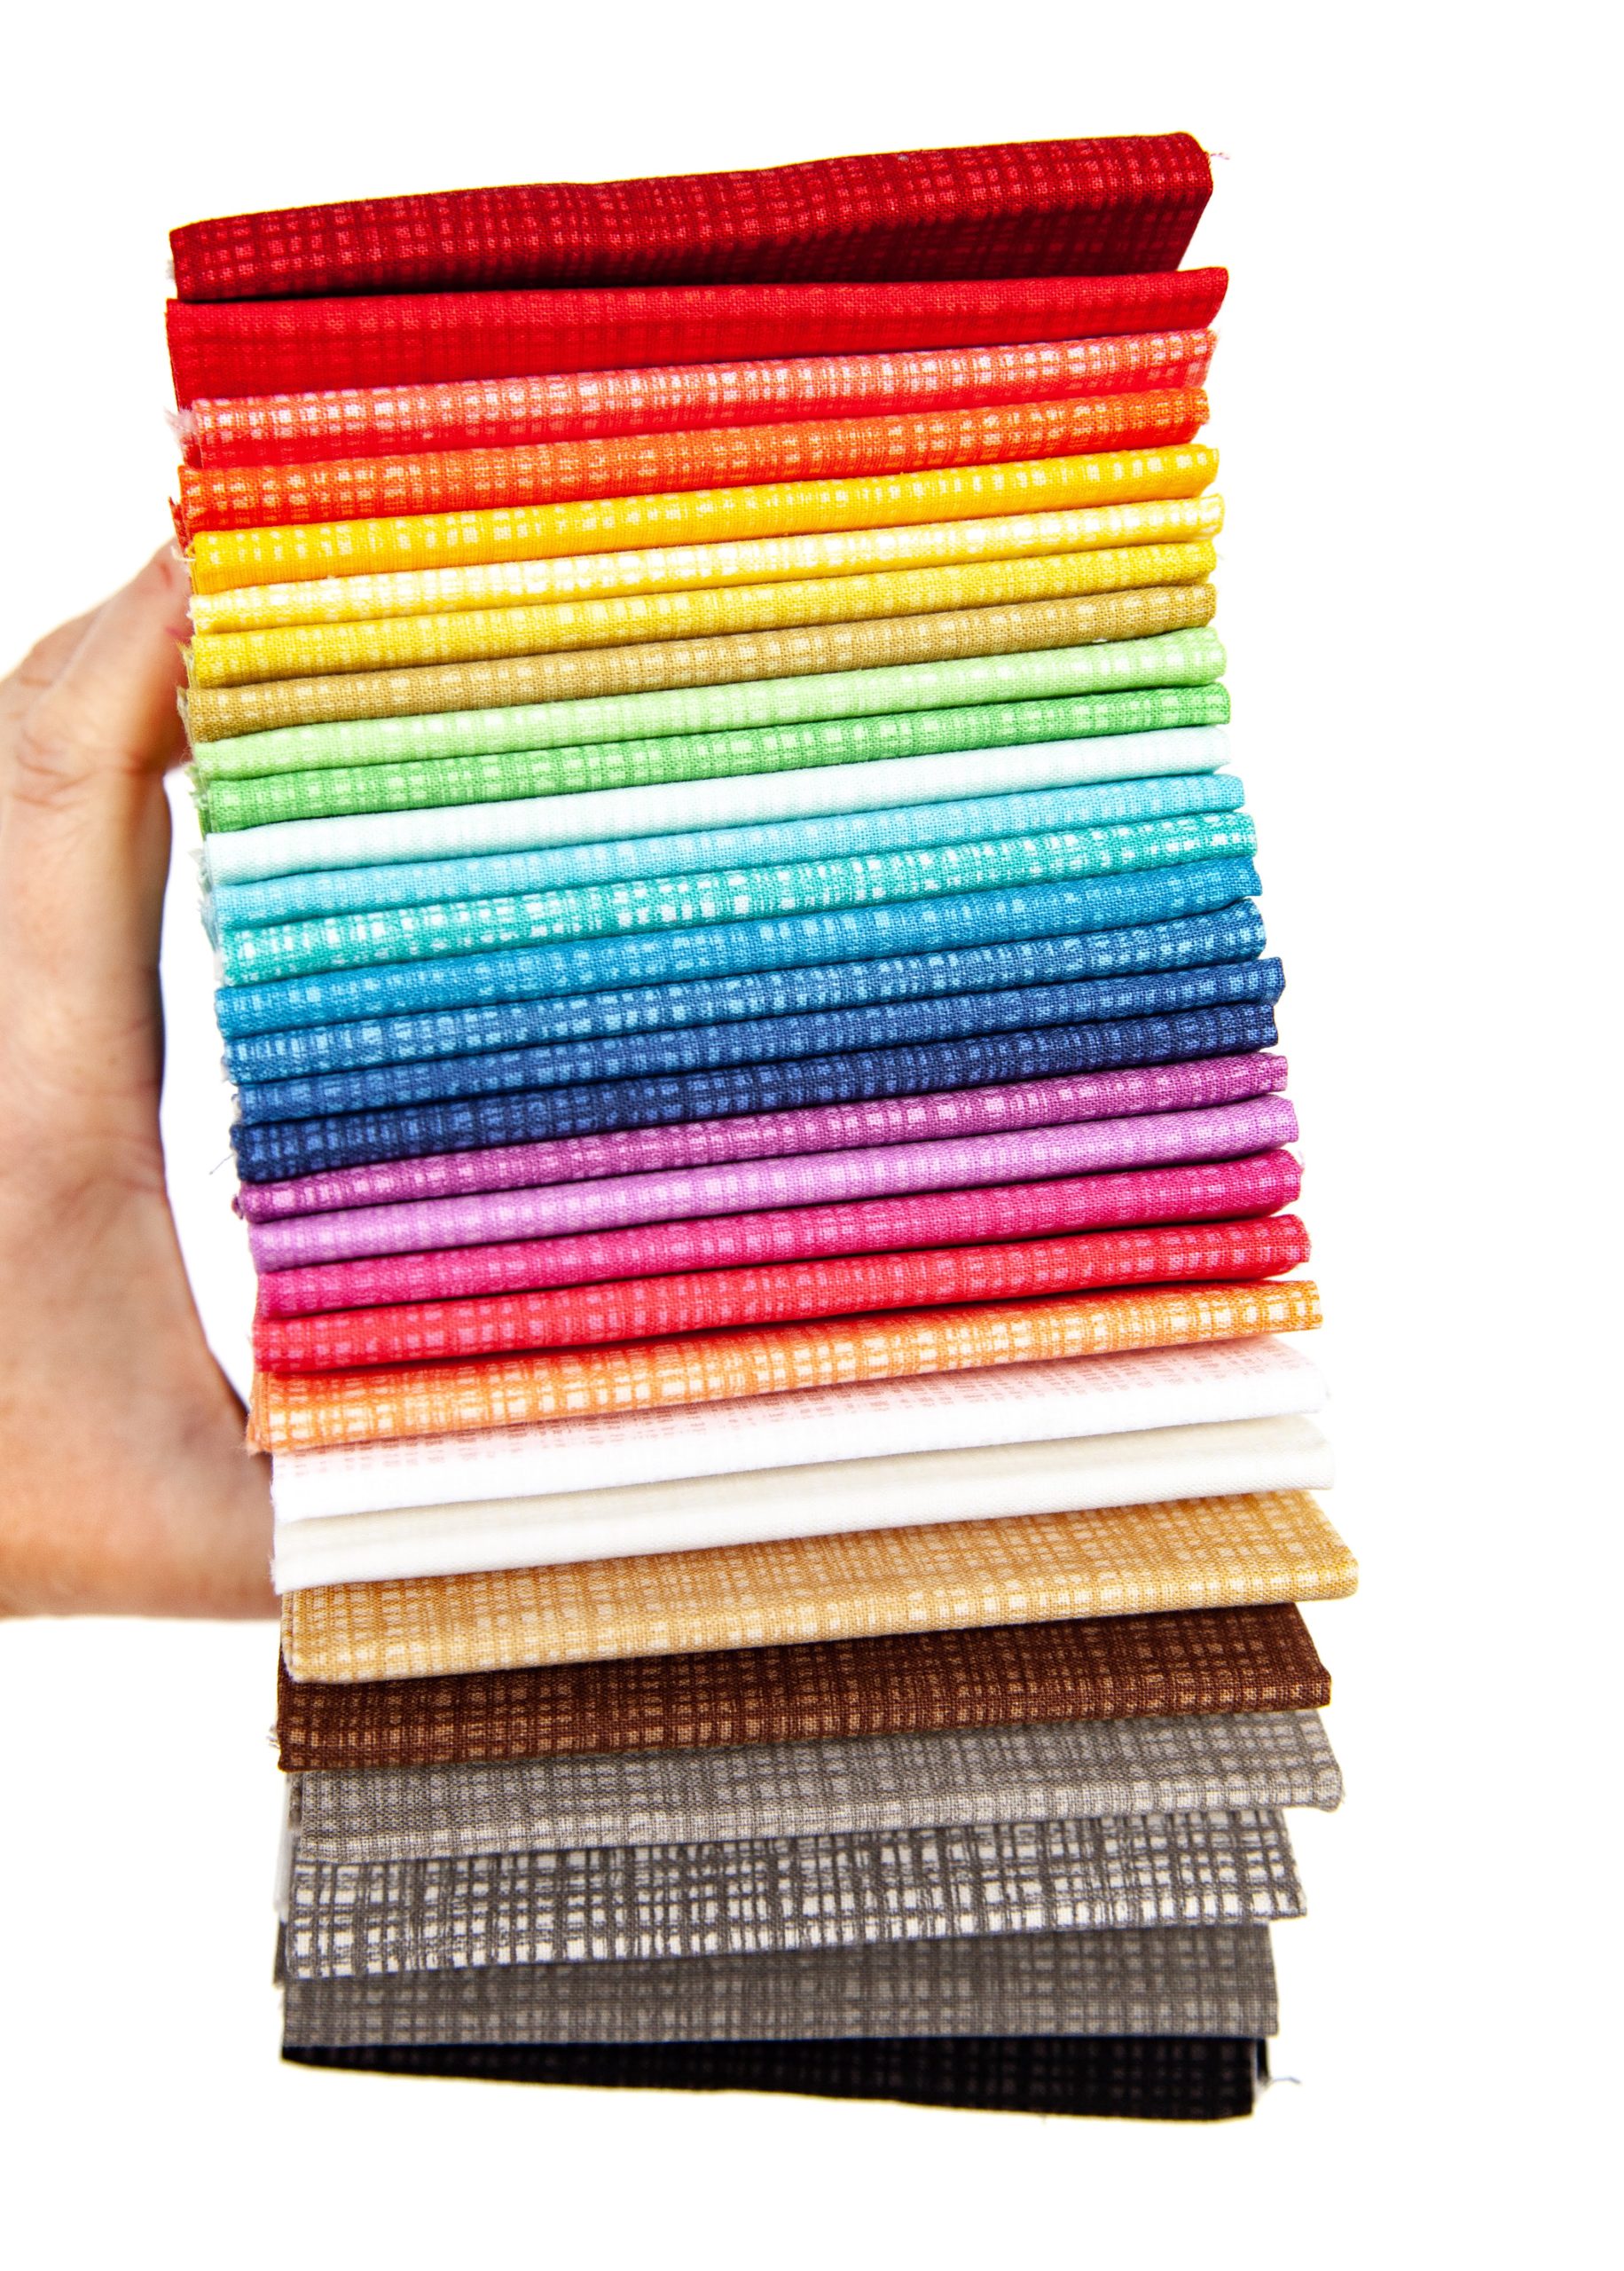
This pattern would be great for scraps!
Any colors would work here! I chose these because it’s Christmas time and I love all the bright colors for the holidays!
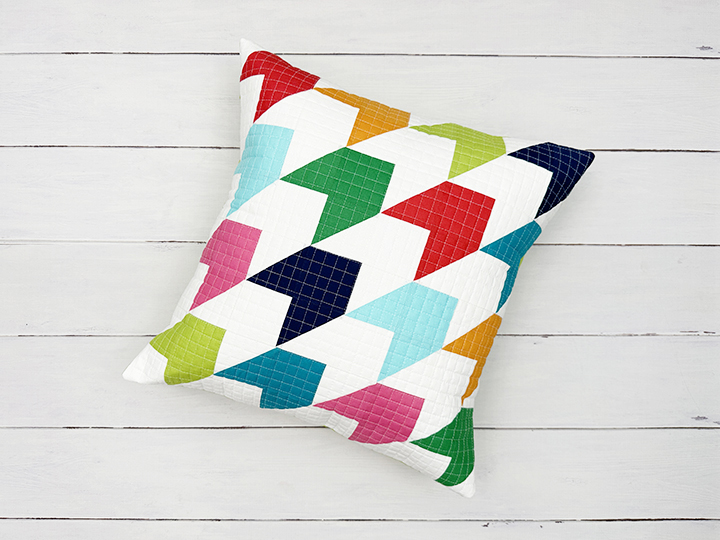
I did a 1/2″ grid quilting with Aurifil 50wt. white thread for this fantastic texture!
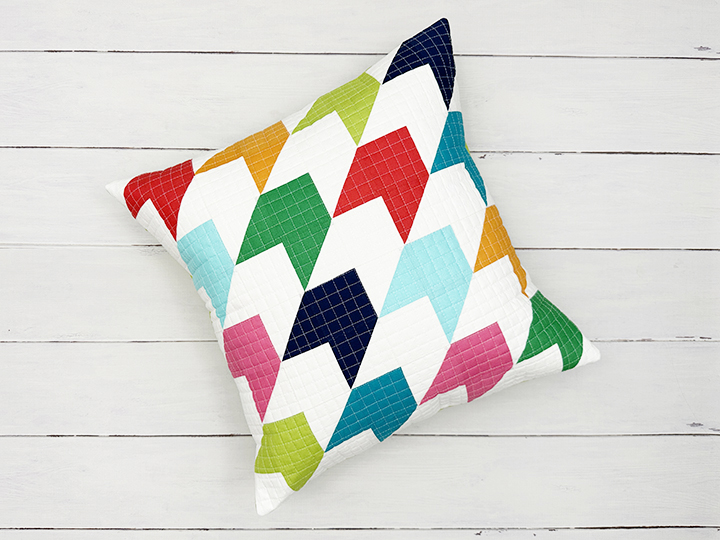
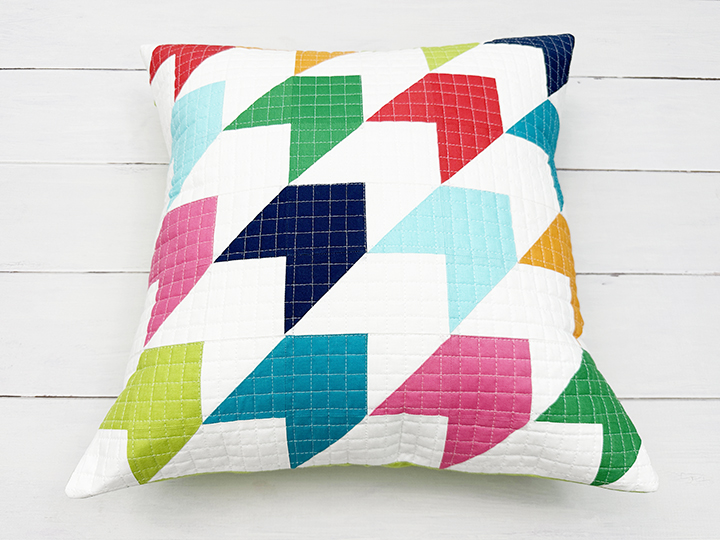
This month’s pillow features Confetti Cottons solids. The colors I used (in order from top to bottom) were Cayenne, Riley Hot Pink, Mac n’ Cheese, Riley Lime, Emerald City, Scuba, Azure, and Navy.
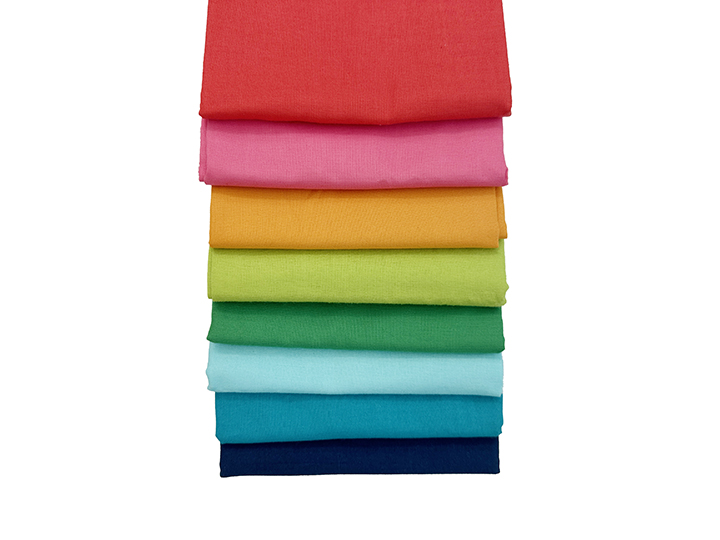
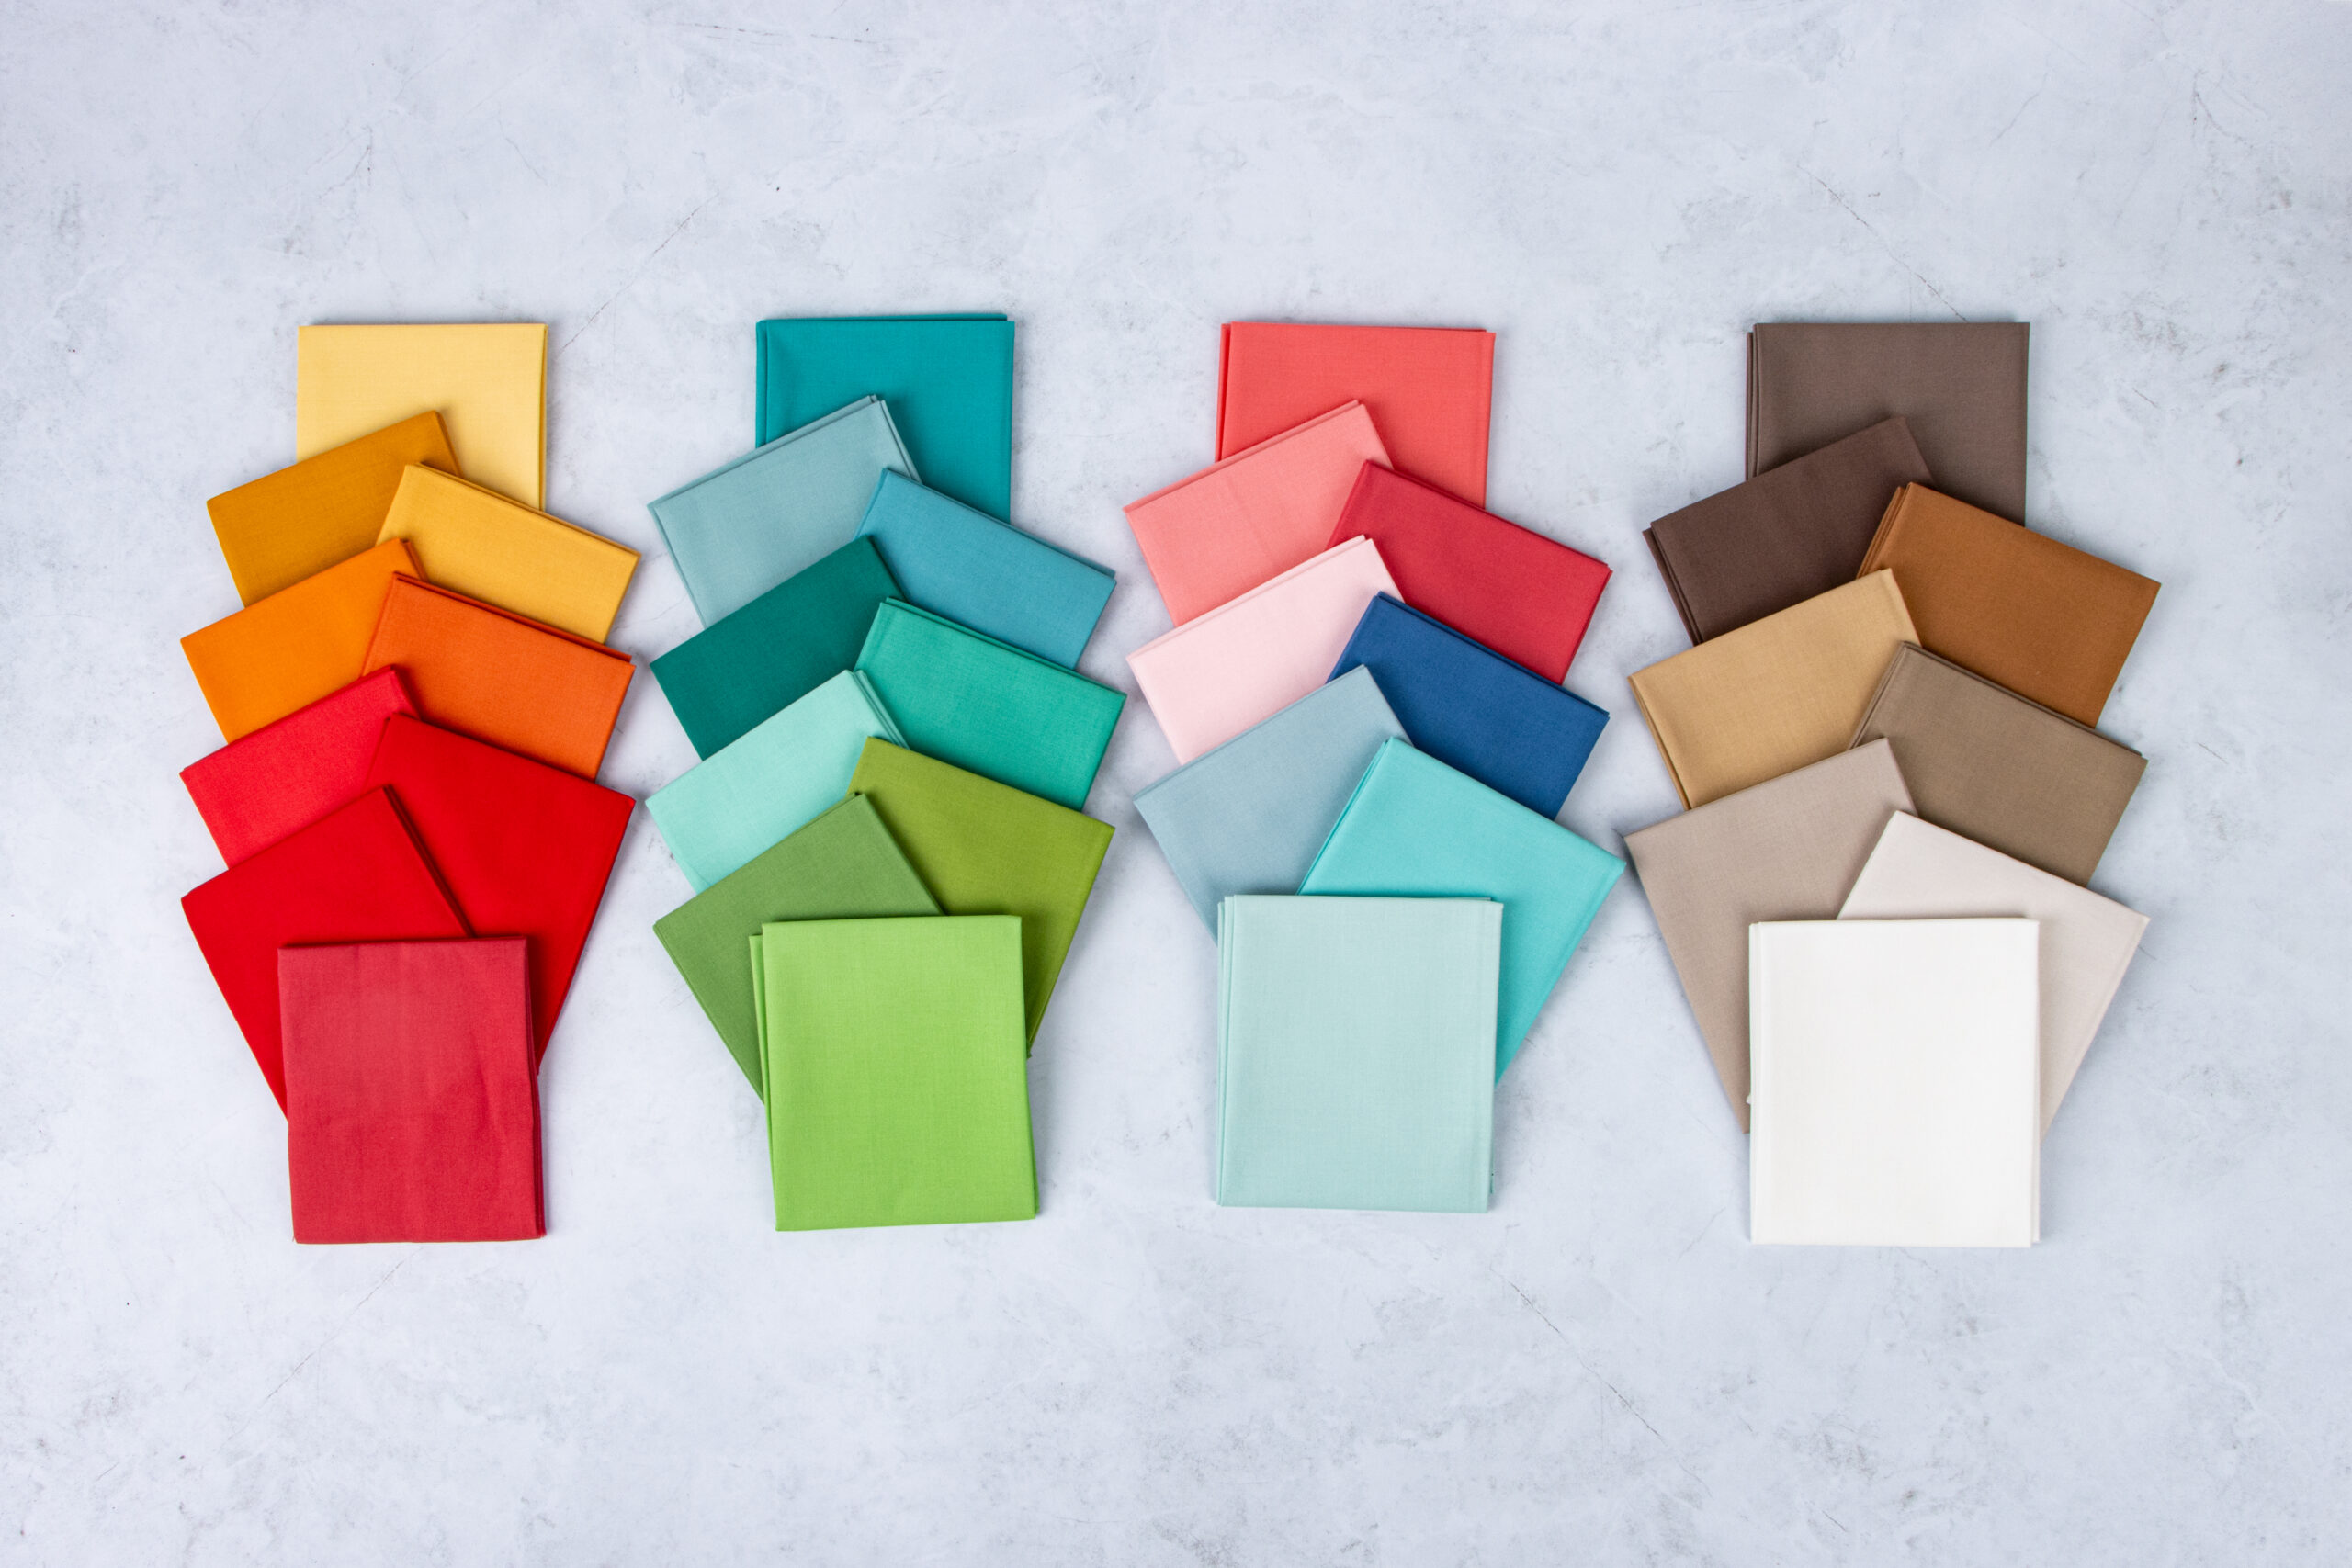
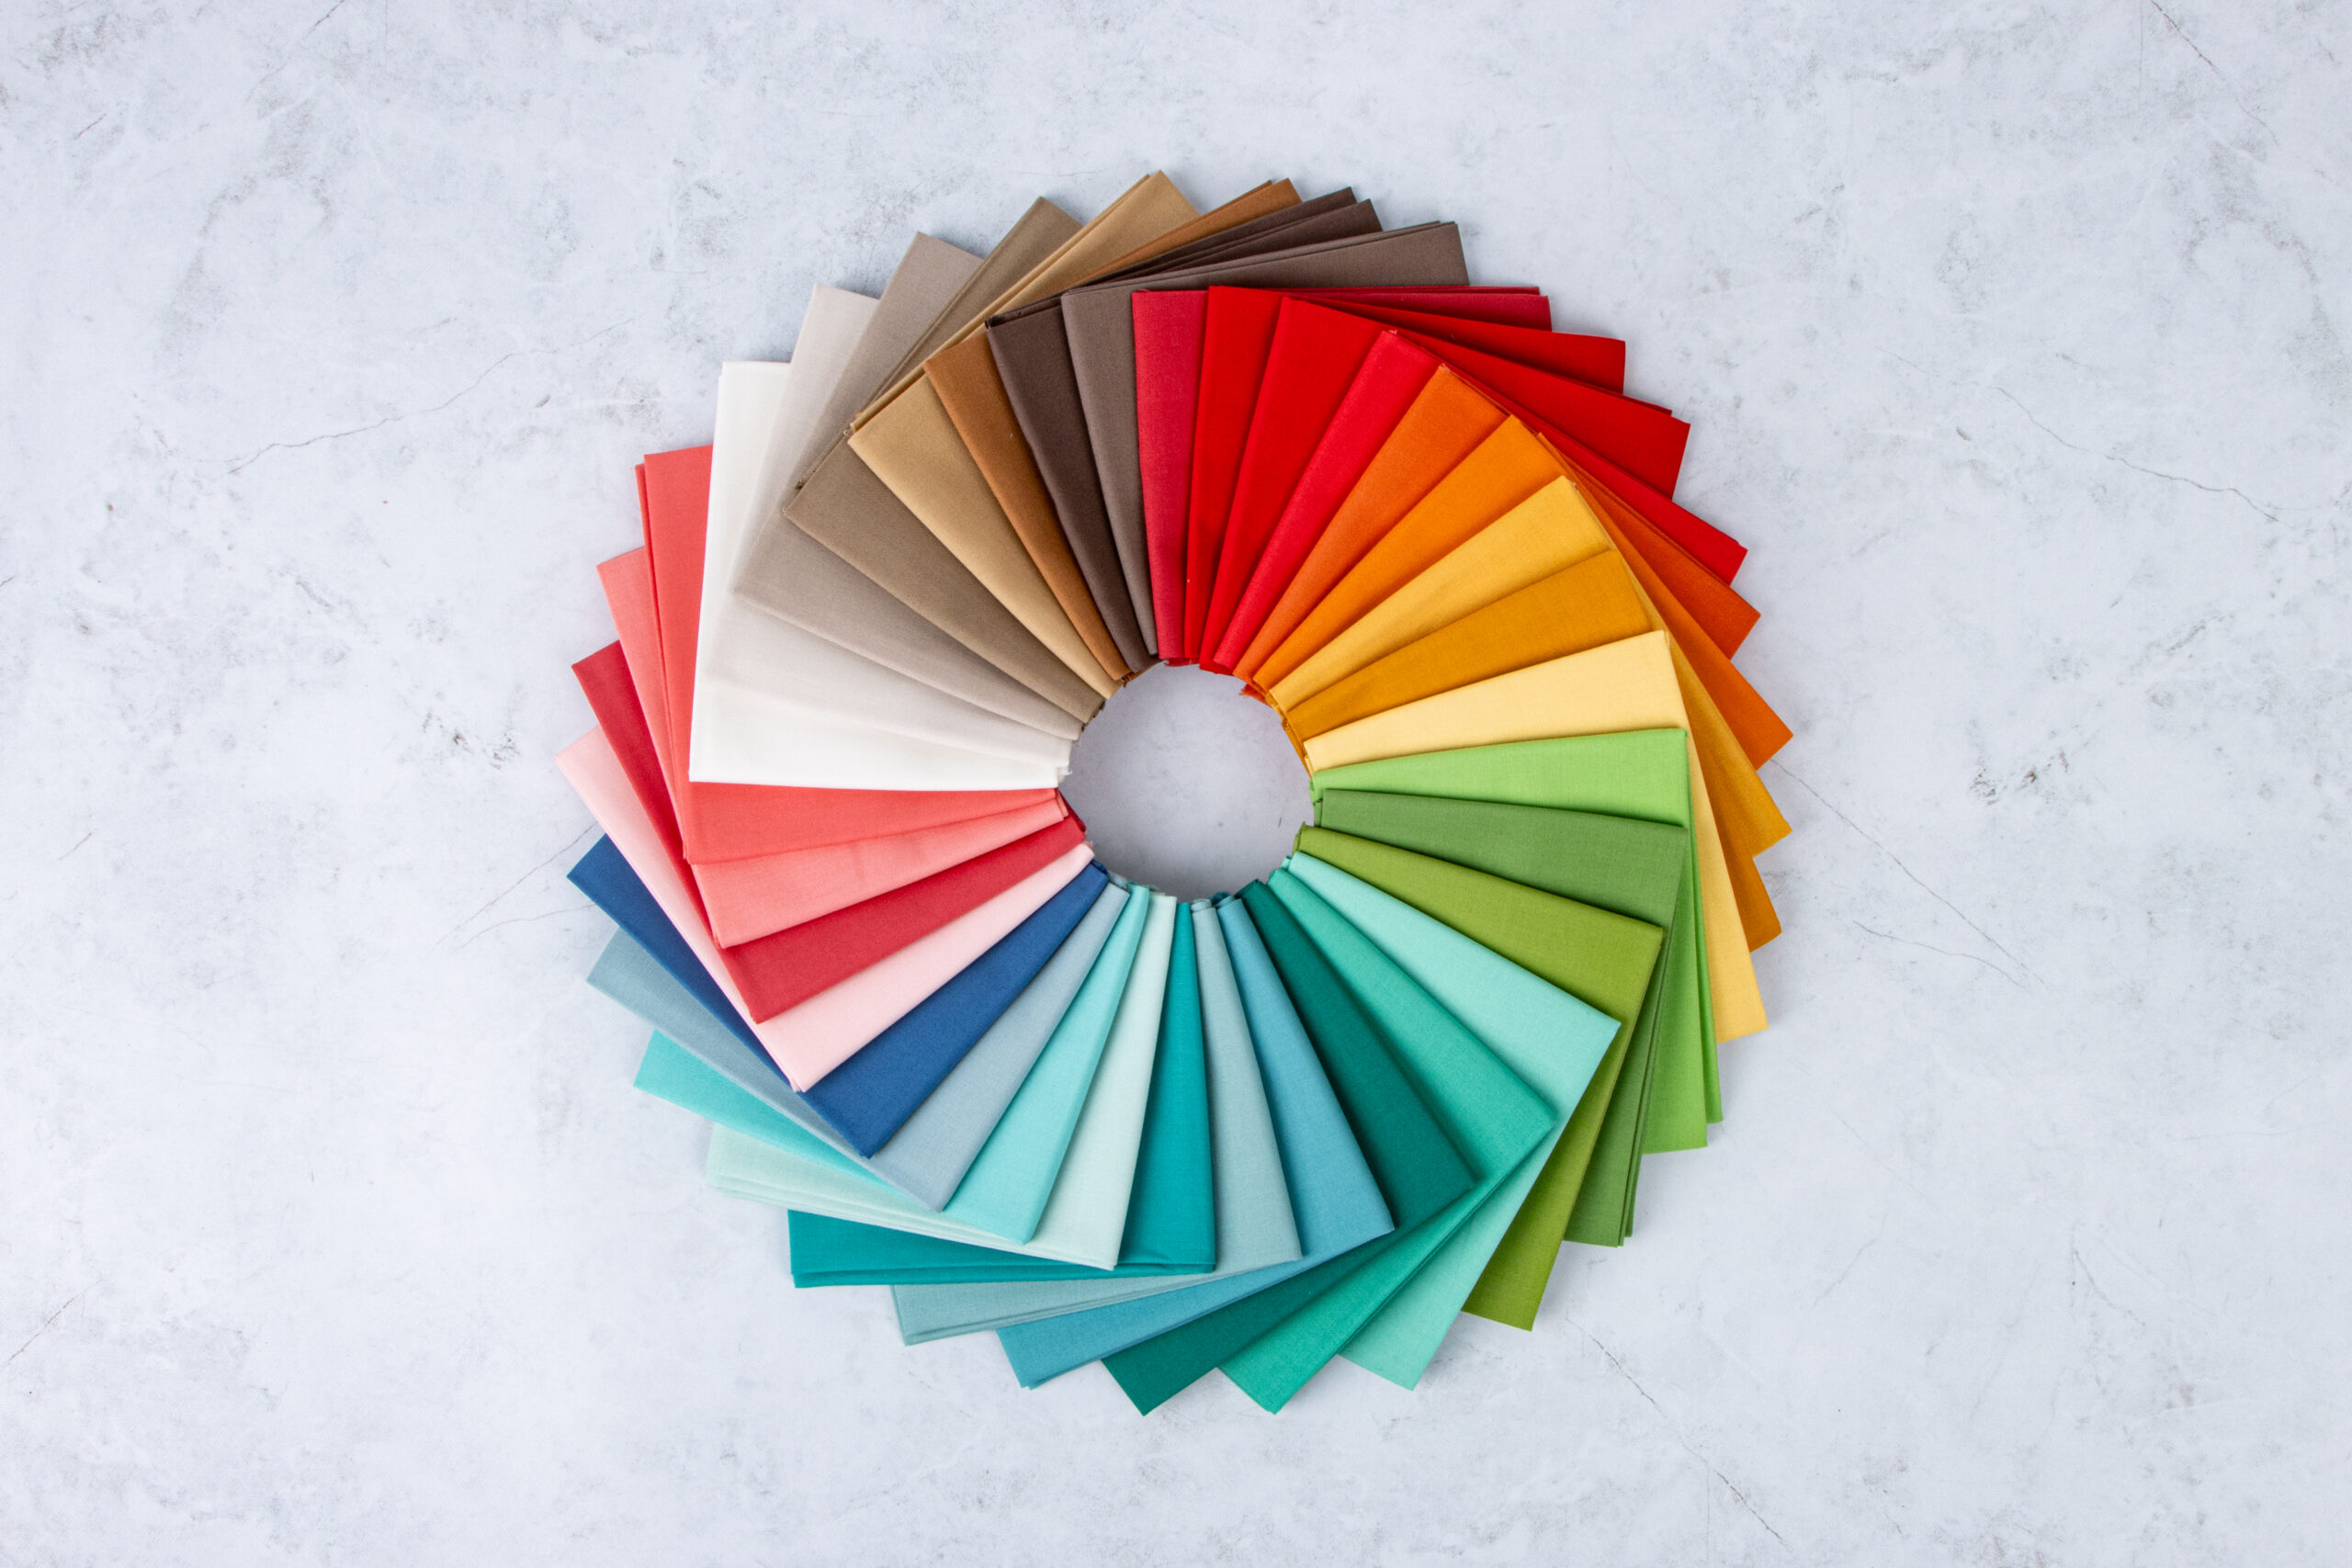
It’s no secret that solids are my favorite! I’m especially happy about the new Confetti Cottons colors coming out soon!
Now let’s make a pillow!
December 2023 Pillow Tutorial
Pattern Notes
- Please read through all instructions before beginning.
- Seam allowances are 1/4″ unless specified.
- RST = Right Sides Together
- Press all seams open (or in preferred direction) unless specified.
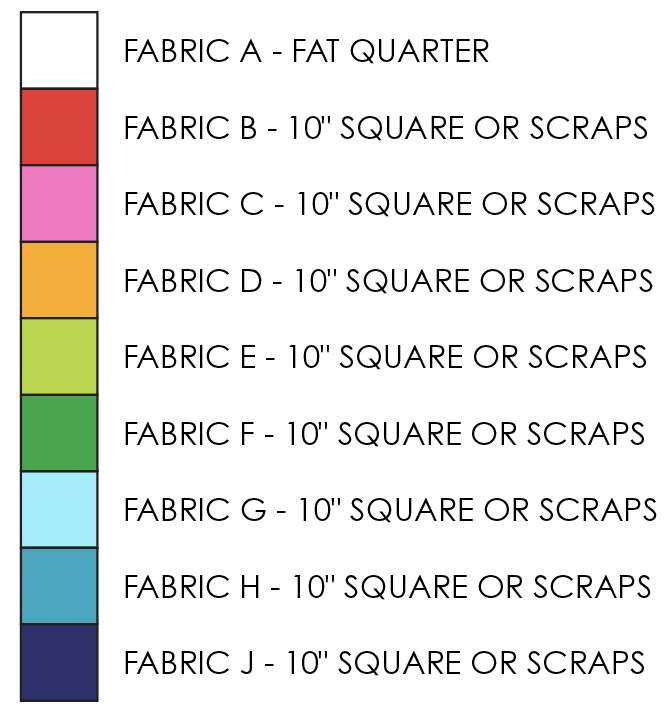
- To avoid confusion, there is no Fabric I.
Material Requirements
For the block (pillow top):
This pattern uses (1) BACKGROUND fabric [FABRIC A] and (8) ACCENT fabrics [FABRICS B-J]. Below are the requirements to make ONE 18″ block.
For the pillow body:
- (1) 22-24″ square piece of muslin or other fabric (for quilting the top)
- (1) 22-24″ square piece of batting (for quilting the top)
- (2) 13½” × 18½” pieces of backing fabric (for the pillow envelope)
- (1) 20″ pillow form (my favorite one to use is the FJÄDRAR from IKEA!). I always use a pillow form that is one size larger than my pillow case to make sure it’s extra full.
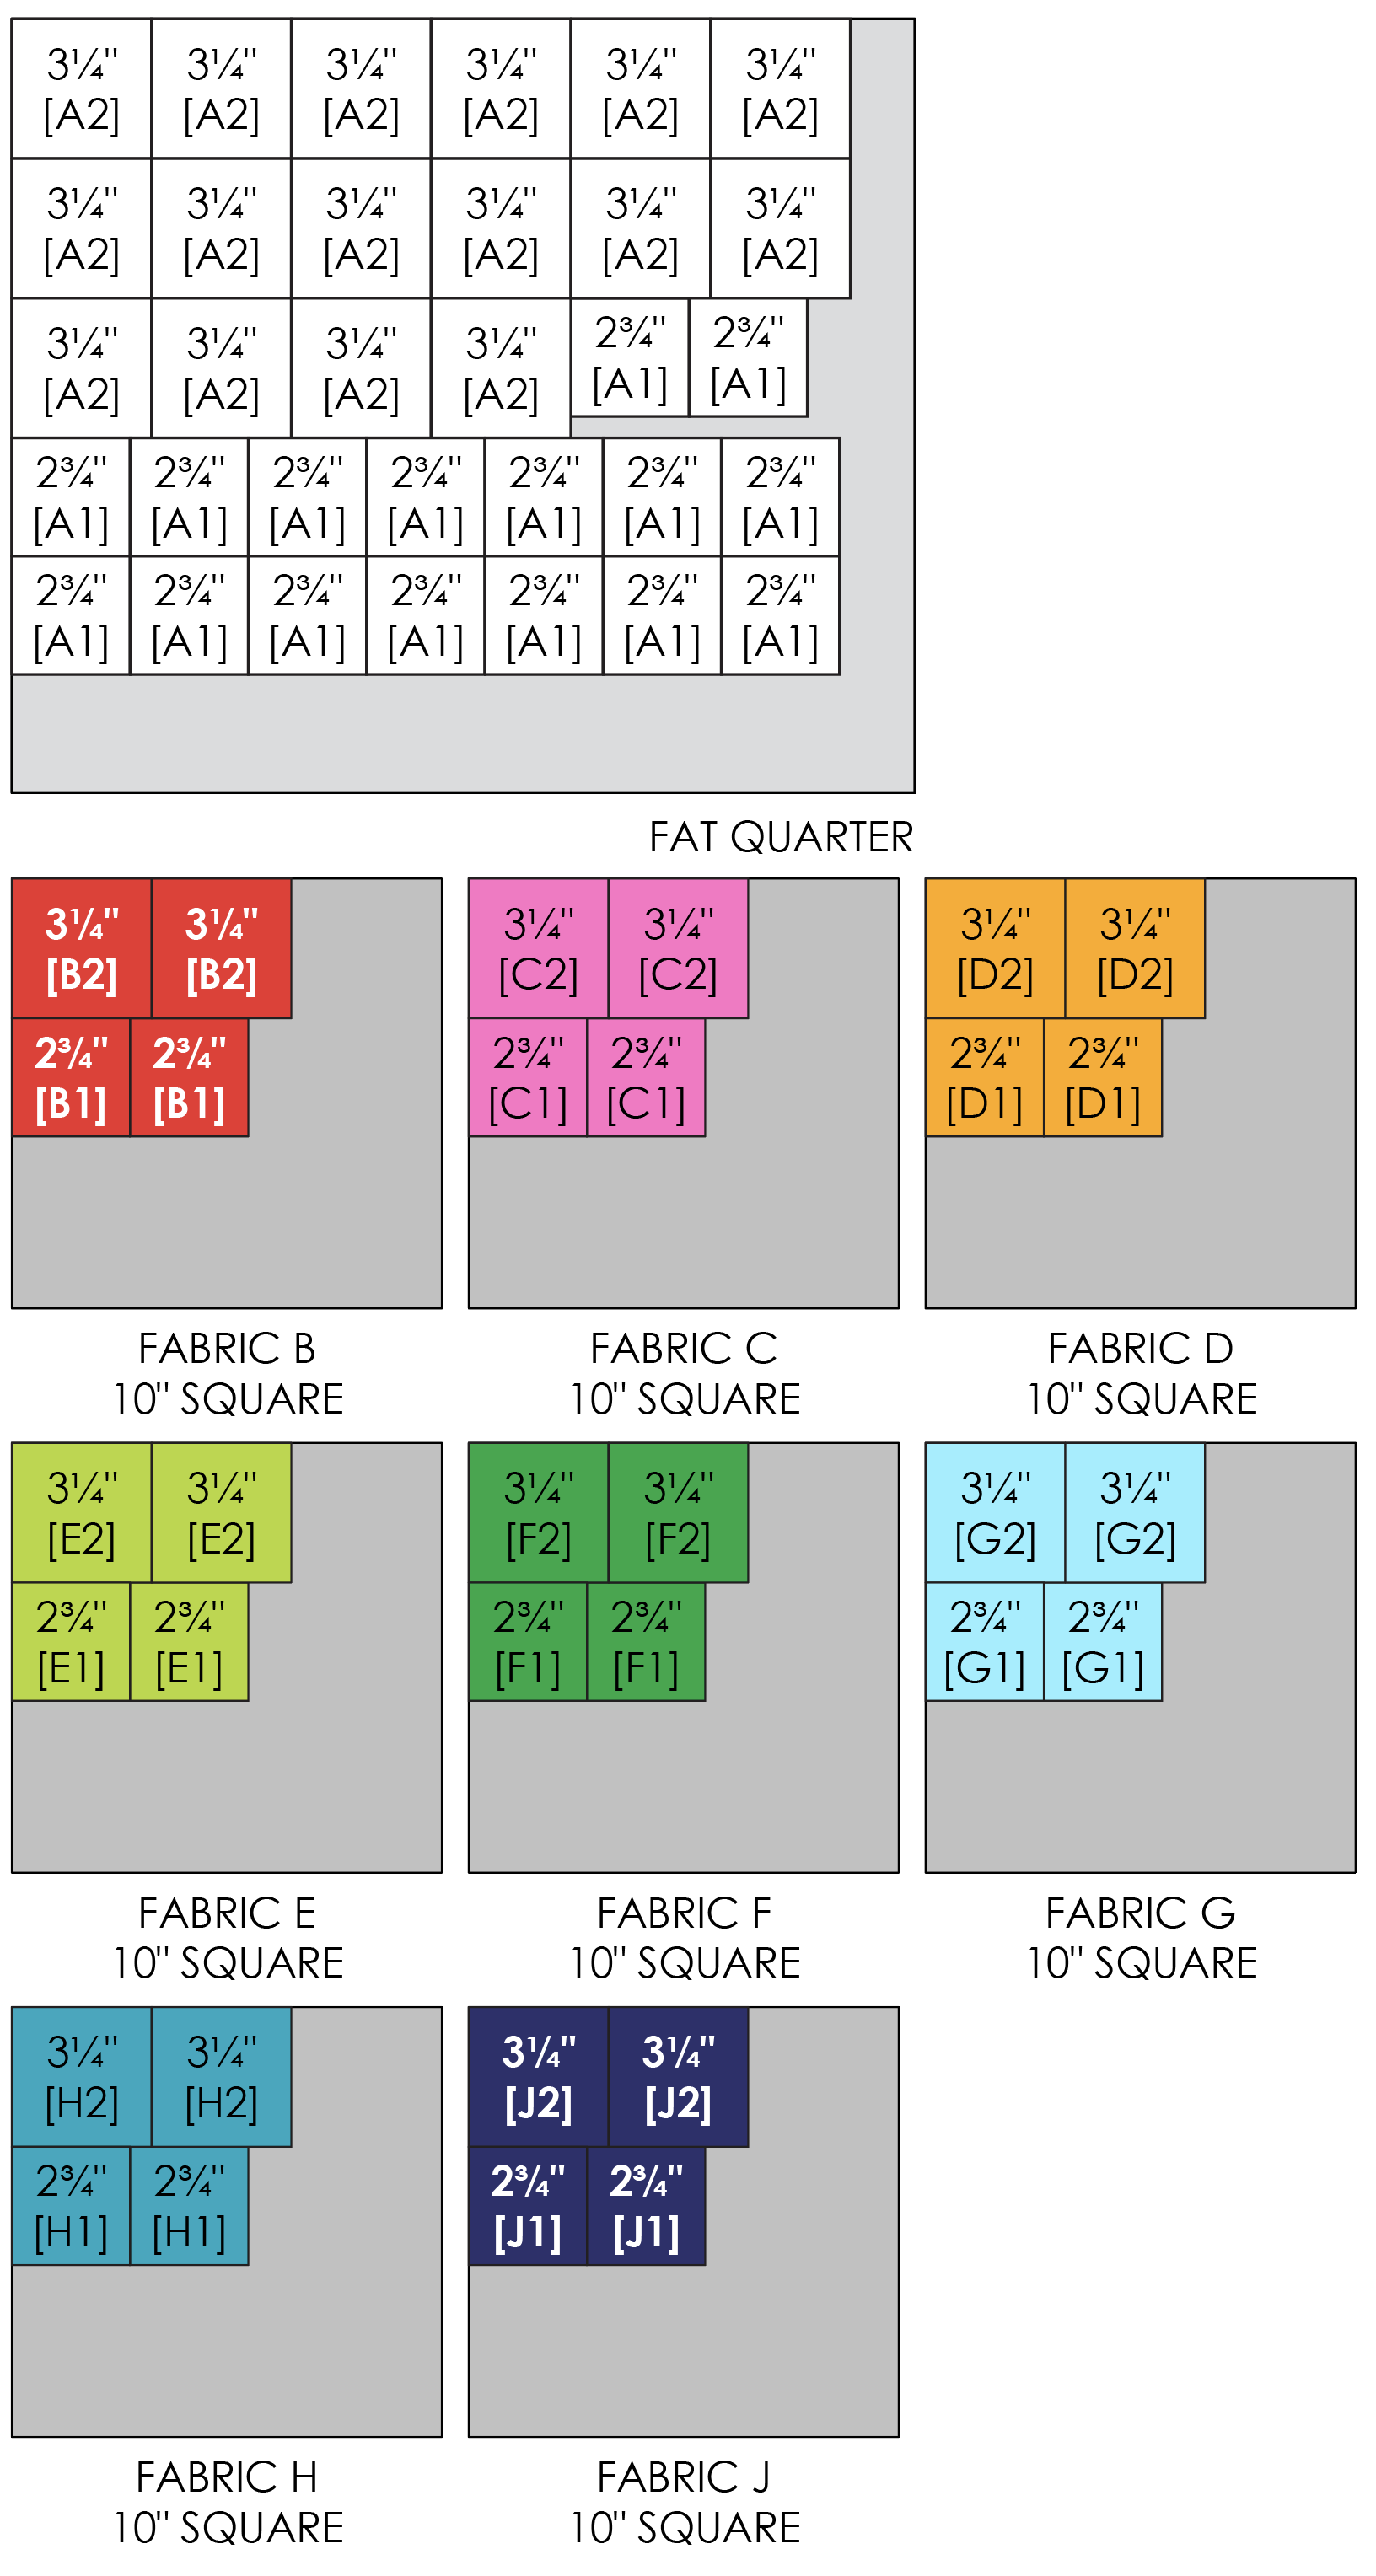
Cutting Directions
From BACKGROUND FABRIC A, cut:
(1) 3¼” × WOF, subcut:
- (16) 3¼” squares [A2]
- (2) 2¾” squares [A1]
(2) 2¾” × WOF, subcut:
- (14) 2¾” squares [A1]
From each of the ACCENT FABRICS B, C, D, E, F, G, H, J cut:
- (2) 3¼” squares [B2, C2, D2, E2, F2, G2, H2, J2]
- (2) 2¾” squares [B1, C1, D1, E1, F1, G1, H1, J1]
Piecing Directions
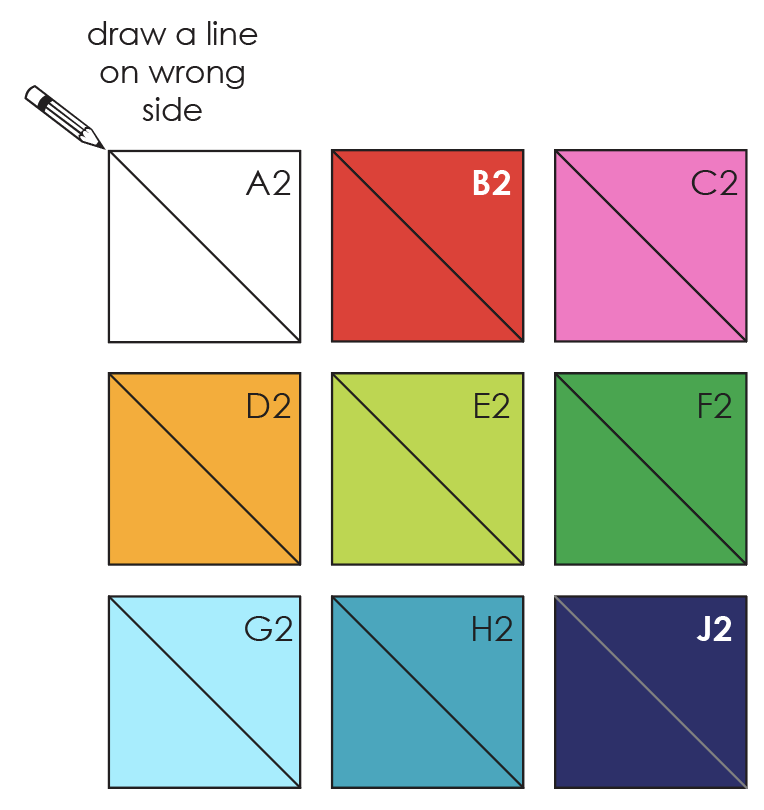
1. Using your preferred marking tool, prepare all A2, B2, C2, D2, E2, F2, G2, H2, and J2 squares by marking a diagonal line on the wrong side from one corner to the opposite corner.
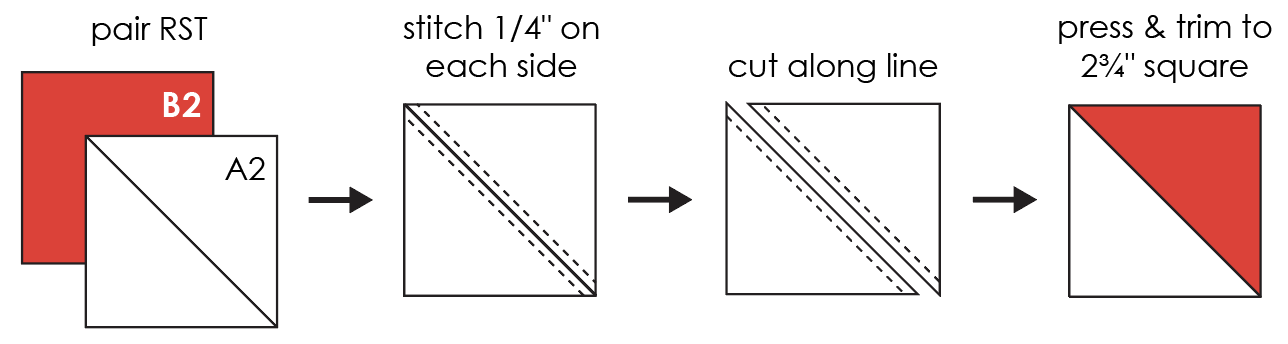
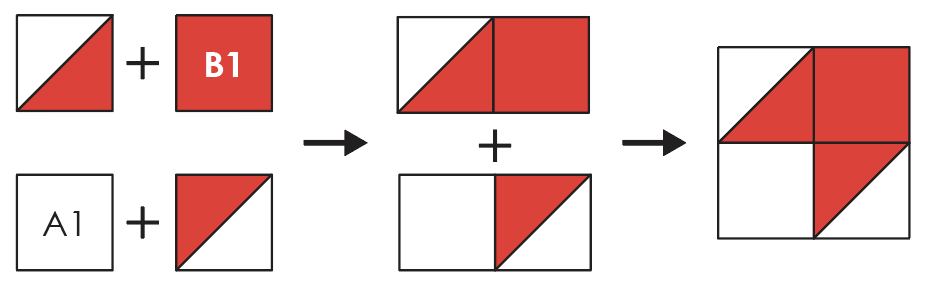
2. Pair (1) A2 and (1) B2 square RST to create HSTs using the two at a time method. Stitch a seam 1/4″ away from the center line on each side. Cut along the diagonal line to create TWO HSTs. Press the seam and trim to 2¾″ square.
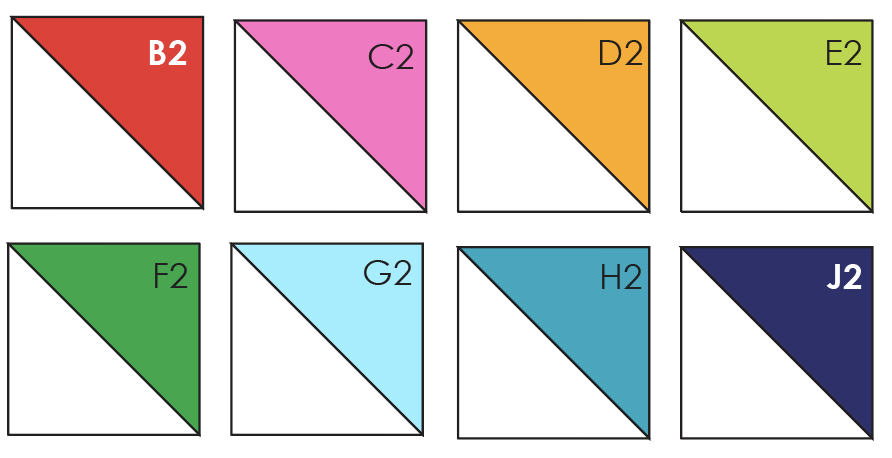
3. Repeat STEP 2 with the remaining A2 BACKGROUND squares paired with the B2, C2, D2, E2, F2, G2, H2, and J2 ACCENT squares to create a total of FOUR HSTs of each color combination.
4. Lay out (1) A1 square, (1) B1 square, and (2) A/B HSTs as shown below. Sew the TWO pieces in each row together. Press the seams.
5. Sew the TWO rows together. Press the seam. This is the ARROW UNIT.
6. Repeat STEPS 4-5 using the remaining HSTs and fabric squares to create a total of (16) ARROW UNITS (2 per color).
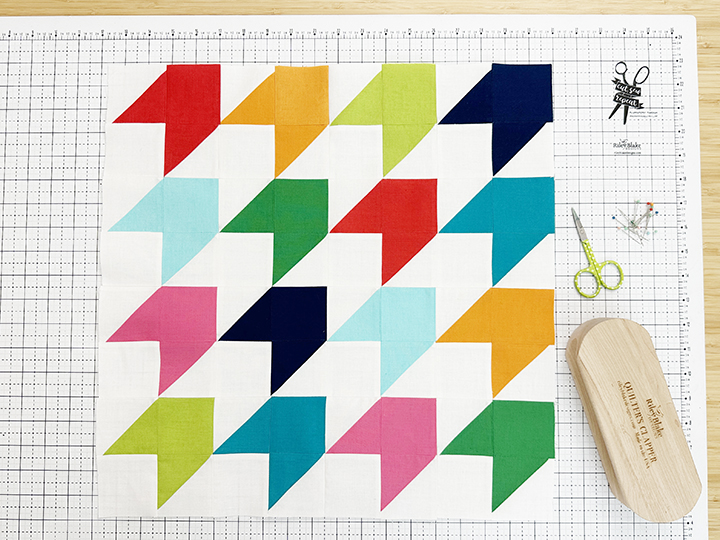
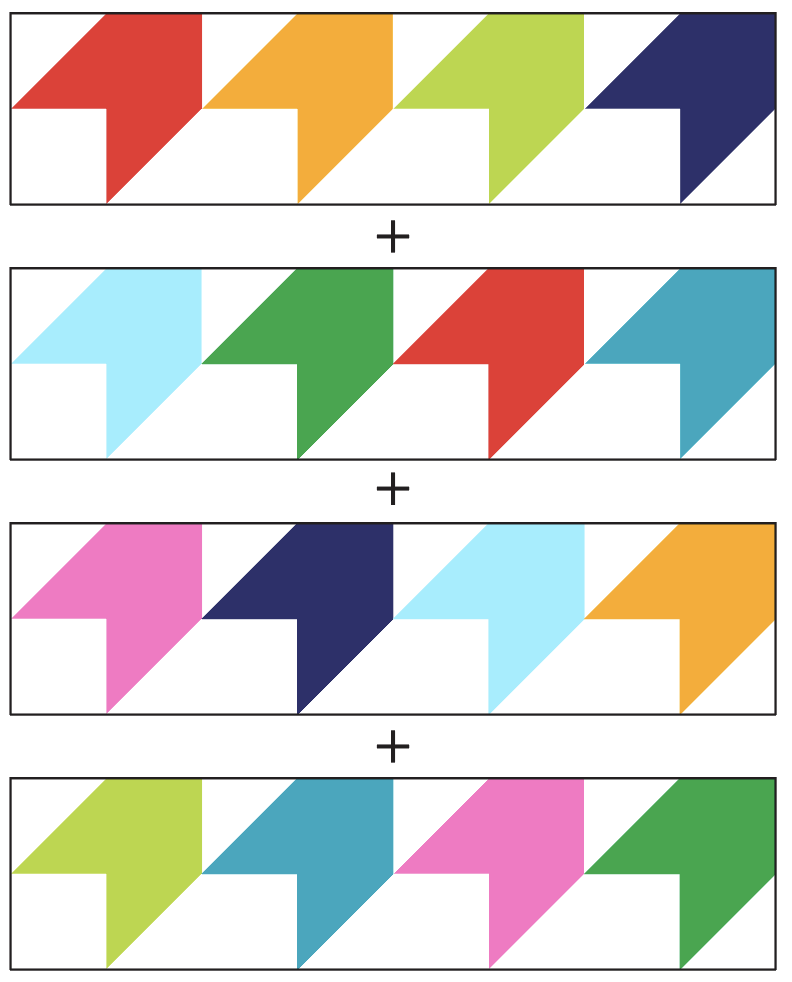
7. Lay out all (16) ARROW UNITS as shown below. Sew the FOUR units in each row together and press seams.
NOTE: Before you sew, double check that the blocks are rotated correctly.

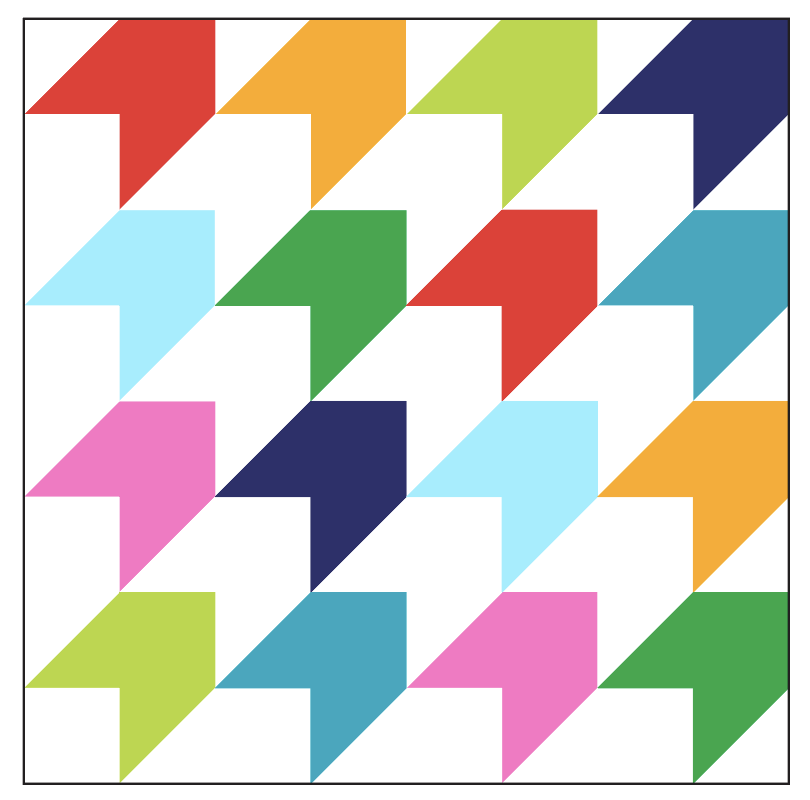
8. Sew all FOUR rows together and press the seams.
9. Your block is now complete!
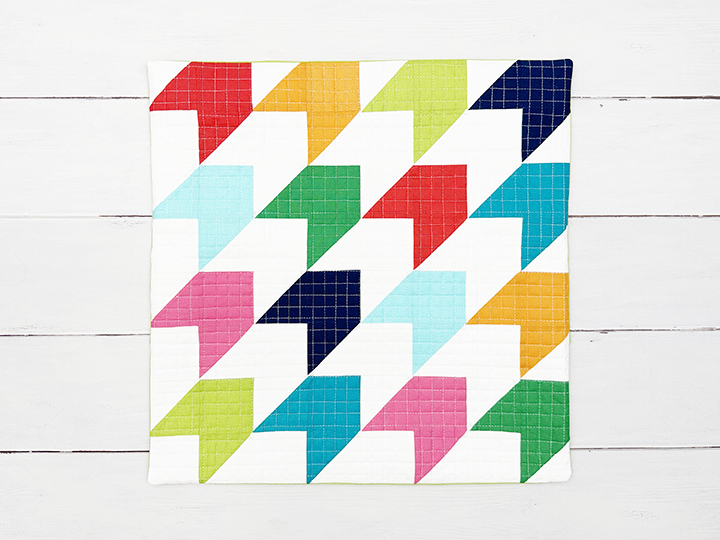
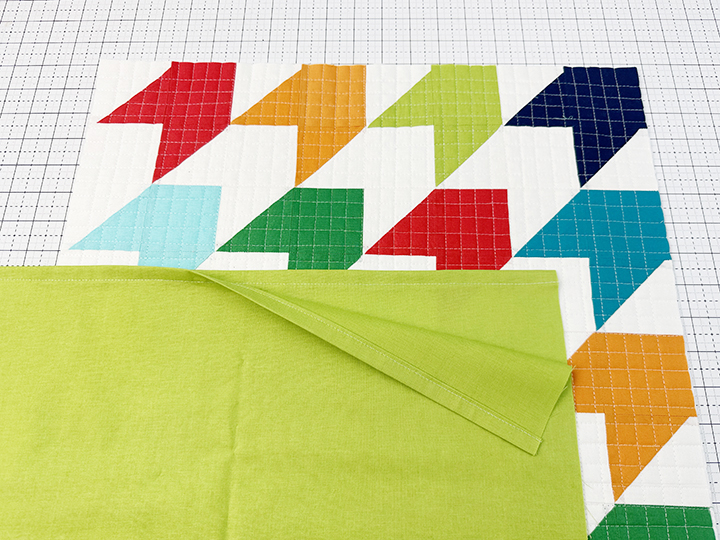
10. Layer the completed block on top of the 22-24″ batting and muslin squares and quilt the pillow top as desired. When you are done, trim the block to 18½”.
Note – if you add dense quilting, your top may shrink a bit in size. Just trim it to the largest square that you can. You can trim the width of envelope backing fabric a bit in the next step if needed in order to match your actual top size.
11. Create a finished edge on the long side of each of the (2) 13½″ × 18½” pieces of envelope backing by folding 1/2″ of fabric over the wrong side TWICE. Stitch a seam near the edge to secure it.
12. With the square top facing up, layer the envelope pieces RST on top of it as shown below and sew a 3/8″ seam around the edge of the pillow top.
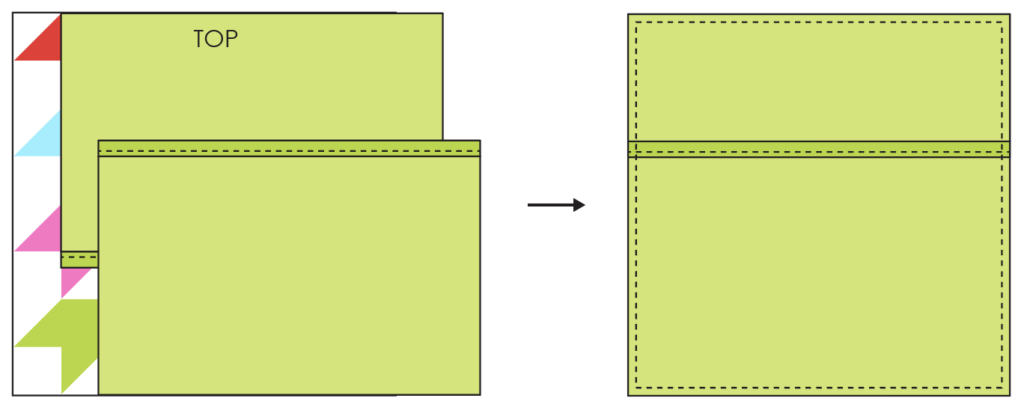
13. Trim the edges of the corners a bit to reduce bulk. Turn the pillow case inside out and insert your pillow form. Your pillow is now done! Enjoy your fun modern make!

I can’t wait to see all the beautiful pillows everyone makes! They can be very addicting! Be sure to share them on social media! #makeitmodernpillows #iloverileyblake #sewbrainydesigns.
If you check out my blog, I have some more color mockups and some freebie coloring pages you can download. Plus a sneak peek of a companion quilt pattern for this block that’s coming soon!
I’ll see you in January with ANOTHER YEAR of Make it Modern Pillows! Don’t forget to join us in the Facebook Group!
Until later, happy quilting!
Jamie


Jamie is the creative brain behind Sew Brainy Designs. This self-proclaimed science nerd loves bright colors, big blocks, Mid-century modern design, and using as few seams as possible. Find all of her Make It Modern Pillows on the Riley Blake Designs blog!


One Comment
Pingback: