
Make this Fun Spring Table Topper using Berry & Sage and the New Accuquilt Nosegay Die
Hi everyone! Mary from @EmberCraftCompany here, sharing my latest makes with Riley Blake Designs!
Now, Spring always has me itching to start something fresh – lighter fabrics, cheerful colors, and projects that come together quickly, but still feel special. This sweet little table topper checks all of those boxes for me! The combination of the new Berry & Sage fabrics by Lori Holt and the new Accuquilt Nosegay Die feels like a match made in heaven.
The Fabrics
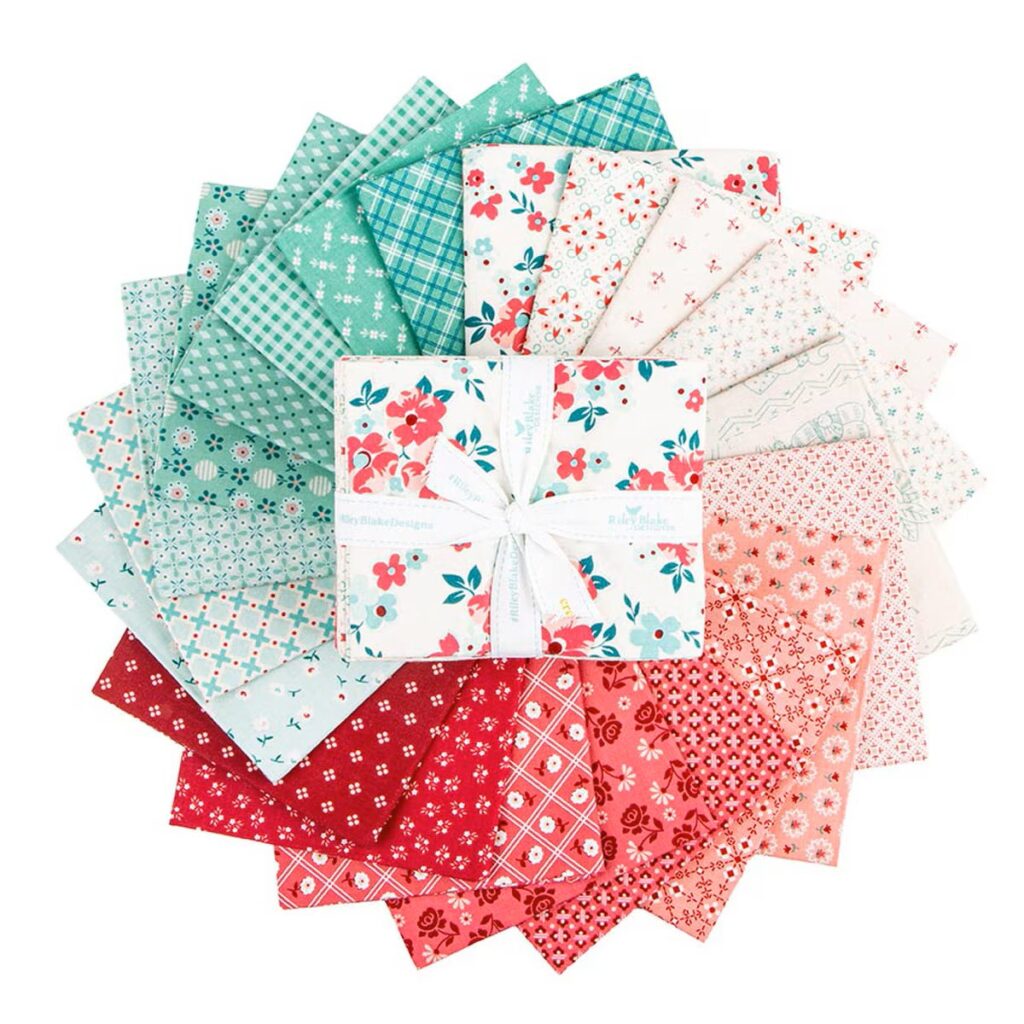
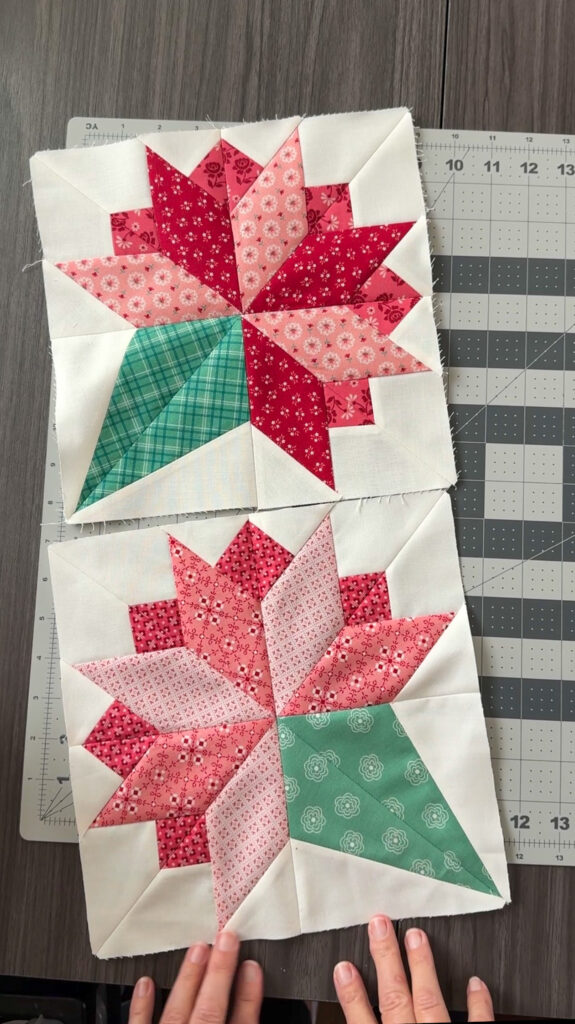
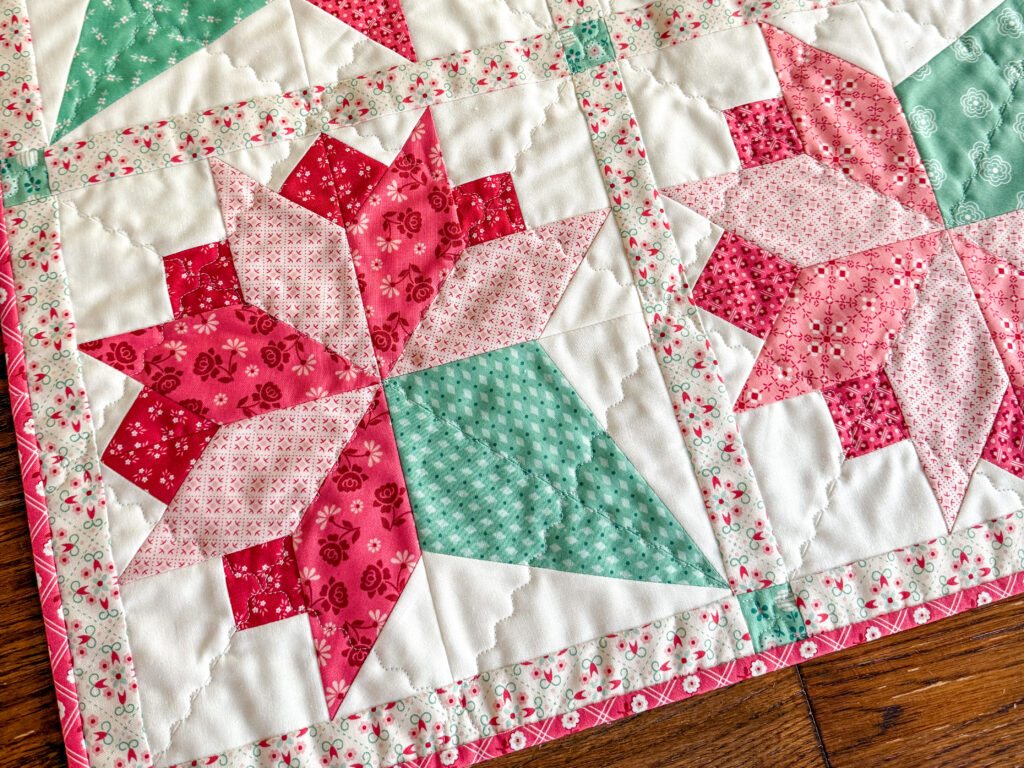
The Berry & Sage collection by Lori Holt is set to hit stores in March – you can get an early look at the fabrics HERE. This is the first of the “Lori Holt in Color” series, where she will be exploring pairings of her favorite colors, two hues at a time. Color me obsessed! I can’t wait to see what the next pairing will be! The pinks, reds, and corals in this collection matched with her alpine and sage prints are so fun for both Valentine’s Day projects and bright spring quilts. A bouquet of gorgeous quilty flowers felt like a perfect make with these fabrics!
The Accuquilt Nosegay Die
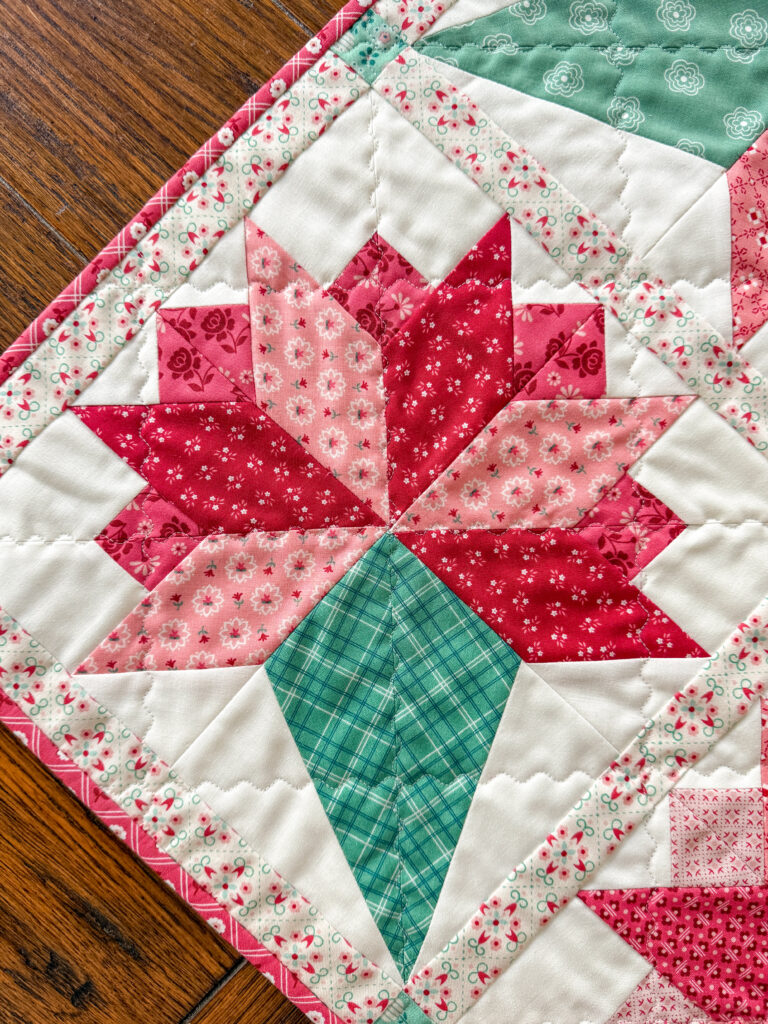
I recently got my hands on the new Accuquilt Nosegay die (find it HERE) and couldn’t wait to try it out. Now, I am a big fan of my Accuquilt Go for cutting those awkward pieces that would otherwise require templates or tricky cutting, and this is a perfect case. This also happens to be a Block on Board die – this means the shapes are grouped in a way that allows you to cut an entire block in one pass through your Accuquilt cutter.
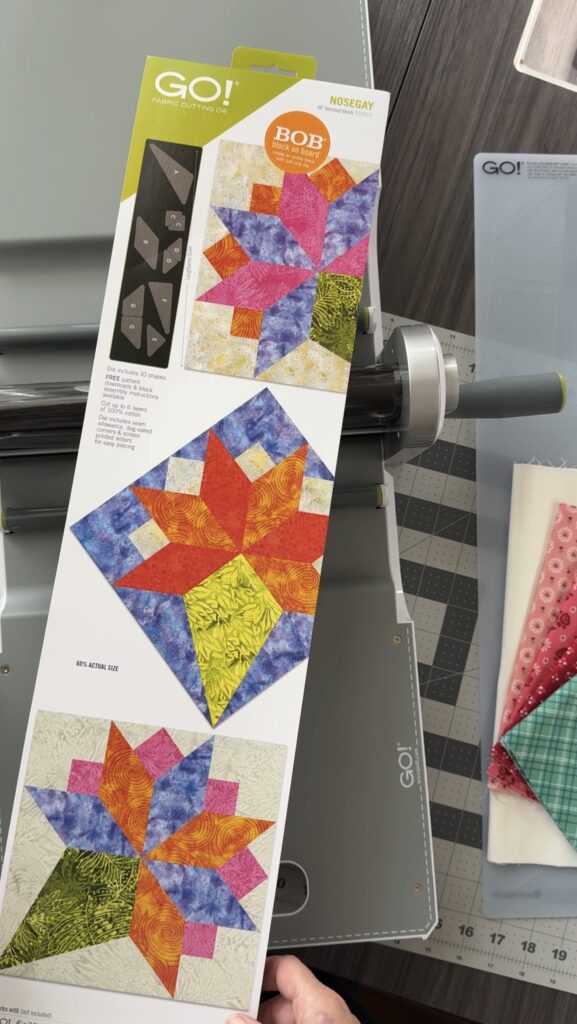
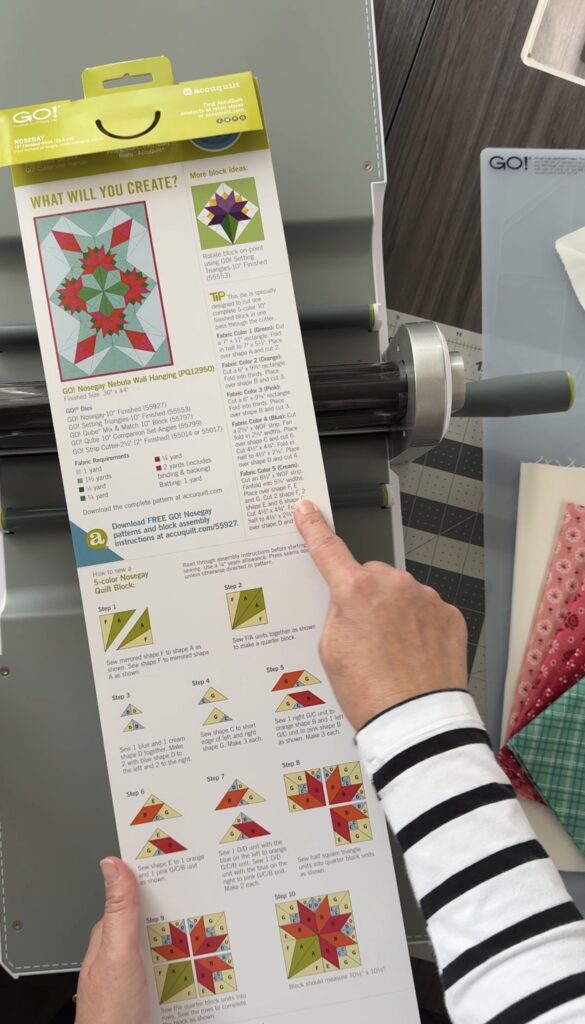
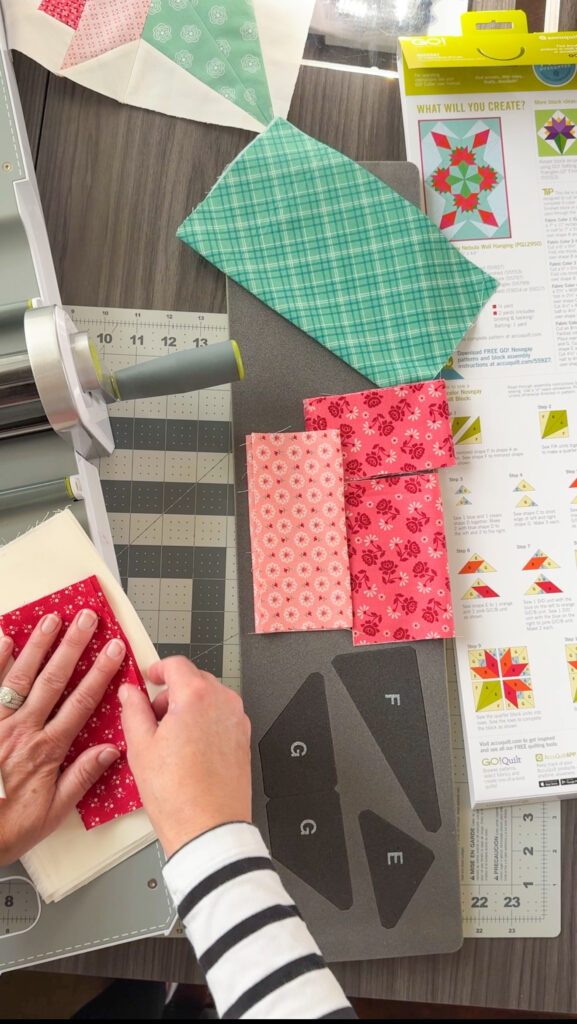
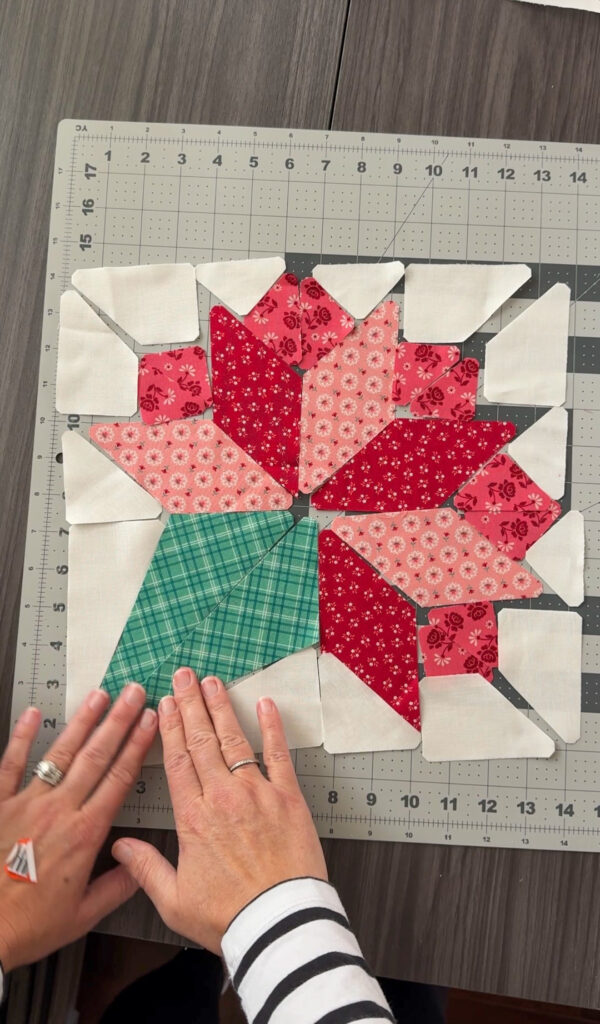
The Accuquilt die notches the corners of the pieces leaving no dog ears to trim off, and makes lining up the pieces a breeze. What could be a tricky block comes together quickly and easily with no Y-Seams!
Make Your Own Table Topper!
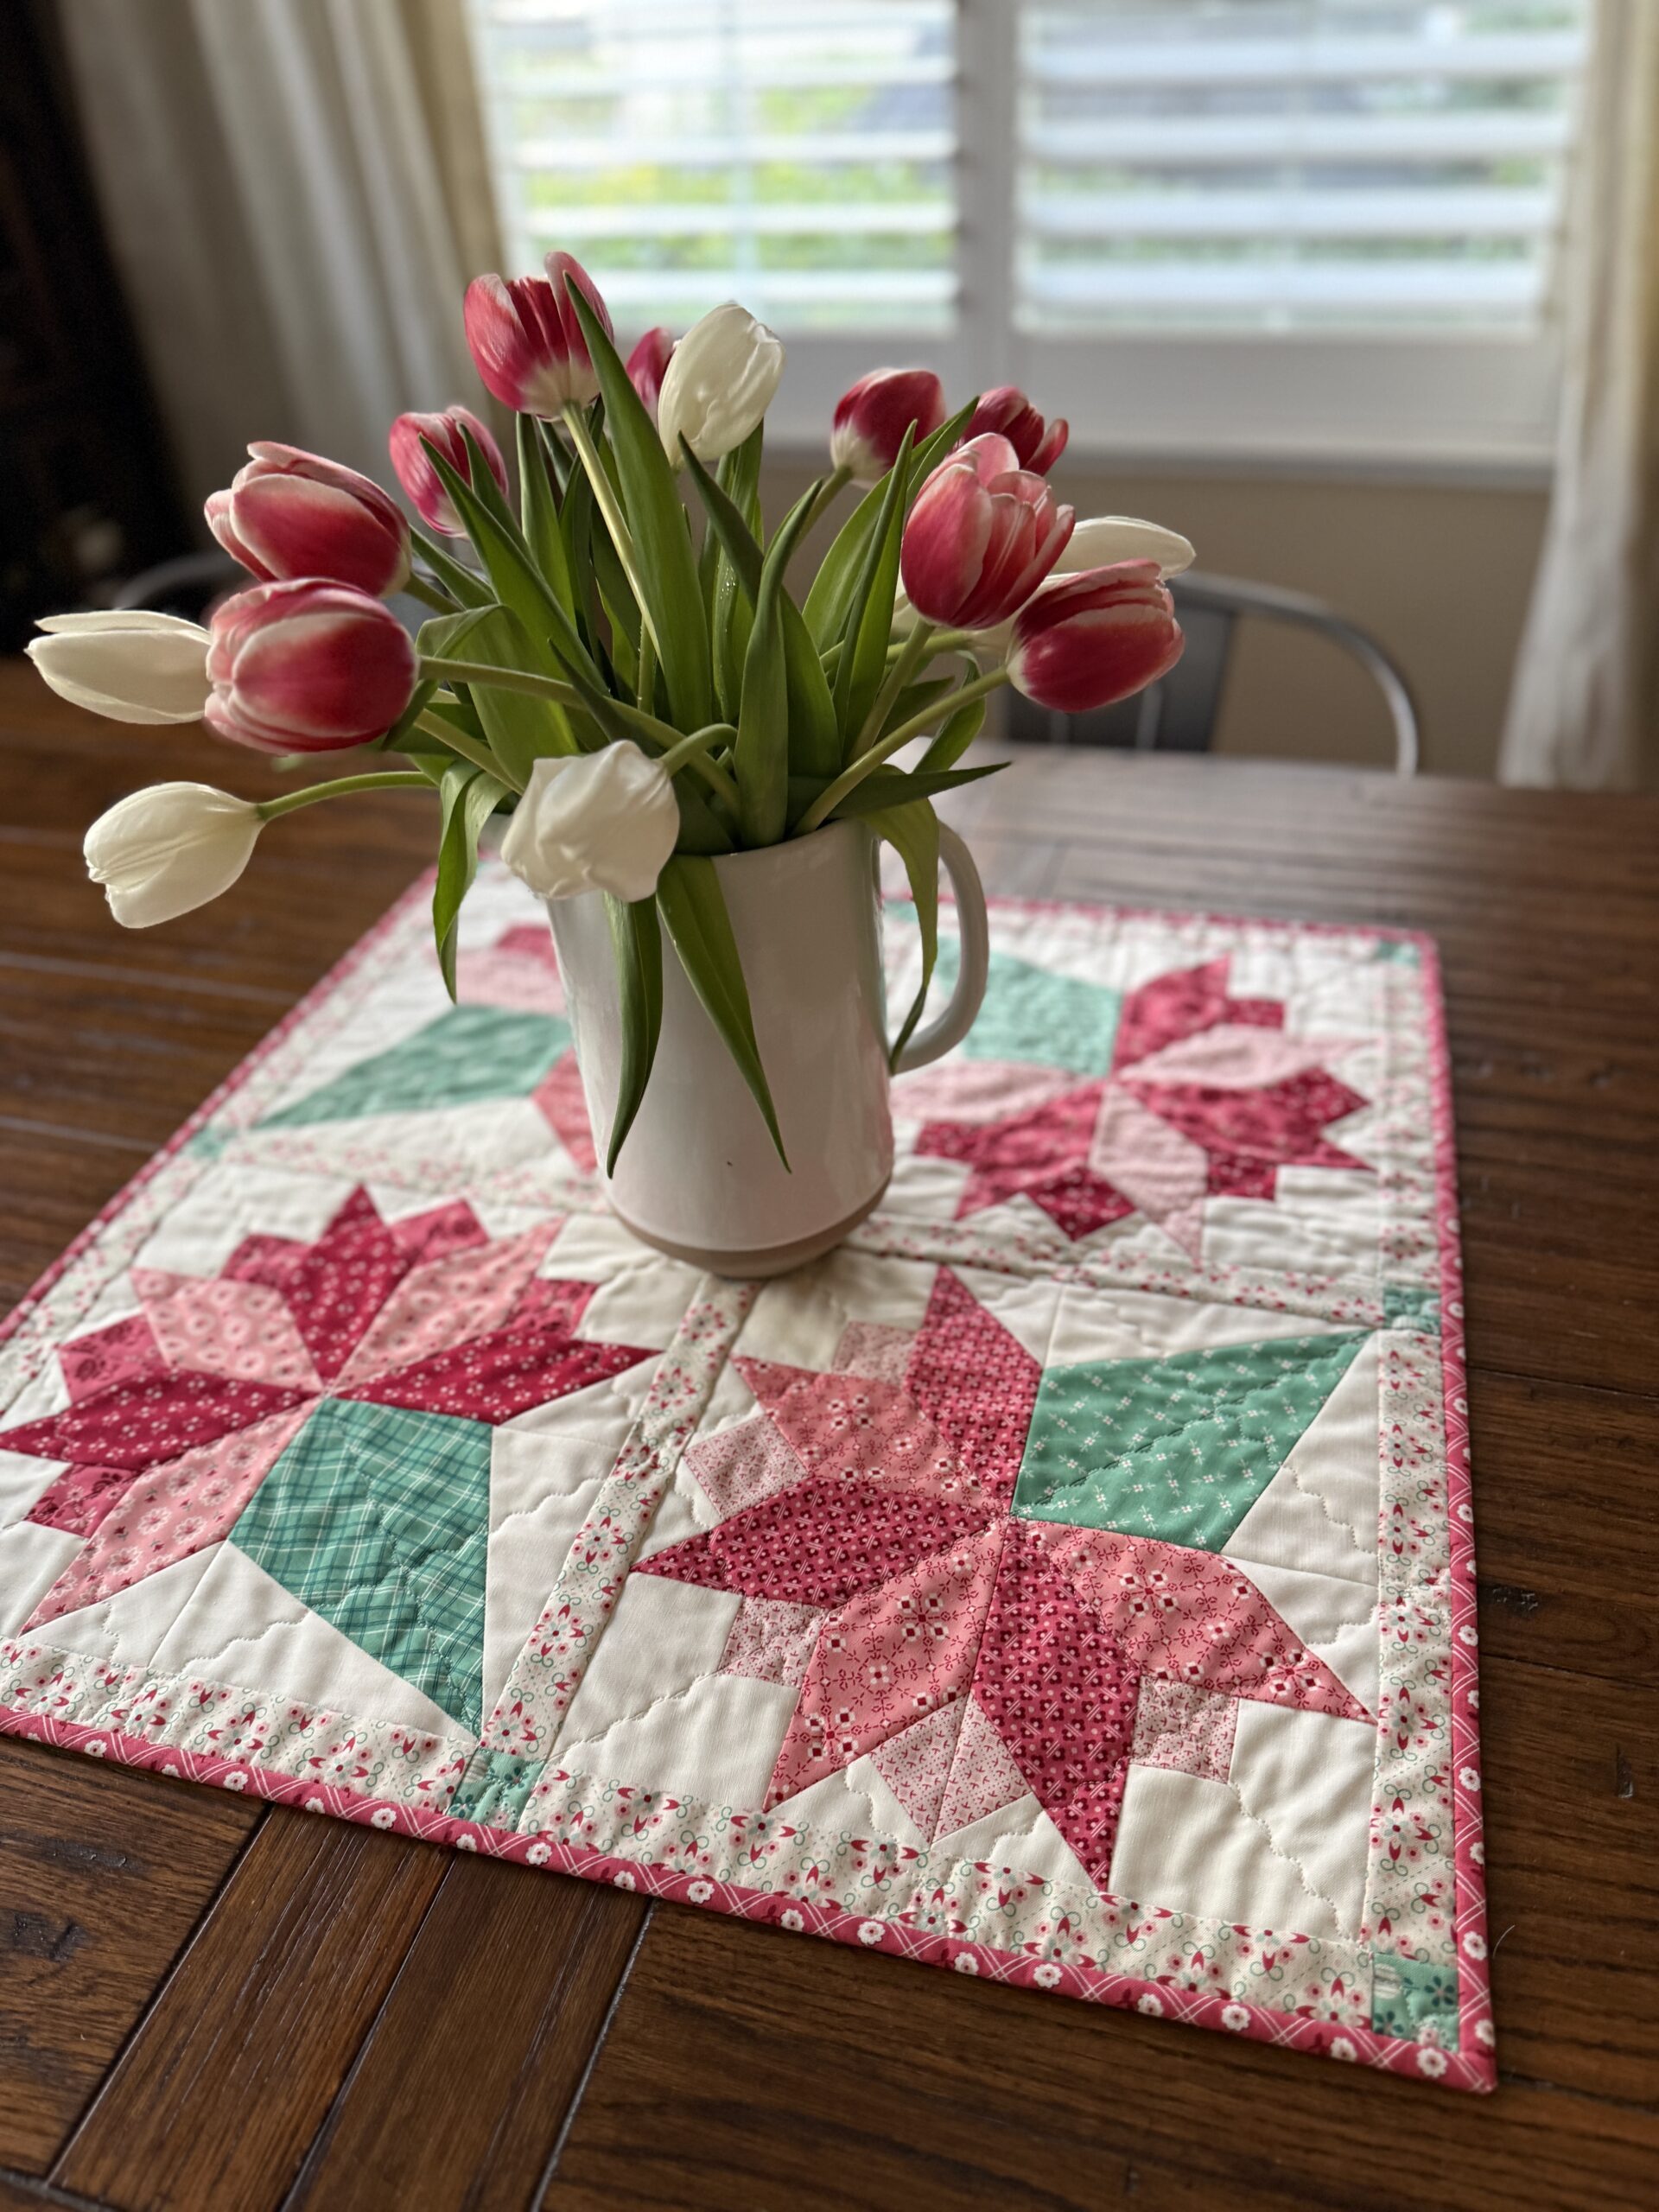
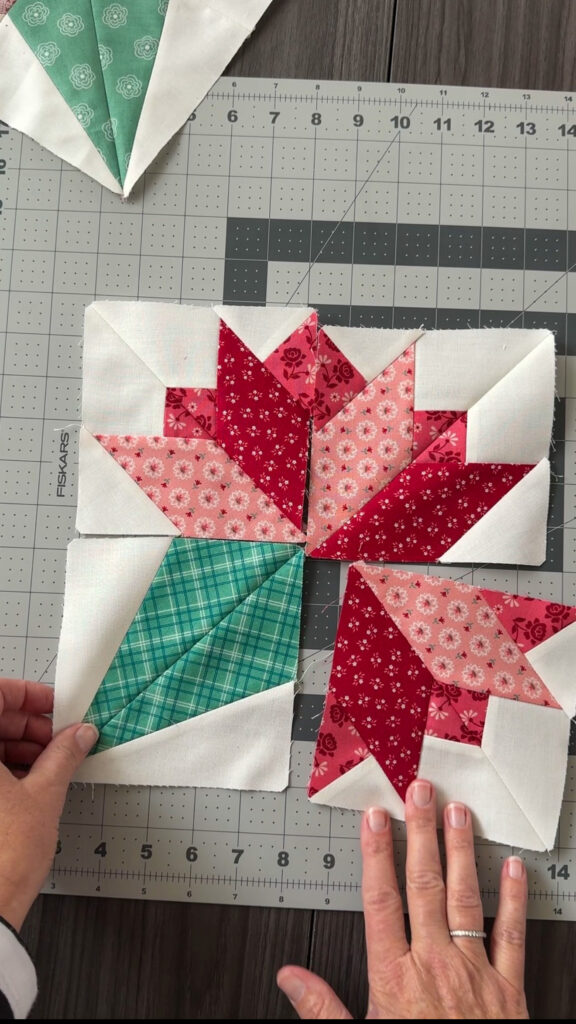
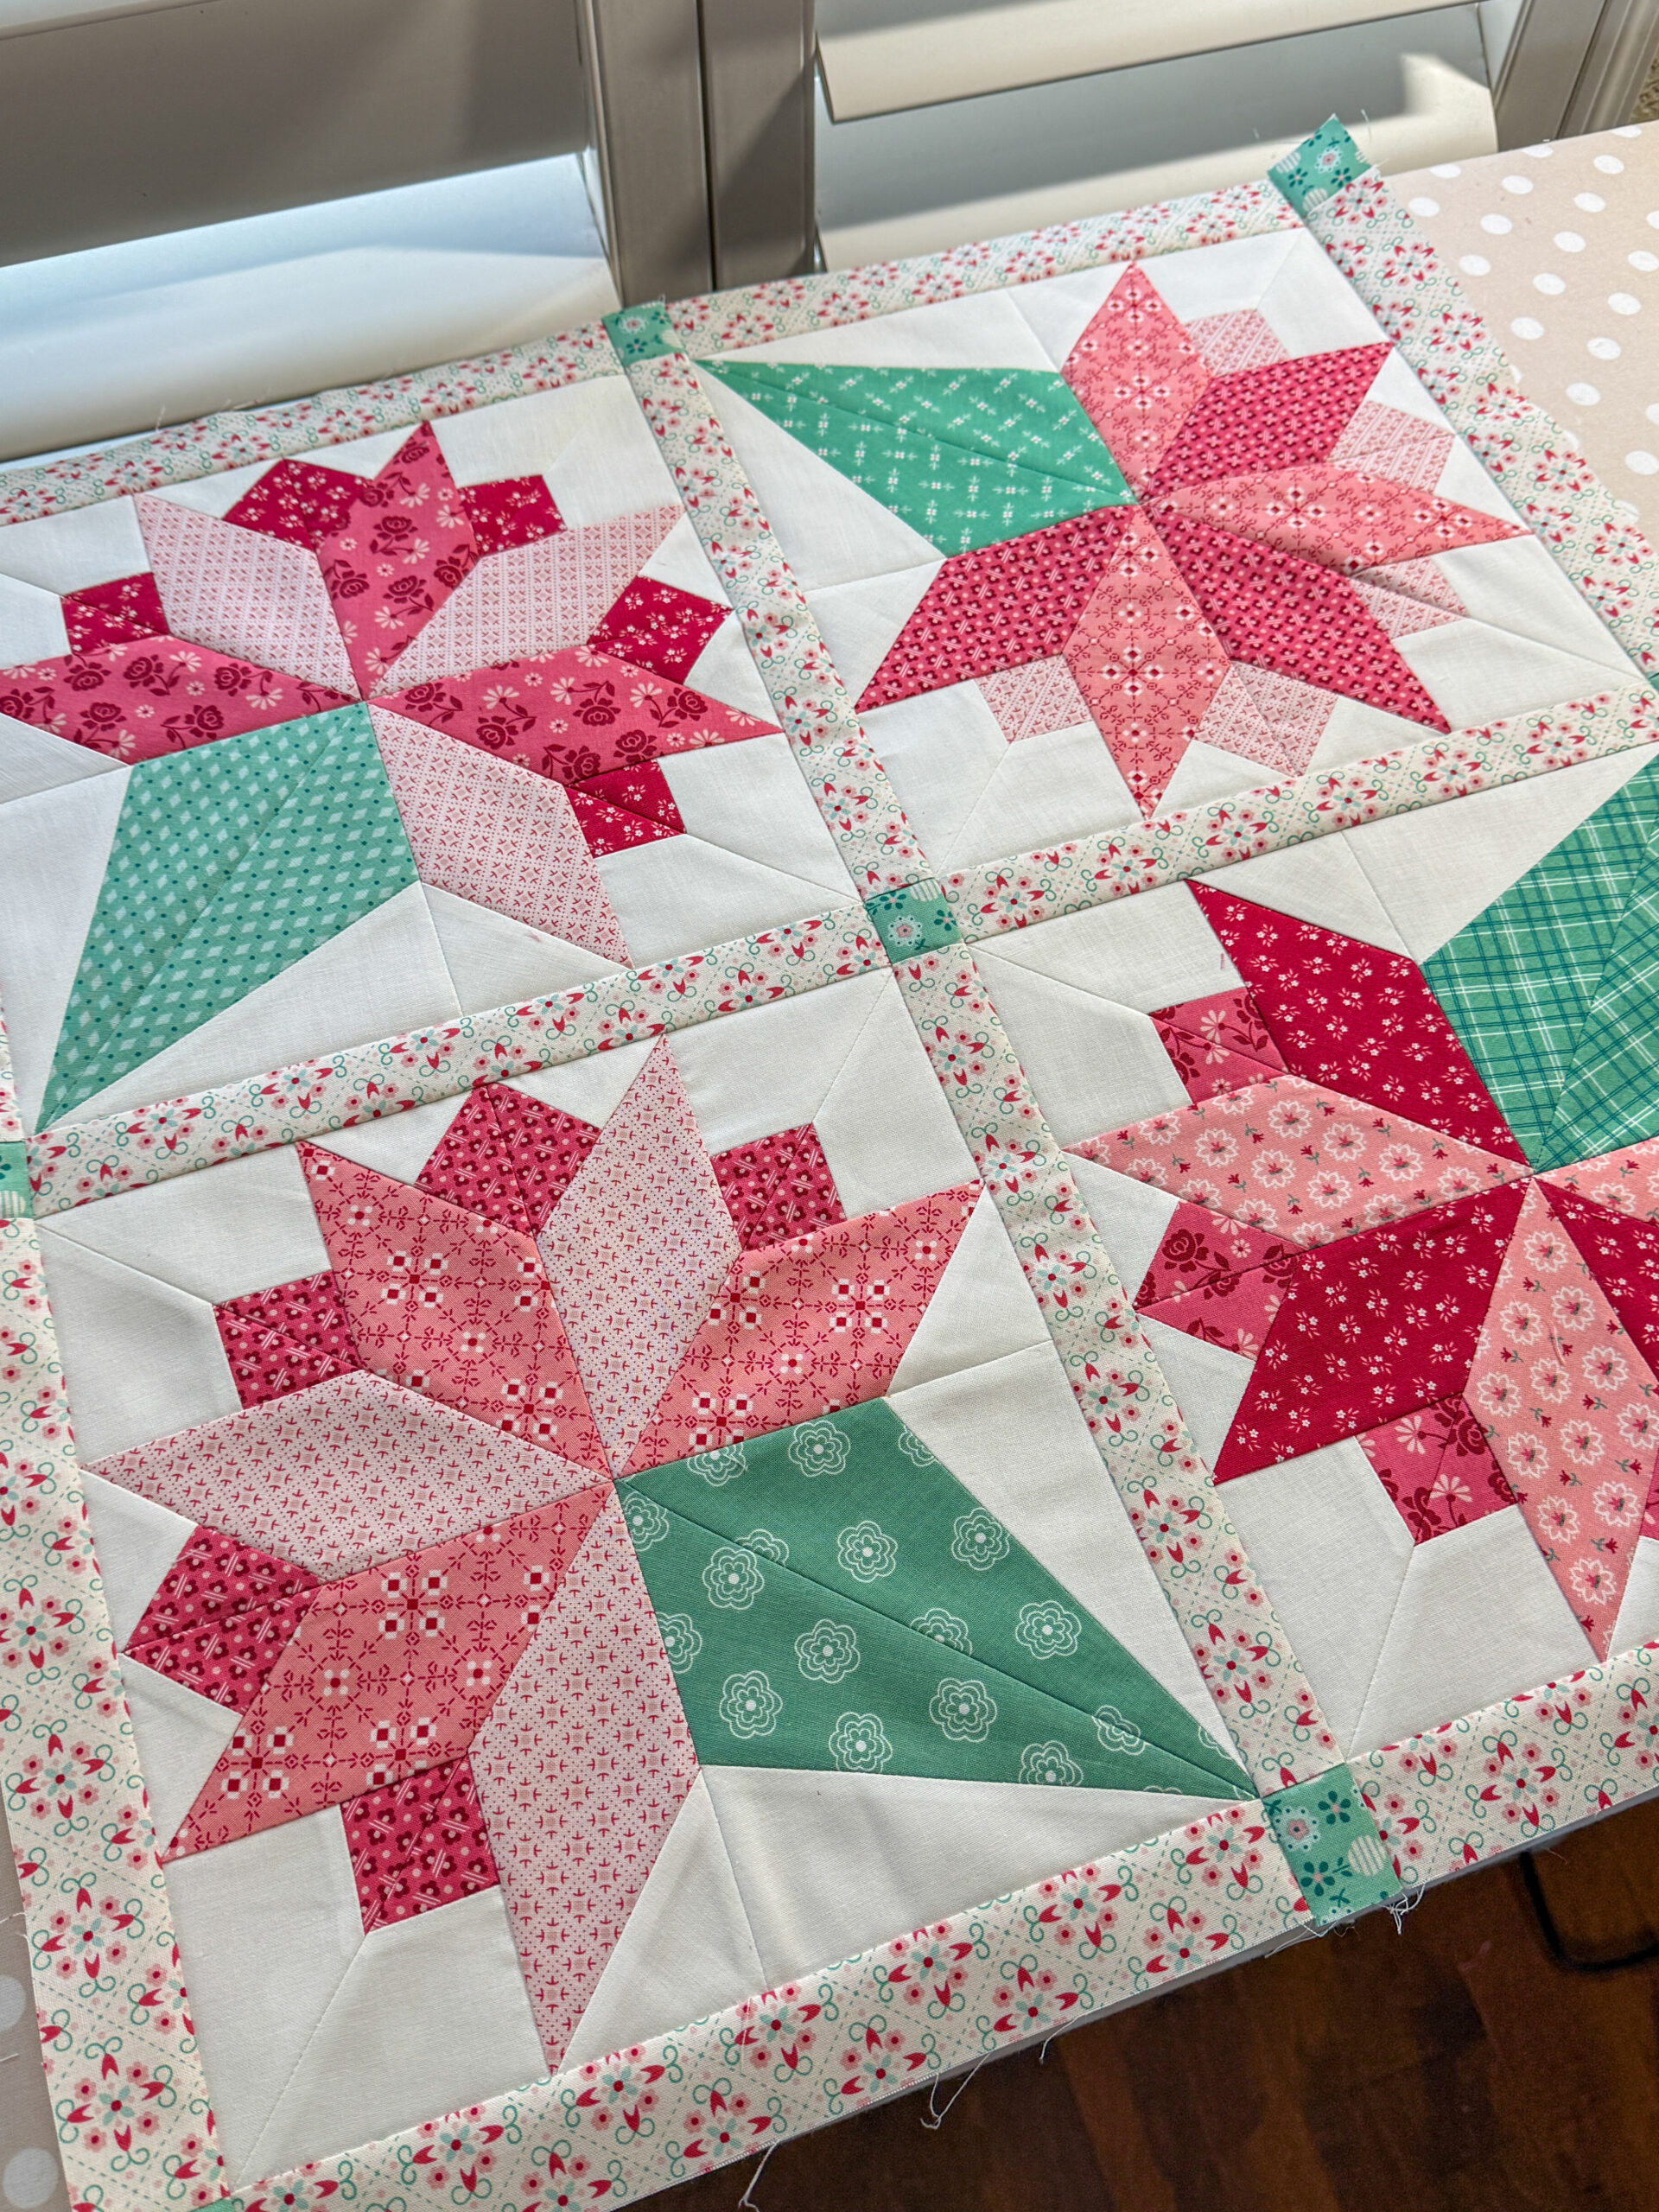
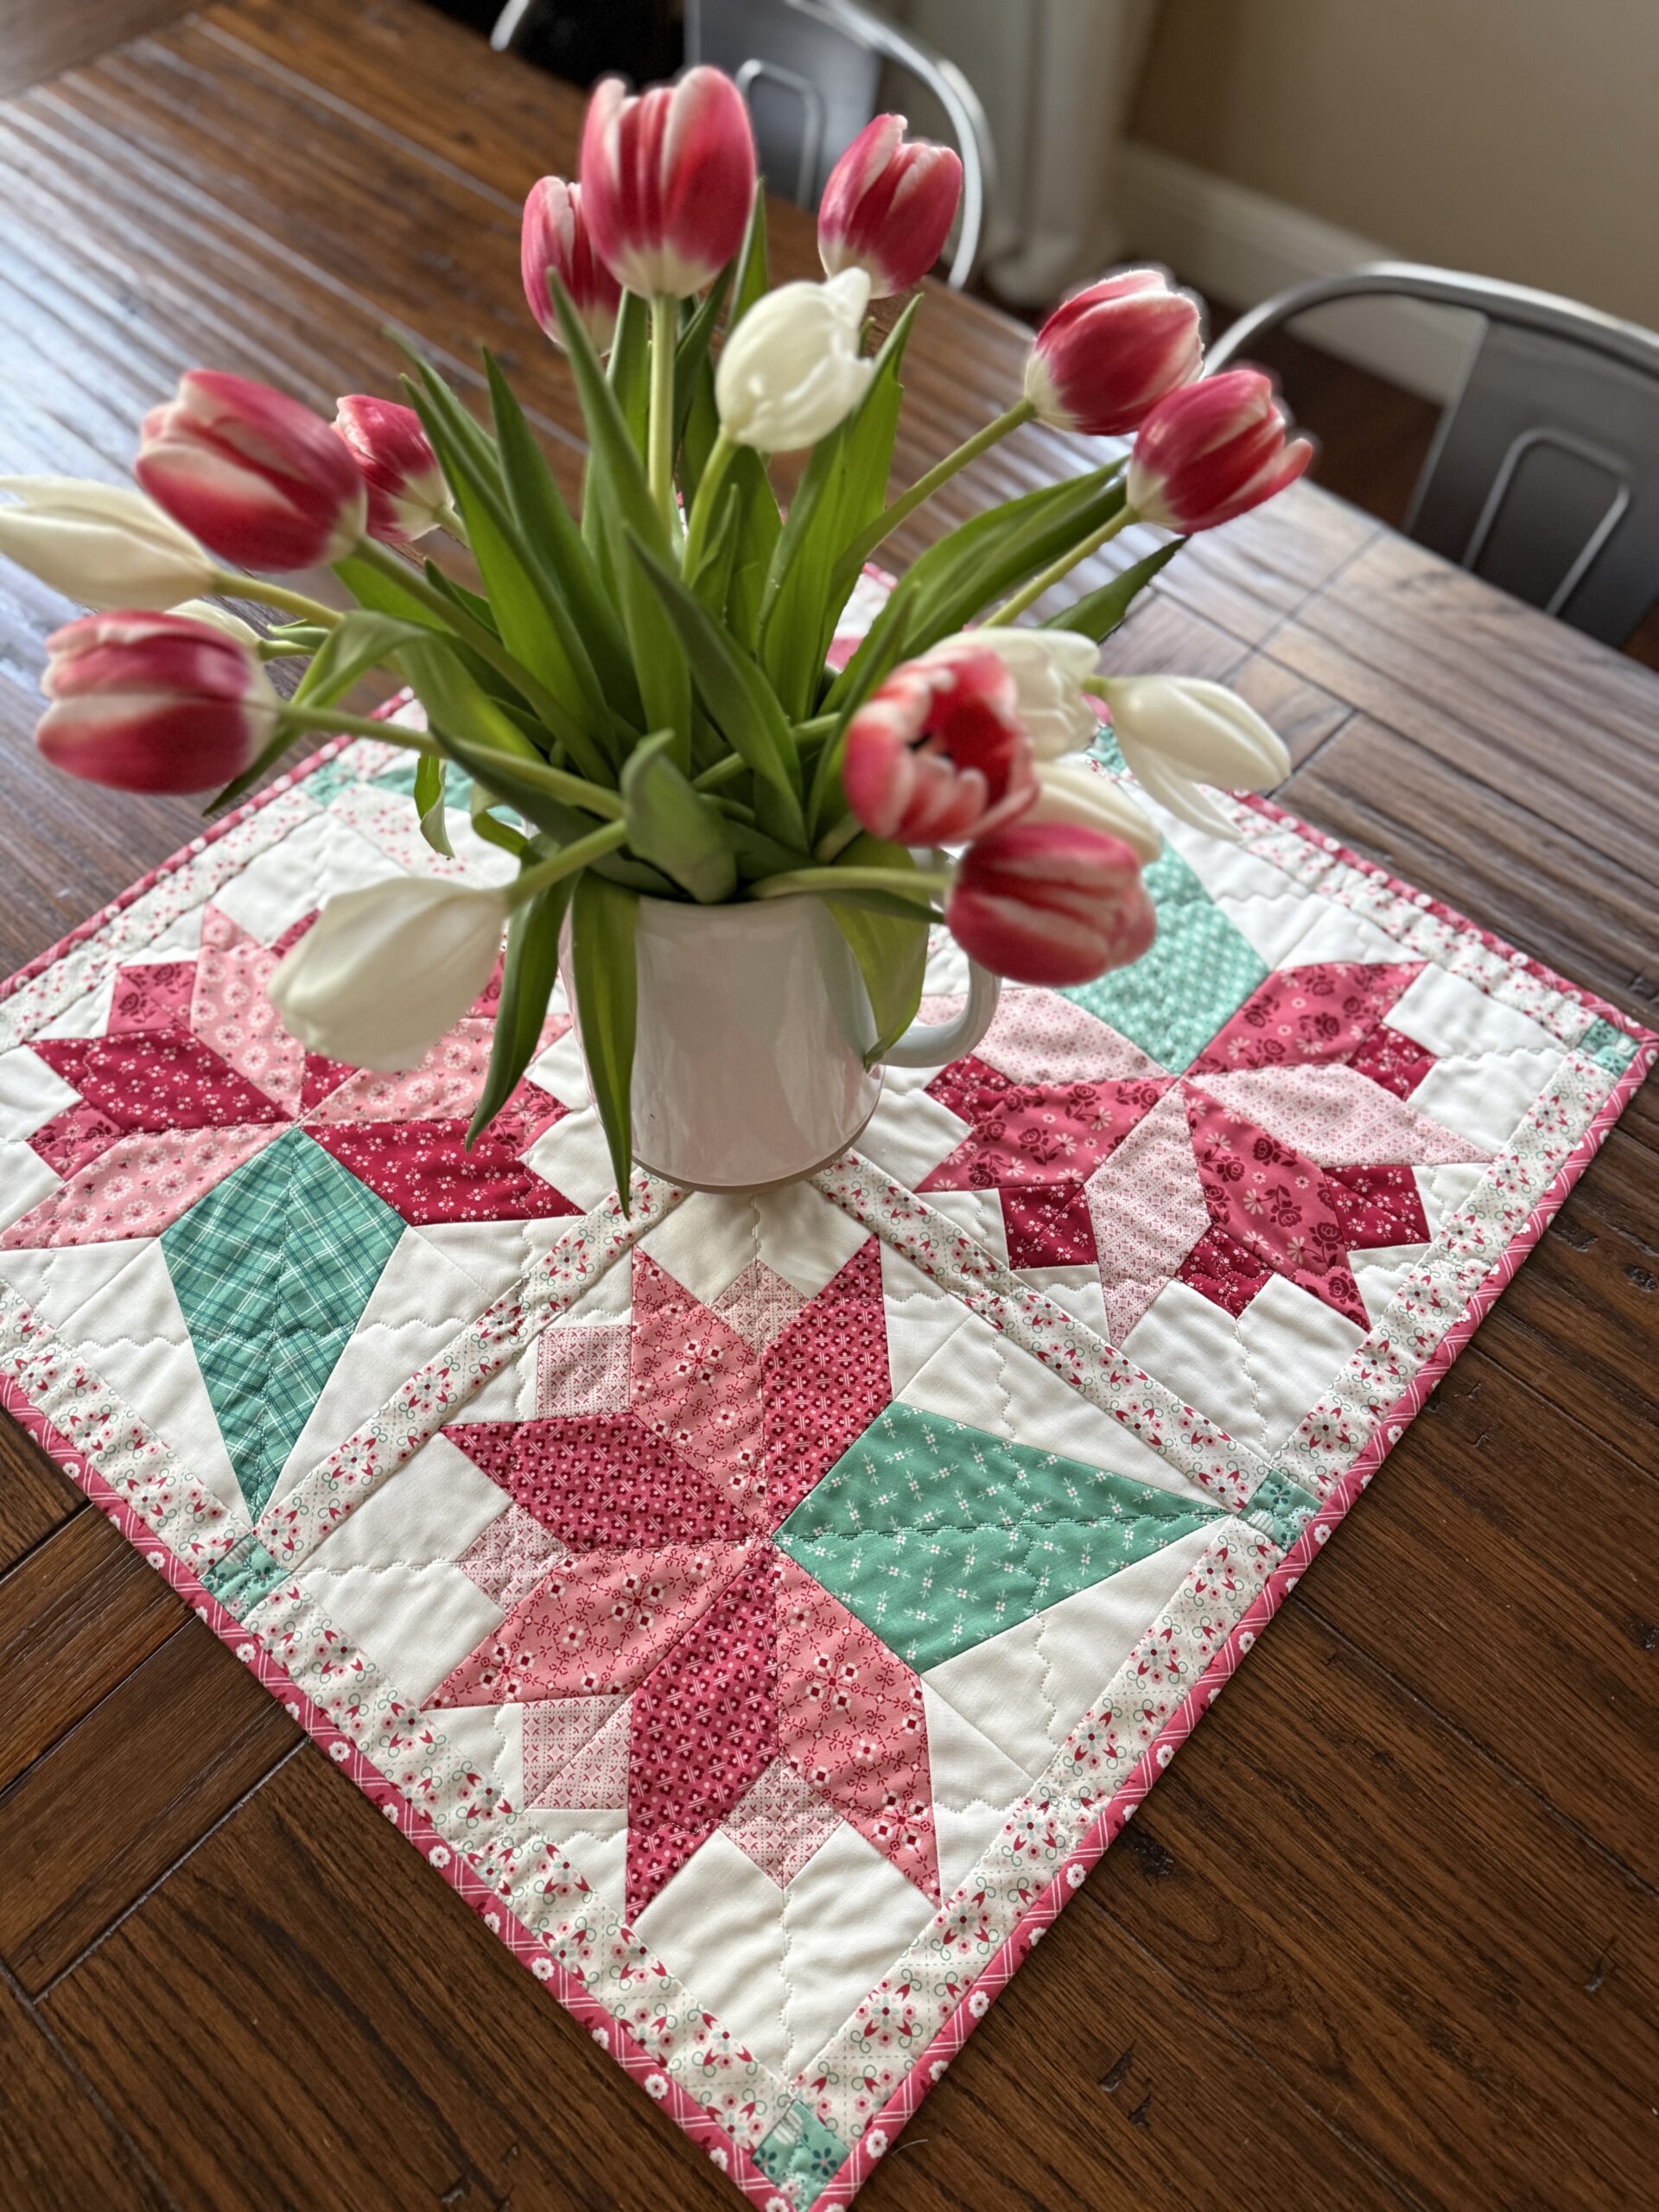
I designed this little table topper/mini quilt to use 4 of the nosegay quilt blocks. You can arrange your blocks in any direction, I arranged mine in a circle. As this will be going on my table, I wanted the blocks to rotate around for a similar view regardless of where you’re sitting. I used sashing to give the blocks a little breathing room, while the cornerstones between the blocks are a perfect excuse to dig into your scrap bin! I don’t know about you, but I always appreciate a project that helps use up leftovers!
You’ll need 12 – 10 1/2″ x 1 1/2″ sashing strips (just under 1/4 yard) and 9 – 1 1/2″ squares for the cornerstones for a similar look. You’ll need about 2/3 of a yard for the backing and 3 – 2 1/2″ x WOF strips for the binding.
For the quilting, I used a simple Serpentine stitch (this is stitch #4 on my Bernina!) and 50 wt. Aurifil thread in shade 2024 (find a large cone of it HERE). This long, wavy stitch results in a quick and easy finish with the right amount of charm.
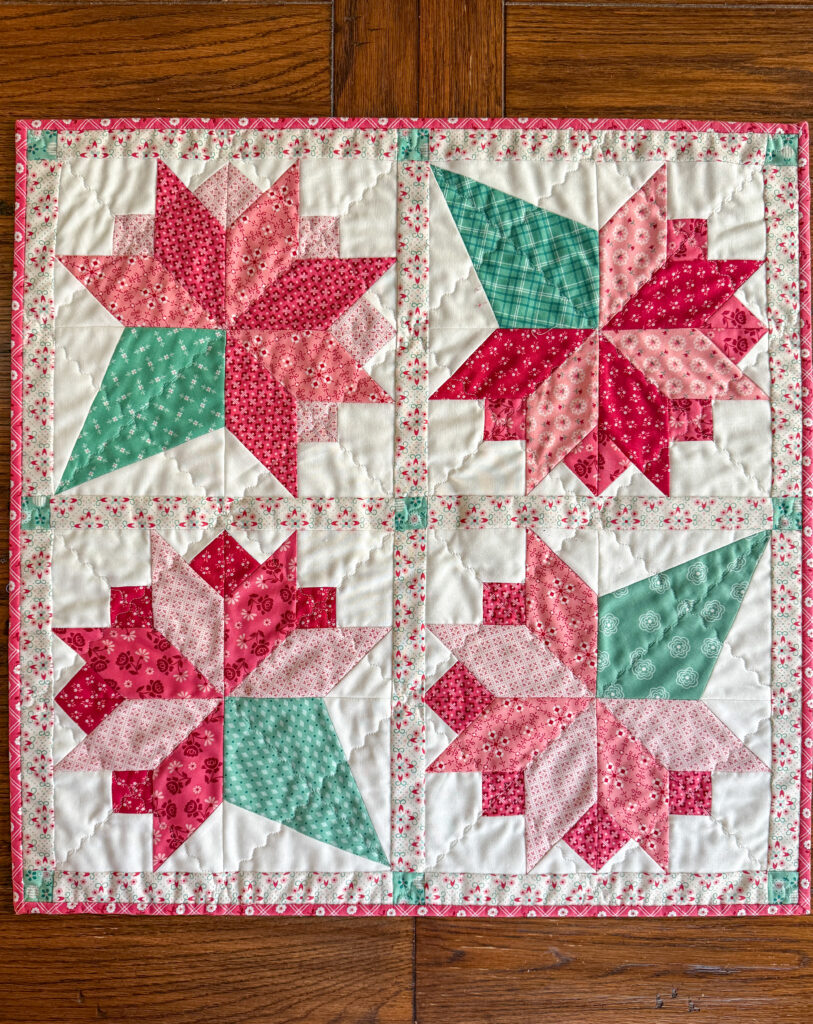
This table topper is a lovely seasonal, spring accent. It’s just the right size to dress up a dining table (add some lovely tulips from Costco like I did here!), add a quilty touch to a side board or coffee table, or even a quick, handmade gift for a friend!
I can’t wait to see what everyone makes with this fun fabric collection and die! If you make one, be sure to tag me – I LOVE seeing your versions and how you make these projects your own.
As always, thanks so much for following along with me here. I’m always working on some kind of sewing shenanigans, make sure to follow me on all the socials to see what I’m up to next! You can keep in touch AND can get my FREE Rainbow Ohio Stars pattern by signing up for my newsletter HERE.
Happy Sewing!


You May Also Like

Gentler Times by Lori Holt
Karen Walker Trunk Shows in the Valley!
