
Enveloped in Barbie Love
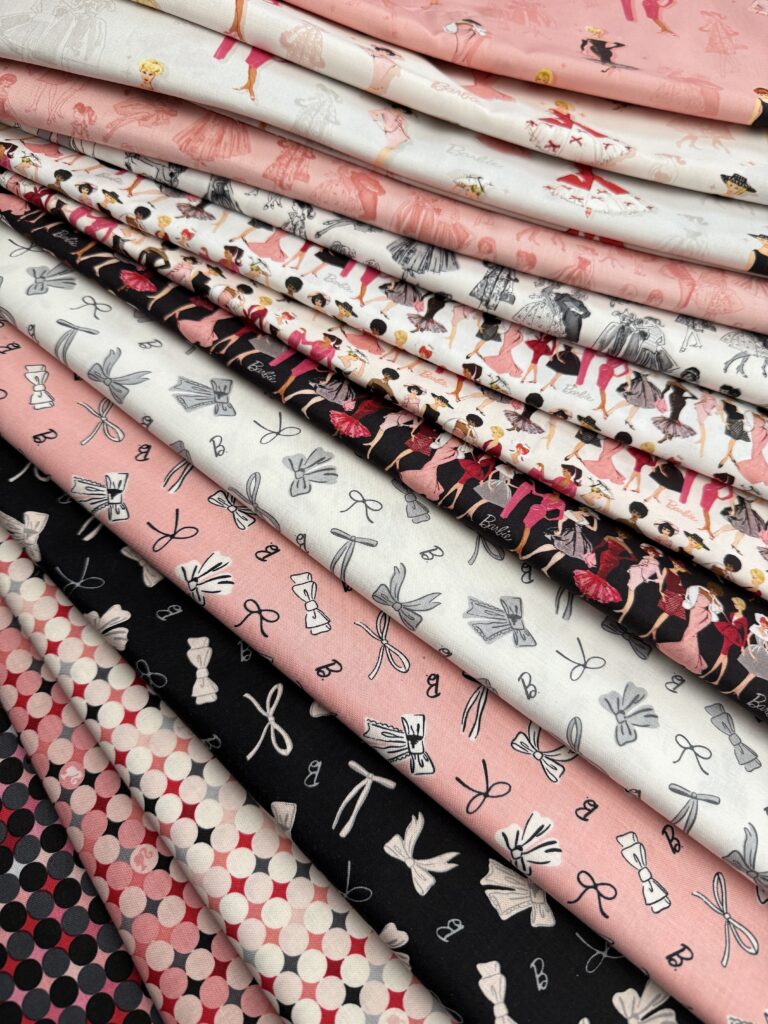
Greetings to all my fibre friends! It’s Shereece Nicole of Sew Hooked on Treasures with another tutorial for you! And guess who is here with me? None other than my original BFF – Barbie in her new Vintage Barbie fabric line.
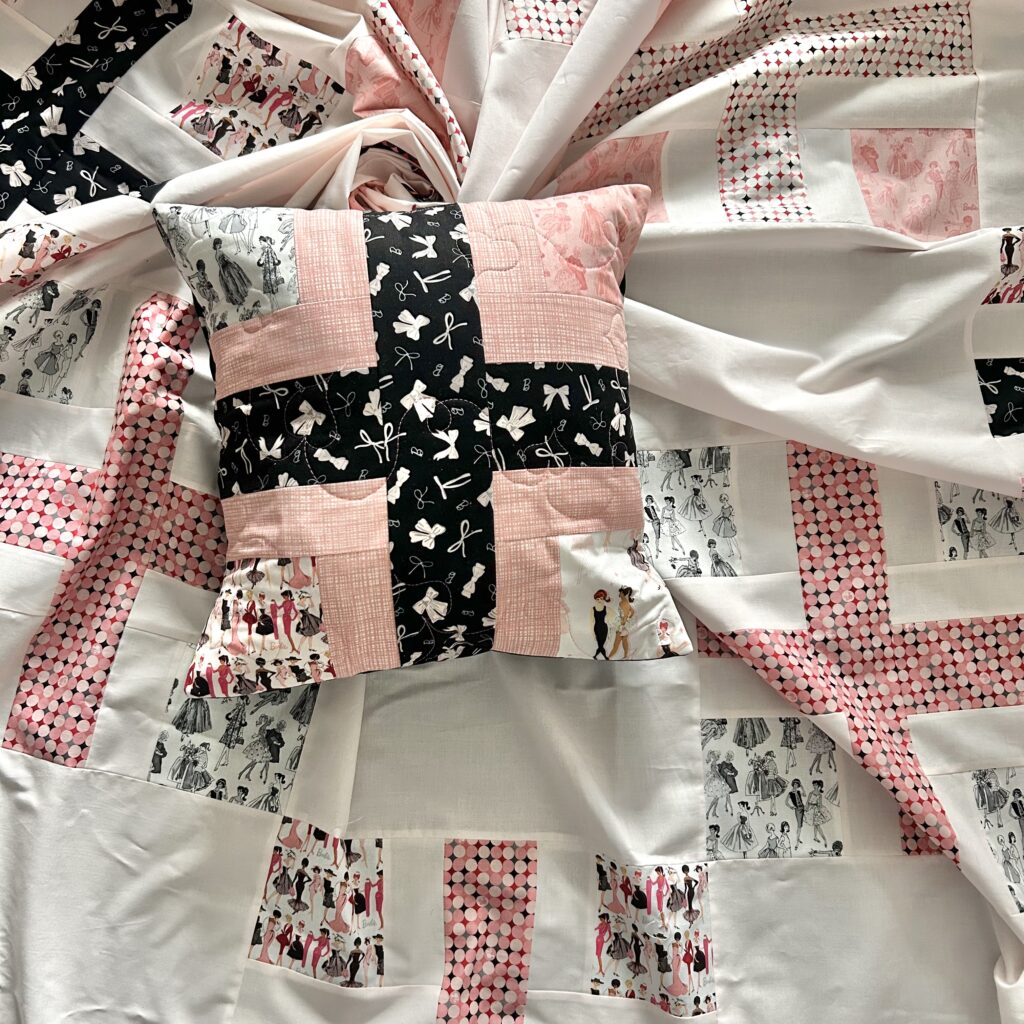
Anyone else love having throw pillows (or cushions) to coordinate with their throw quilts? It’s almost a requirement for me. So I create envelope pillow covers using a block from the quilt or a smaller version of it. I thought you might like to learn the same technique.
Here you can get the free guide to create a customized envelope pillow cover. Whether your quilt is 10″ or 20″, this guide will assist you to making the envelope technique with and without binding.
Added bonuses of envelope pillows?
- Much easier to store than a whole pillow.
- Makes seasonal changes are super quick.
- You can wash them without worrying about the pillow getting distorted or lumpy.
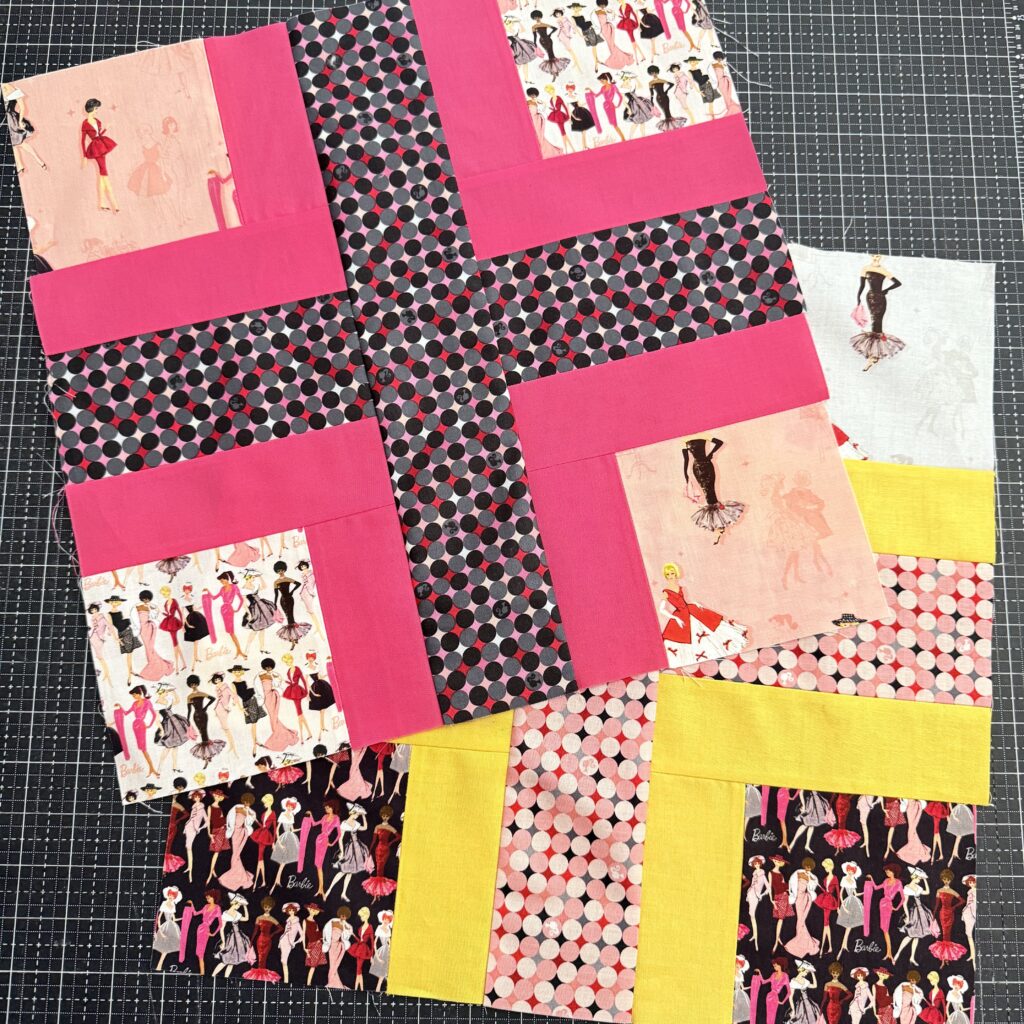
I wanted to make a new River Wall Quilt with matching throw pillows and a couple extra pillows for my daughter’s bed (so she wouldn’t take mine!). The accent blocks of the throw are the perfect size for pillows. I went with softer Basics for me and bolder ones for her. This fabric line is that versatile!
Here’s a few tips that I’ve learned that I hope will help you:
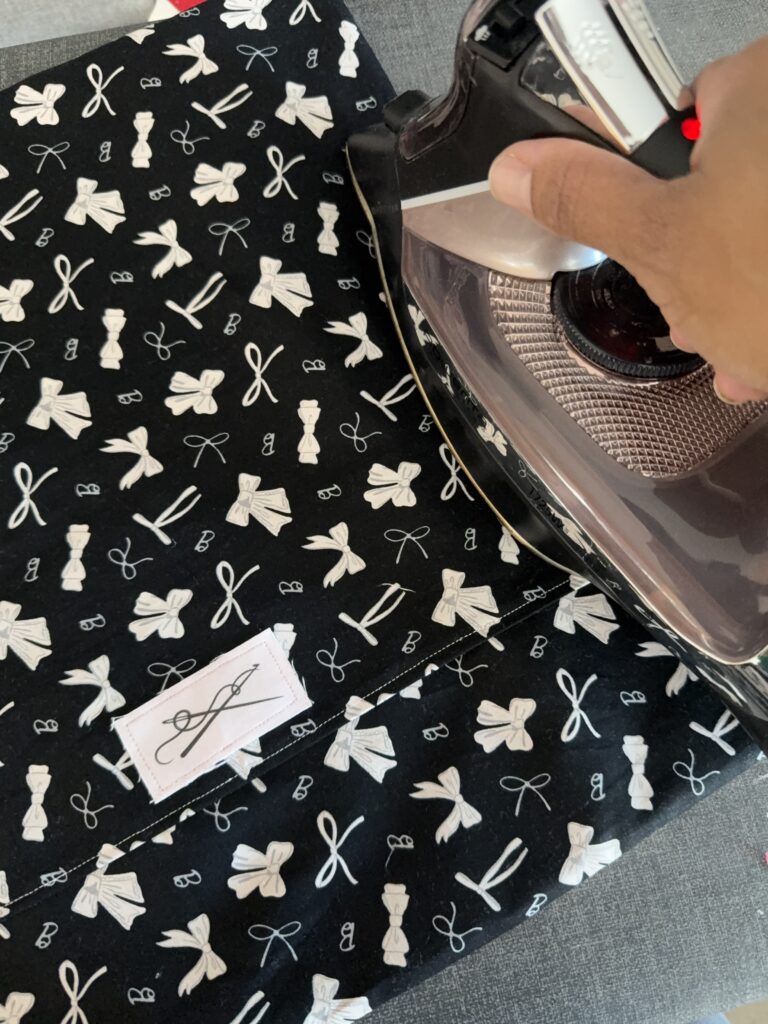
Adding Your Label
If you want to add a label onto your pillow, sew it onto the top envelope panel before adding the panels to the quilt. It can be done after, especially if you’re sewing it by hand, but this makes it much easier for when you’re sewing it on by machine.
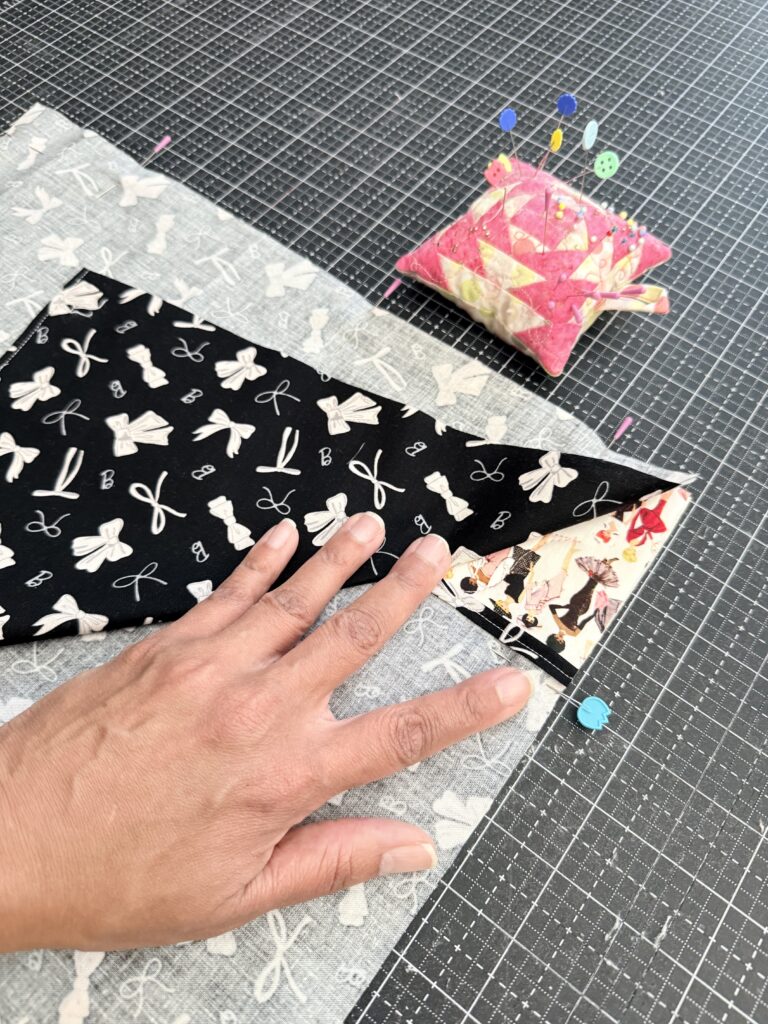
Overlap Matters
The amount you overlap the pieces for the envelope will vary. I highly recommend going for a larger overlap for larger pillows. This keeps the form from poking out in the back, especially if they’re pretty fluffy.
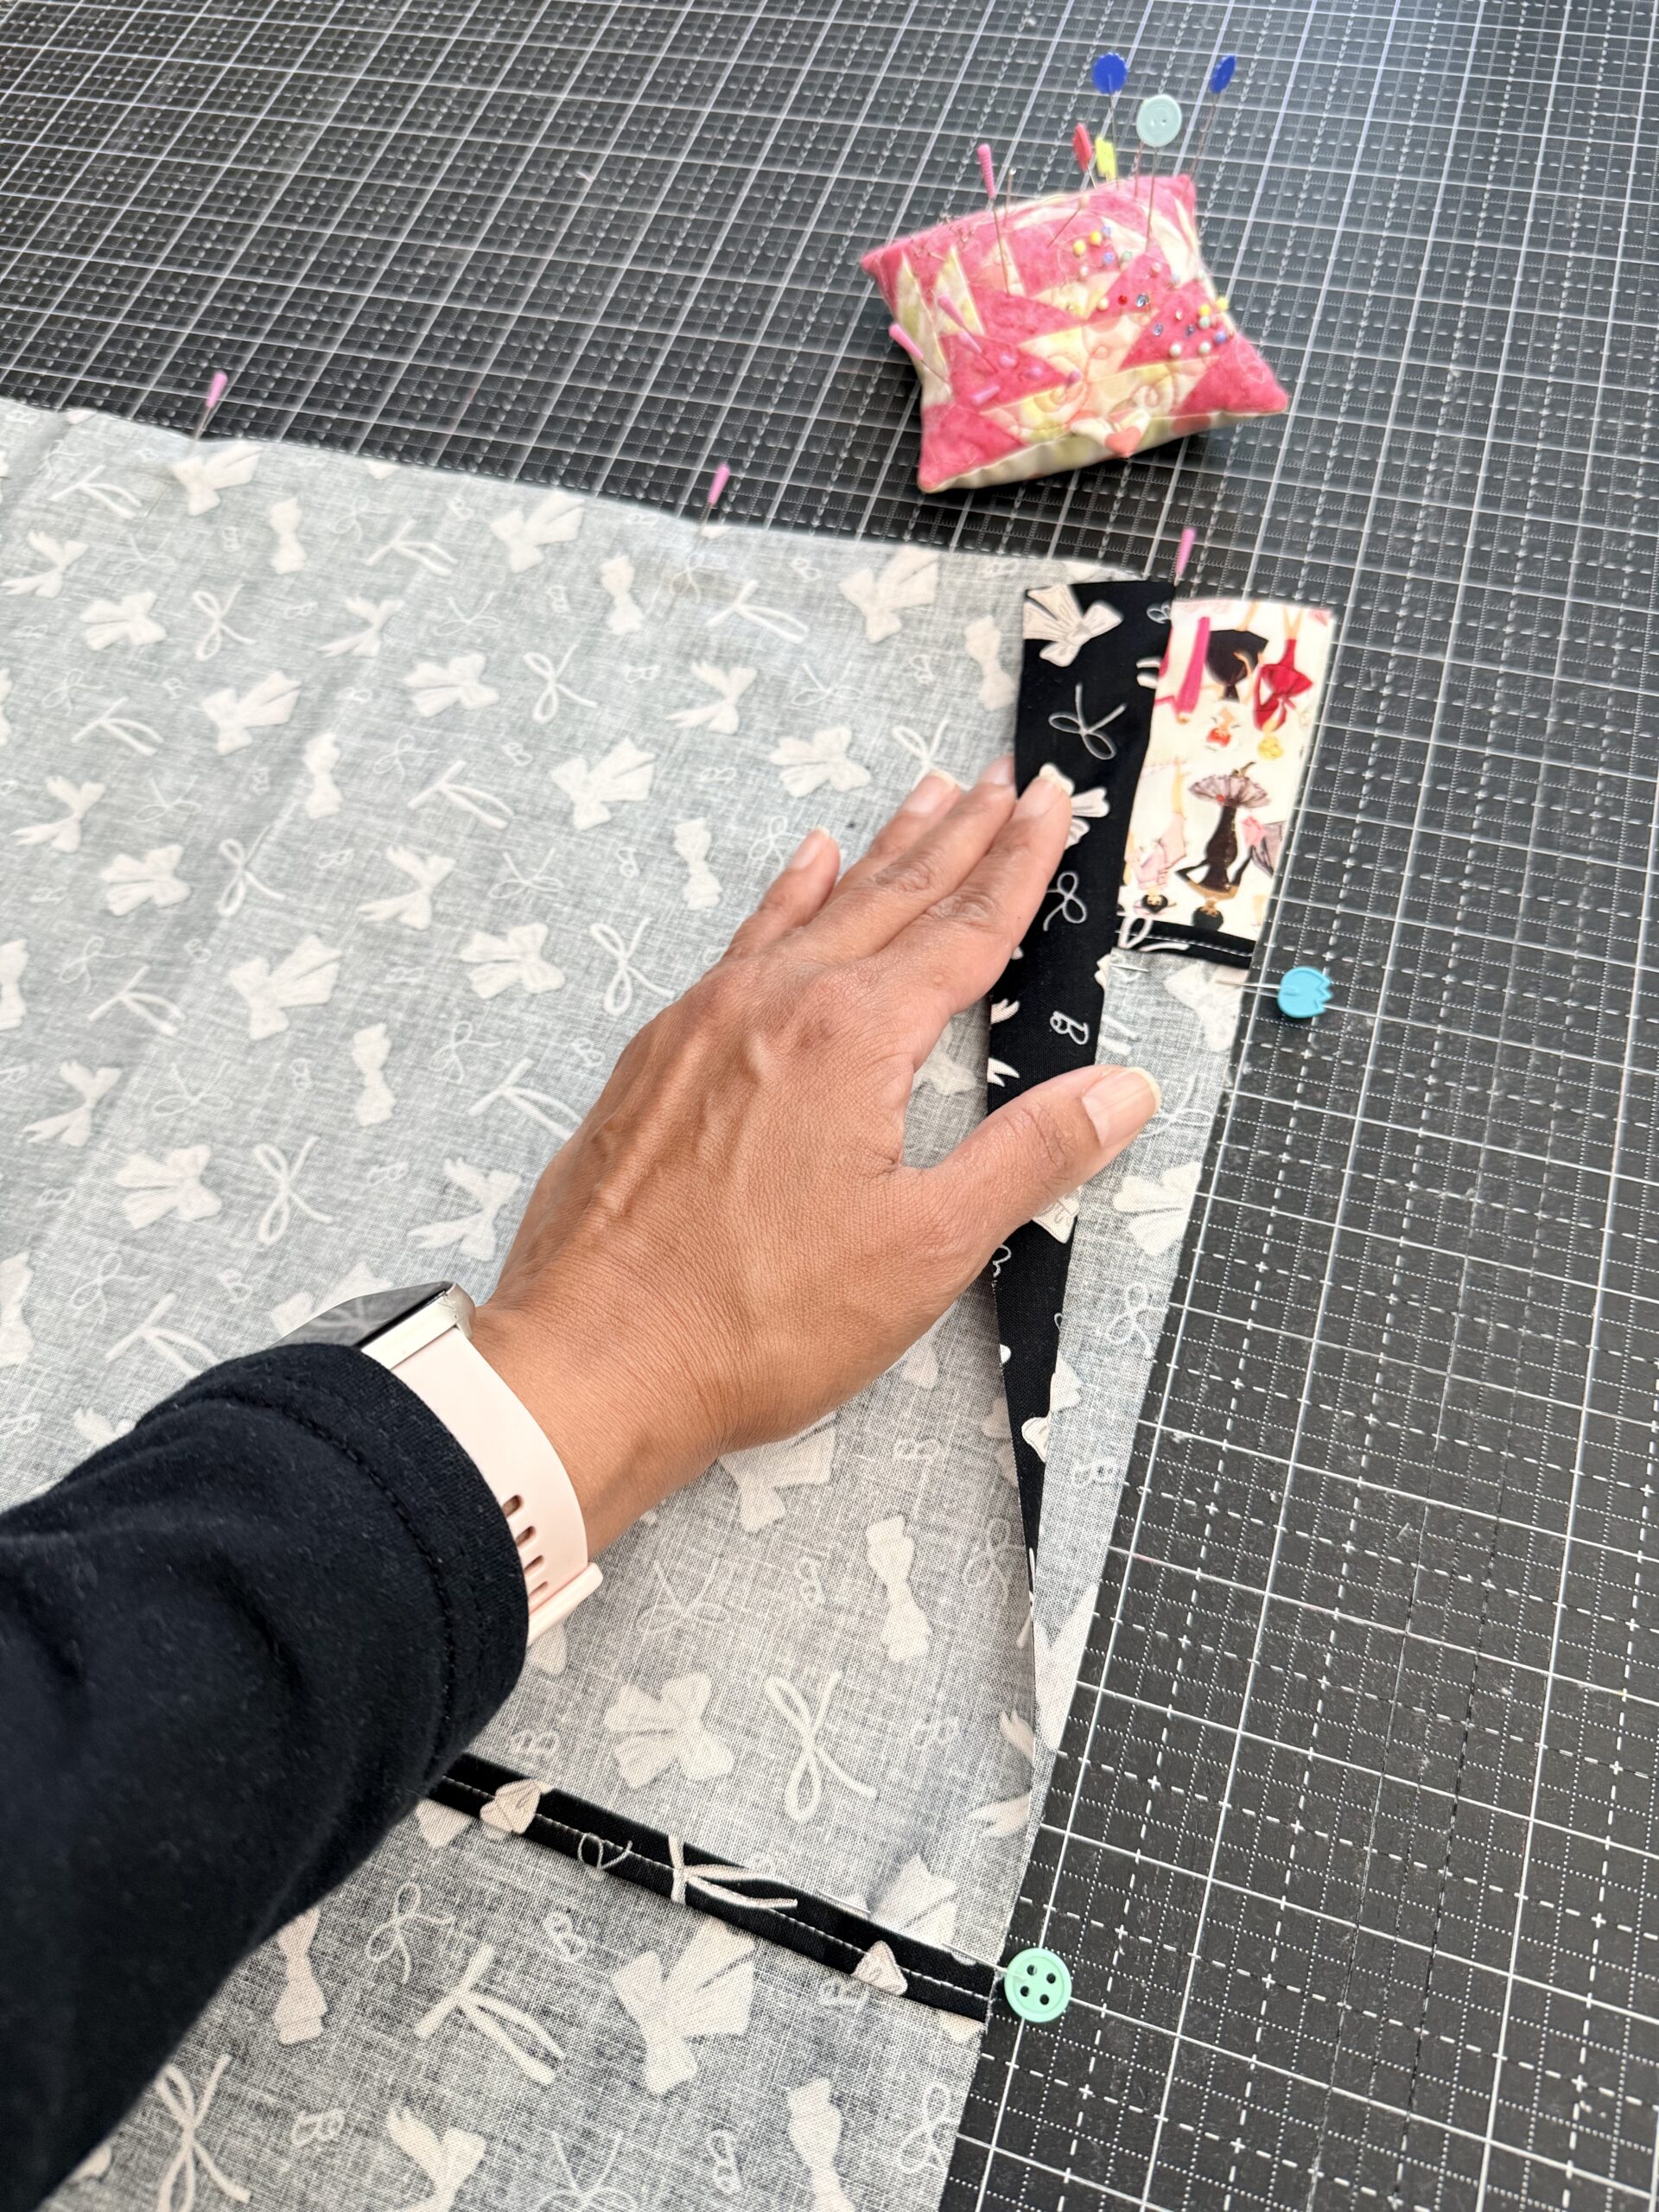
Backstitching
Where you’re overlaps meet, backstitch over the layers of fabric. This will strengthen those seams for when you’re inserting or removing the pillow form. I like to use different pins in those places so I can remember to backstitch. You can see this with the pink pin heads I mostly used and blue flower head pins.
Don’t forget to get your free guide! And please be sure to share your creations with me on Instagram, Facebook or by email. You can also reach out in those places or in the comments below with questions.
Stitch on me hearties, 🩷


One Comment
Pingback: