Prim Machine Embroidery Stitch Along – Block 12

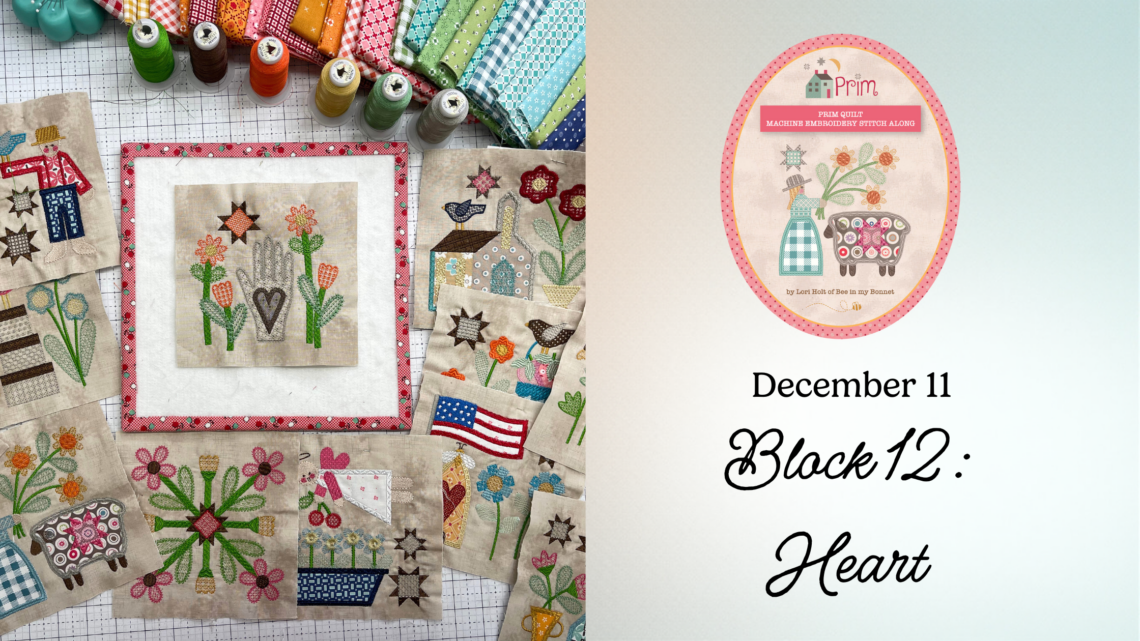
Block 12: Heart
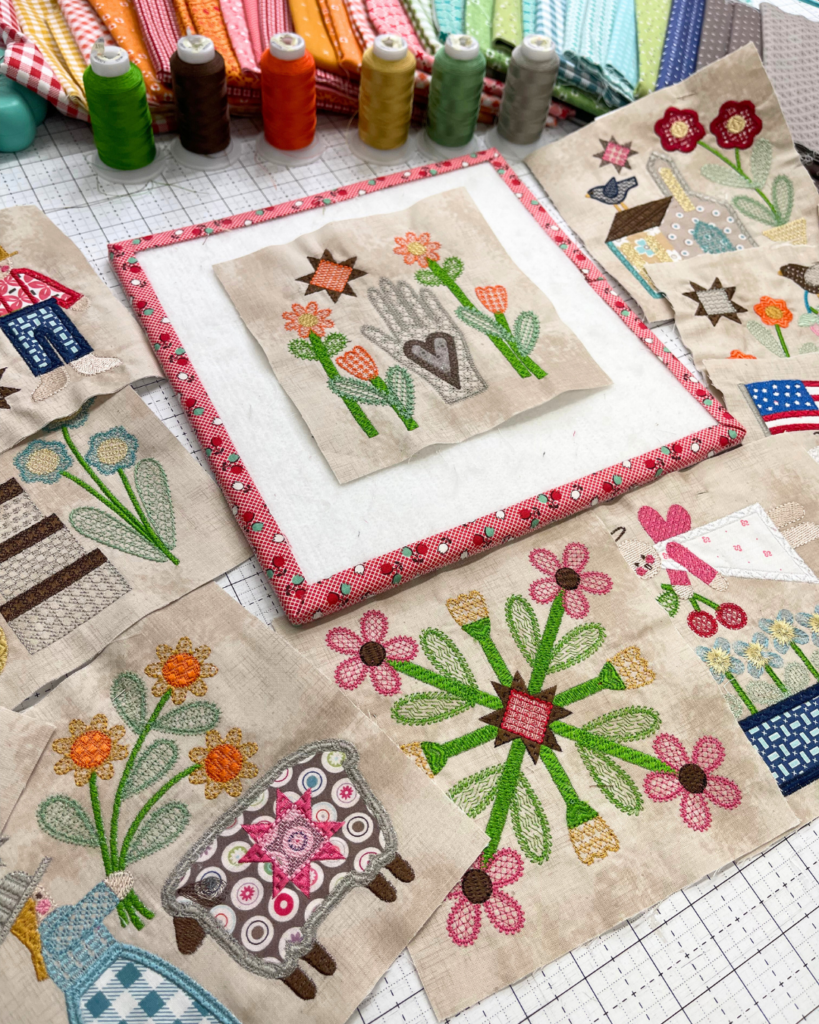
The Heart block is one of the most visually rich designs in the Prim quilt. While the appliqué shapes themselves are simple, the block stands out because of the way fill textures and thread colors work together to create depth, contrast, and movement.
This block is a wonderful reminder that even the simplest shapes can become expressive when stitching takes the lead.
Creating Depth With Fill Textures
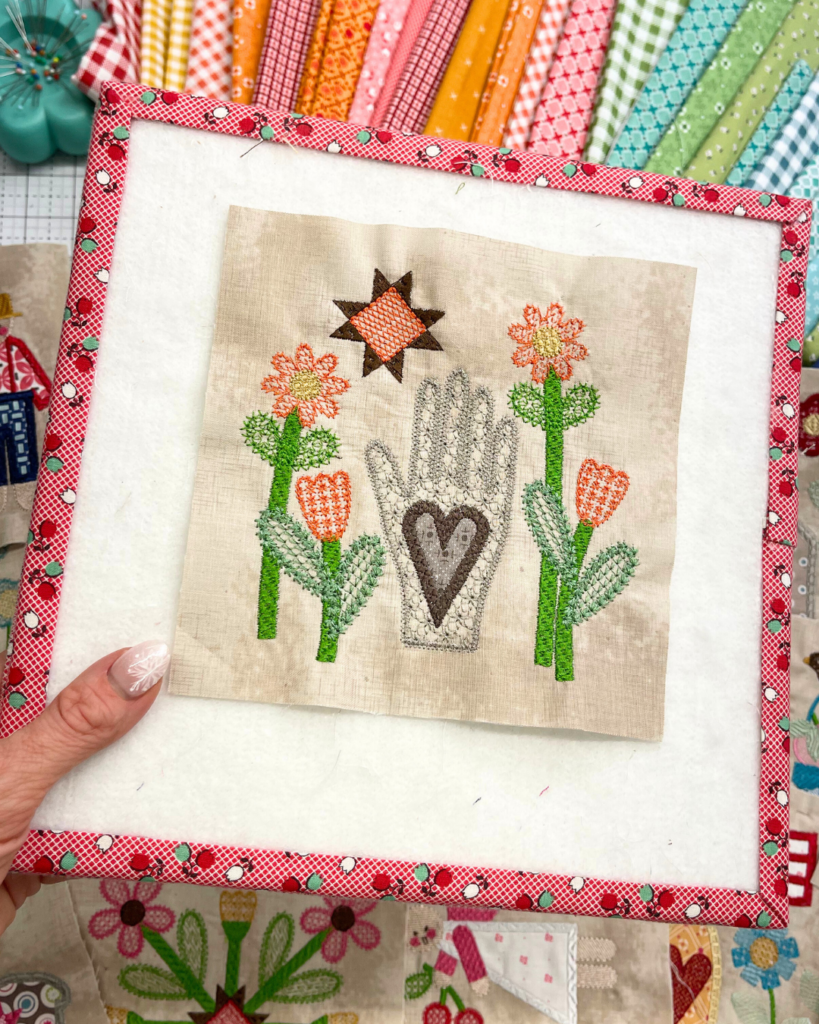
The interior of the heart is constructed using several different fill stitch patterns, each selected to evoke a sense of warmth and handcrafted charm.
You’ll notice that the block includes:
- Directional fills that guide the eye around the shape
- Embossed fills that sit recessed and create visual contrast
- Soft, open fills that mimic the look of printed fabric
- Tighter, more saturated fills for areas meant to appear more solid
When these fills sit side-by-side, they naturally create a layered effect — shadows where one fill meets another, and highlights where the stitch density changes.
This variation makes the heart feel dimensional even though the shape itself is entirely flat.
Using Thread Colors Intentionally
Thread color plays a key role in the Heart block. Subtle shifts in tone — even within the same color family, add interest without overpowering the overall design.
As you stitch, observe how:
- Lighter shades lift an area visually, drawing attention
- Darker shades create depth and grounding in the design
- Slight changes in warmth or coolness (e.g., coral vs. rose) influence the mood of the block
- Consistency in color families helps the fills blend seamlessly while still providing texture
Thread allows you to define the heart without relying on heavy outlines or additional appliqué, maintaining the soft aesthetic of the Prim quilt.

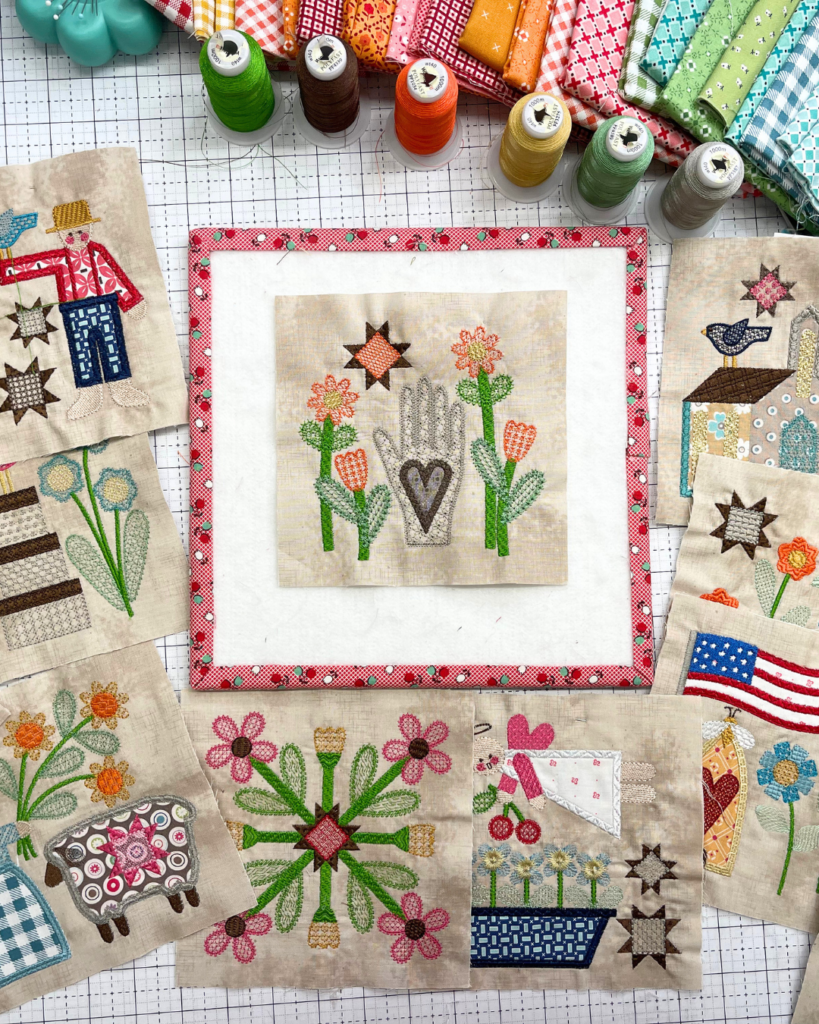
When Texture Becomes the Highlight
In this block, the thread becomes the storyteller.
The heart is intentionally left fabric-light so the threadwork can shine, creating a stitched “quilted” look inside the embroidery.
The variety in texture, from gentle embossed sections to bold, directional fills — gives the finished block its handcrafted identity.
Encouraging makers to slow down and appreciate the differences in each area can help them recognize how
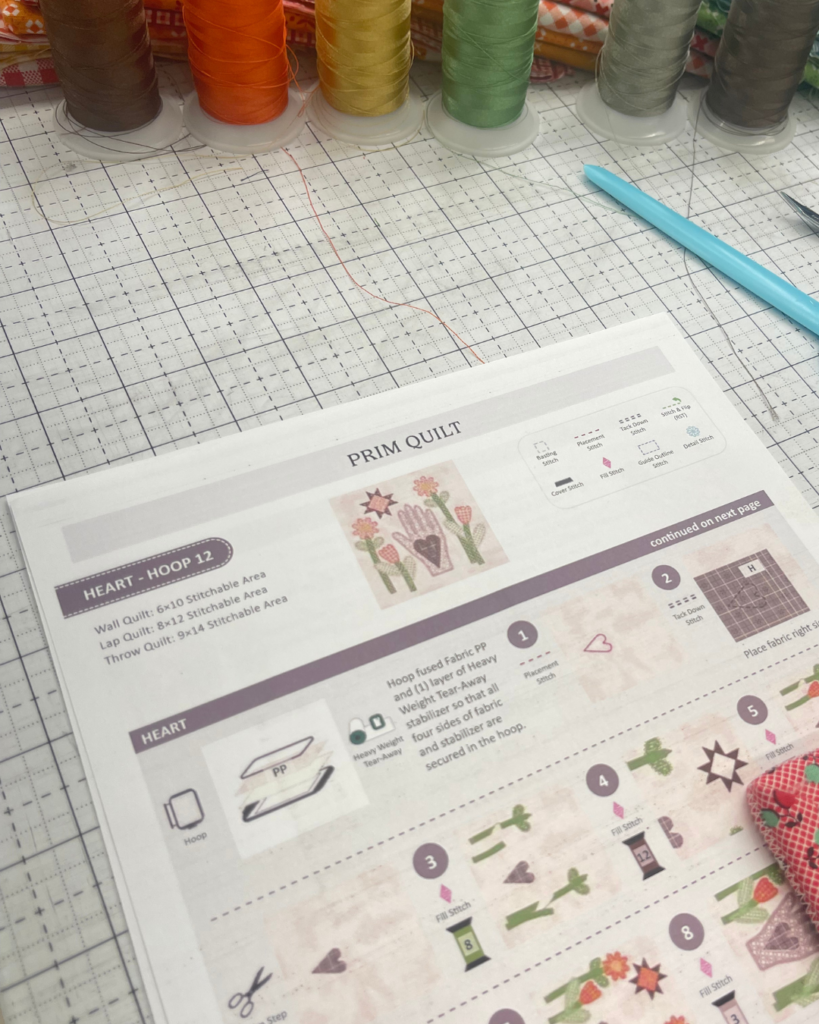
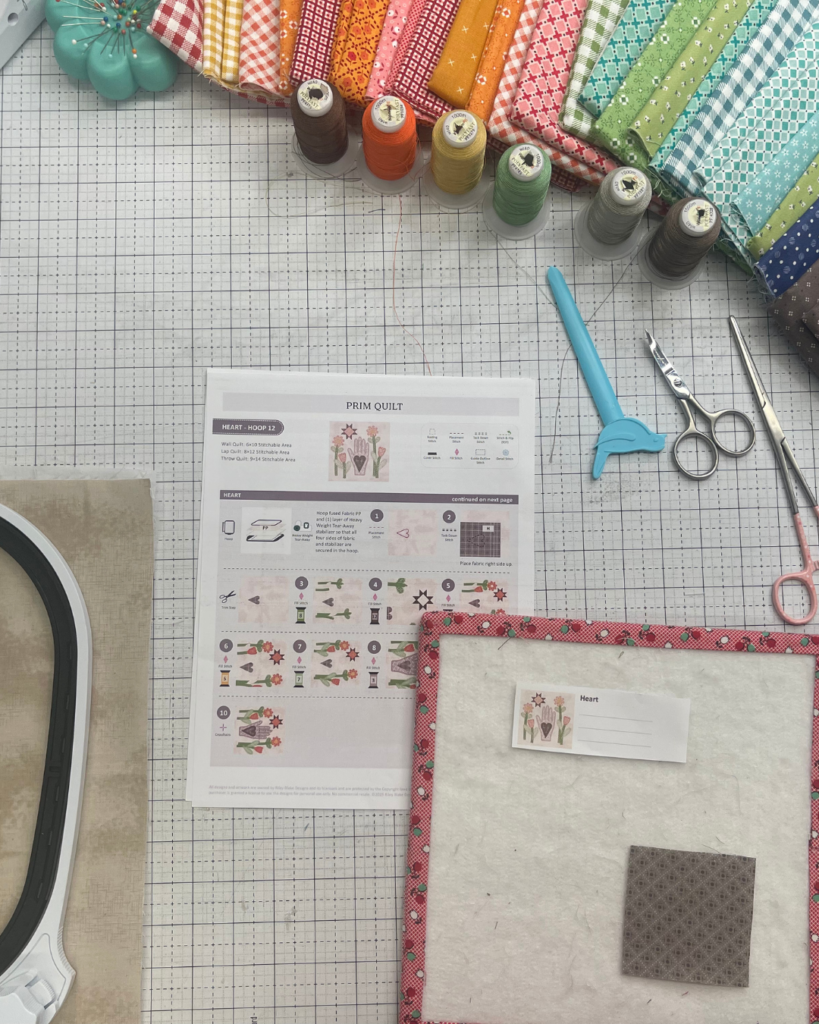
Stabilizer and Hooping Setup
Use Heavy Weight Tear-Away Stabilizer to support the multiple fill areas in this block.
Hoop your fused fabric and stabilizer together with even, firm tension to ensure clean, consistent fill coverage, especially helpful in areas with dense stitching.
For stabilizer guidance, see the
👉 Riley Blake Designs Stabilizer Chart
https://www.rileyblakedesigns.com/assets/images/machineembroidery/stabilizers/StabilizerChart.pdf
Trimming and Pressing
Once stitching is complete, remove the stabilizer and press from the back using a warm, dry iron.
Trim to size using Lori Holt’s Trim-It™ Rulers, making sure the heart is centered within the frame for balanced spacing in the final quilt.
Watch and Stitch Along
Follow the full Block 12: Heart tutorial on the Riley Blake Designs YouTube channel.
The video demonstrates how fill textures transition from one to the next and how subtle thread changes build depth in the finished design.
Share Your Progress
We’d love to see your Heart block in the RBD & M.E. Facebook Group.
Share your progress using #RileyBlakeDesigns, #RBDandMe, and #PrimStitchAlong to inspire others stitching along.
Credits:
- Prim Quilt designed by Lori Holt of Bee in My Bonnet
- Machine Embroidery Files by Riley Blake Designs
Blog and education by Jennifer Long, Machine Embroidery Manager, Riley Blake Designs


You May Also Like
Halloween Expressions
POParazzi Rainbow Wall Hanging with Flying Geese