Prim Machine Embroidery Stitch Along – Block 9
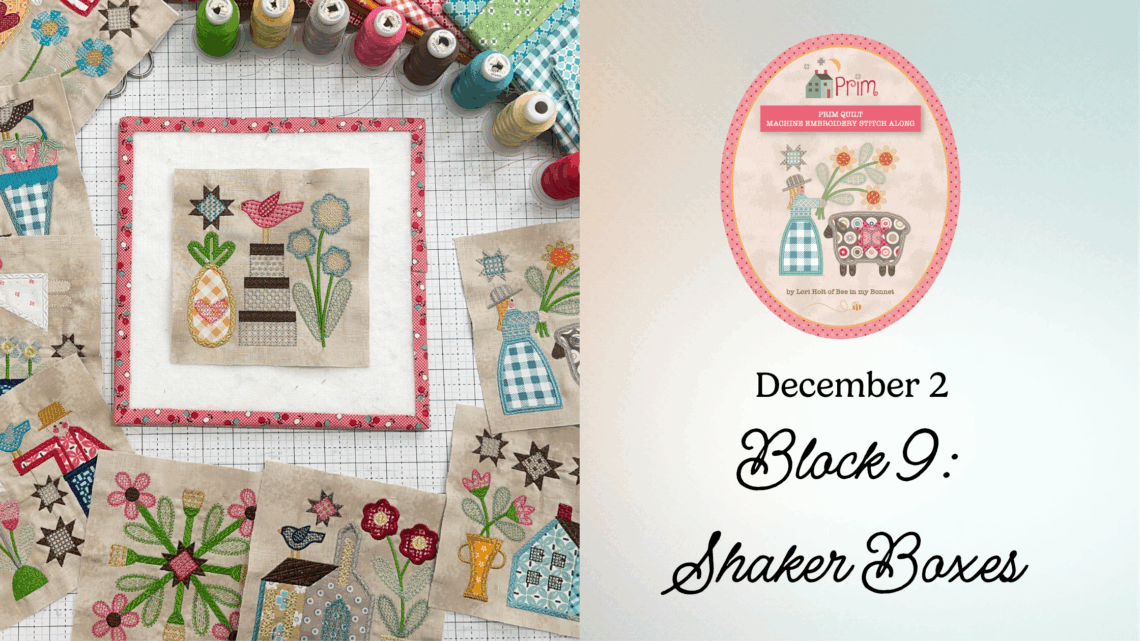
Block 9: Shaker Boxes
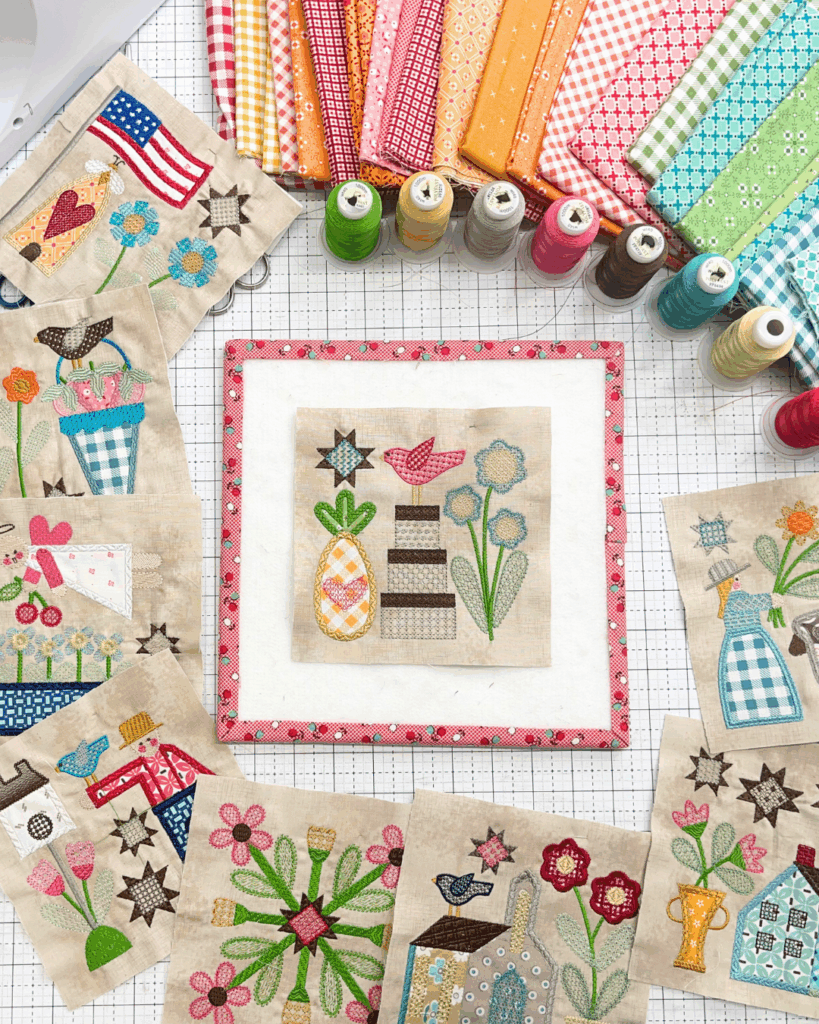
The Shaker Boxes block is a wonderful study in precision using both fabric placement and thread details. This block includes another charming detail in the Prim quilt: the pineapple fussy cut, paired with a gingham print intentionally placed on a 45° angle to create the classic pineapple texture.
This block gives makers a chance to explore how thoughtful fabric orientation can completely change the visual effect of an appliqué.
Fussy Cutting the Pineapple (with 45° Gingham Rotation)
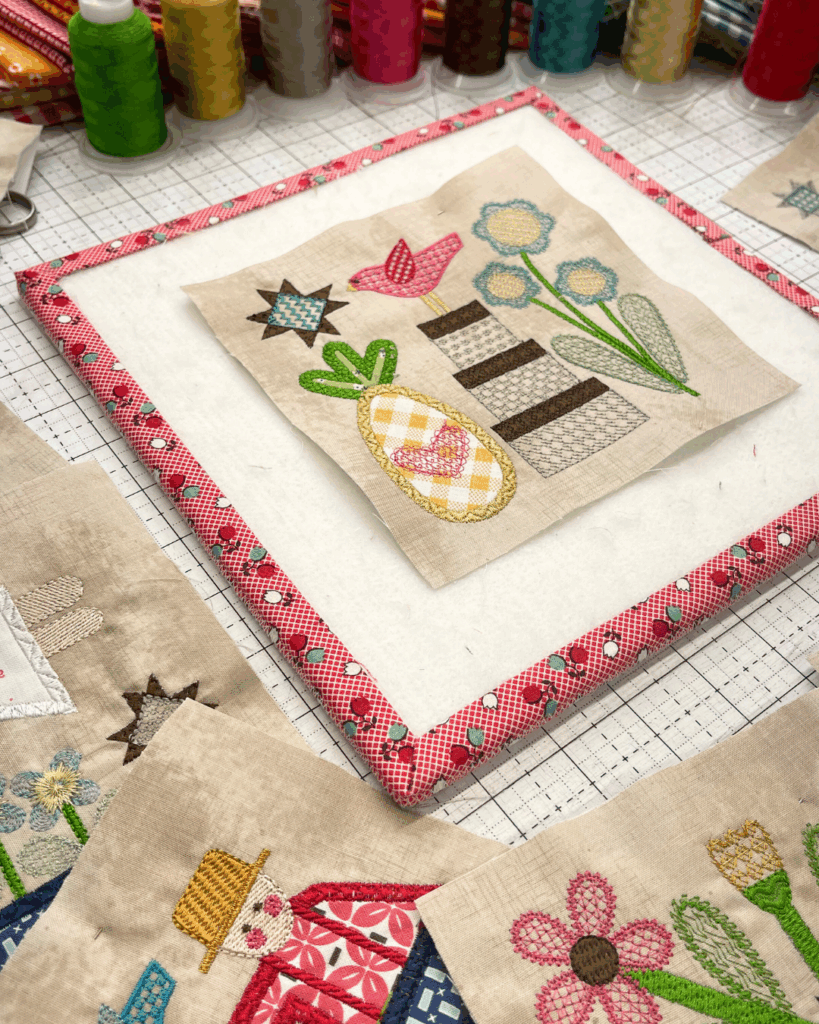
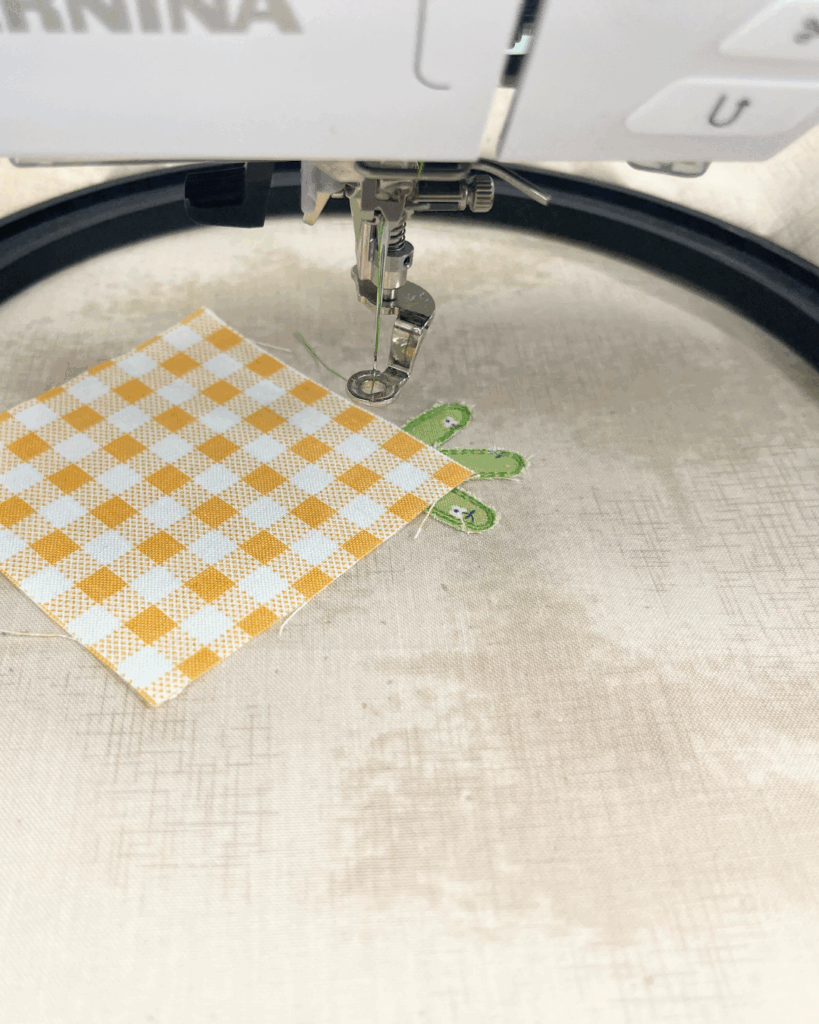
In the Shaker Boxes block, the “pineapple” effect is created by using gingham fabric, cut and placed on a 45° angle so the squares form a diamond pattern. When appliquéd into the pineapple shape, this diagonal gingham creates the iconic crisscross pineapple texture. Because this is machine embroidery appliqué, you’ll rely on your placement stitch (not a ruler) to position the rotated fabric.
- Run the placement stitch first to see the exact pineapple shape your gingham needs to cover.
- Rotate your gingham fabric to a 45° angle before placing it over the hoop.
The goal is for the gingham squares to appear as diamonds, mimicking pineapple texture. - Hold the gingham over the placement stitch and shift it gently until the diamond pattern is centered in a visually pleasing way within the pineapple outline.
- Lay the fabric down flat, ensuring the rotated gingham fully covers the stitched placement line with extra space on all sides. This part is important because diagonal fabric needs more coverage than straight-grain.
- Run the tack-down stitch to secure the fabric in place.
- Trim carefully along the tack-down line, keeping the diamond orientation intact so the final cover stitch frames the pineapple cleanly.
This rotation technique transforms a simple gingham print into a dimensional, textured pineapple, one of the most beloved details in the Prim quilt.
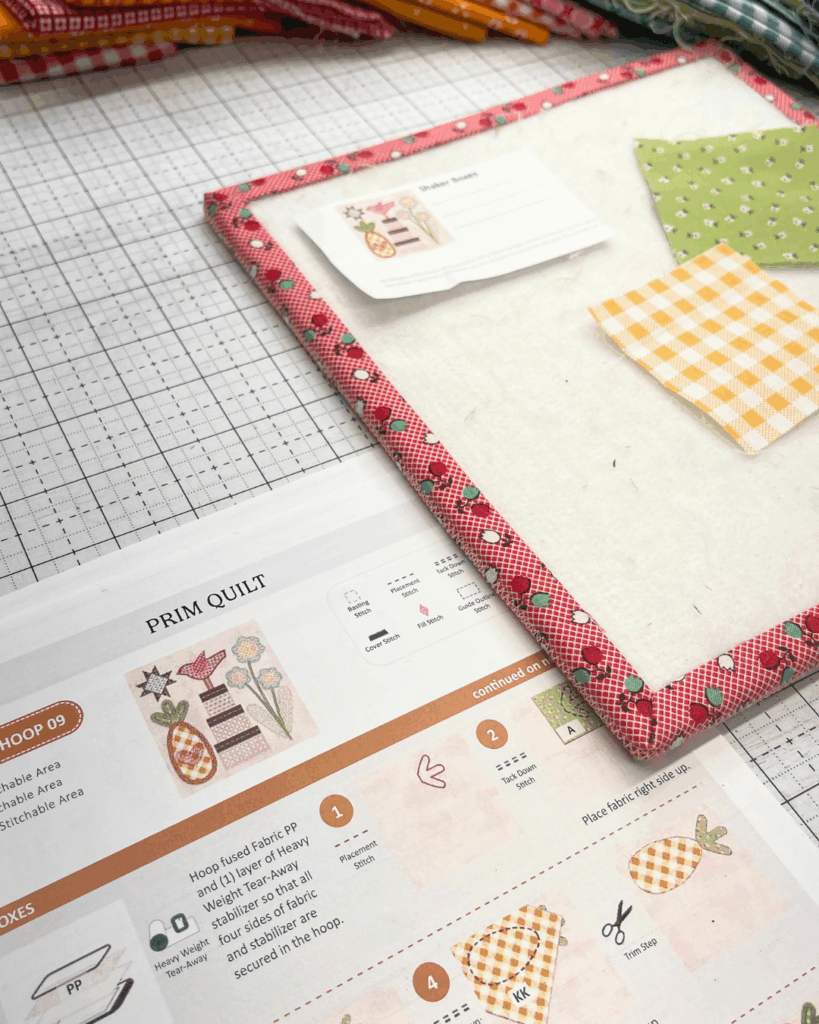
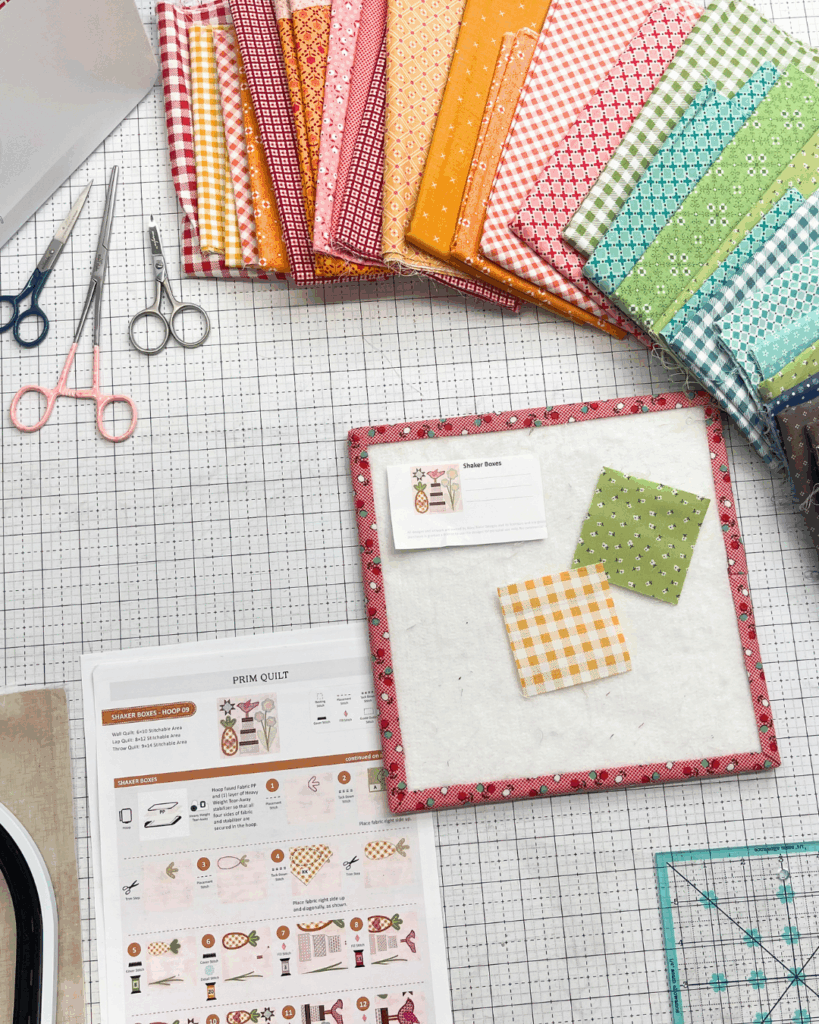
Stabilizer and Hooping Setup
Use Heavy Weight Tear-Away Stabilizer for this block.
Hoop the fused fabric and stabilizer together with even tension so the angled seams and dense stitching stay square and smooth.
Refer to the
Riley Blake Designs Stabilizer Chart
https://www.rileyblakedesigns.com/assets/images/machineembroidery/stabilizers/StabilizerChart.pdf
Trimming and Finishing
After embroidery is complete, remove the stabilizer and press from the back.
Use Lori Holt’s Trim-It™ Rulers to trim the block, centering the crosshairs over the Shaker Boxes for an even border on all sides.
Watch and Stitch Along
Follow the complete Block 9: Shaker Boxes tutorial on the Riley Blake Designs YouTube channel.
The video includes a full demonstration of fussy cutting, rotating gingham to 45º, and aligning stitch-and-flip sections.
Share Your Progress
Show your Shaker Boxes block in the RBD & M.E. Facebook Group, this is a great block to compare fabric choices and see how differently the pineapple and gingham look in each maker’s version.
Tag your progress with #RileyBlakeDesigns, #RBDandMe, and #PrimStitchAlong.
Credits:
- Prim Quilt designed by Lori Holt of Bee in My Bonnet
- Machine Embroidery Files by Riley Blake Designs
Blog and education by Jennifer Long, Machine Embroidery Manager, Riley Blake Designs


One Comment
Jessica
Oh i love this. how do i find the embroidery designs? I have a viking epic 2.