Prim Machine Embroidery Stitch Along – Block 6
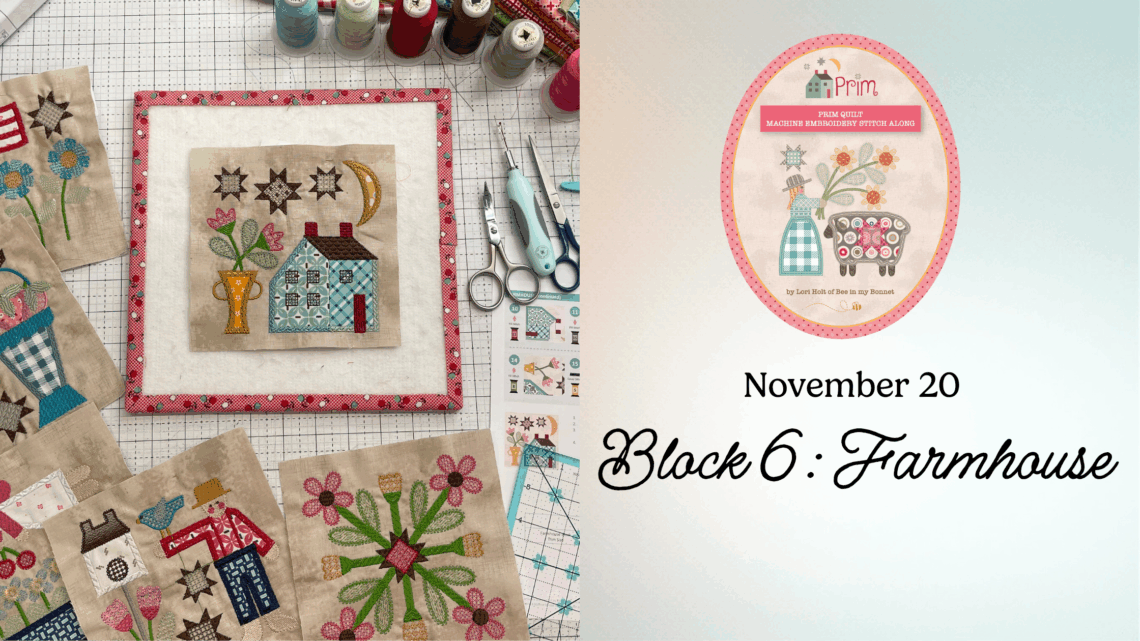
Block 6: Farmhouse
The Farmhouse block is a highlight in the Prim Stitch Along — a timeless design that combines structure and charm. In this block, you’ll learn the stitch-and-flip method, a valuable construction technique used throughout machine embroidery for creating clean, accurate shapes with minimal bulk.
Introducing the Stitch-and-Flip Method
The stitch-and-flip method is used to form the crisp, layered elements of the farmhouse. It’s an efficient way to build pieced sections directly in the hoop while maintaining perfect alignment.
Here’s how it works:
- Placement stitch: The machine sews a guideline showing where the next fabric piece will go.
- Flip placement: Place the (2) fabrics right sides together (RST) along that line, covering it completely.
- Tack-down stitch: The machine secures both fabrics in place to create a seam.
- Flip and press: Fold the fabric over the stitched line and finger-press to reveal the finished edge before continuing.
This method eliminates bulky seams and overlapping cover stitches! Iideal for the architectural angles in the farmhouse.
Tips for Success
- Trim carefully after each tack-down. Clean trimming keeps seams flat and prevents shadows under lighter fabrics.
- Finger-press instead of ironing between flips to avoid distorting fusible layers.
- Check fabric coverage before moving to the next step; even a slight gap can show after the final satin stitching.
Stabilizer and Hooping Setup
Use Heavy Weight Tear-Away Stabilizer to support the layered stitching in this block.
Hoop the fused fabric and stabilizer together, ensuring even tension on all four sides.
A smooth, firm hoop prevents pull-in and helps the rooflines and walls of the farmhouse stay square.
For full stabilizer guidance, refer to the Riley Blake Designs Stabilizer Chart.
Trimming and Finishing
After stitching, gently remove the stabilizer and press from the back of the block.
Use Lori Holt’s Trim-It™ Rulers to trim to size, aligning the crosshairs with the farmhouse’s centerline for perfect balance.
Watch and Stitch Along
The stitch-and-flip method is best learned by watching it in action — so don’t skip this week’s tutorial!
In the video, I demonstrate exactly how to position, flip, and secure each fabric piece, along with trimming and alignment tips for professional results.
Share Your Progress
When your Farmhouse block is complete, share it in the RBD & M.E. Facebook Group to connect with others and exchange tips on the stitch-and-flip technique.
You can also post your work on social media using #RileyBlakeDesigns, #RBDandMe, and #PrimStitchAlong so we can see your progress.
Credits:
- Prim Quilt designed by Lori Holt of Bee in My Bonnet
- Machine Embroidery Files by Riley Blake Designs
Blog and education by Jennifer Long, Machine Embroidery Manager, Riley Blake Designs


You May Also Like
In From the Cold by Heather Peterson
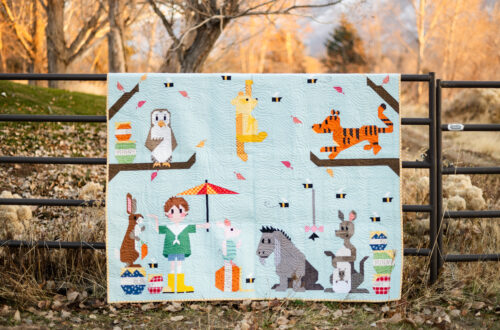
100 Acre Woods Quilt