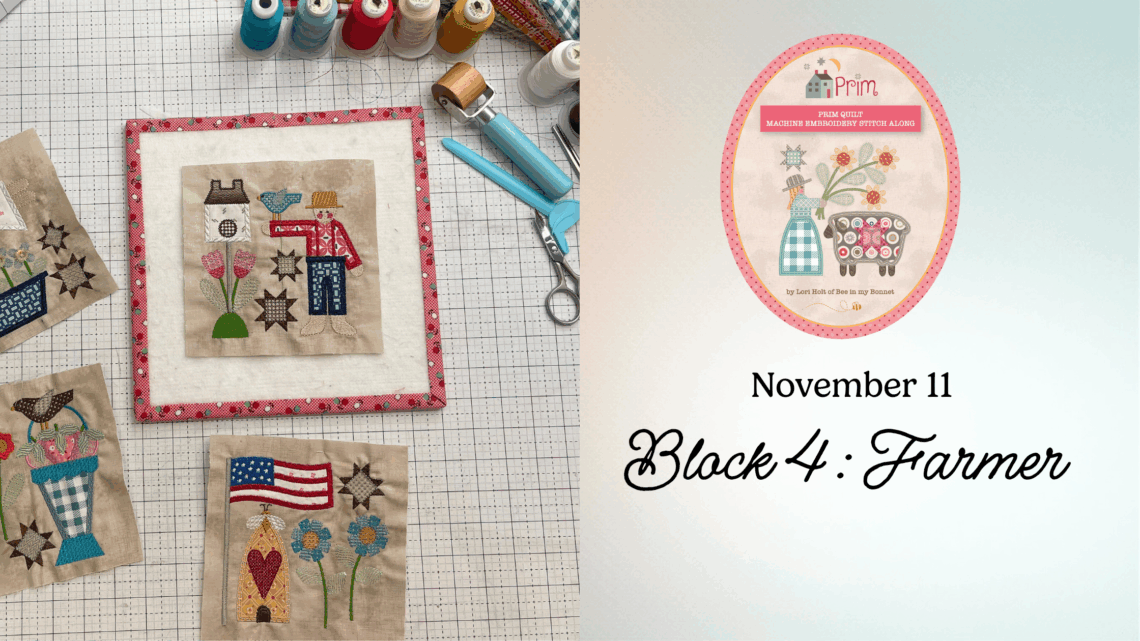
Prim Machine Embroidery Stitch Along – Block 4
Block 4: Farmer
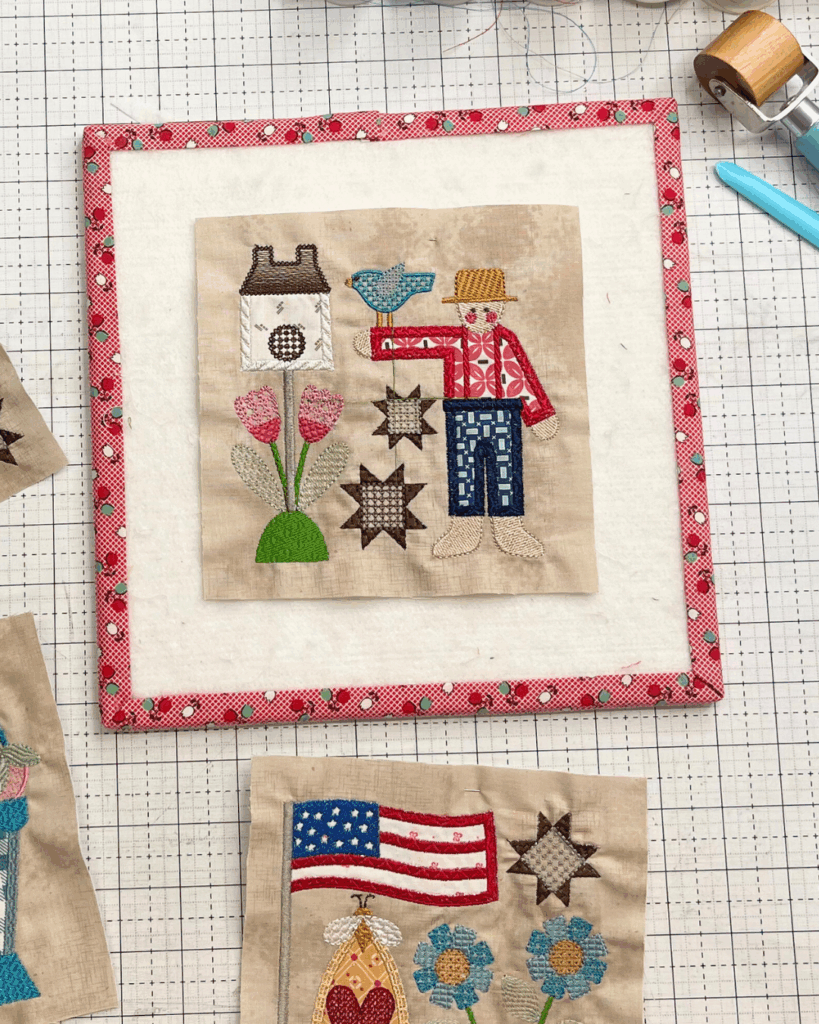
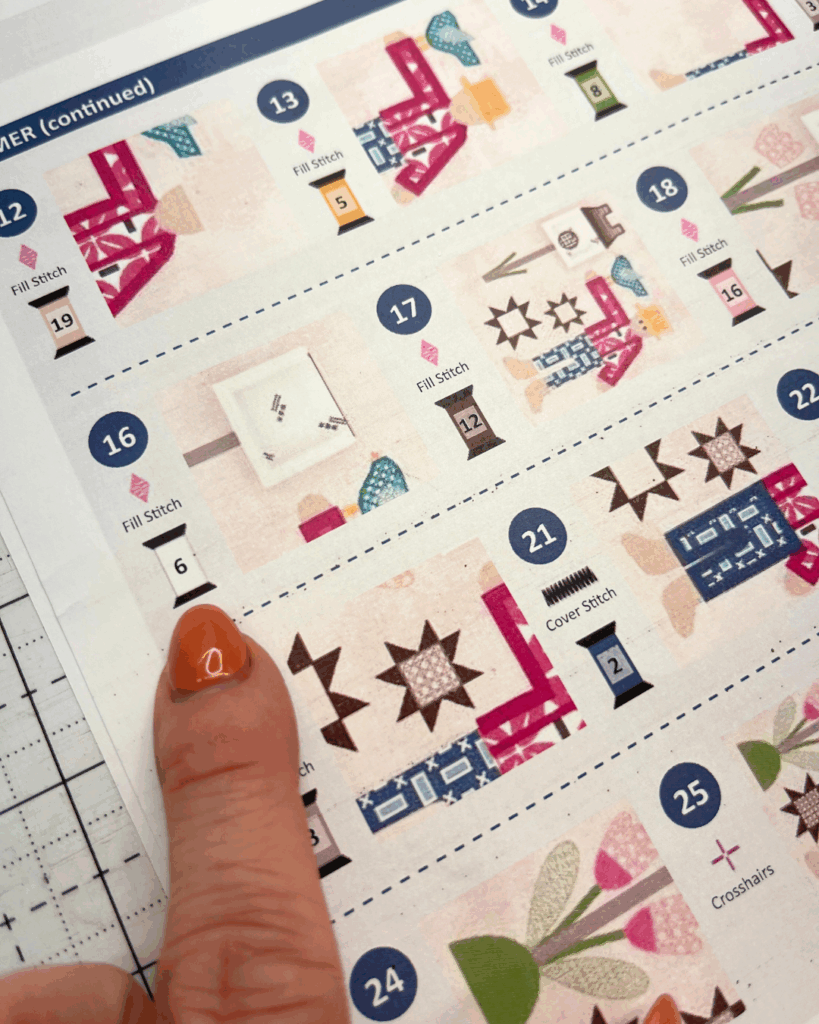
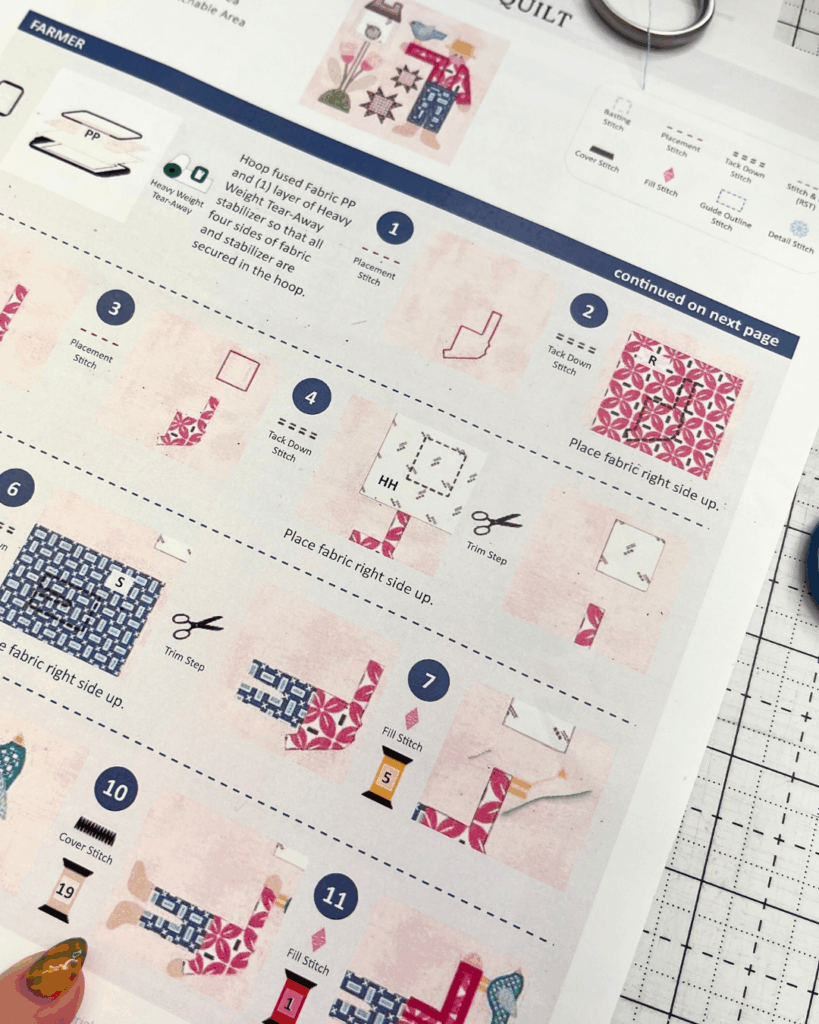
The Farmer block adds visual depth to the Prim quilt through layered fabrics and multiple color changes. This block is an excellent opportunity to refine two advanced embroidery skills: maintaining alignment through multiple layers and understanding color sequencing for efficient stitching.
Layered Fabric Alignment
Unlike simpler appliqué blocks, the Farmer block includes overlapping shapes that must align precisely to maintain the character’s clean outline.
To achieve accurate results:
- Watch your placement stitches closely. Each line defines where a new fabric piece will sit in relation to the previous layer.
- Use a stiletto or tweezers to adjust edges before tack-down stitching, keeping pieces flat and tight against previous seams.
- Trim between layers to reduce bulk, especially where seams overlap at shoulders or edges of clothing.
Taking time with each layer ensures smooth transitions and a professional finish once the cover stitching begins.
Color Sequencing and Efficiency
The Farmer design includes several color changes, but not every change requires a thread swap. Reviewing the color chart in your pattern before you begin helps you anticipate which areas share the same tone or thread family.
Tips:
- Stitch sections in logical order, from background to foreground , to minimize rethreading.
- Keep a notepad nearby to record the order that works best for your machine and thread brand; consistent sequencing makes future blocks faster.
- If you pause mid-block, always return to the last completed color stop rather than advancing forward, this ensures each element aligns correctly.
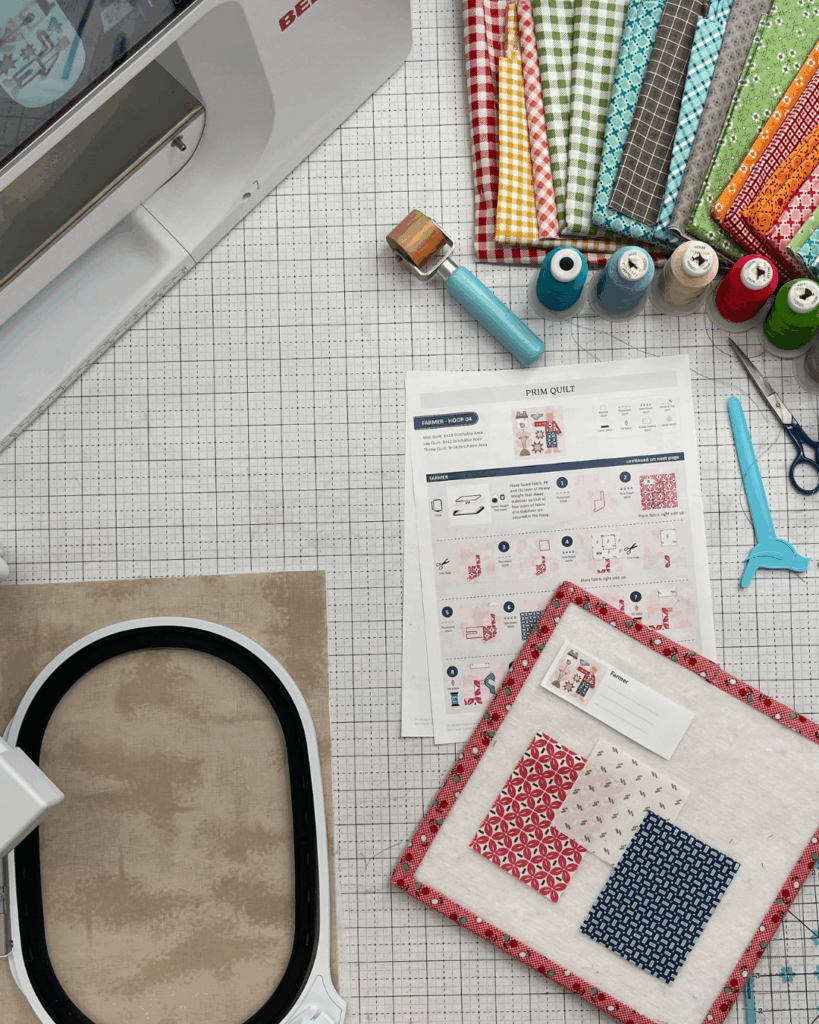
Stabilizer and Hooping Setup
As with earlier blocks, hoop your fused fabric and one layer of Heavy Weight Tear-Away Stabilizer so that all four sides are evenly tensioned.
Even hoop tension prevents the subtle “pull-in” that can occur during dense fill stitching and helps maintain edge definition on the hat, shirt, and boots.
Reference the Riley Blake Designs Stabilizer Chart for brand and weight guidance.
Trimming and Finishing
After stitching, carefully remove the stabilizer and press from the back on a wool or Jillily Studio Press It Pad using a dry, warm iron.
Trim using Lori Holt’s Trim-It™ Rulers, aligning the crosshairs with the block’s center.
Accurate trimming keeps the Farmer block square and ready for sashing assembly later in the quilt.
Watch and Stitch Along
Follow the complete Block 4: Farmer tutorial on the Riley Blake Designs YouTube channel.
The tutorial walks through color sequencing, layered appliqué management, and precise trimming to help you master this intermediate-level block.
Share Your Progress
Post your finished Farmer block in the RBD & M.E. Facebook Group to connect with others participating in the Stitch Along.
Share on social media using #RileyBlakeDesigns, #RBDandMe, and #PrimStitchAlong to inspire fellow makers.
Credits:
- Prim Quilt designed by Lori Holt of Bee in My Bonnet
- Machine Embroidery Files by Riley Blake Designs
- Blog and education by Jennifer Long, Machine Embroidery Manager, Riley Blake Designs


You May Also Like
Prim Machine Embroidery Stitch Along – Block 5
Soft Grid: A Quilt Made for Favorite Fabrics