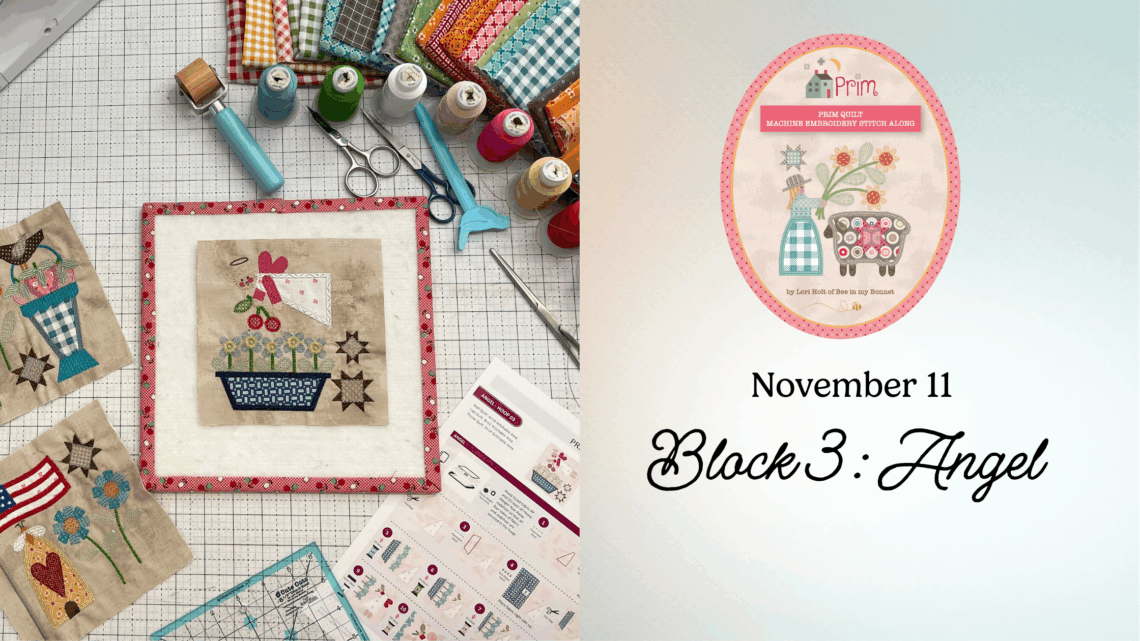
Prim Machine Embroidery Stitch Along – Block 3
Block 3: Angel
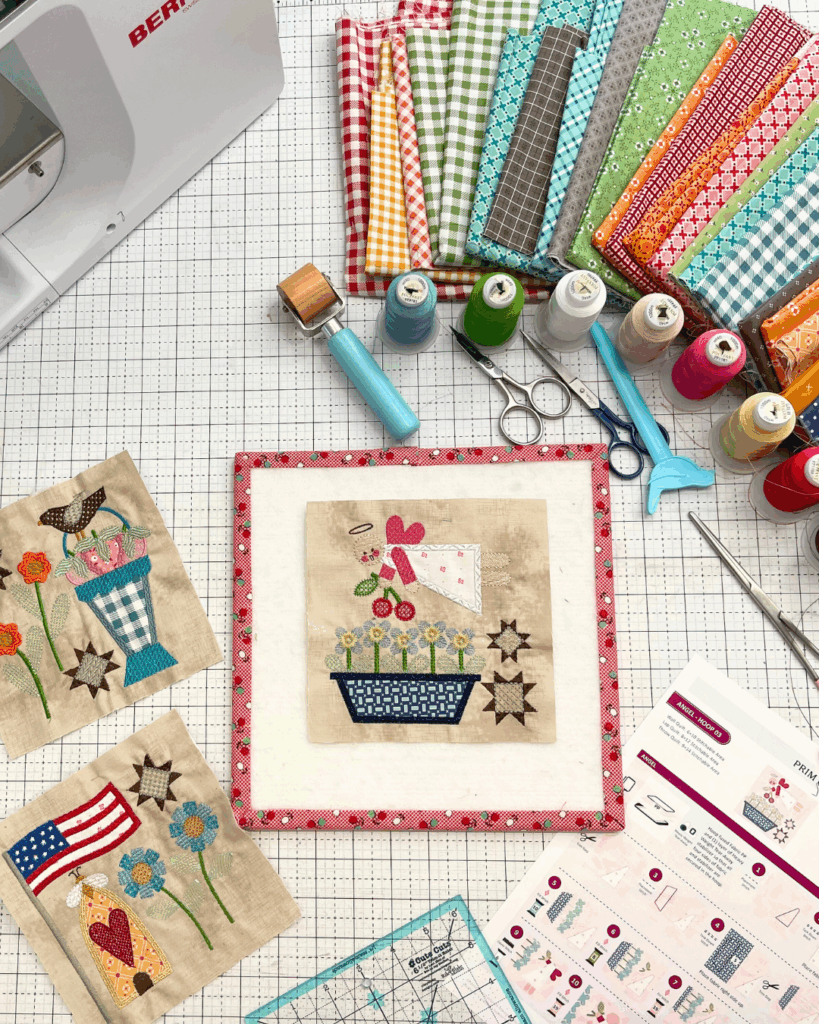
The Angel block introduces finer detail work and smaller appliqué shapes than the previous designs. Managing these elements accurately ensures the finished block keeps its clean edges and balanced proportions. This is an excellent opportunity to refine your approach to small-piece placement and registration accuracy.
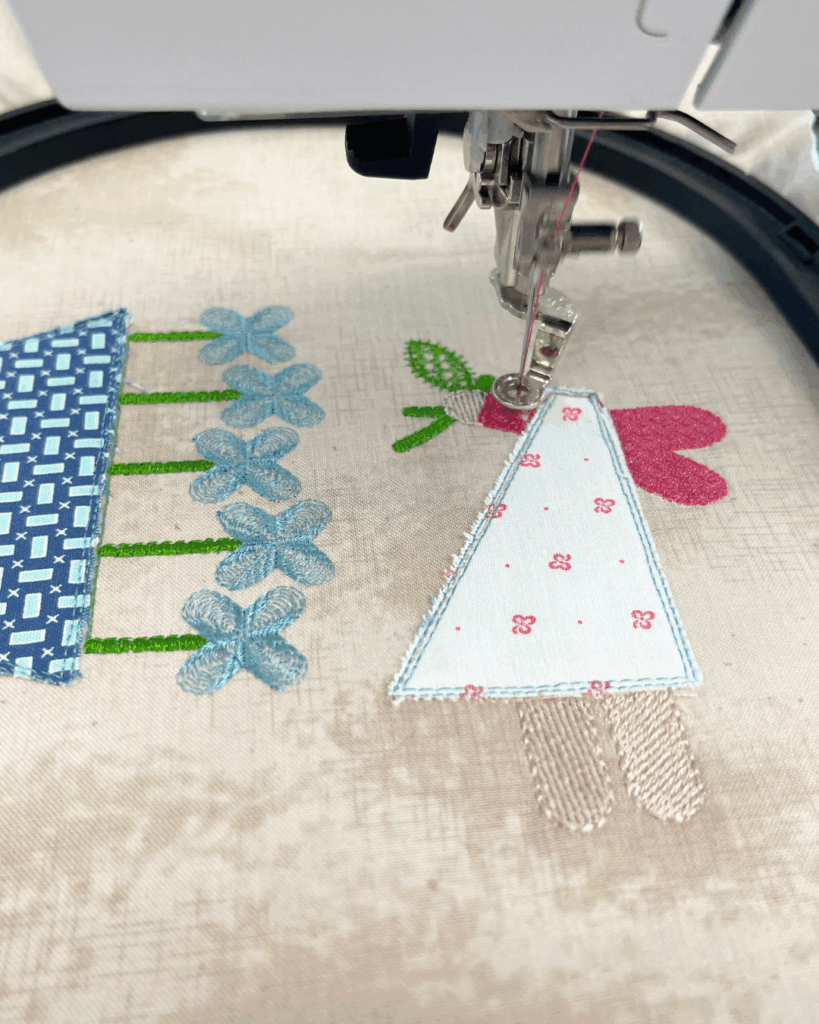
Working with Small Appliqué Pieces
Smaller shapes,such as the angel’s wings, hands, and halo, require special attention to placement and layering.
Tips for success:
- Use light embroidery tape or a fine-tip stiletto to position tiny fabric pieces precisely along the placement line.
- Avoid over-spraying adhesive. Too much temporary adhesive can cause buildup on the needle and interfere with smooth stitching.
- Finger-press after each tack-down rather than ironing. The heat of an iron can prematurely activate fusible layers or distort small shapes.
These steps help maintain accuracy while preventing excess bulk in narrow areas.
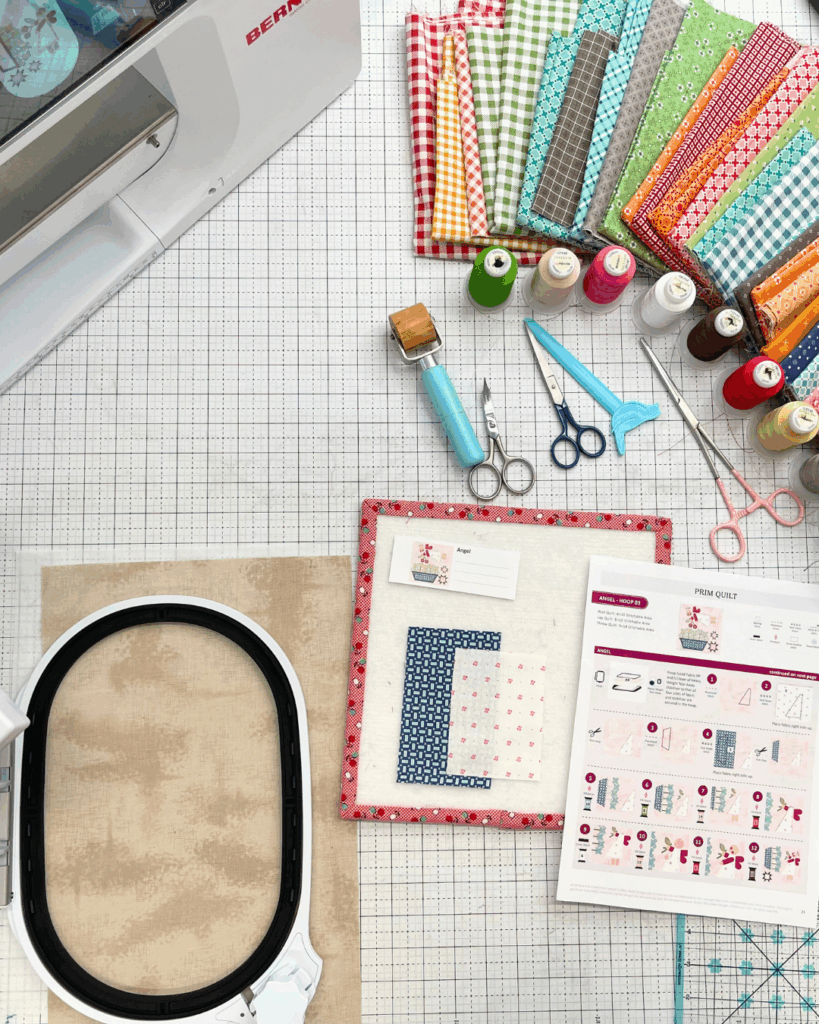
Stabilizer and Hooping Setup
The Angel block uses Heavy Weight Tear-Away Stabilizer, just like the previous two blocks. Proper hooping keeps the small appliqué pieces from shifting during dense stitching.
- Fuse the backing to the wrong side of the fabric.
- Hoop the stabilizer and fabric together, keeping tension even across all four sides.
- Ensure the stabilizer is smooth but not stretched—especially important for fine details like the halo and wing edges.
For full stabilizer details, see the Riley Blake Designs Stabilizer Chart.
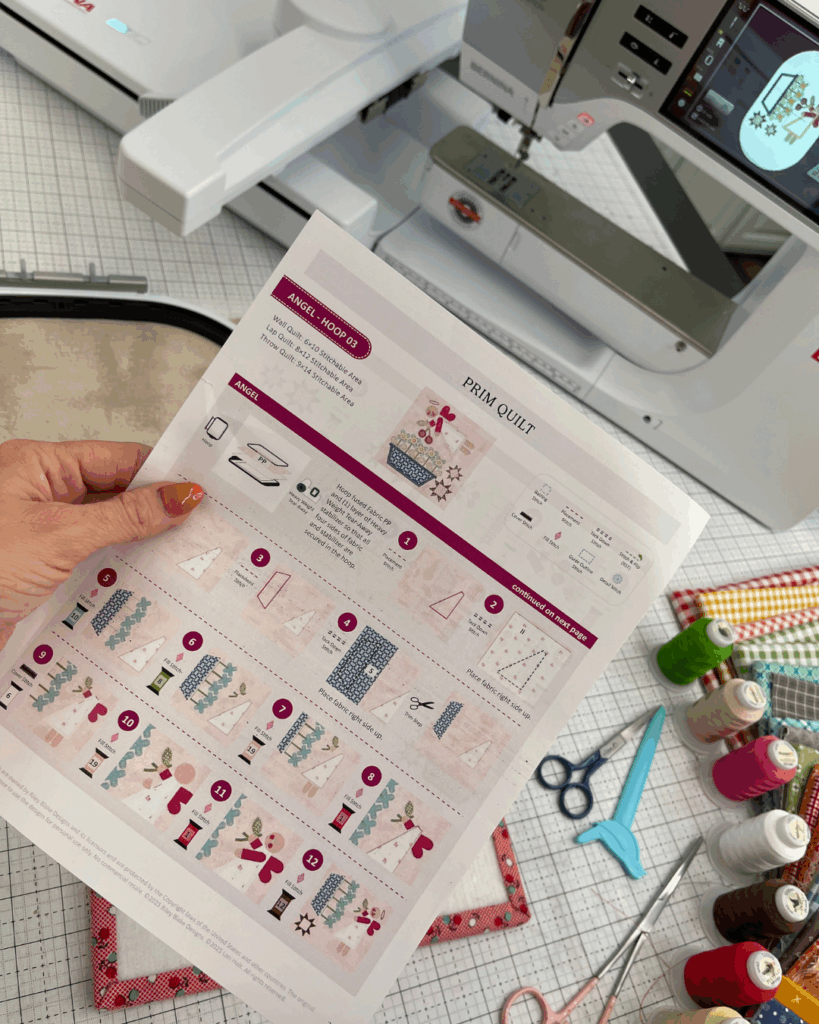
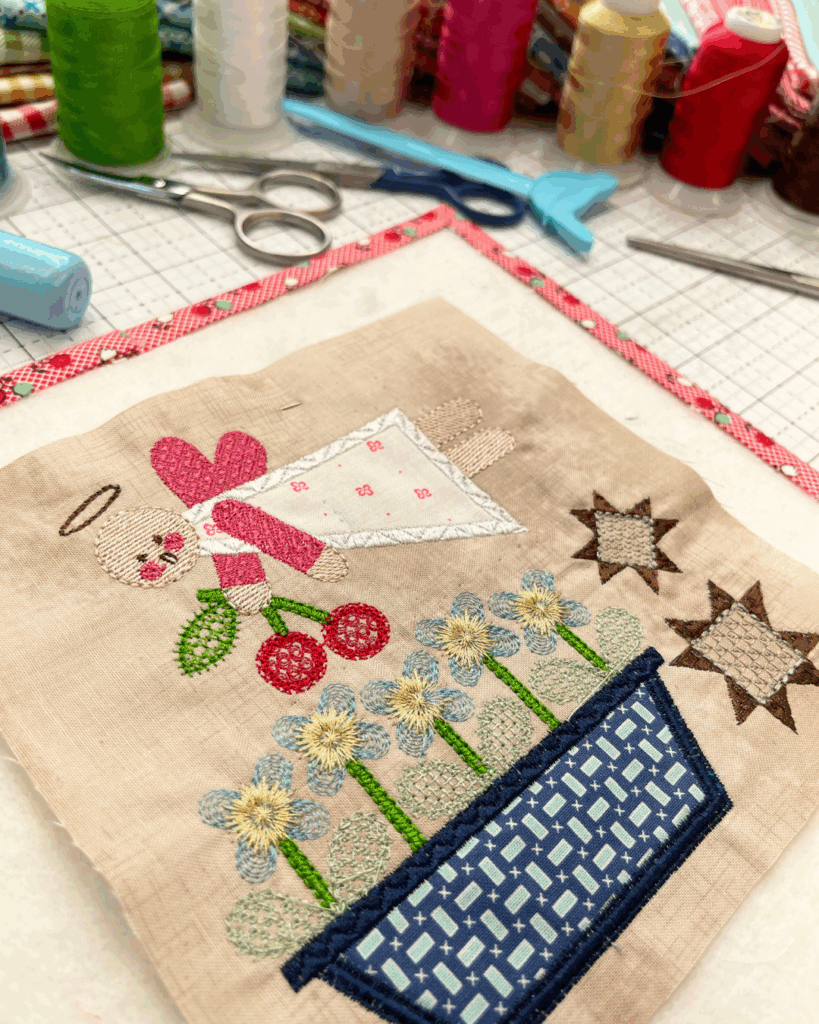
Maintaining Placement Accuracy
When stitching multiple appliqué layers, accuracy matters more than speed. Each color builds on the one before it, so even a small shift can affect how the finished block lines up.
If your hoop is ever bumped or loosened, stop and check your alignment before continuing. Gently resecure the hoop, make sure the fabric and stabilizer are still smooth and evenly tensioned, and verify that the next placement line matches the previous stitches.
Taking a moment to confirm this alignment ensures every detail, from the angel’s wings to the halo,lands exactly where it’s meant to, keeping the design clean and balanced.
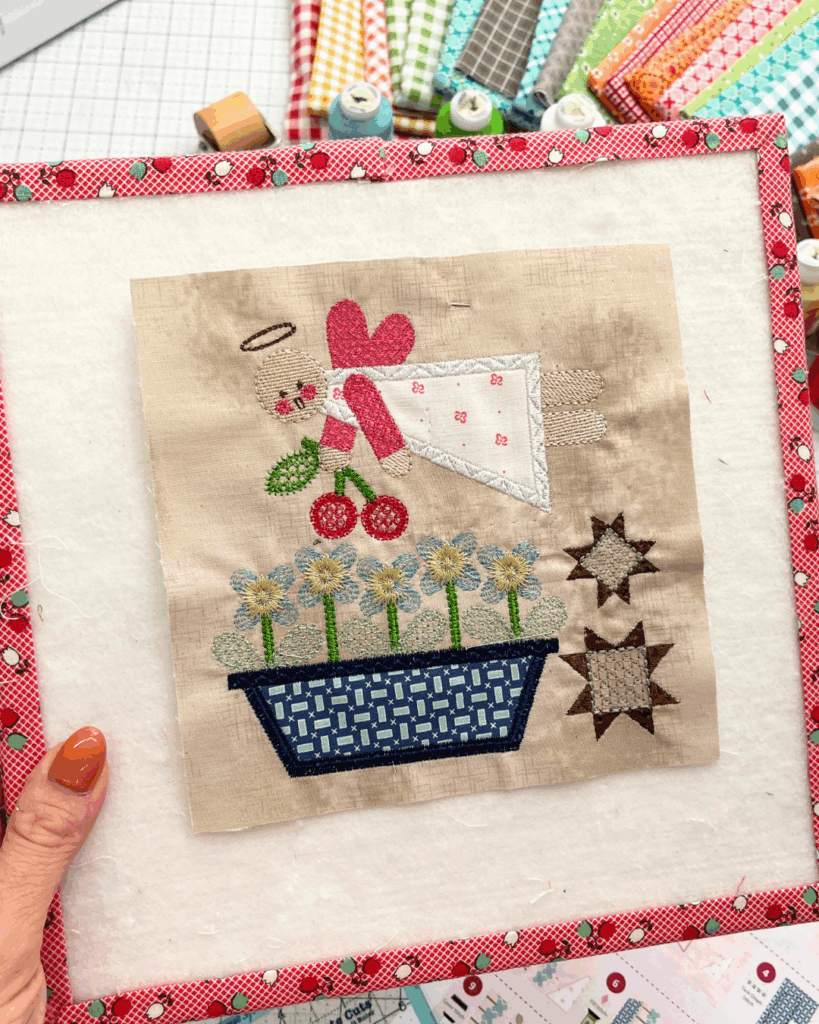
Finishing and Trimming
After stitching, gently remove the stabilizer and press from the back of the block. Use Lori Holt’s Trim-It™ Rulers to trim accurately, aligning the printed crosshairs with the angel’s center lines for symmetry.
Tip: For blocks with delicate appliqué edges, trim from the back side of the fabric for greater visibility and control.
Watch and Stitch Along
Follow the complete Block 3: Angel tutorial on the Riley Blake Designs YouTube channel.
The video demonstrates precise placement of small appliqué pieces, registration checks between color stops, and clean trimming techniques.
Share Your Progress
Show your finished Angel block in the RBD & M.E. Facebook Group—a community where makers share tips, photos, and encouragement throughout the Stitch Along.
You can also share your work on social media using #RileyBlakeDesigns, #RBDandMe, and #PrimStitchAlong.
Credits:
- Prim Quilt designed by Lori Holt of Bee in My Bonnet
- Machine Embroidery Files by Riley Blake Designs
- Blog and education by Jennifer Long, Machine Embroidery Manager, Riley Blake Designs


One Comment
Kay Coley
I’m trying to figure out how to get the Prim Quilt by Lori Holt of Bee in my Bonnet
I would like the kit and embroidery files. How do I get this?
Thanks, Kay