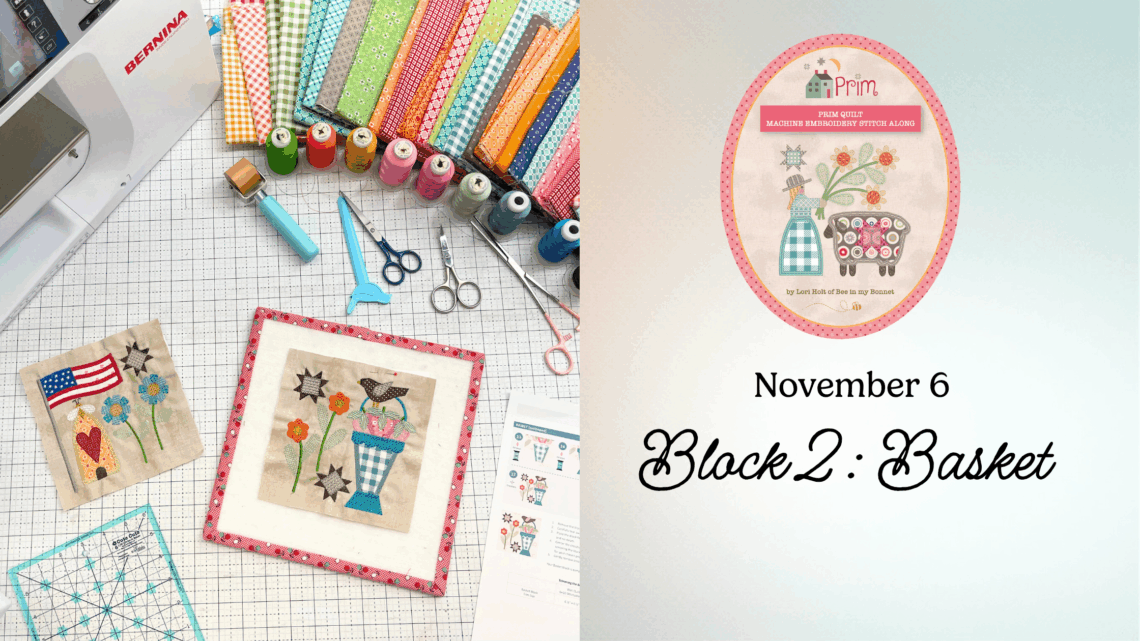
Prim Machine Embroidery Stitch Along – Block 2
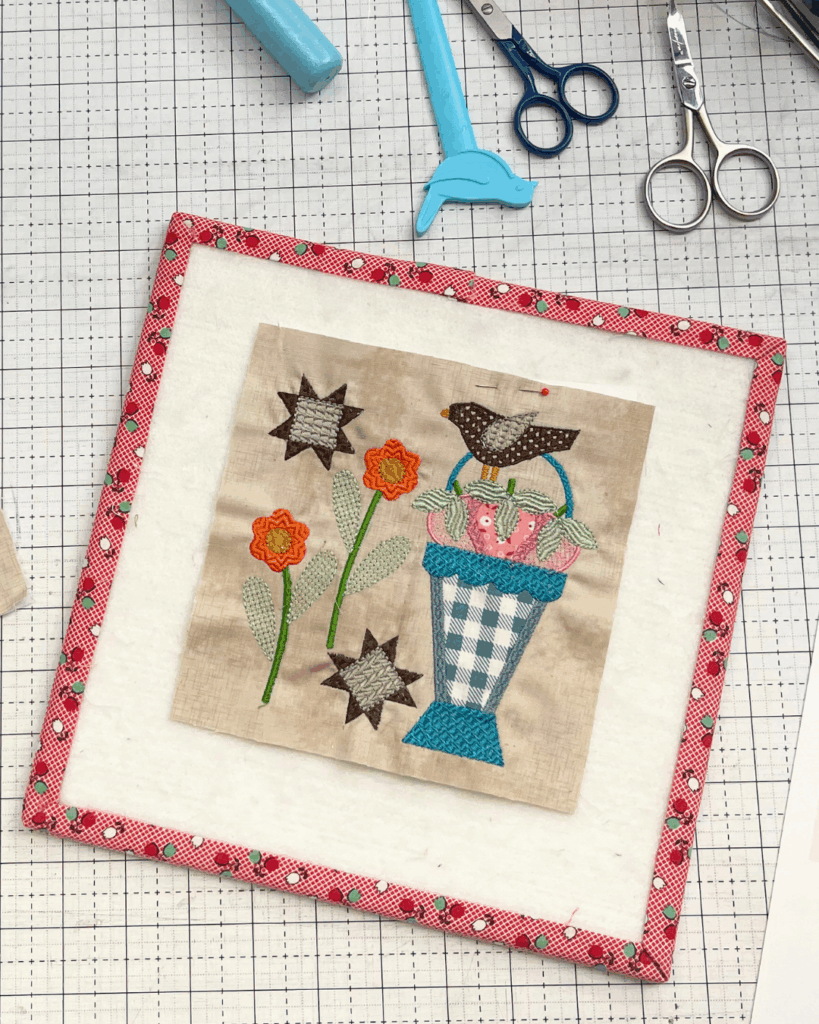
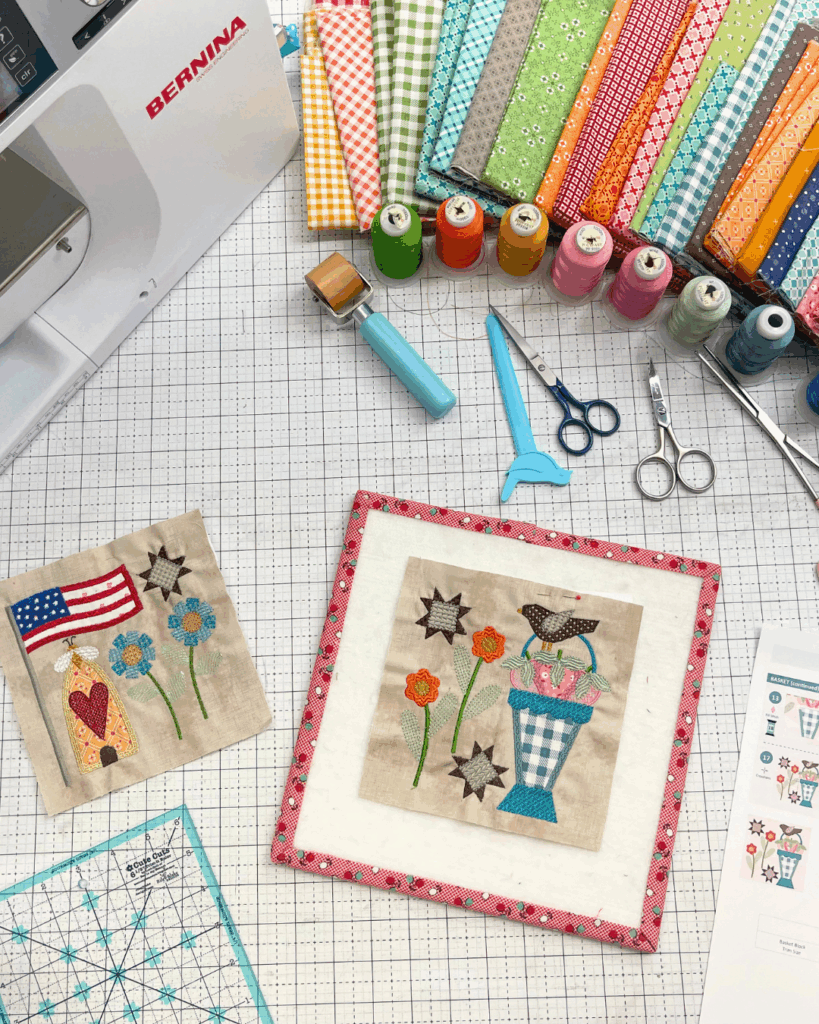
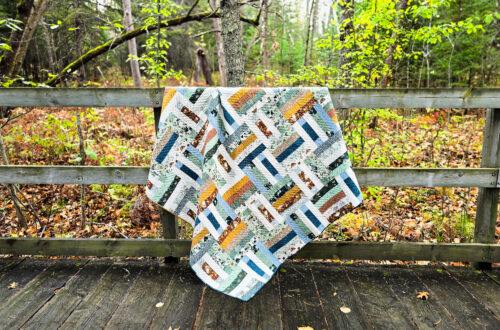
Block 2: Basket
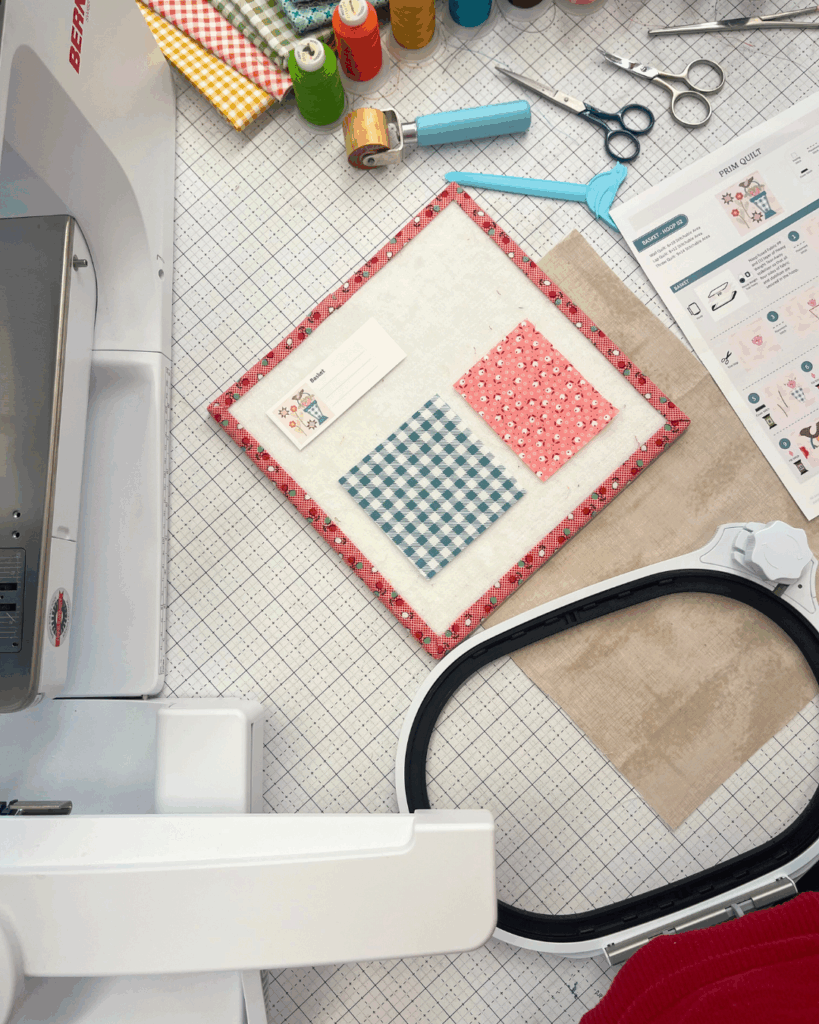
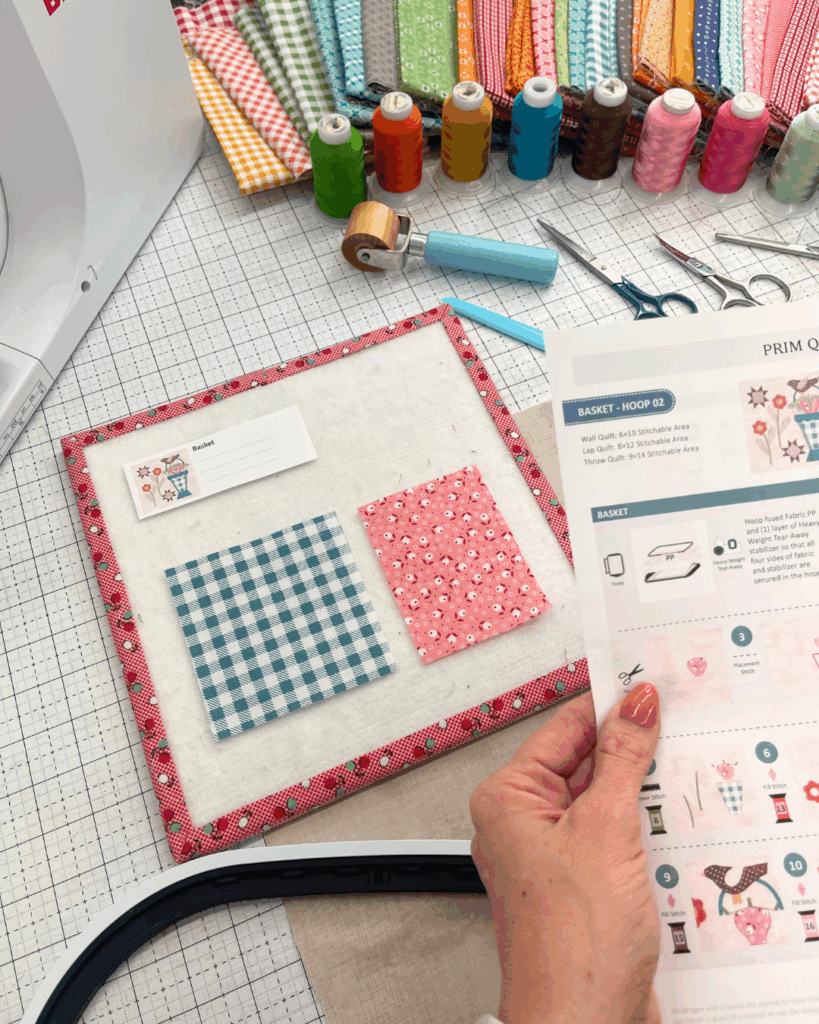
The Basket block builds beautifully on the foundation set with Block 1. In this design, precision placement and alignment are key. With several overlapping fabric layers and stitch-and-flip sequences, this block gives you the chance to refine your control and accuracy while enjoying the charm of Lori Holt’s classic basket motif.
Alignment and Placement
The Basket block includes multiple placement lines that determine how well each layer fits together. Taking an extra moment to check your alignment at each step will make trimming and final assembly much easier later.
Here are a few ways to ensure accuracy:
- Use the placement stitches as your guide. Lay each fabric piece so its edge follows the stitched outline exactly before securing.
- Tape lightly. A small piece of embroidery tape keeps fabric in place during tack-down stitching without adding bulk.
- Finger-press after each flip. This simple step prevents minor folds and helps each piece lie flat before the next seam is stitched.
These details may seem small, but they contribute to a clean, professional finish.
Stabilizer and Hooping Setup
This block uses Heavy Weight Tear-Away Stabilizer to support the dense stitching in the basket weave and background fills.
To prepare your hoop:
- Fuse the backing to the wrong side of your fabric.
- Hoop the stabilizer and fabric together, ensuring even tension on all four sides.
- Check the tension—firm and smooth, never stretched.
Even hoop tension prevents distortion and keeps the basket’s angled seams aligned precisely.
For brand and weight recommendations, refer to the Riley Blake Designs Stabilizer Chart.
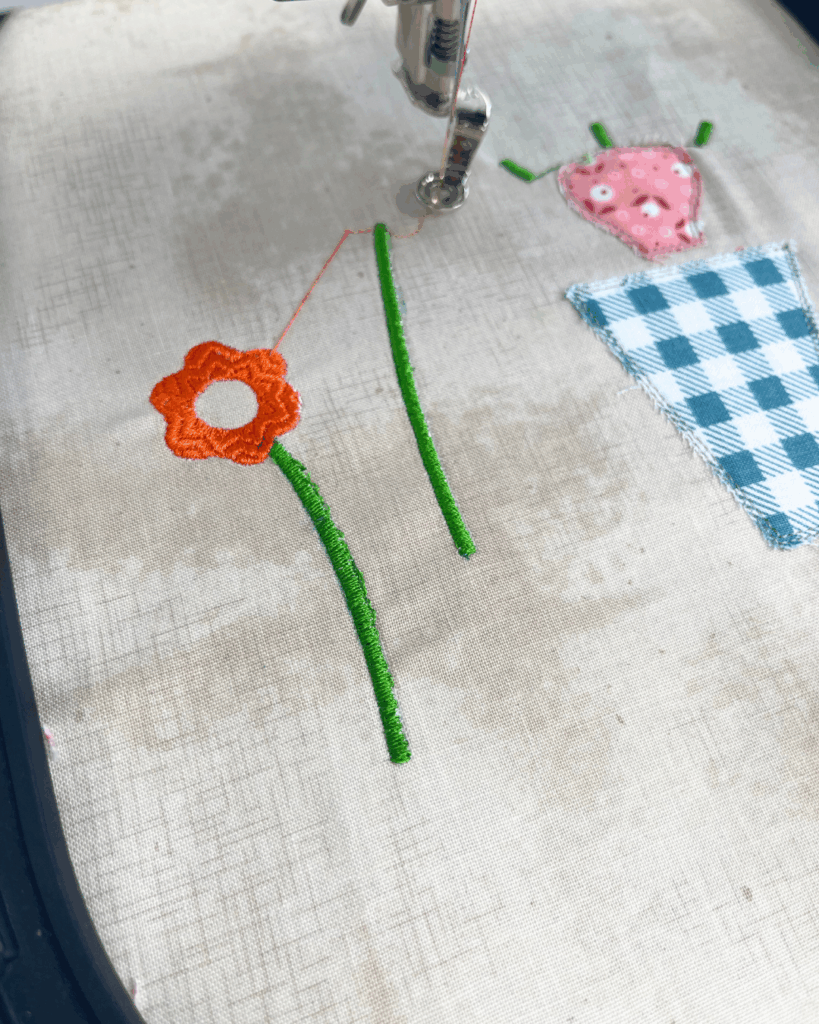
Stitch-and-Flip Technique
The basket shape is created with a series of stitch-and-flip steps. Keep right sides together (RST) as you place each fabric, and trim close to the seam line before flipping to reduce bulk. This layering method produces crisp corners and helps maintain an even surface across the block.
Trimming for Accuracy
After stitching, remove the stabilizer and lightly press from the back.
Use Lori Holt’s Trim-It™ Rulers to square the block, aligning the printed crosshairs with your design center. The Basket block trims to 6 ½″ × 6 ½″ for the 6 × 10 stitchable area (see pattern for other sizes).
Precise trimming now ensures perfect alignment when sashing is added later in the quilt.
Watch and Stitch Along
Follow the complete Block 2: Basket demonstration on the Riley Blake Designs YouTube channel.
The tutorial shows how to manage multiple fabric layers in the hoop, secure accurate placement, and achieve a clean final trim.

Share Your Progress
When your Basket block is finished, share it in the RBD & M.E. Facebook Group to inspire and connect with others stitching along.
You can also post your progress using #RileyBlakeDesigns, #RBDandMe, and #PrimStitchAlong so we can see your beautiful work in action.
Credits:
- Prim Quilt designed by Lori Holt of Bee in My Bonnet
- Machine Embroidery Files by Riley Blake Designs
- Blog and education by Jennifer Long, Machine Embroidery Manager, Riley Blake Designs


You May Also Like
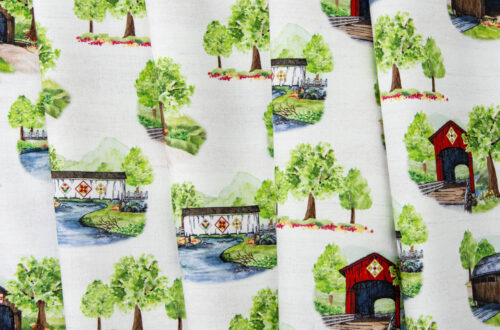
Making a Quilt Coat with the New Americana Home Decor Fabric
Let’s Wander with Sunday Morning Quilt – Rolie Polie Friendly Pattern