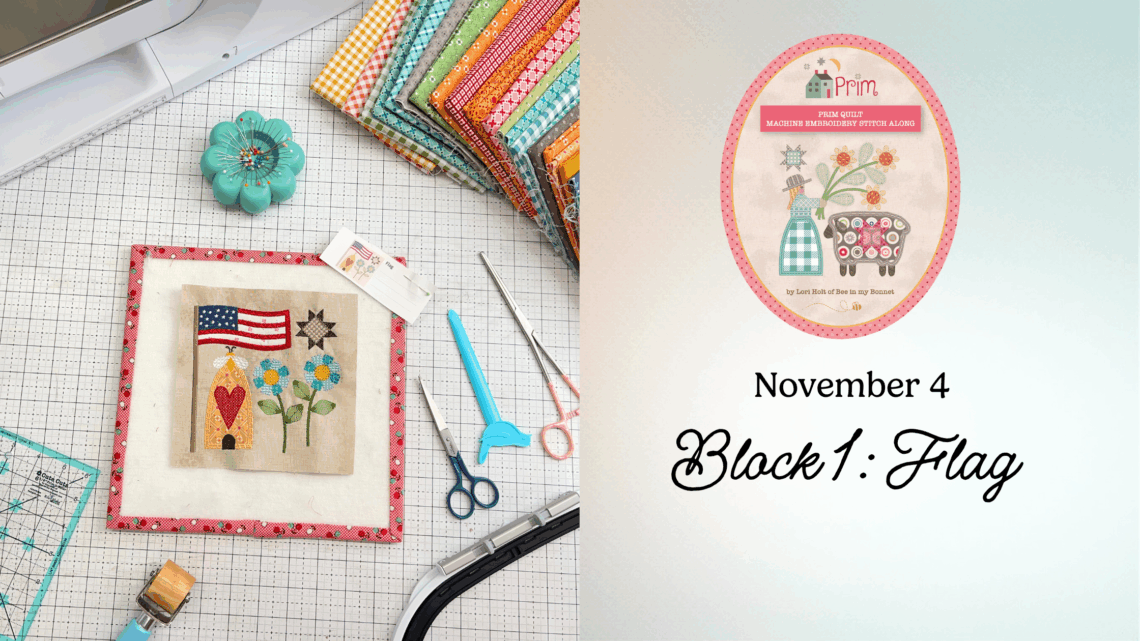
Prim Machine Embroidery Stitch Along – Block 1
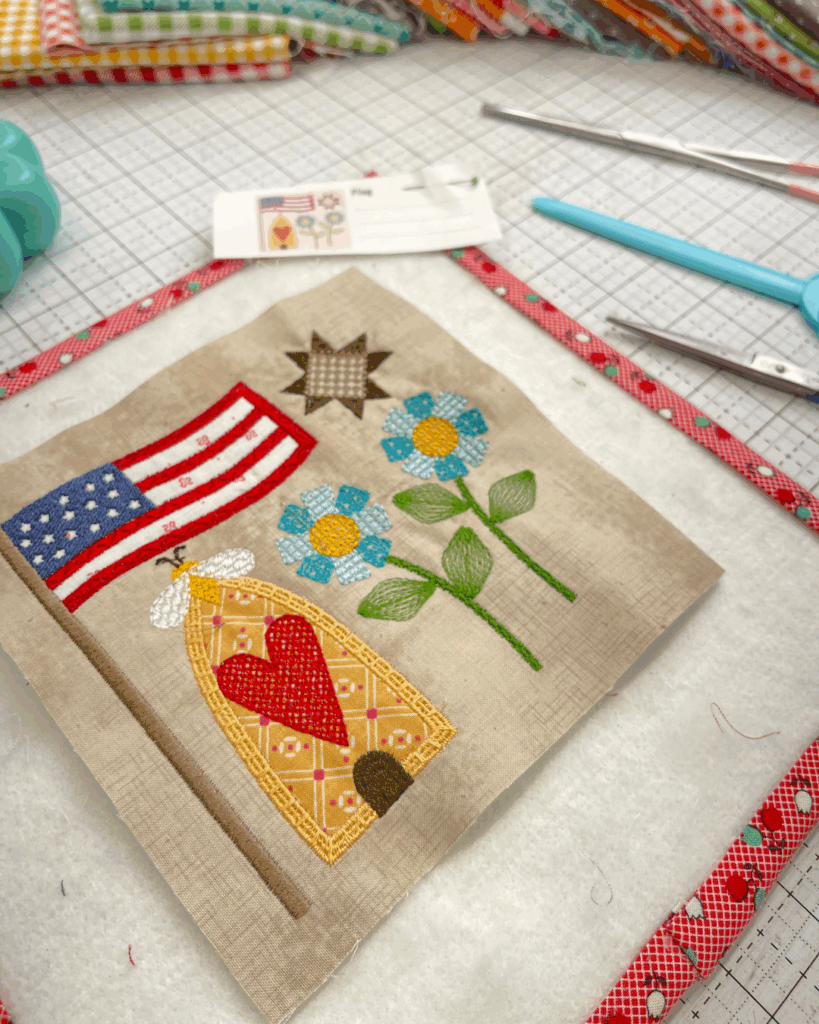
Block 1: Flag
There’s something special about starting the first block of a quilt. It’s the moment where preparation meets progress and for the Prim Machine Embroidery Stitch Along, that first step begins with Block 1: the Flag.
This block introduces several important techniques that will help you achieve professional, consistent results throughout the entire quilt with ease
Maintain Stitch Quality
Before beginning this block (and every 8 hours of stitching), take a moment to change your embroidery needle. A fresh needle produces cleaner stitches, prevents thread breaks, and helps your machine run smoothly. This simple habit is one of the best ways to maintain high-quality results.
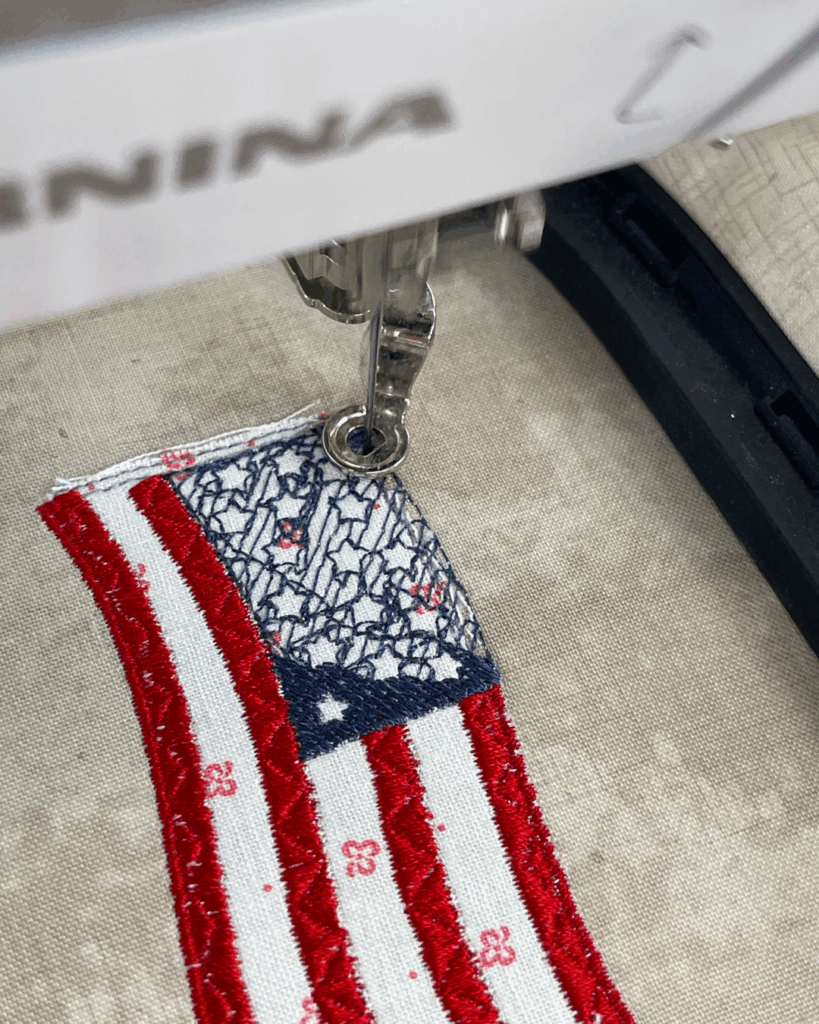
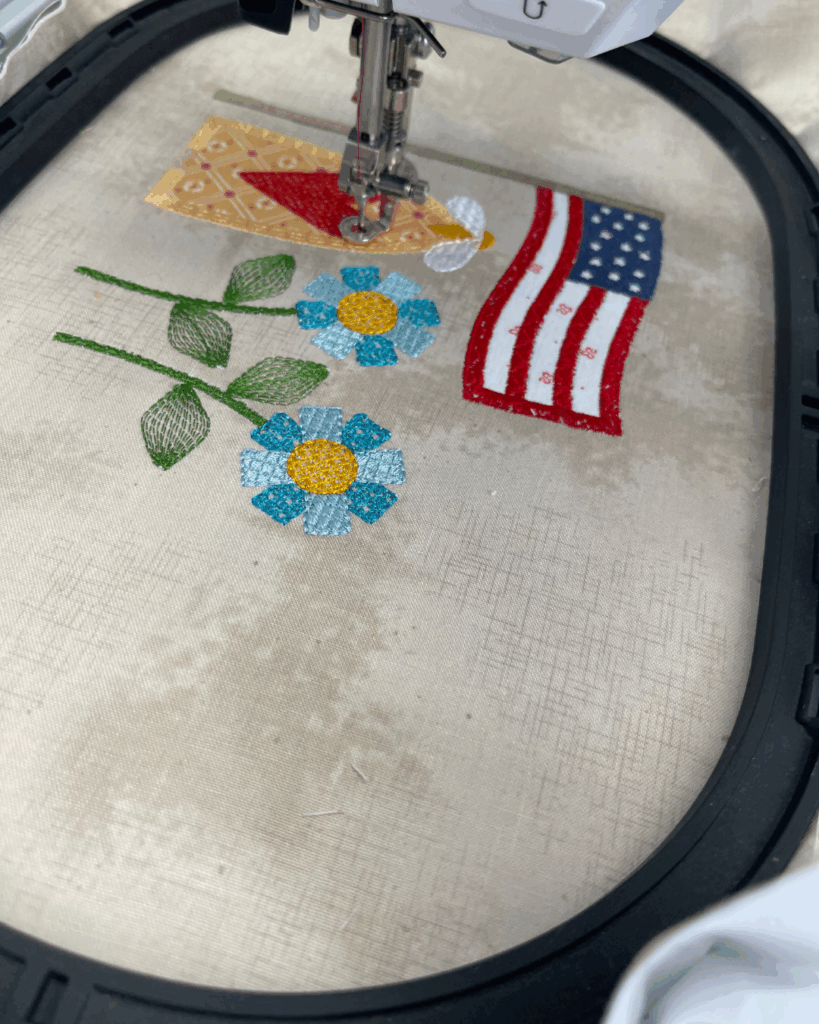
Stabilizer and Fusible Backing
The Flag block uses Heavy Weight Tear-Away Stabilizer along with a fusible backing to create a strong and even foundation for your embroidery. Proper preparation ensures smooth stitching and accurate alignment.
To prepare your hoop:
- Fuse the backing to the wrong side of your fabric.
- Hoop both the fabric and stabilizer together, making sure the tension is even on all four sides. This prevents distortion and allows for consistent stitch compensation.
- Check the hoop tension—the stabilizer should be firm and smooth, but not stretched.
For detailed stabilizer types, weights, and brand options, refer to the Riley Blake Designs Stabilizer Chart.
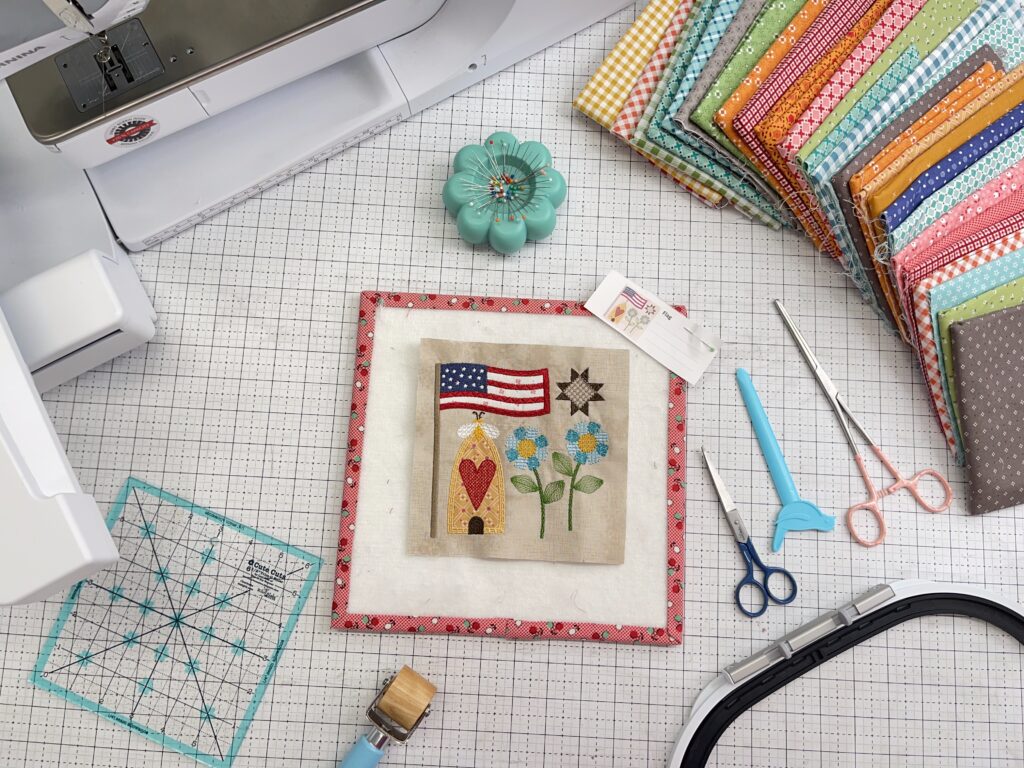
Trimming with Accuracy
Once your embroidery is complete, use Lori Holt’s Trim-It™ Rulers to square your block. The clear crosshairs printed on the rulers align with the center of your embroidery, helping you trim accurately and keep your design centered.
Tip: Double-check the trimming size for your selected stitchable area (6×10, 8×12, or 9×14) before cutting. Consistent trimming is key to a precise quilt layout later on.
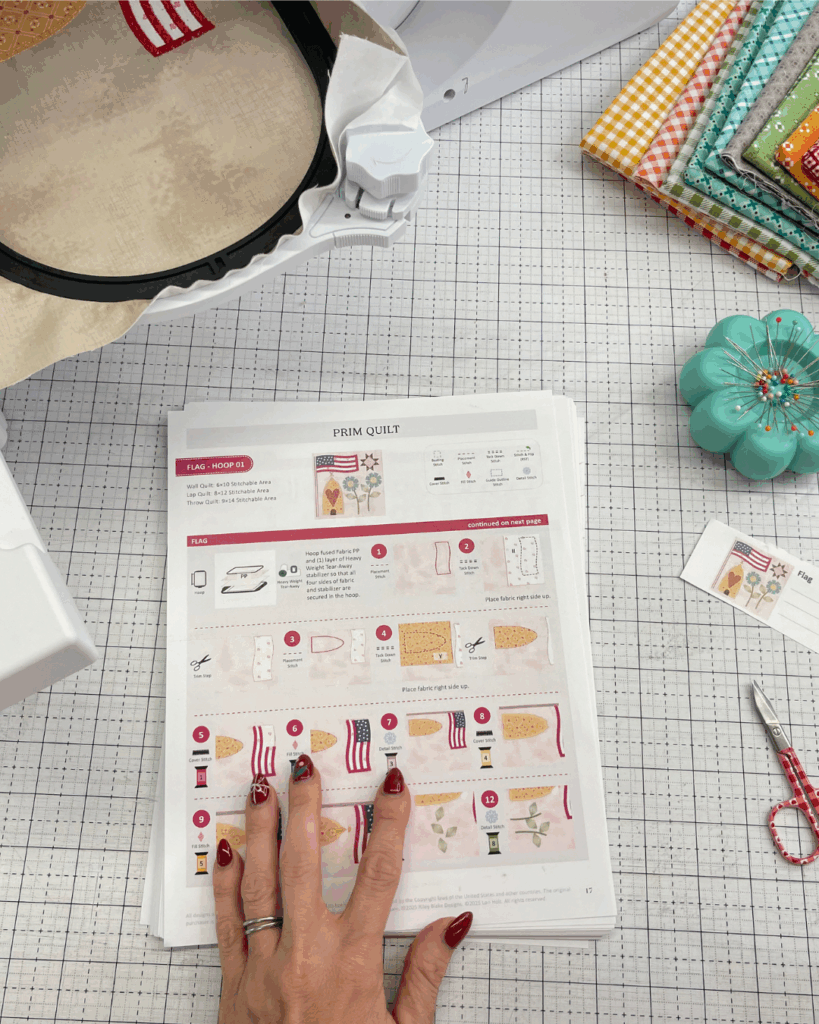
Watch and Stitch Along
Follow along with the full Block 1: Flag tutorial on the Riley Blake Designs YouTube channel.
In this video, I’ll walk through hooping, stabilizing, stitching, and trimming to help you complete your first block with confidence.

Share Your Progress
Once your Flag block is complete, share your work in the RBD & M.E. Facebook Group. It’s a great place to connect with other machine embroidery makers, see different fabric combinations, and be inspired by everyone stitching along.
You can also post your progress on social media using #RileyBlakeDesigns, #RBDandMe, and #PrimStitchAlong so we can celebrate your creativity.
Credits:
- Prim Quilt designed by Lori Holt of Bee in My Bonnet
- Machine Embroidery Files by Riley Blake Designs
Blog and education by Jennifer Long, Machine Embroidery Manager, Riley Blake Designs


You May Also Like
Hush Hush 4
Naughty or Nice by Teresa Kogut