Carnival Glass – The Big Shirt
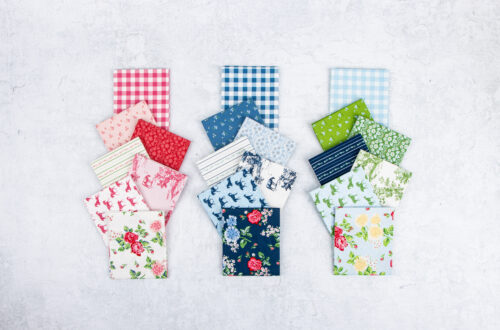
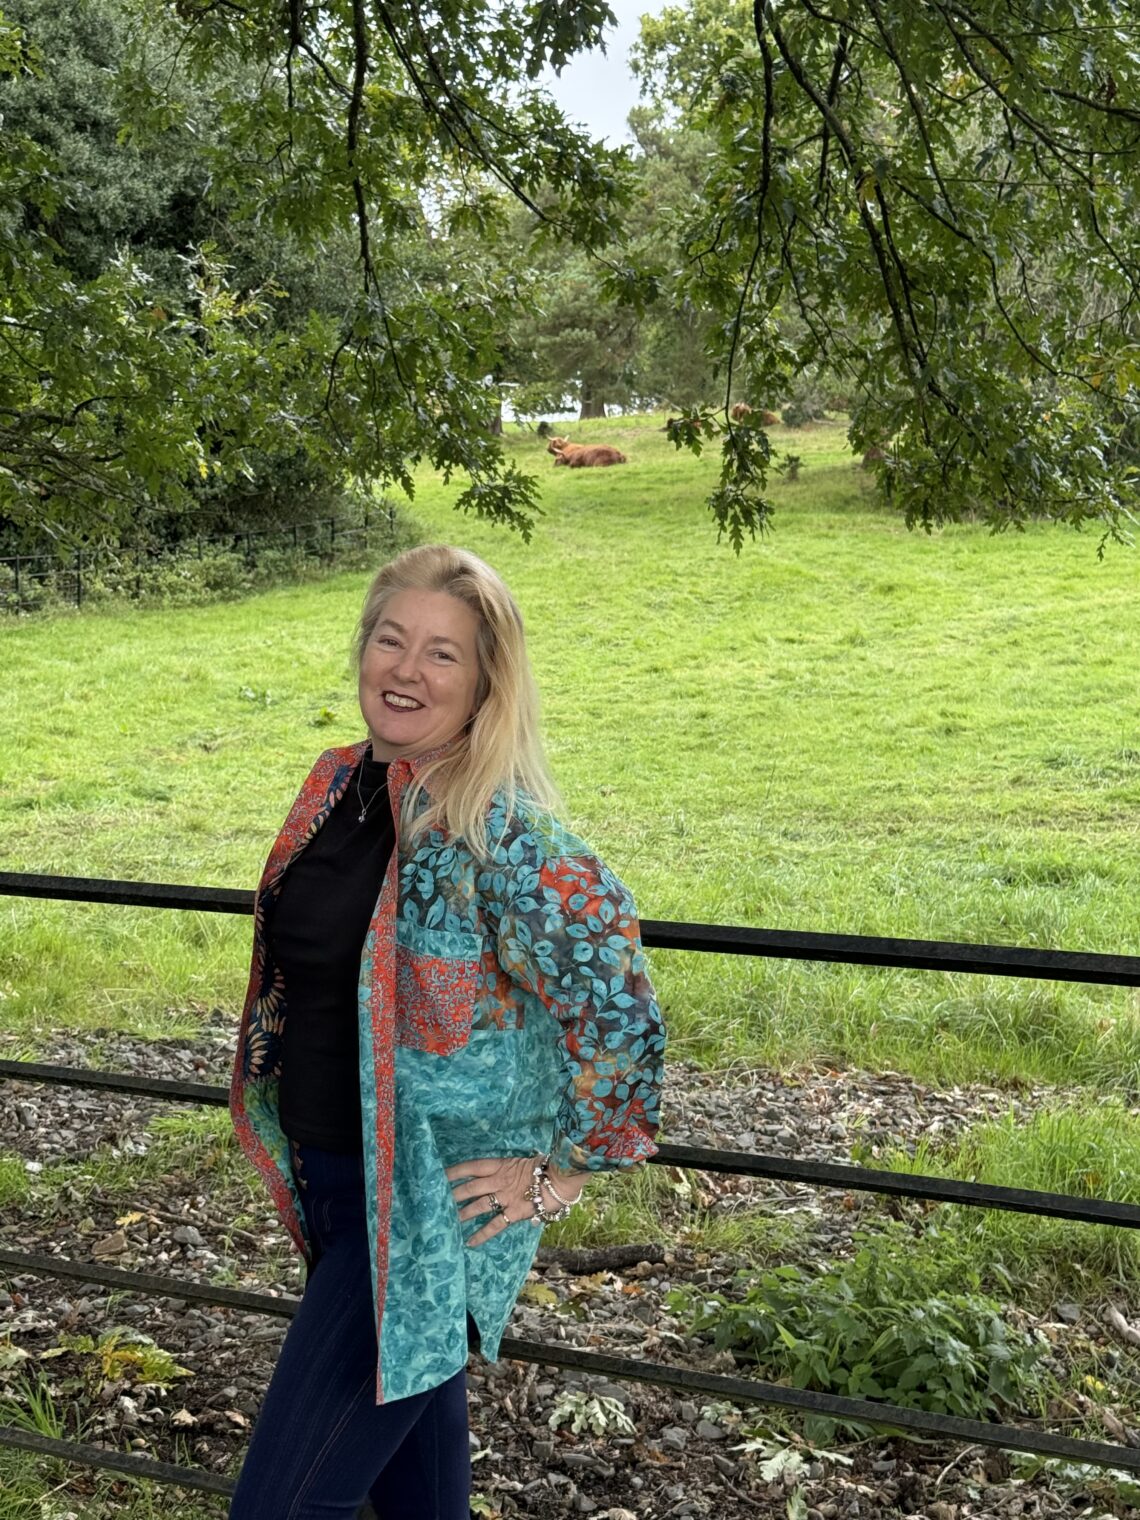
This month, as a Riley Blake Fabrics ambassador, I had the pleasure of working with their vibrant new line, Carnival Glass. I was immediately drawn to the rich colors and playful striations of this batik—so much character in every yard! I decided to make The Big Shirt. It’s oversized, fun, and patchworked in a color-block style that felt like the perfect canvas for these fabrics.
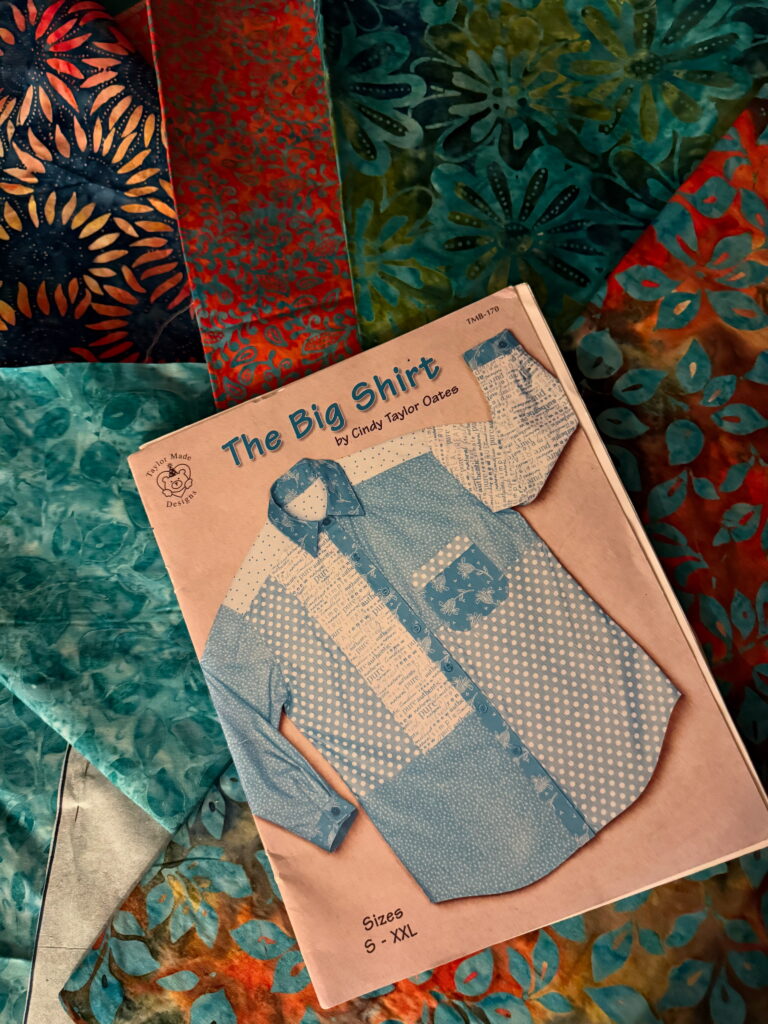
Knowing I’d be traveling, I prepped the project before leaving home: cutting out all the pieces so I could work on it while away. I’ve made The Big Shirt before, (Pattern by Cindy Taylor Oates, TMB-170 for Taylor Made Designs) and each time I enjoy it just as much. It’s fun to wear, easy to style, and for me, it often doubles as a lightweight jacket—perfect for unpredictable weather or layering while traveling.
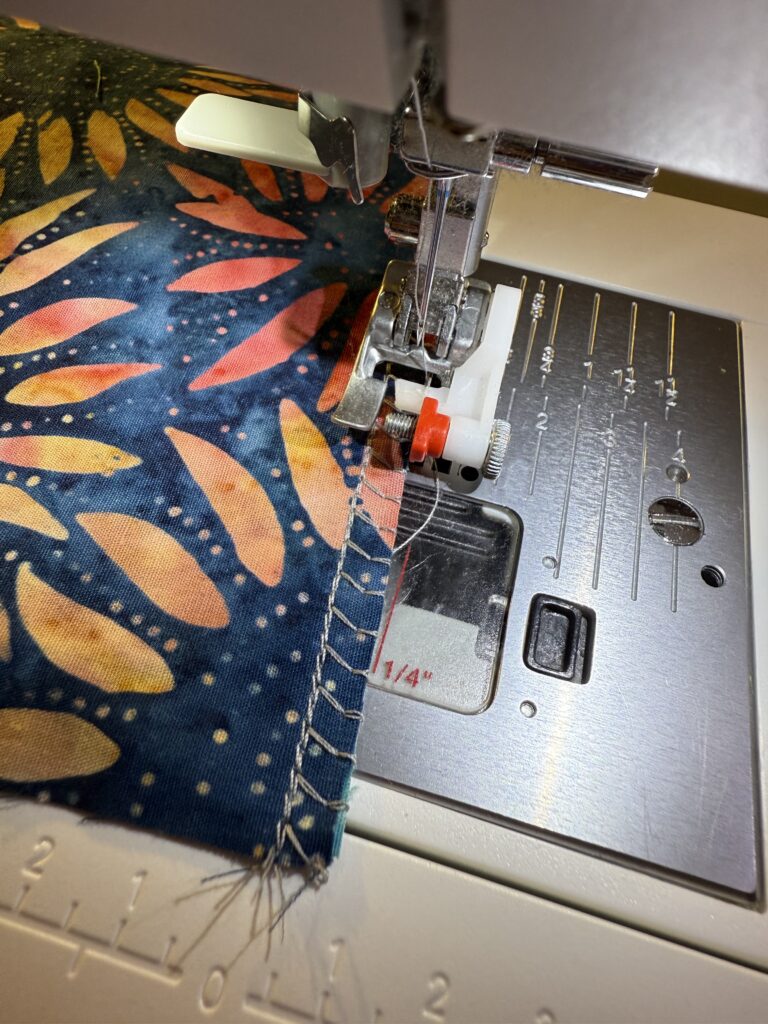
Since I was traveling and didn’t have a serger with me to finish the seams, I used a blind hem foot on my Pfaff Creative 1.5 to create an overcast-style stitch, giving the seams a neat, finished look.
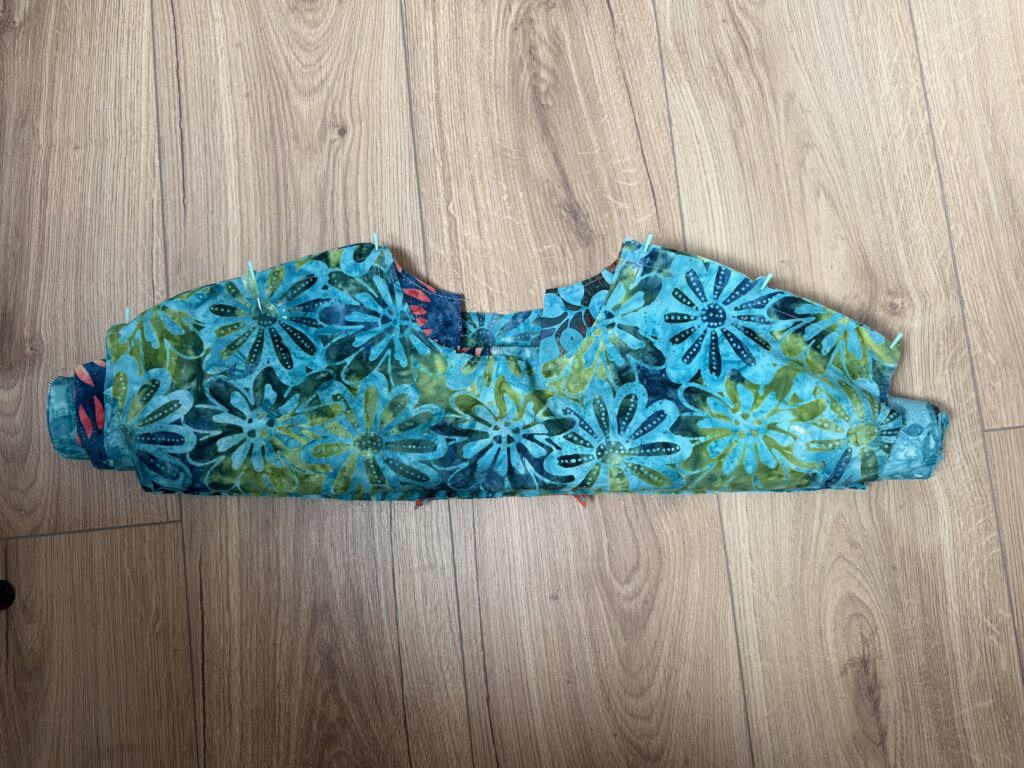
One thing I’ve learned when making The Big Shirt is to be extra careful not to over-handle the pieces. I like to stay-stitch the neckline right away to prevent it from stretching out of shape while I work.

While attaching the yoke, I tried the “hot dog” method—a technique we often use when attaching bands to pillowcases. It made sewing the yoke neat and manageable. No need to hand stitch!
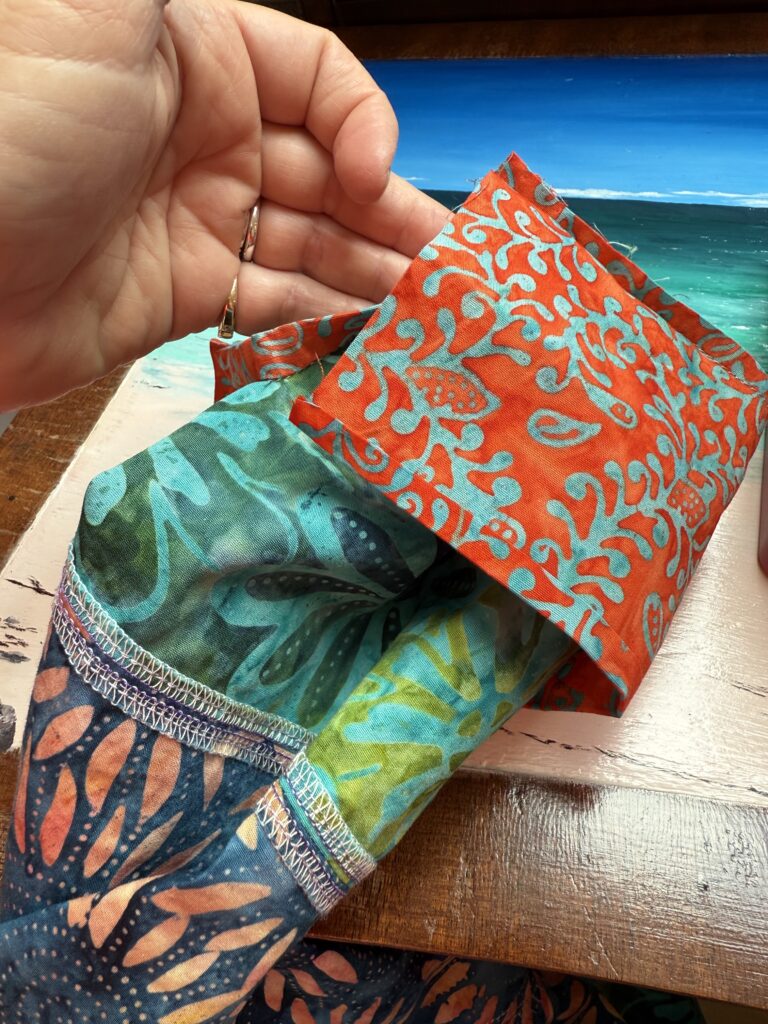
Next came the cuffs. I’m not a fan of hand-stitching the inside of the cuff, and I’ve never been great at blind-stitching from the back with the machine. So, I take a slightly different approach than the pattern suggests: I sew the cuff to the inside of the sleeve first, then turn it to the outside and topstitch it down with the machine. This gives a clean, finished look on the outside without the hassle of hand stitching.
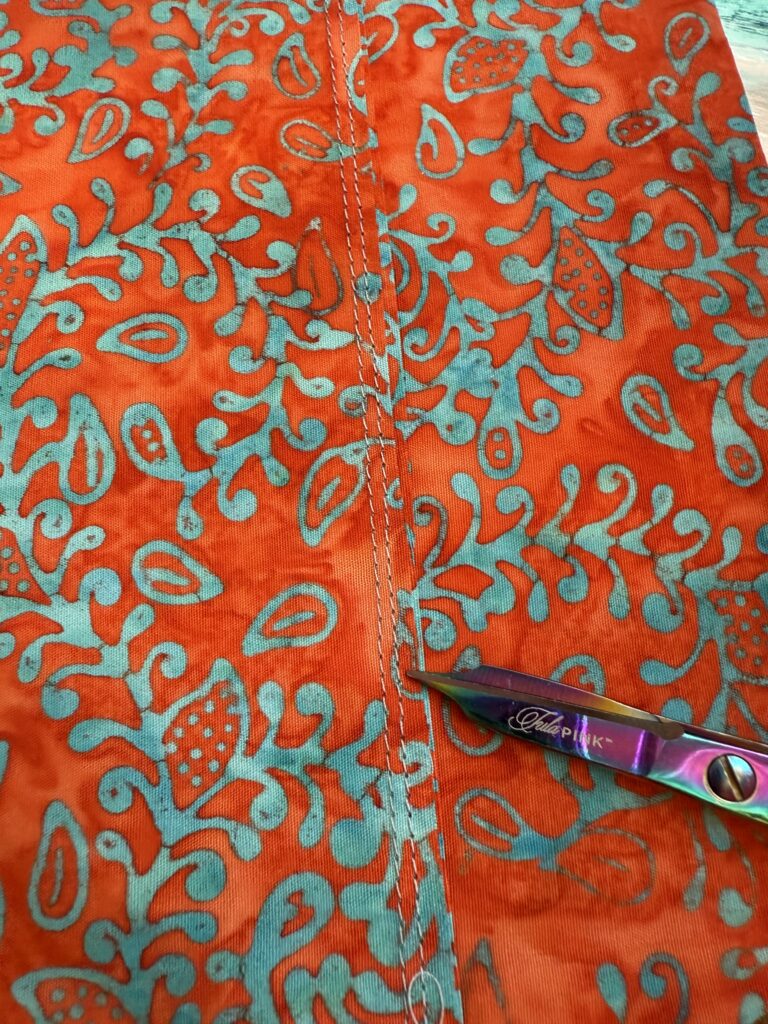
Finally, the front band and collar. I applied the front band the same way I did the cuffs for a clean finish.
Hot tip for the collar: when stitching the collar right sides together, sew along just the long side first, then understitch, and only after that, sew the two short sides. This little trick makes turning the collar easier and results in clean, sharp points.
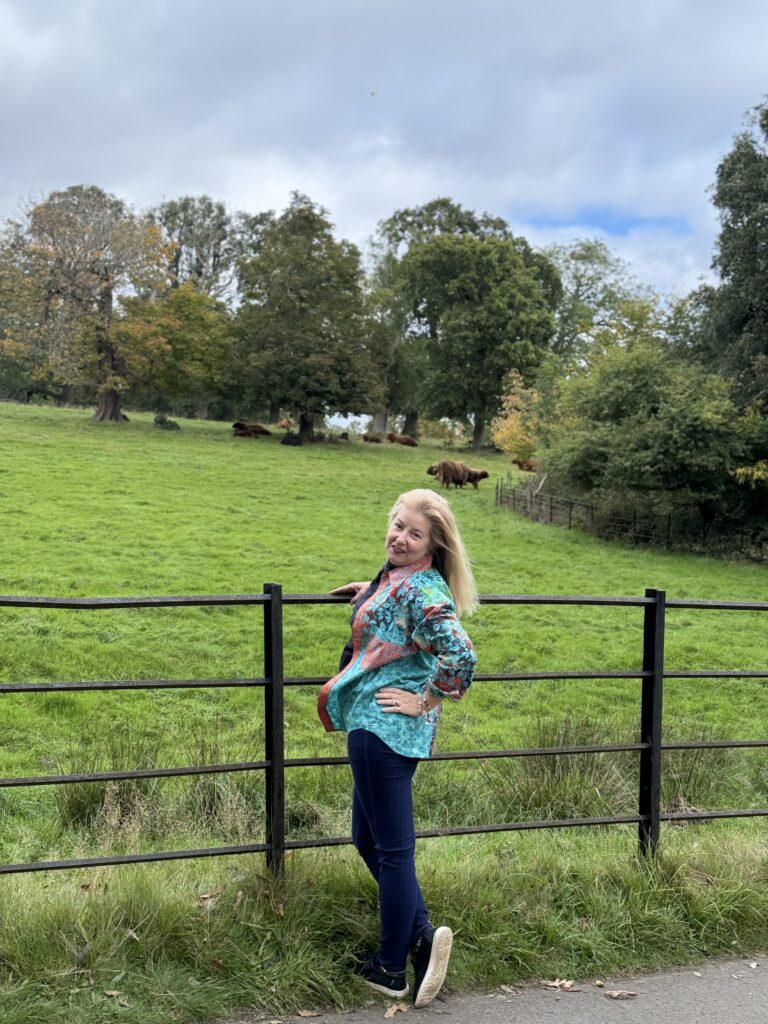
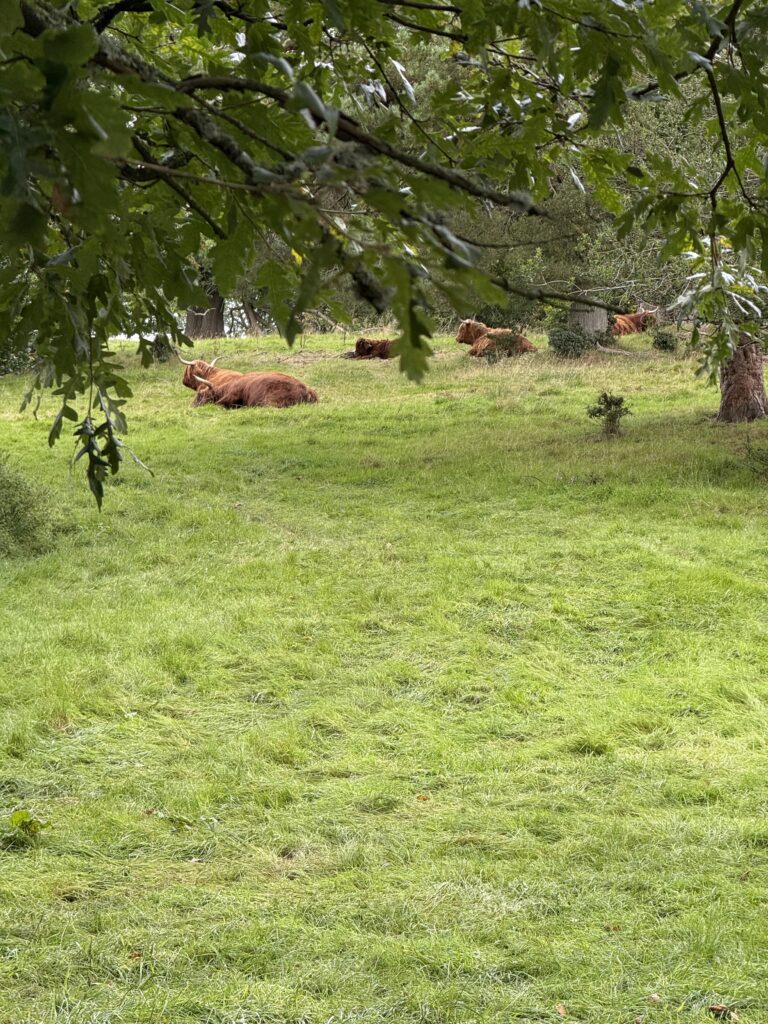
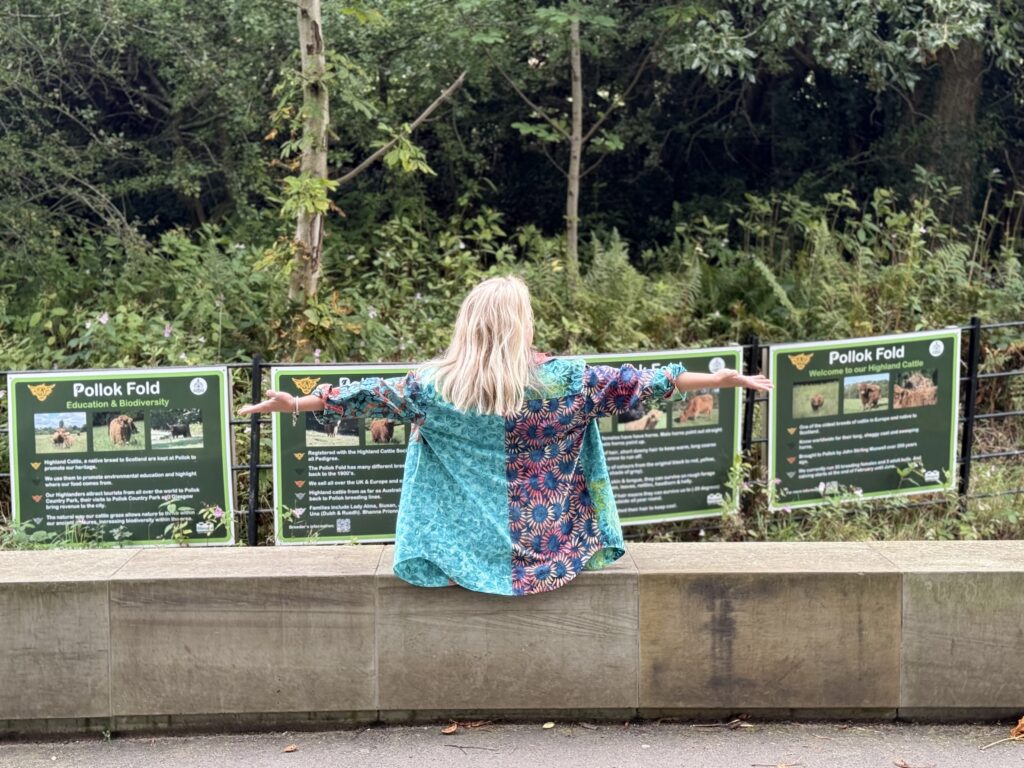
And just like that, The Big Shirt is complete! I’m thrilled with how it turned out and can’t wait to wear it as I continue my Scottish adventure. Next stop: spotting some adorable Highland Coos in the rolling hills!
Toni Wass
Tiger Textiles


You May Also Like
Outer Space by NASA – A Toddler Backpack & Wet Bag
Cabin Blossom Quilt with Little Darlin’ Fabric