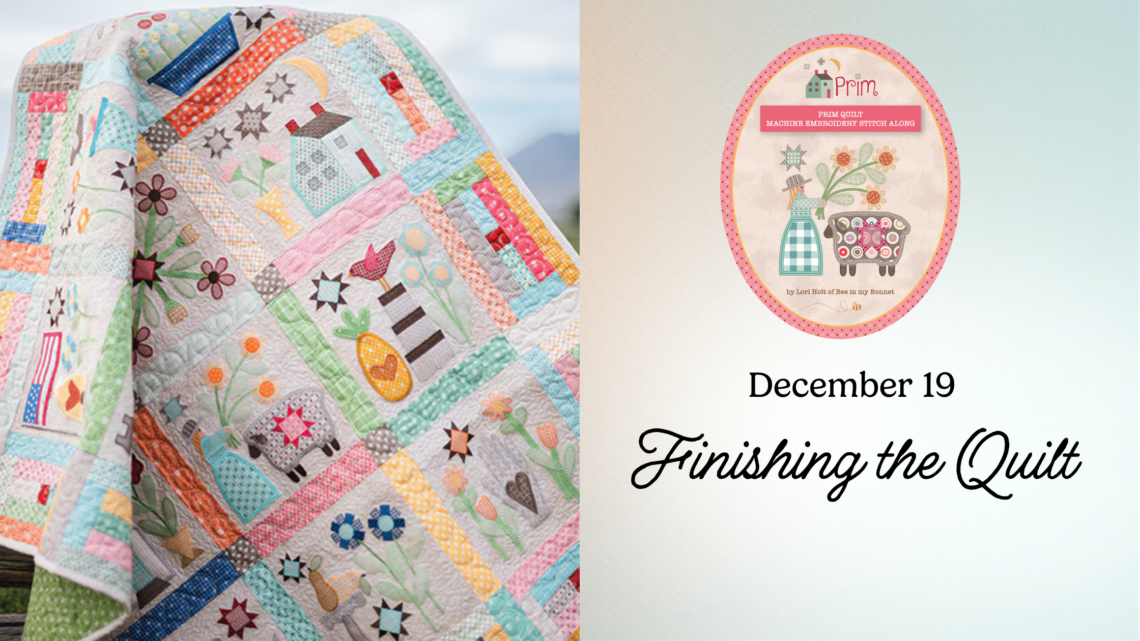
Prim Machine Embroidery Stitch Along – Finishing the Quilt
Congratulations! Throughout the Prim Stitch-Along we have stitched through every Prim block, explored new techniques, and watched the quilt come to life! Now it’s time for the final step in the Prim Machine Embroidery Stitch Along: assembling, quilting, and finishing your Prim quilt. This is where all of your careful work comes together into a finished heirloom.
Laying Out Your Quilt with Block Labels
As you move from stitching to assembly, the Block Label downloads become especially helpful. These labels were designed to make not only the cutting organization, but the finishing process easier and more organized.
Print the labels and match them to your embroidered blocks and Prim Steps. As you lay everything out, place each label directly on its block so you always know:
- Which block goes where
- Which Prim Step (A–N) belongs in each position
- How the layout follows Lori Holt’s original Prim design
Taking a few extra minutes to label and arrange your blocks now will save you time and guesswork once you start sewing rows together.
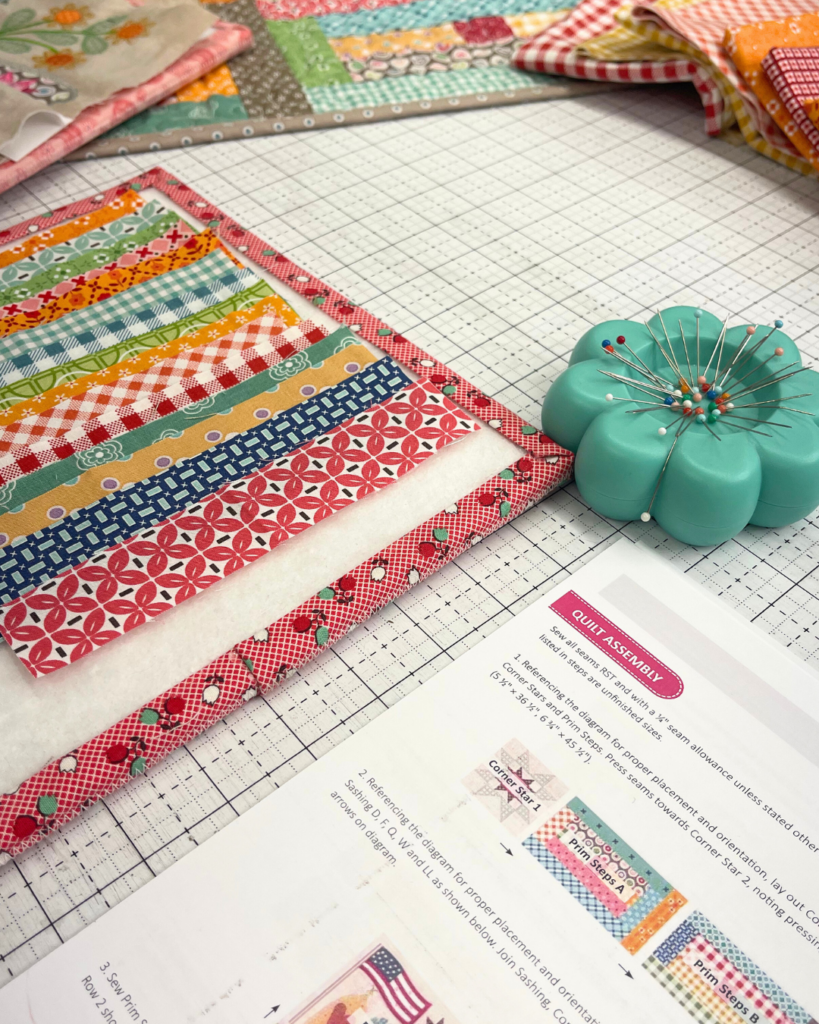
Following the Finishing Instructions
Next, turn to the Finishing Instructions in your Prim Machine Embroidery pattern. This is your roadmap for how the quilt comes together row by row.
Use the diagram to confirm the correct placement and orientation of each block, make sure the Prim Steps are in the right order and to keep directional prints consistent throughout the quilt. Keeping the setting pages visible as you work. Returning to it often will help you stay confident that every piece is going exactly where it’s meant to be.
Checking Finished Sizes for Each Row
One of the most useful tools in the finishing section is the list of finished row sizes for each of the three stitchable areas 6×10, 8×12 and 9×14.
Each row includes a finished measurement so you can check your work for accuracy as you assemble the quilt top. After joining blocks and sashing in a row, measure the length and height and compare it to the size chart.
If a row is slightly off, this is the moment to:
- Confirm trimming is consistent
- Check that your seam allowances have stayed accurate
- Make small adjustments before joining rows together
These size checks help your quilt stay square and make the final assembly much smoother.
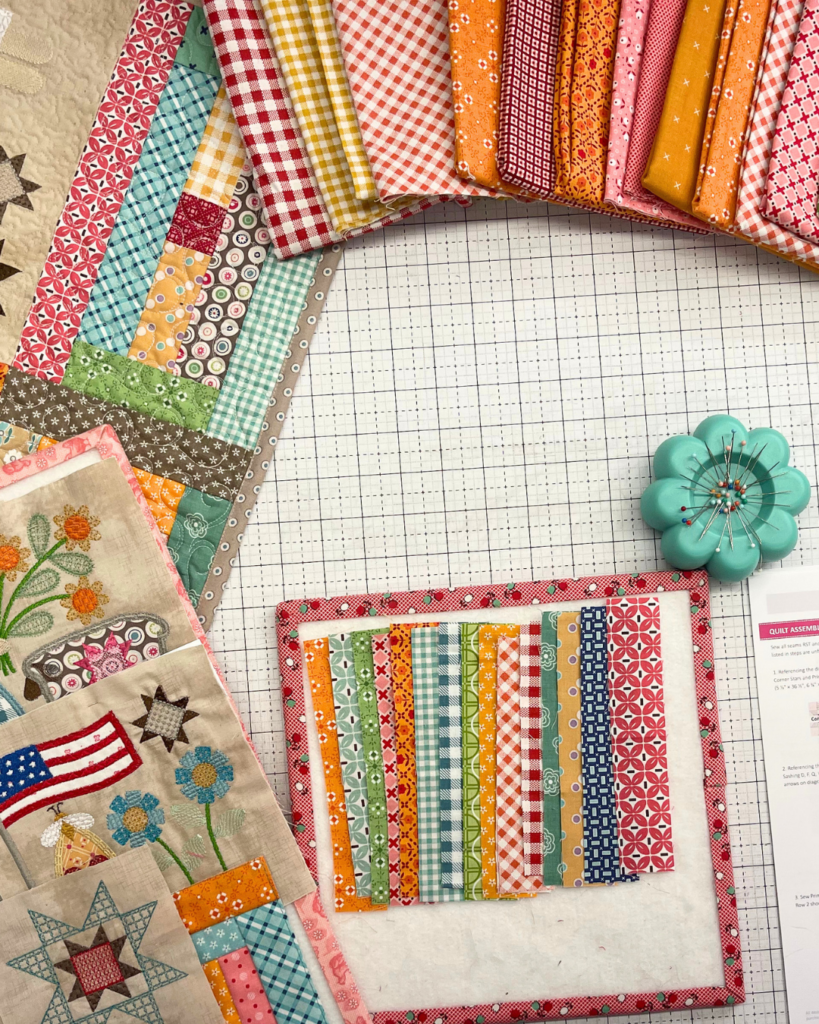
Seam Allowances: Keep It Consistent
When you move to your domestic sewing machine to assemble the quilt top, remember to use a true 1/4″ seam allowance, unless the pattern specifically states otherwise.
A consistent 1/4″ seam allowance will keep your blocks and sashing lining up correctly while protecting the finished measurements you worked so hard to achieve. In addition it also prevents gaps or puckering at block intersections. If you have a 1/4″ presser foot or seam guide, this is the perfect time to use it.
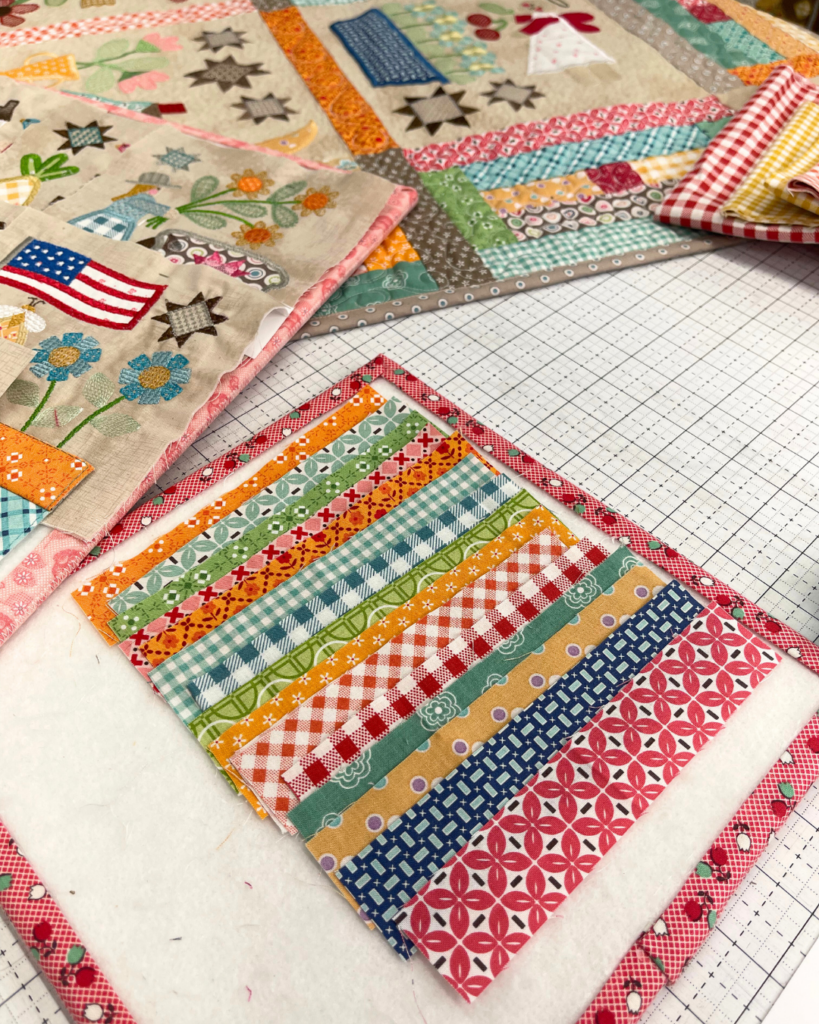
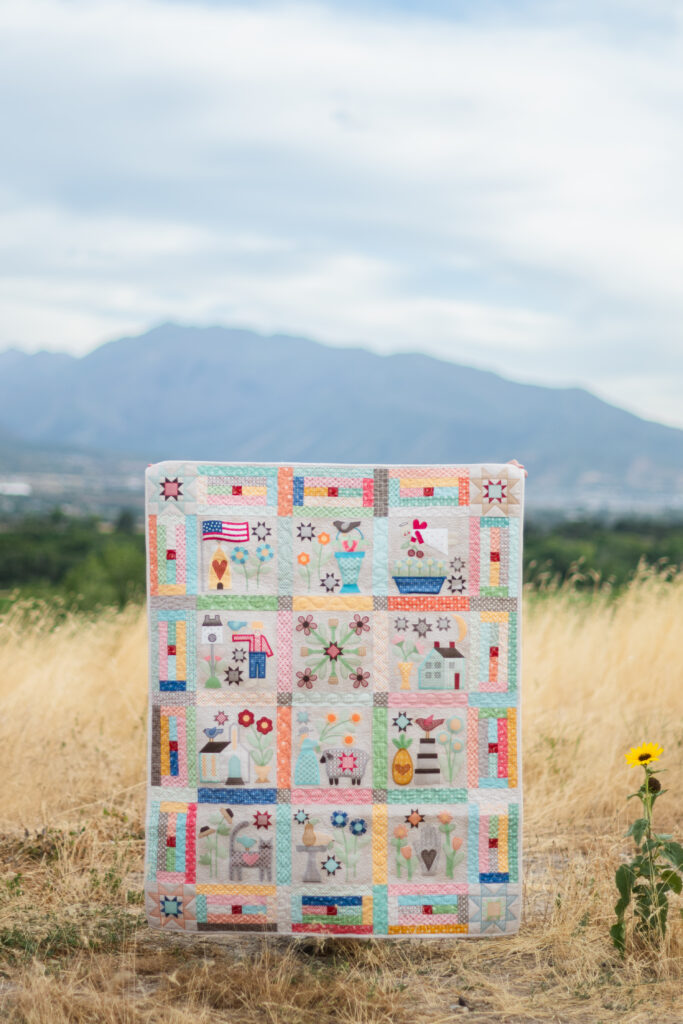
Quilt, Bind, and Enjoy
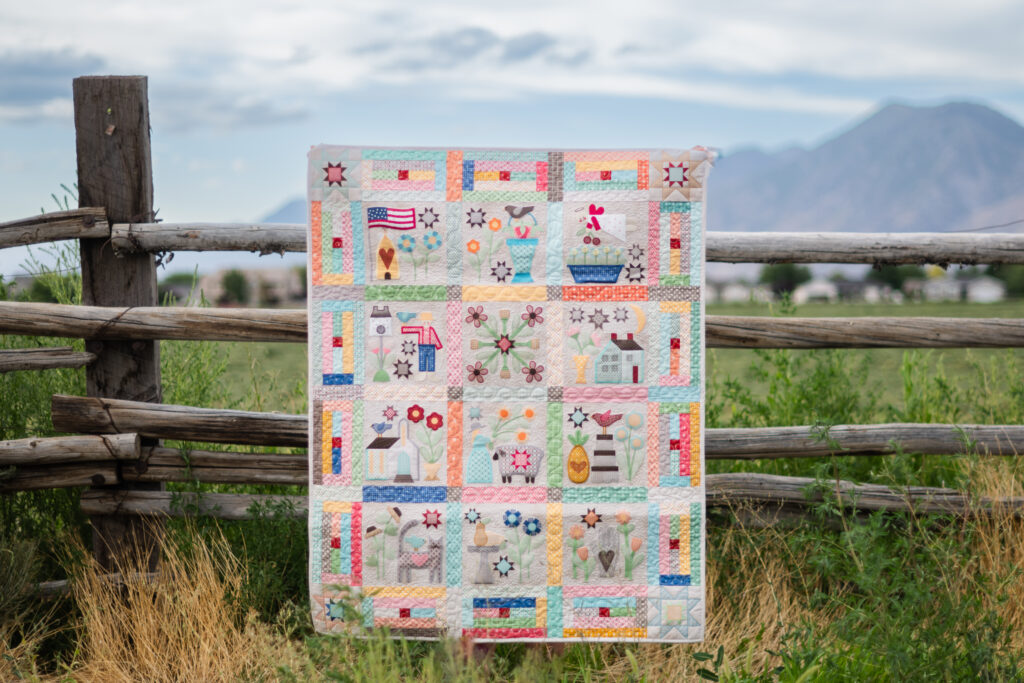
Once your quilt top is assembled and pressed, it’s ready to be quilted and bound. Finish with a binding fabric that complements your Prim palette, and take a moment to appreciate just how much you’ve created, from the very first Flag block to the final Corner Stars and Prim Steps.
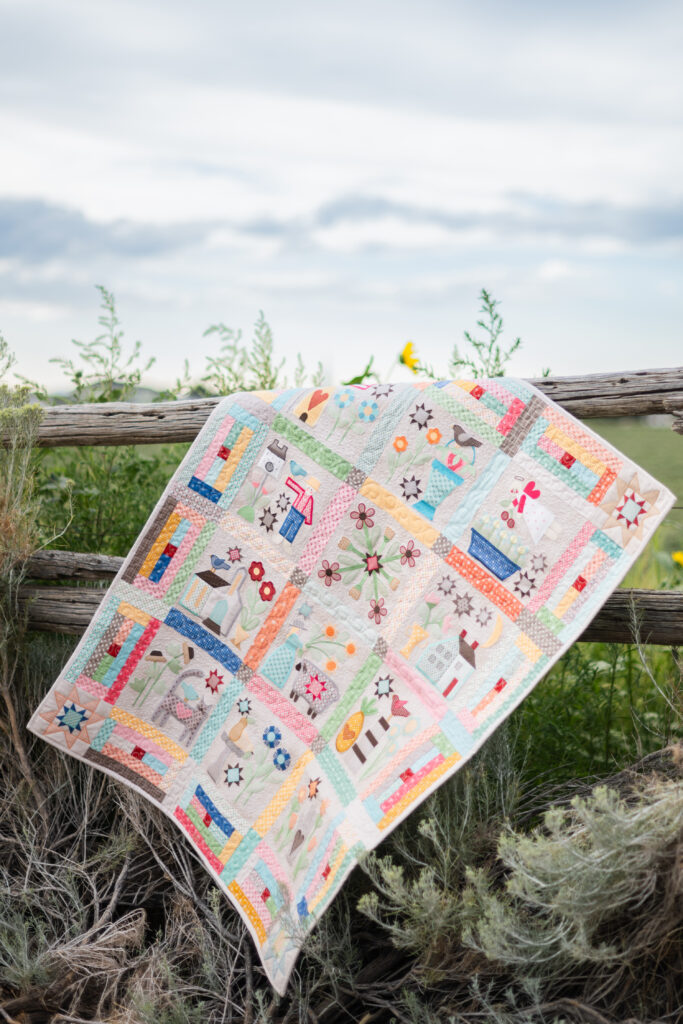
Share Your Finished Prim Quilt
We would truly love to see what you’ve made.
Please share your finished Prim quilt in our new RBD & M.E. Facebook Community, where other makers are also completing their quilts, asking questions, and celebrating together. It’s a wonderful place to be inspired and to inspire others in return.
You’re also welcome to share on social media using:
#RileyBlakeDesigns · #RBDandMe · #PrimStitchAlong
Thank you for joining in the Prim Stitch Along with us!
Credits:
- Prim Quilt designed by Lori Holt of Bee in My Bonnet
- Machine Embroidery Files by Riley Blake Designs
- Blog and education by Jennifer Long, Machine Embroidery Manager, Riley Blake Designs


One Comment
Monta Reina
Can I still purchase the instructions, material requirements and pattern for Prim Quilt?
Thanking you in advance.