Kalinda – Antelope Canyon
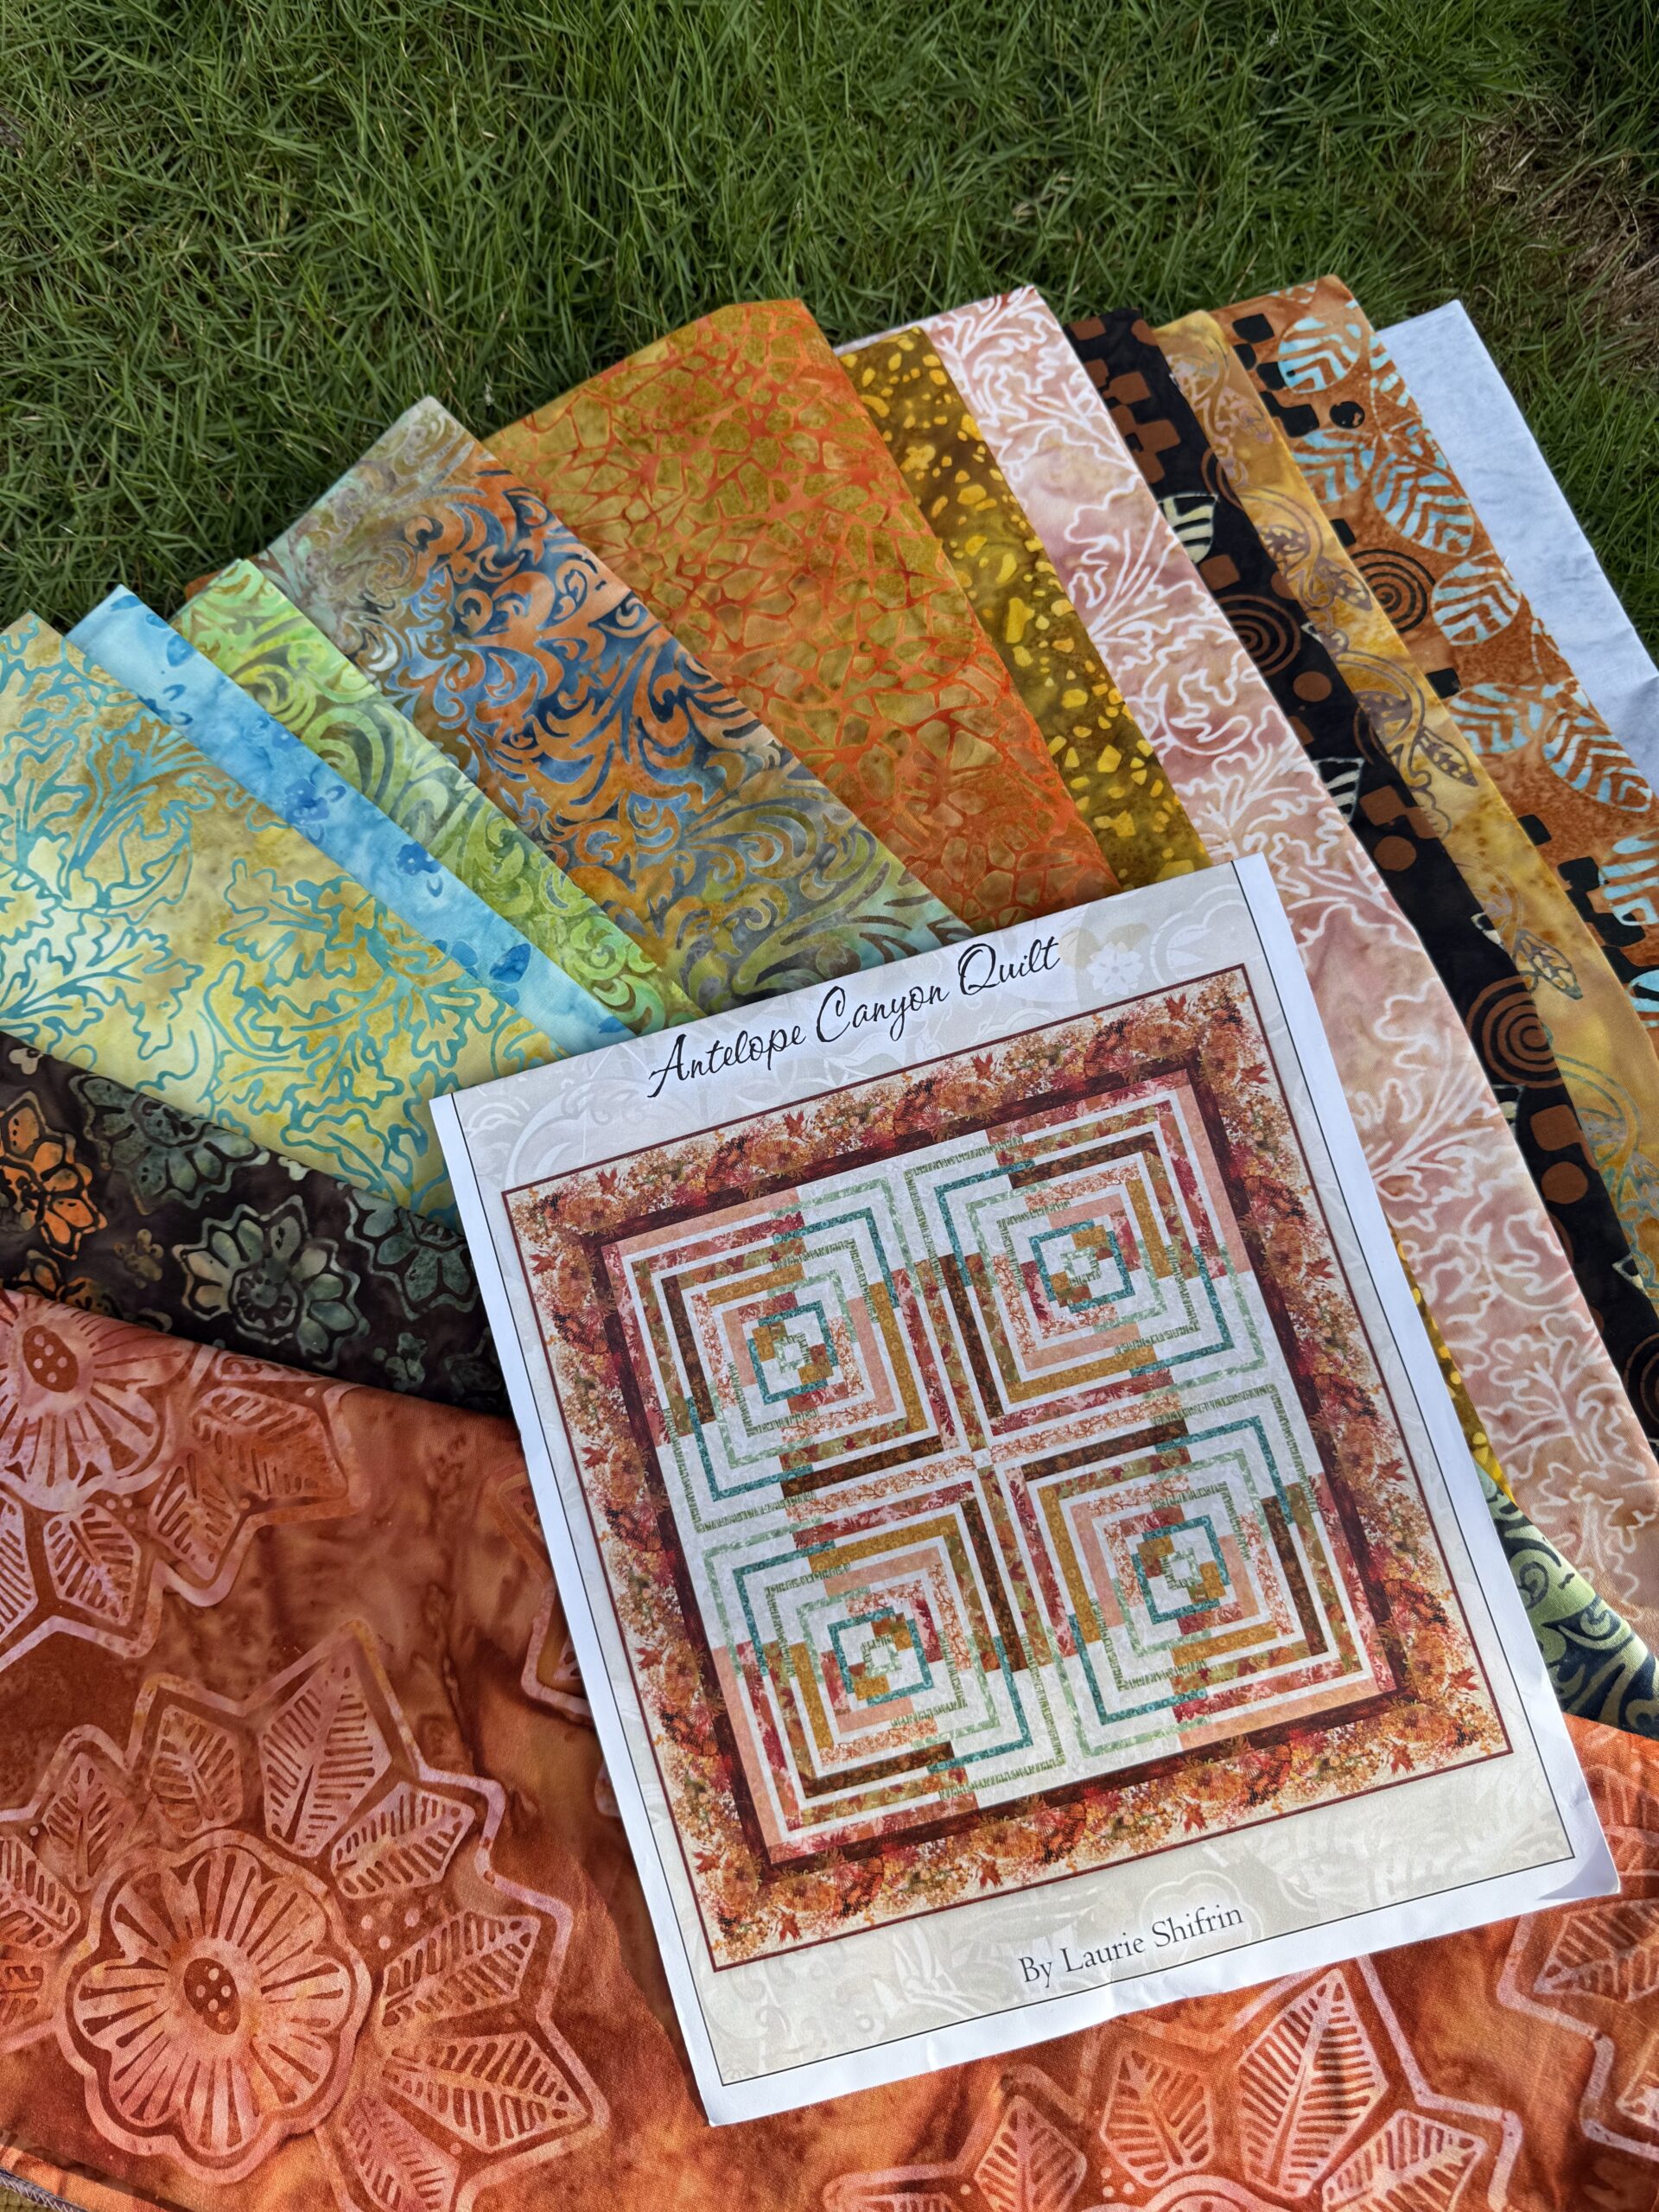
When I first saw the Kalinda Batik collection by Pat Fryer of Villa Rosa Designs for Riley Blake Designs, I knew I had to get my hands on it. The colors are so rich and layered — that perfect blend of movement and texture that batiks do so well. Each piece has a life of its own, and together they create the kind of depth and shimmer that I love in a quilt.
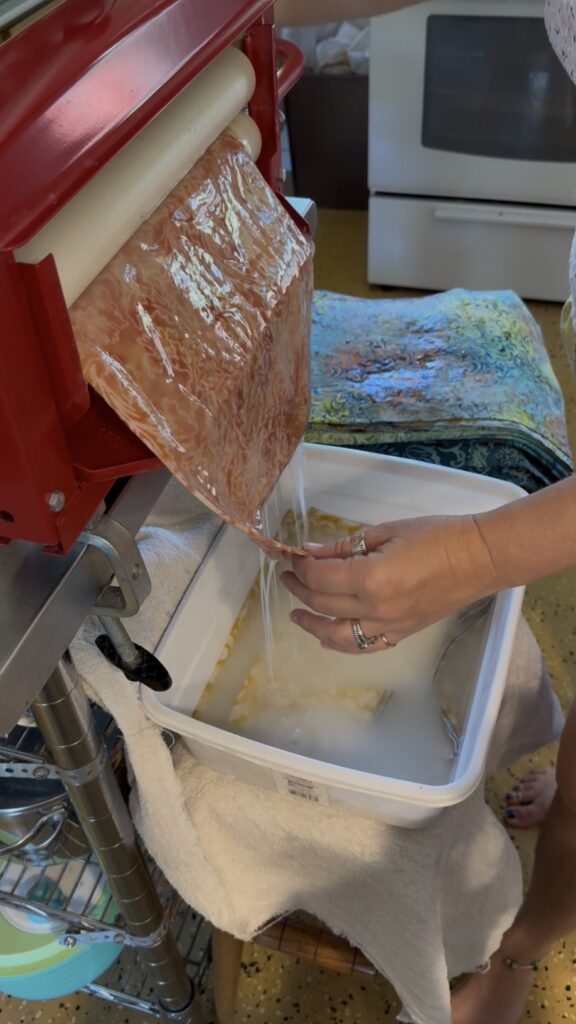
Before cutting, I always take the time to pre-wash and starch my fabrics. I wash them on hot, dry on hot, and then use a liquid starch soak (a 50/50 mix of starch and water). I soak the fabric, run it through my hand-crank Calliger wringer to remove the excess liquid, and hang it to dry. After a good press, the fabric is crisp, firm, and an absolute dream to work with. It makes cutting and piecing so much more precise.
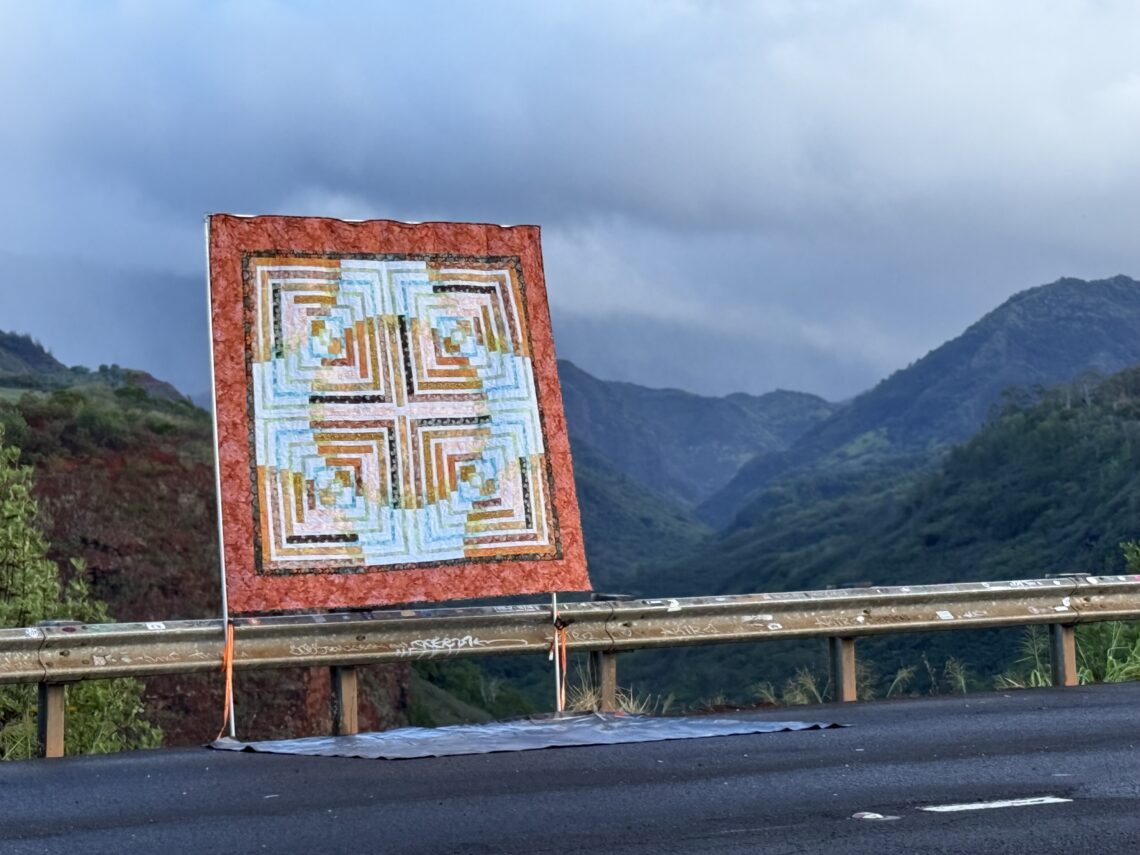
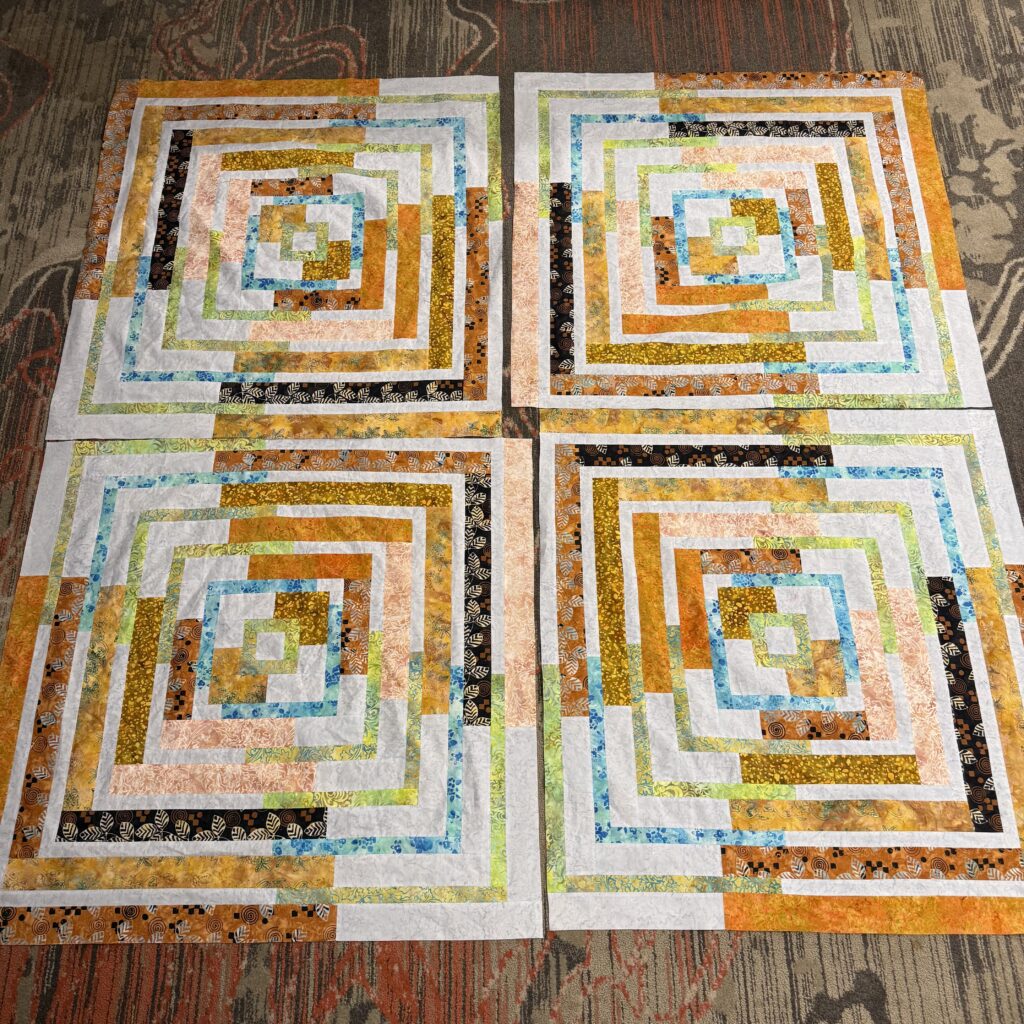
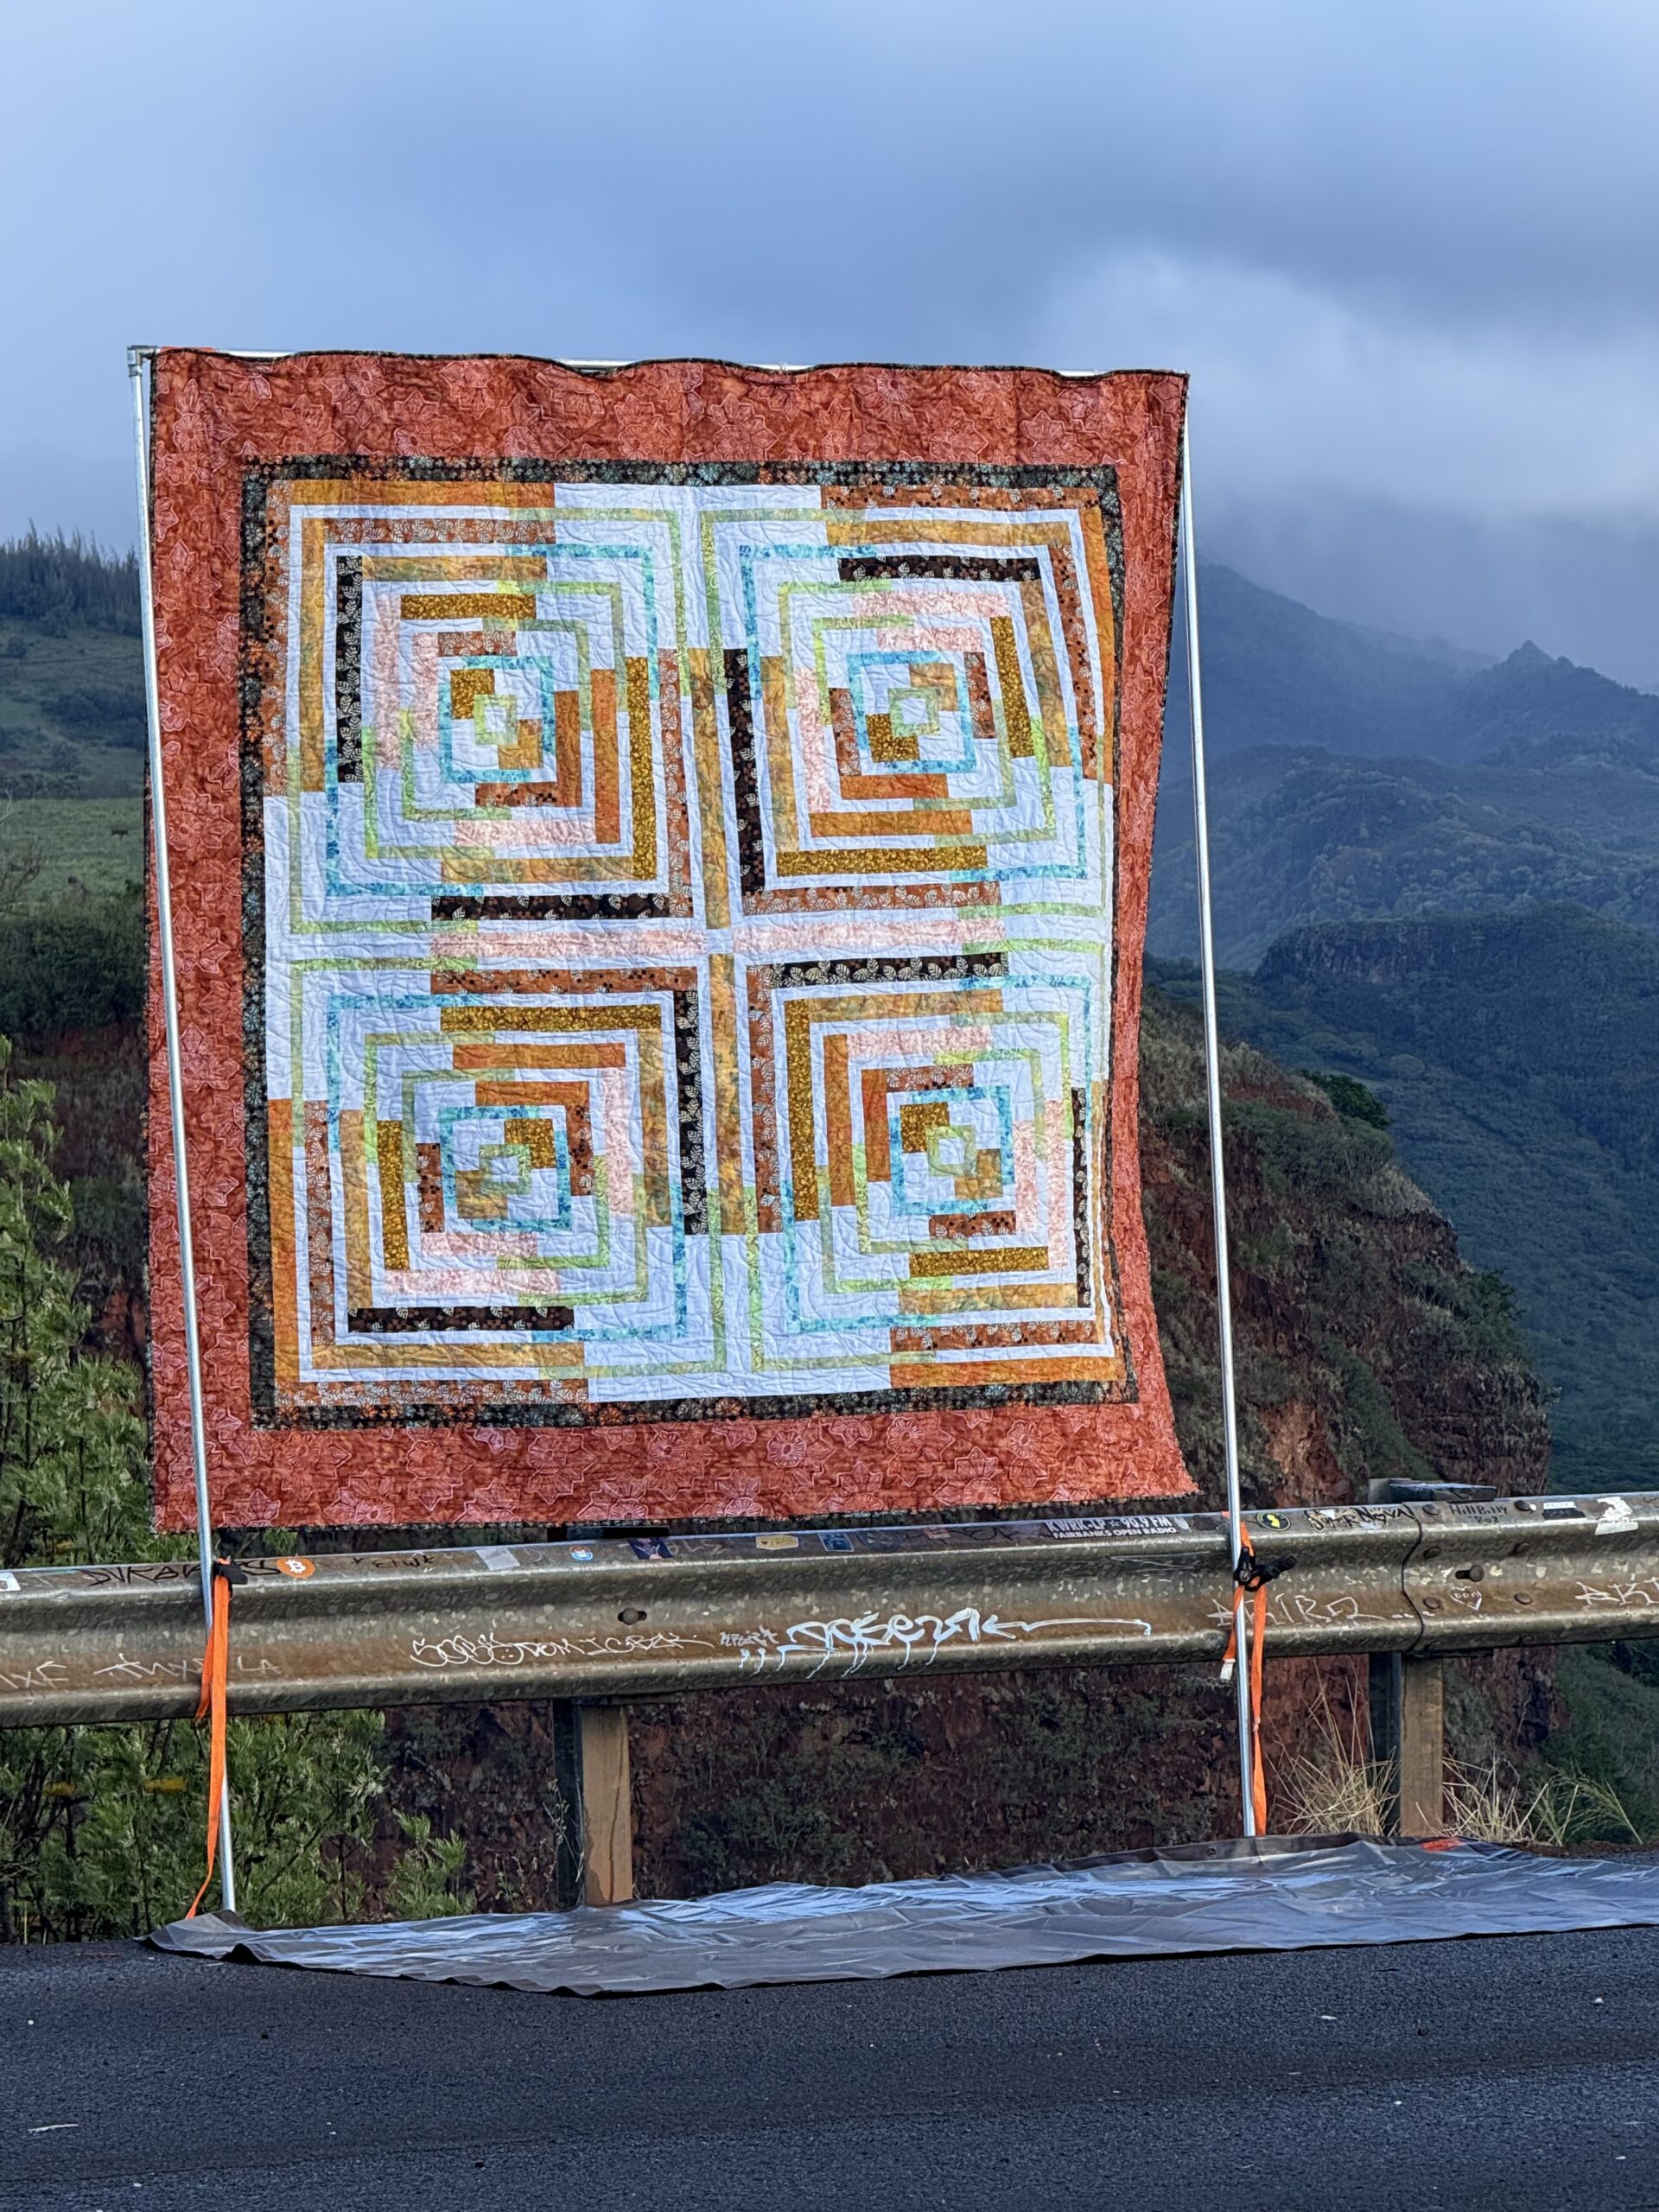
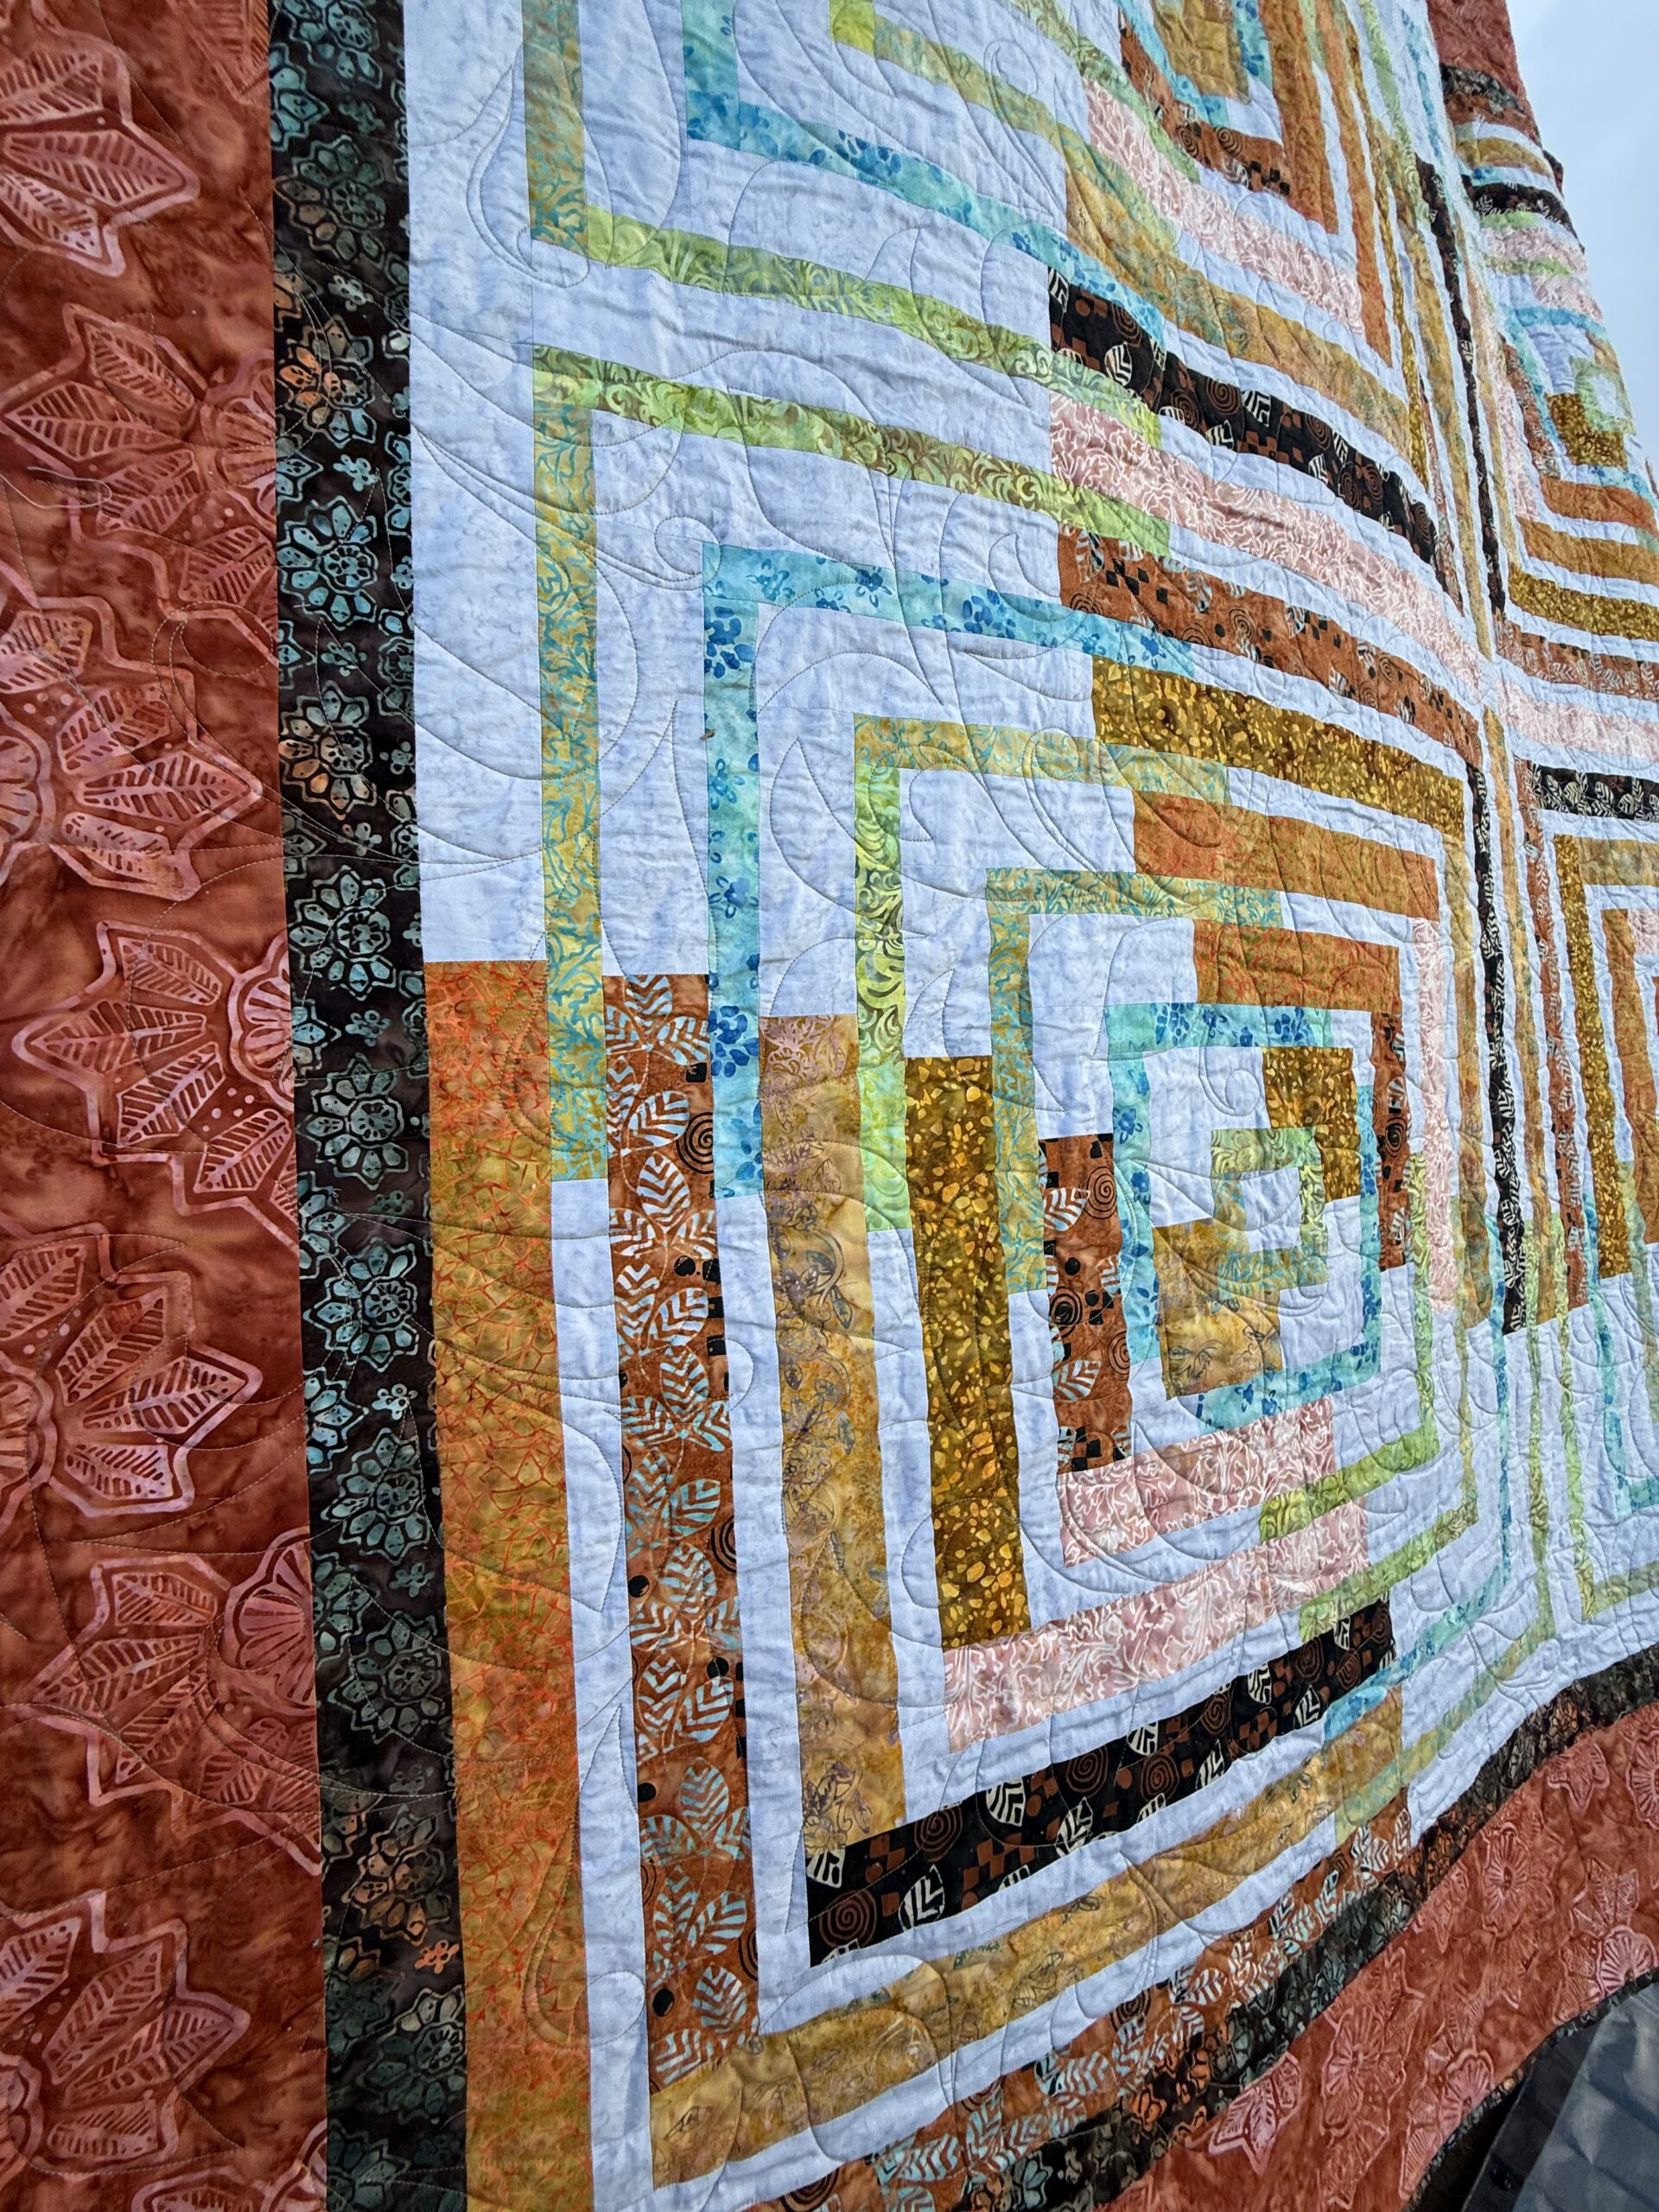
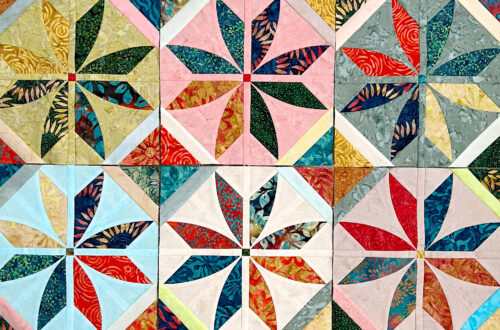
decided to use the Antelope Canyon pattern by Laurie Shifrin, which has such a striking, modern feel. What I love about this pattern is that up close, it’s all strips but when you step back (or look through your camera), that’s when the magic happens. Suddenly you see these beautiful circular shapes appear, like an optical illusion.
Even though the design looks complex, the quilt pieces themselves are actually very basic — all strips cut at 1½” and 2½” wide. The trick is in the organization. I found that sorting each “round” of fabrics and bagging them separately made a huge difference in keeping everything straight as I sewed.
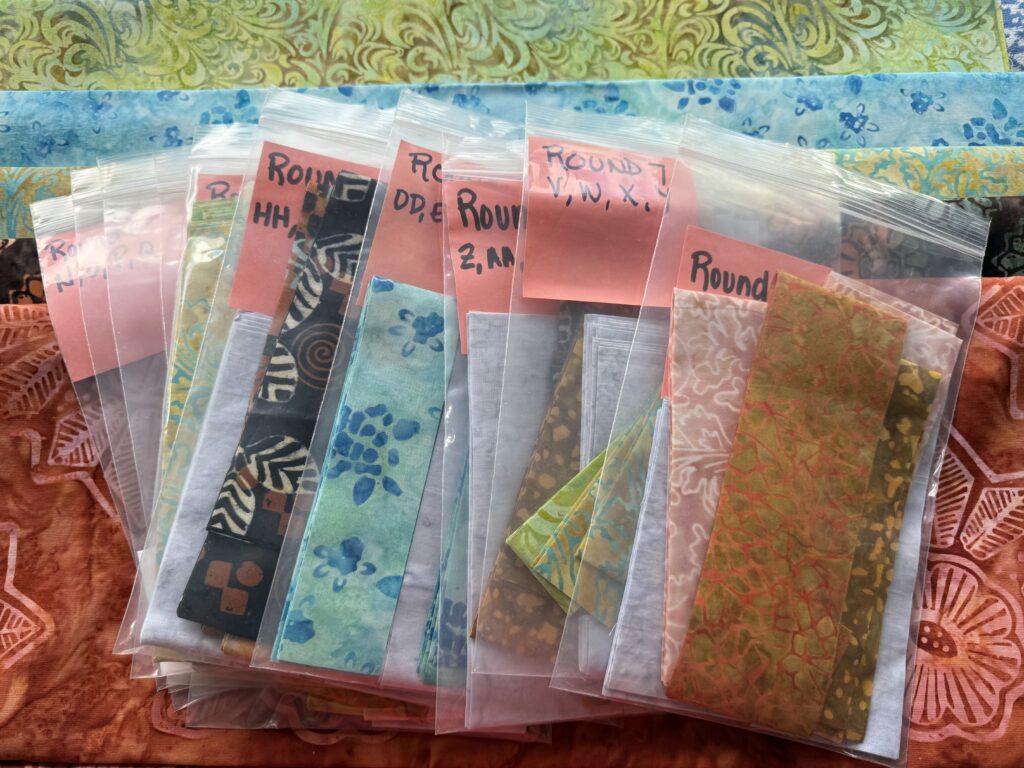
Working from the bags to form each round was smooth sailing, and eventually I had four large blocks. The pattern gives you two different layout options, and after auditioning both, I decided to go with the big circle in the center — it really makes the optical illusion pop.

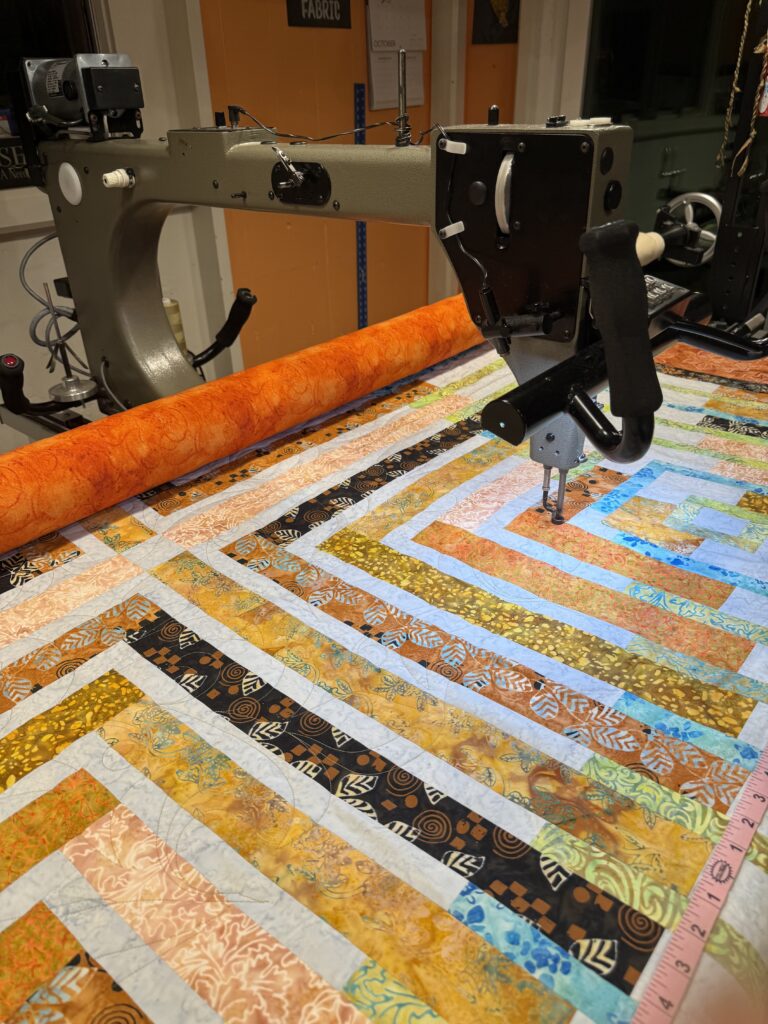
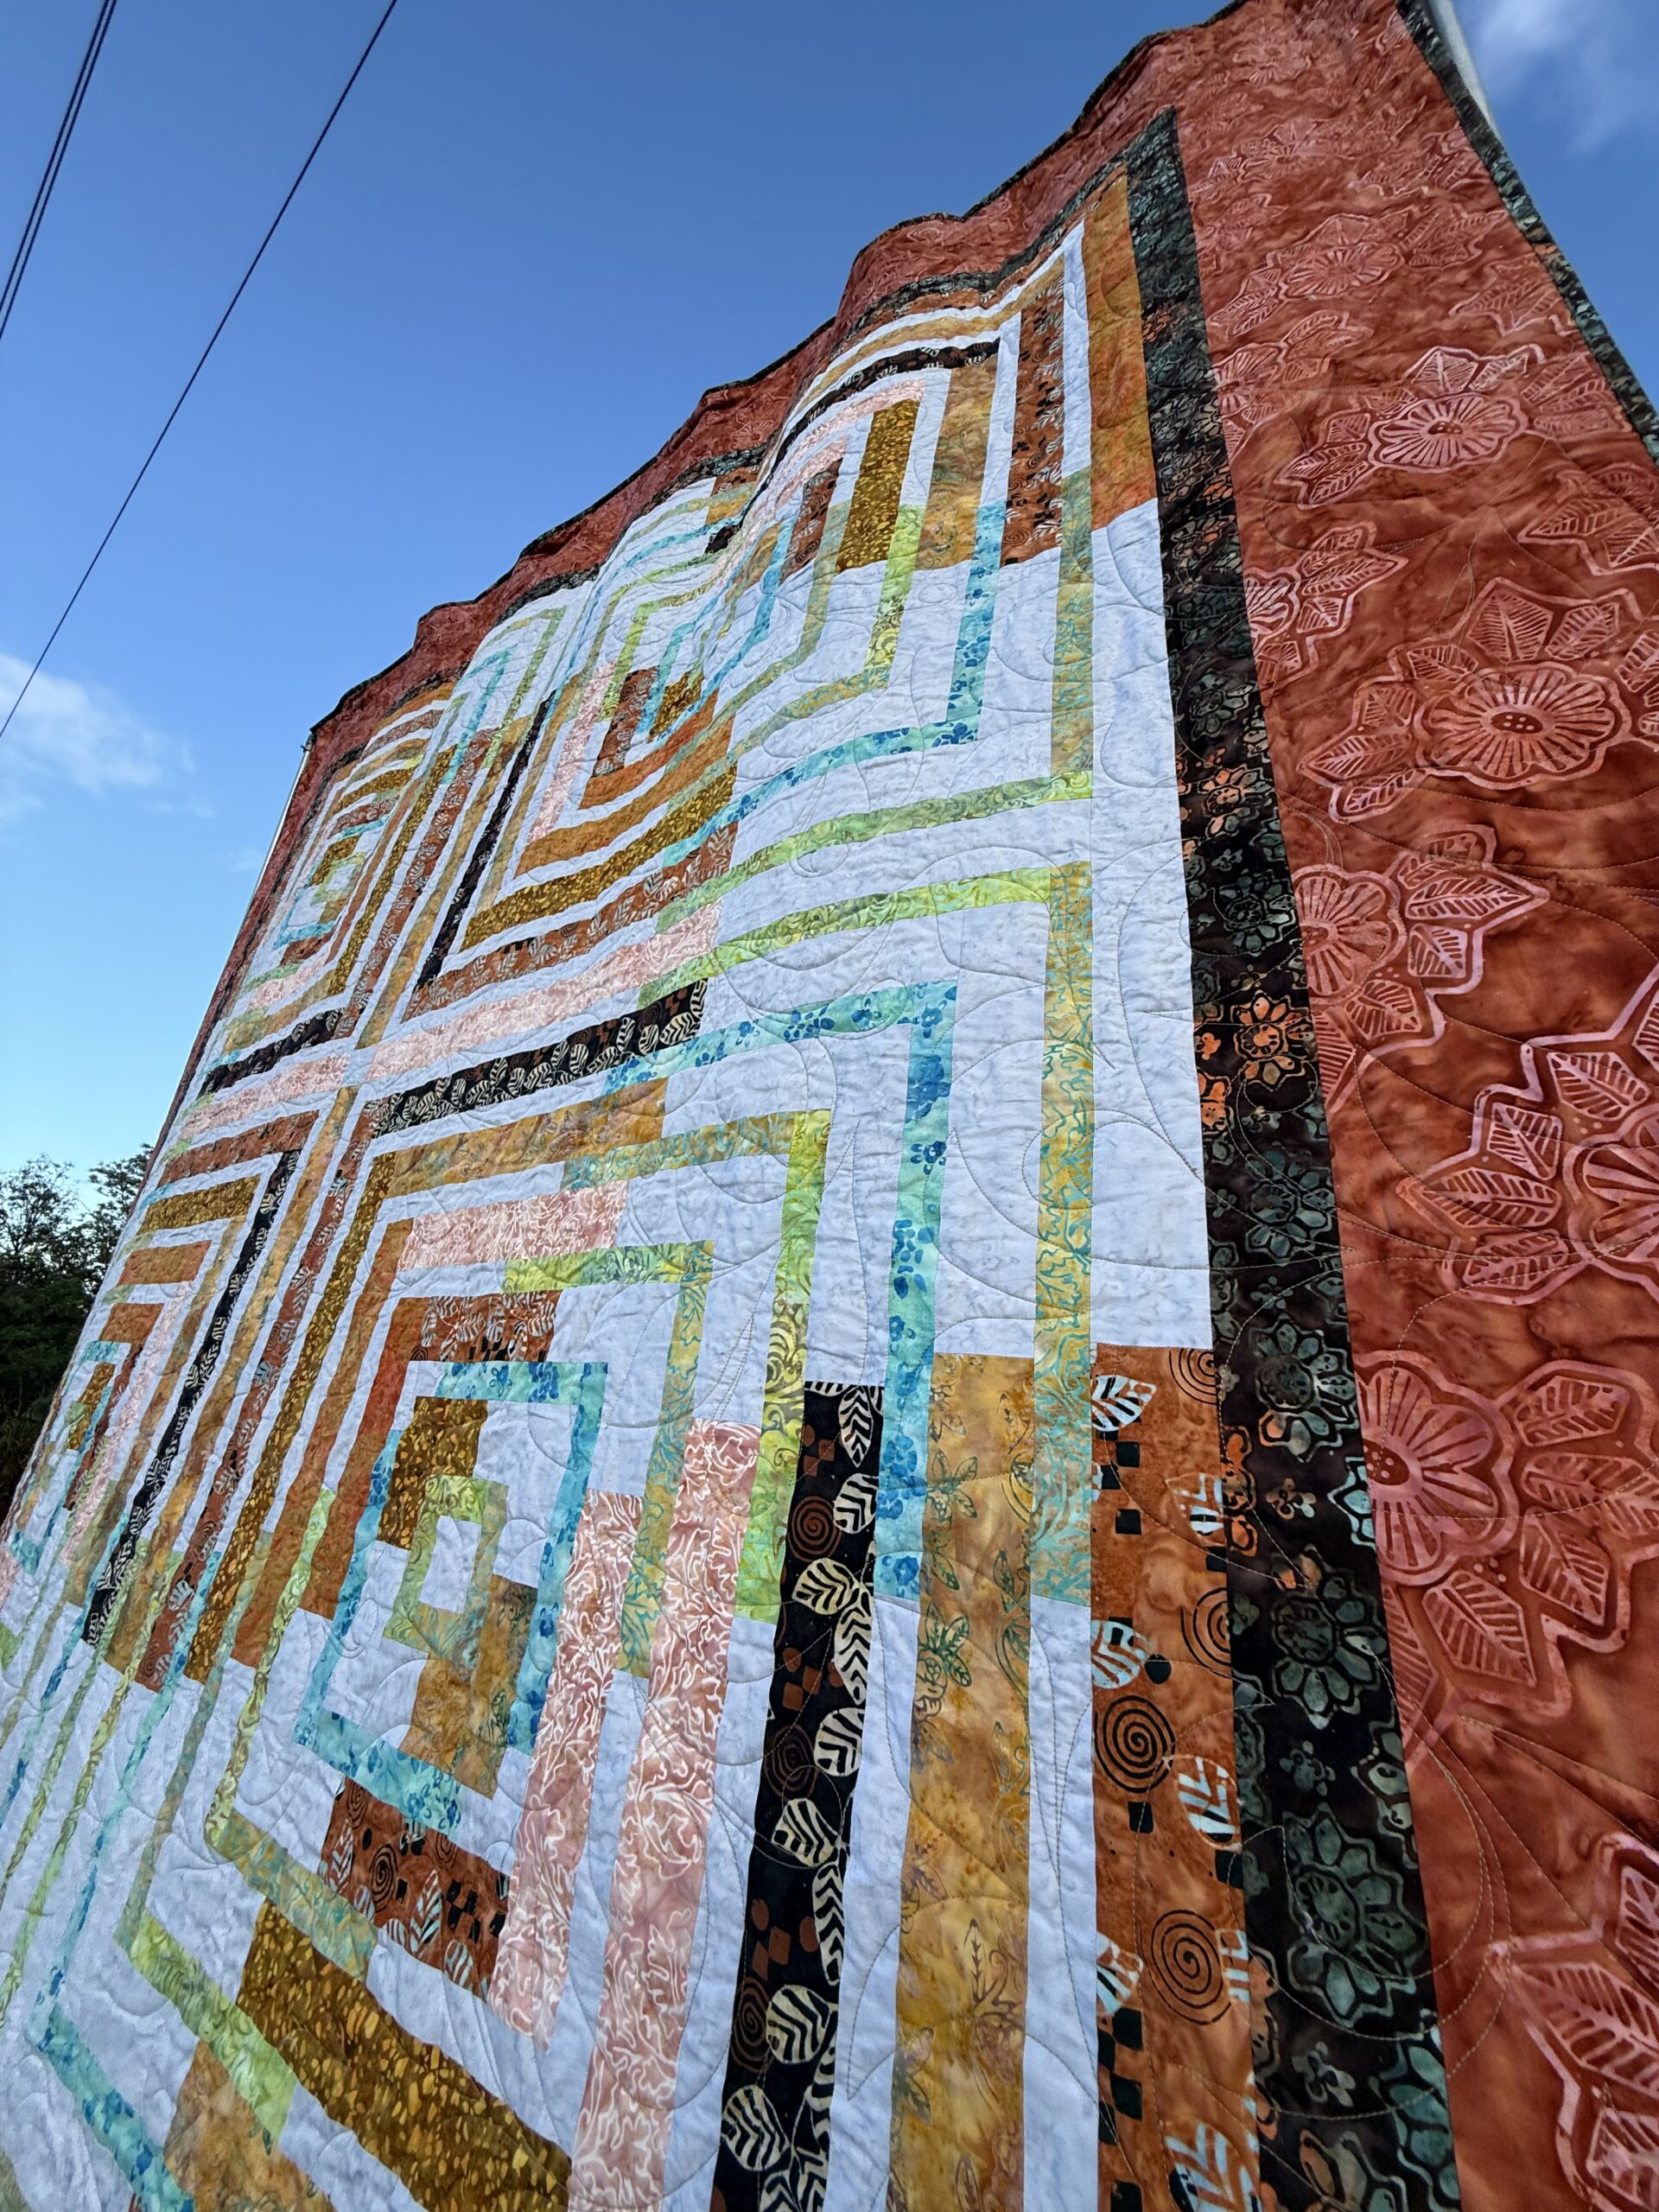
After adding the border, it was finally time to long arm this masterpiece!
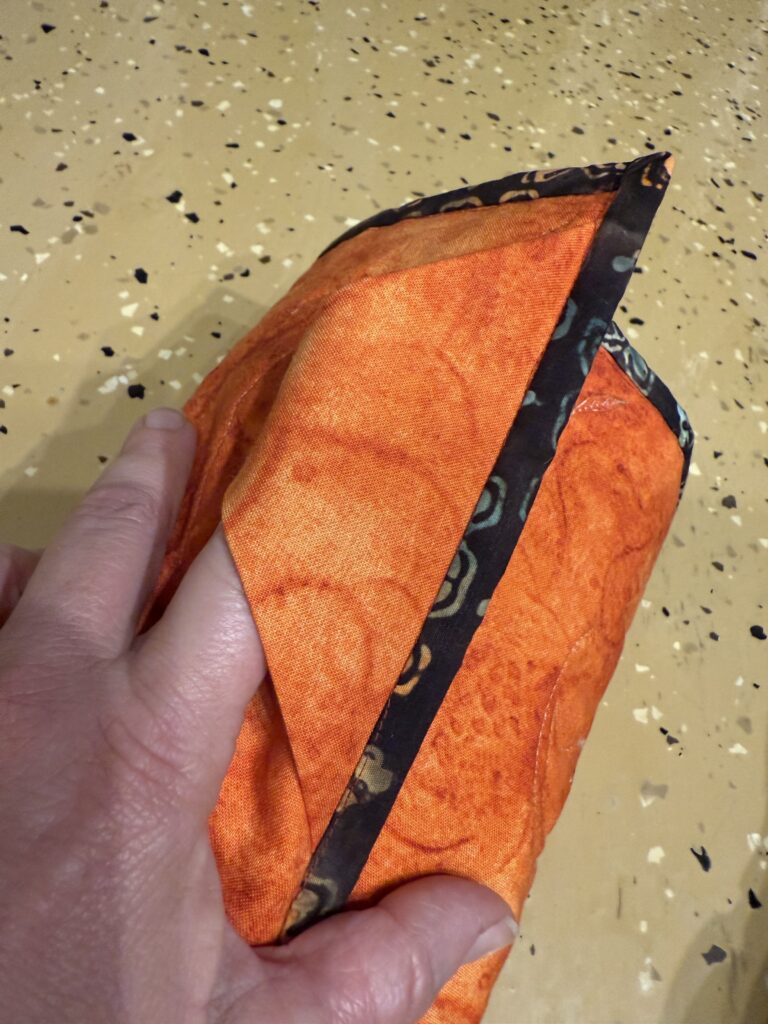
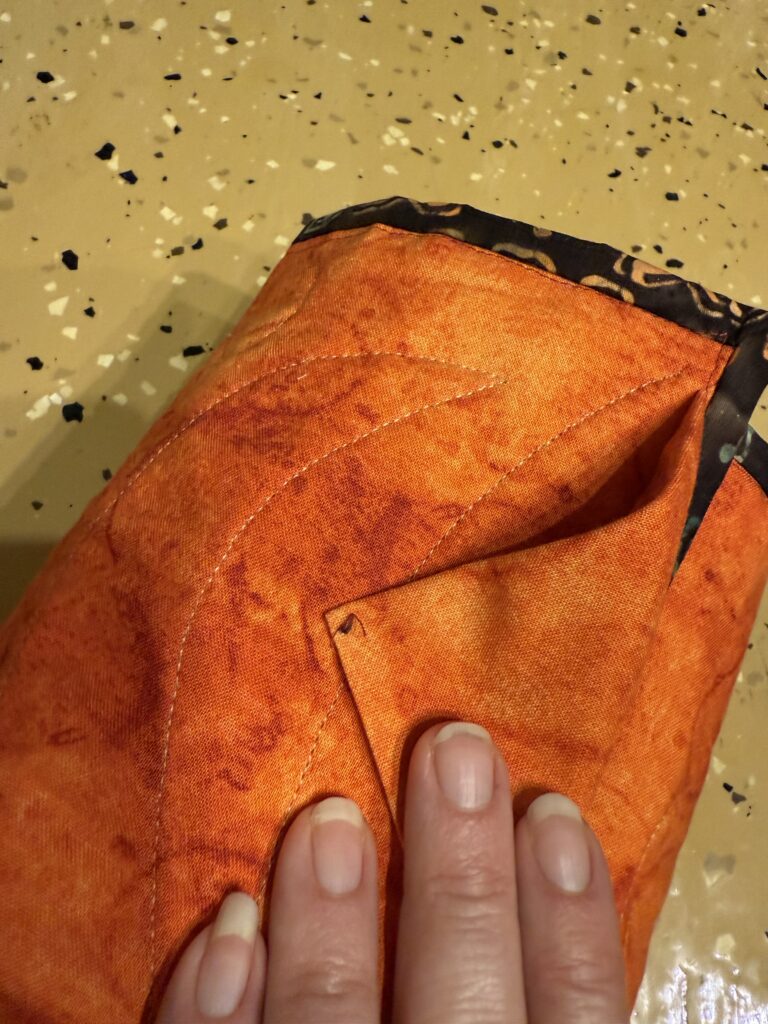
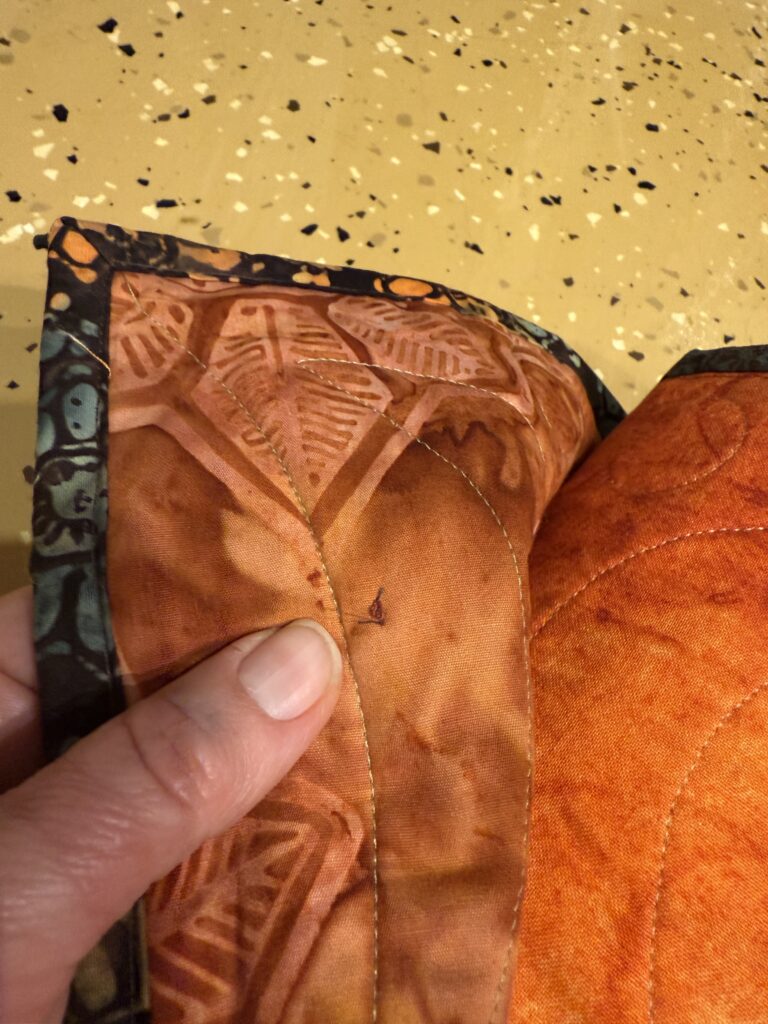
I’ve gotten into the habit of adding hanging tabs while I put on the binding — it makes displaying the quilt so much easier. I cut 6” squares of the backing fabric, press it in half, and then half again. I baste the tabs across the top edge of the quilt, approximately 15” apart, and then put the binding on, fully encasing the raw edge of each hanging loop. Once the binding is finished, I go back with the button tack stitch on my machine to secure the point, leaving enough space for a hanging pipe to slide through.
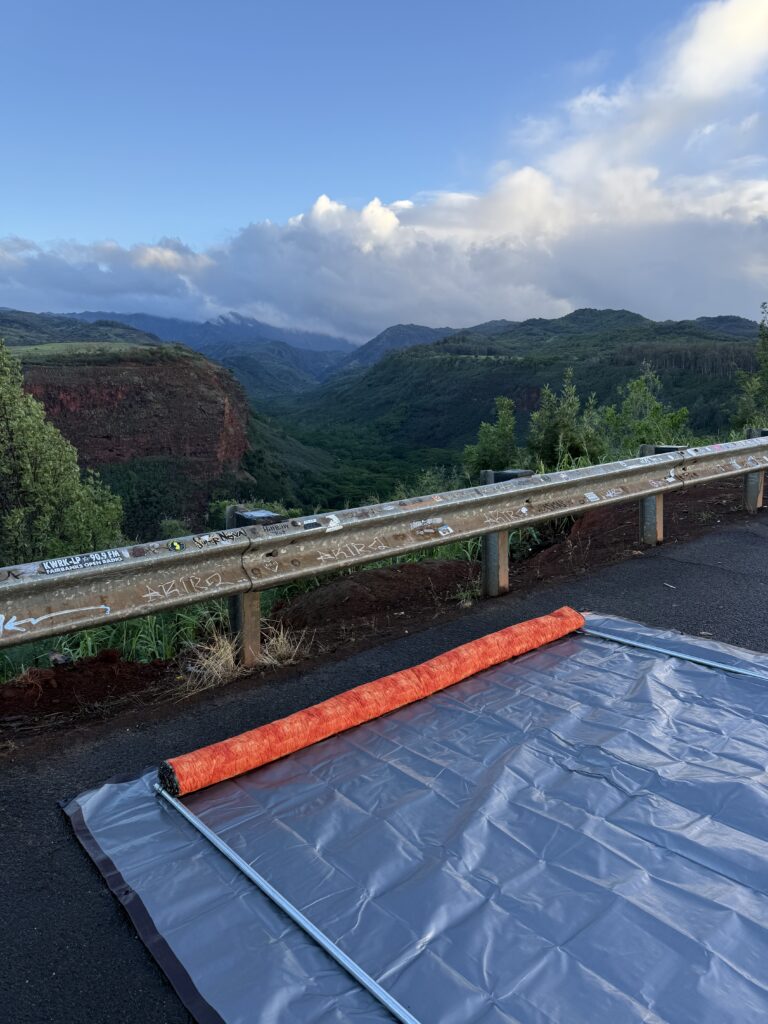
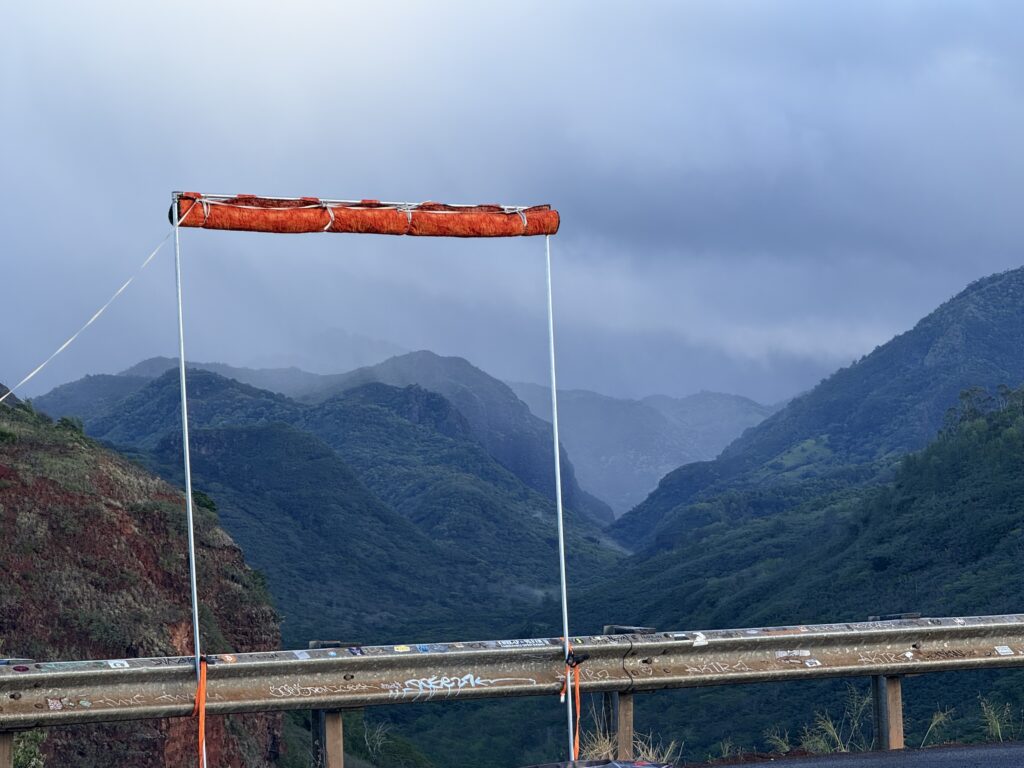
Since the pattern is Antelope Canyon, I thought it only fitting that the photo shoot take place near a canyon, and here on the island of Kauai, the Hanapepe Valley Lookout came to mind. It’s right along the edge of the highway on the west side of the island. To get a good picture, it had to be early in the morning, and there was some special rigging involved — but the photo shoot was successful, and you get to see the beautiful valley in the background.
This pattern and fabric pairing was pure joy to make — simple piecing, beautiful color flow, and a big visual payoff at the end. If you’ve been thinking about trying the Antelope Canyon pattern, I can’t recommend it enough, especially with a batik collection like Kalinda that really highlights all those subtle color transitions.
I’m so grateful to Riley Blake Designs for letting me play with this gorgeous collection as part of my ambassadorship. It’s always such a joy to explore new fabrics and share the process with fellow quilters. If you’re inspired, be sure to check out the Kalinda Batik collection and Laurie Shifrin’s Antelope Canyon pattern — I promise, it’s a project full of magic and surprises!
Toni Wass
Tiger Textiles


3 Comments
Cathy Gotschall
Toni….it is gorgeous! You chose the perfect setting for the photo shoot. Well done!
Toni Wass
Thank you Cathy!! It was really a fun quilt to make. While I am working on a Riley Blake project, I’m always trying to figure out where to do a photo shoot. This popped into my head while I was putting the binding on.
Margery McBride
How do I order both the pattern and collection?